
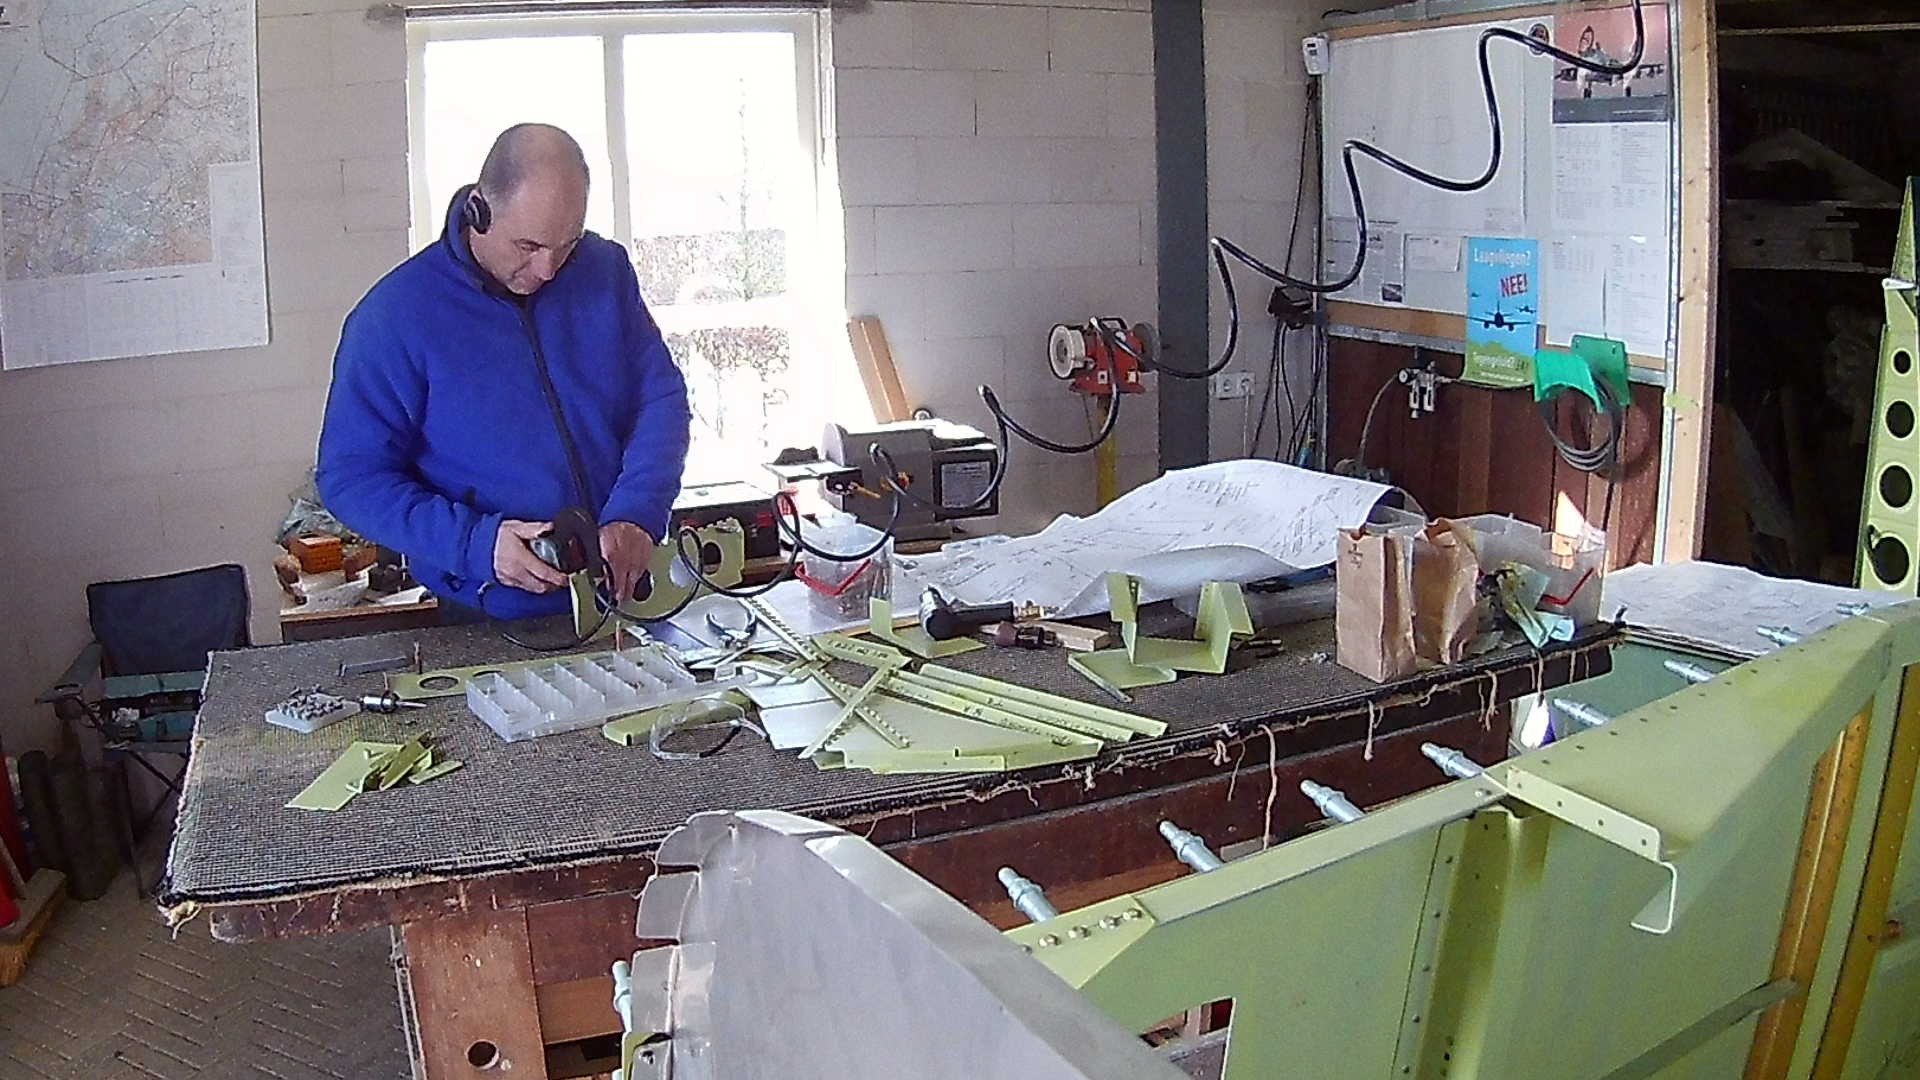
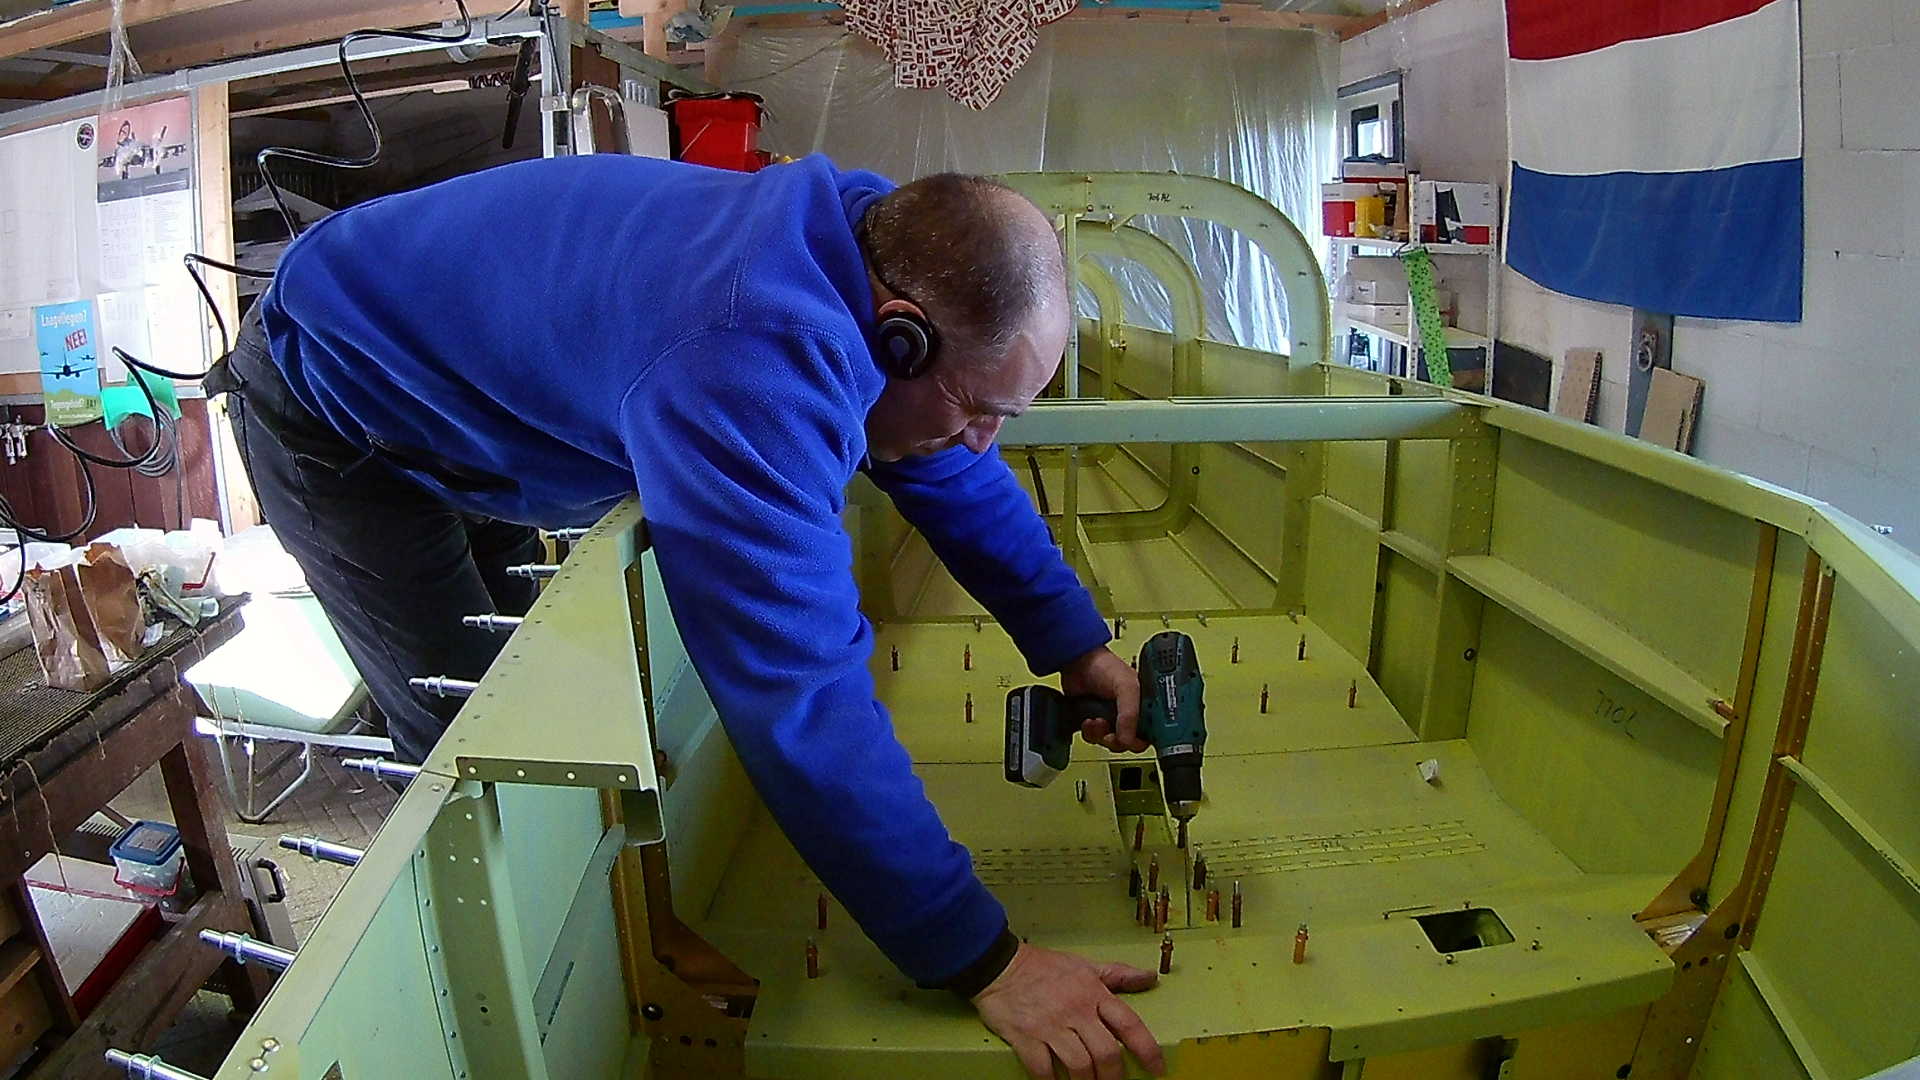
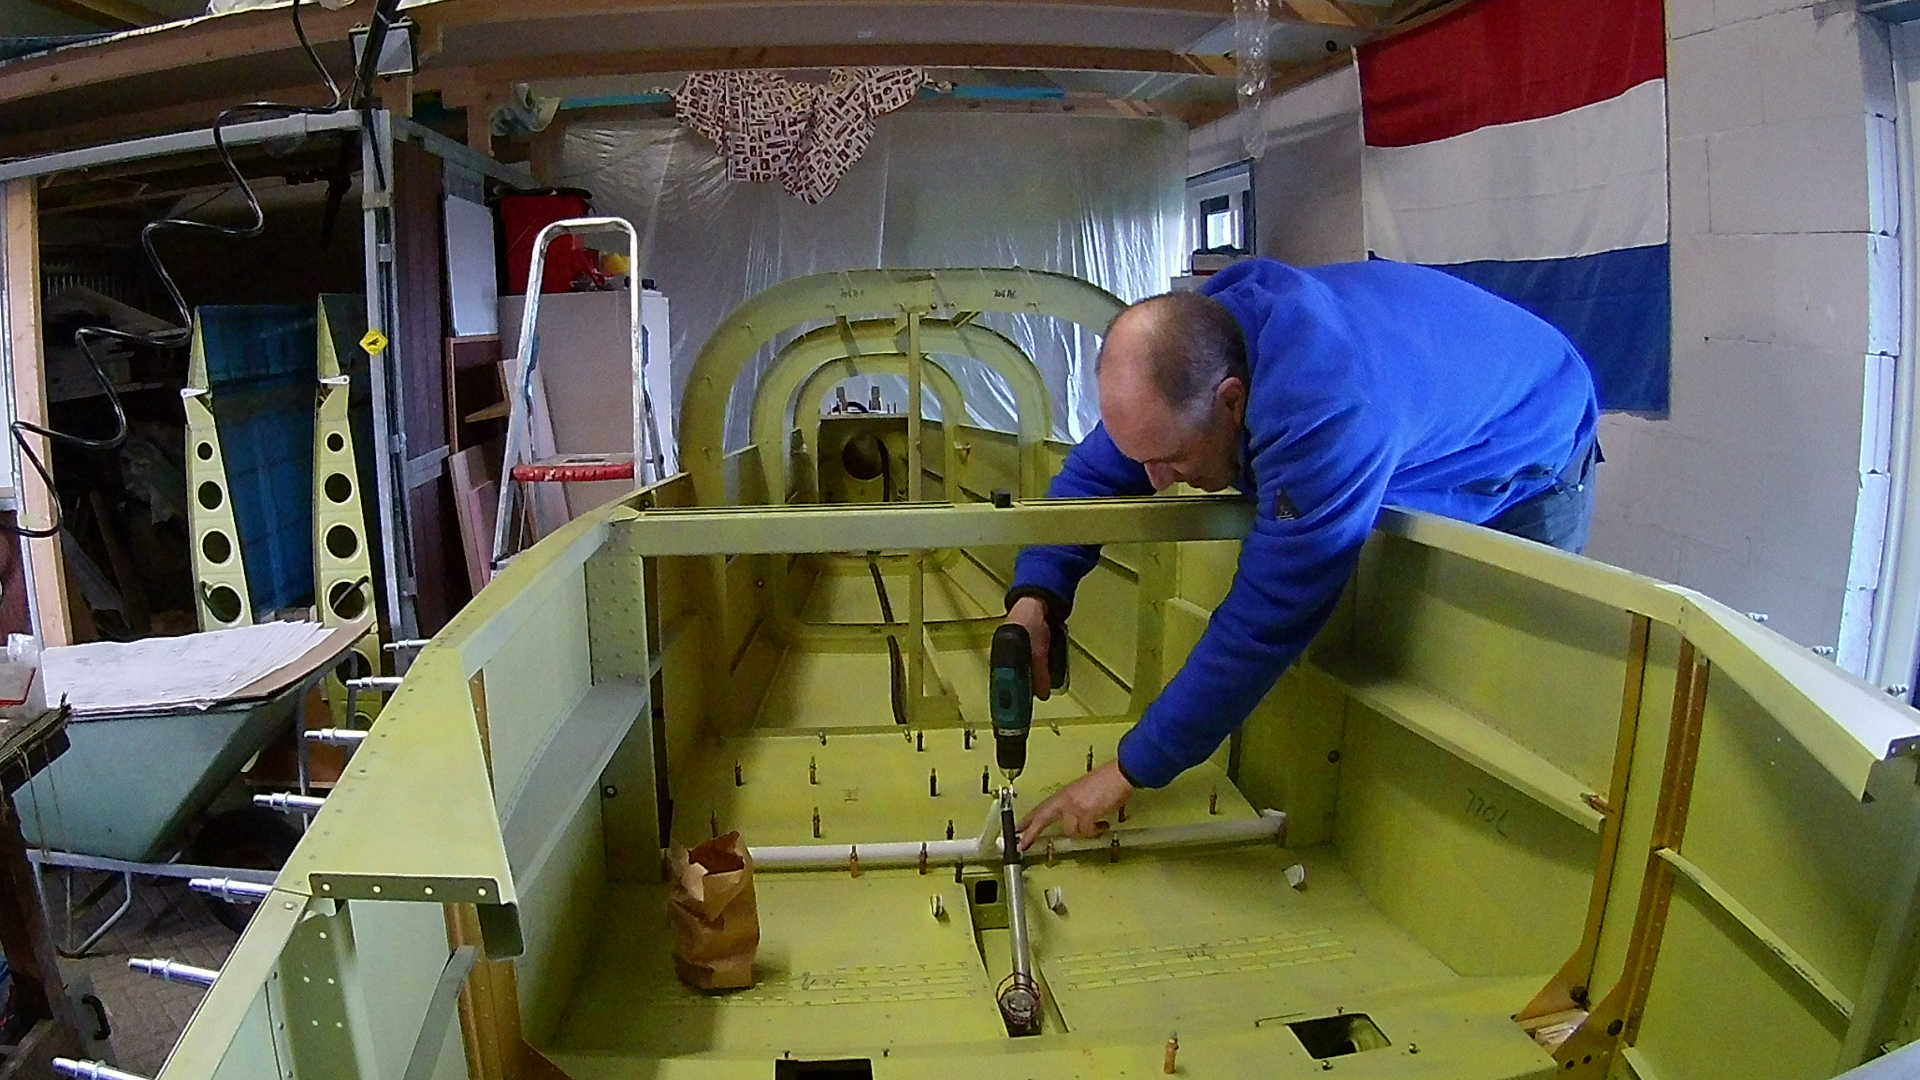
The first step in finishing the Seats is placing the floor panels of both the baggage and seats.
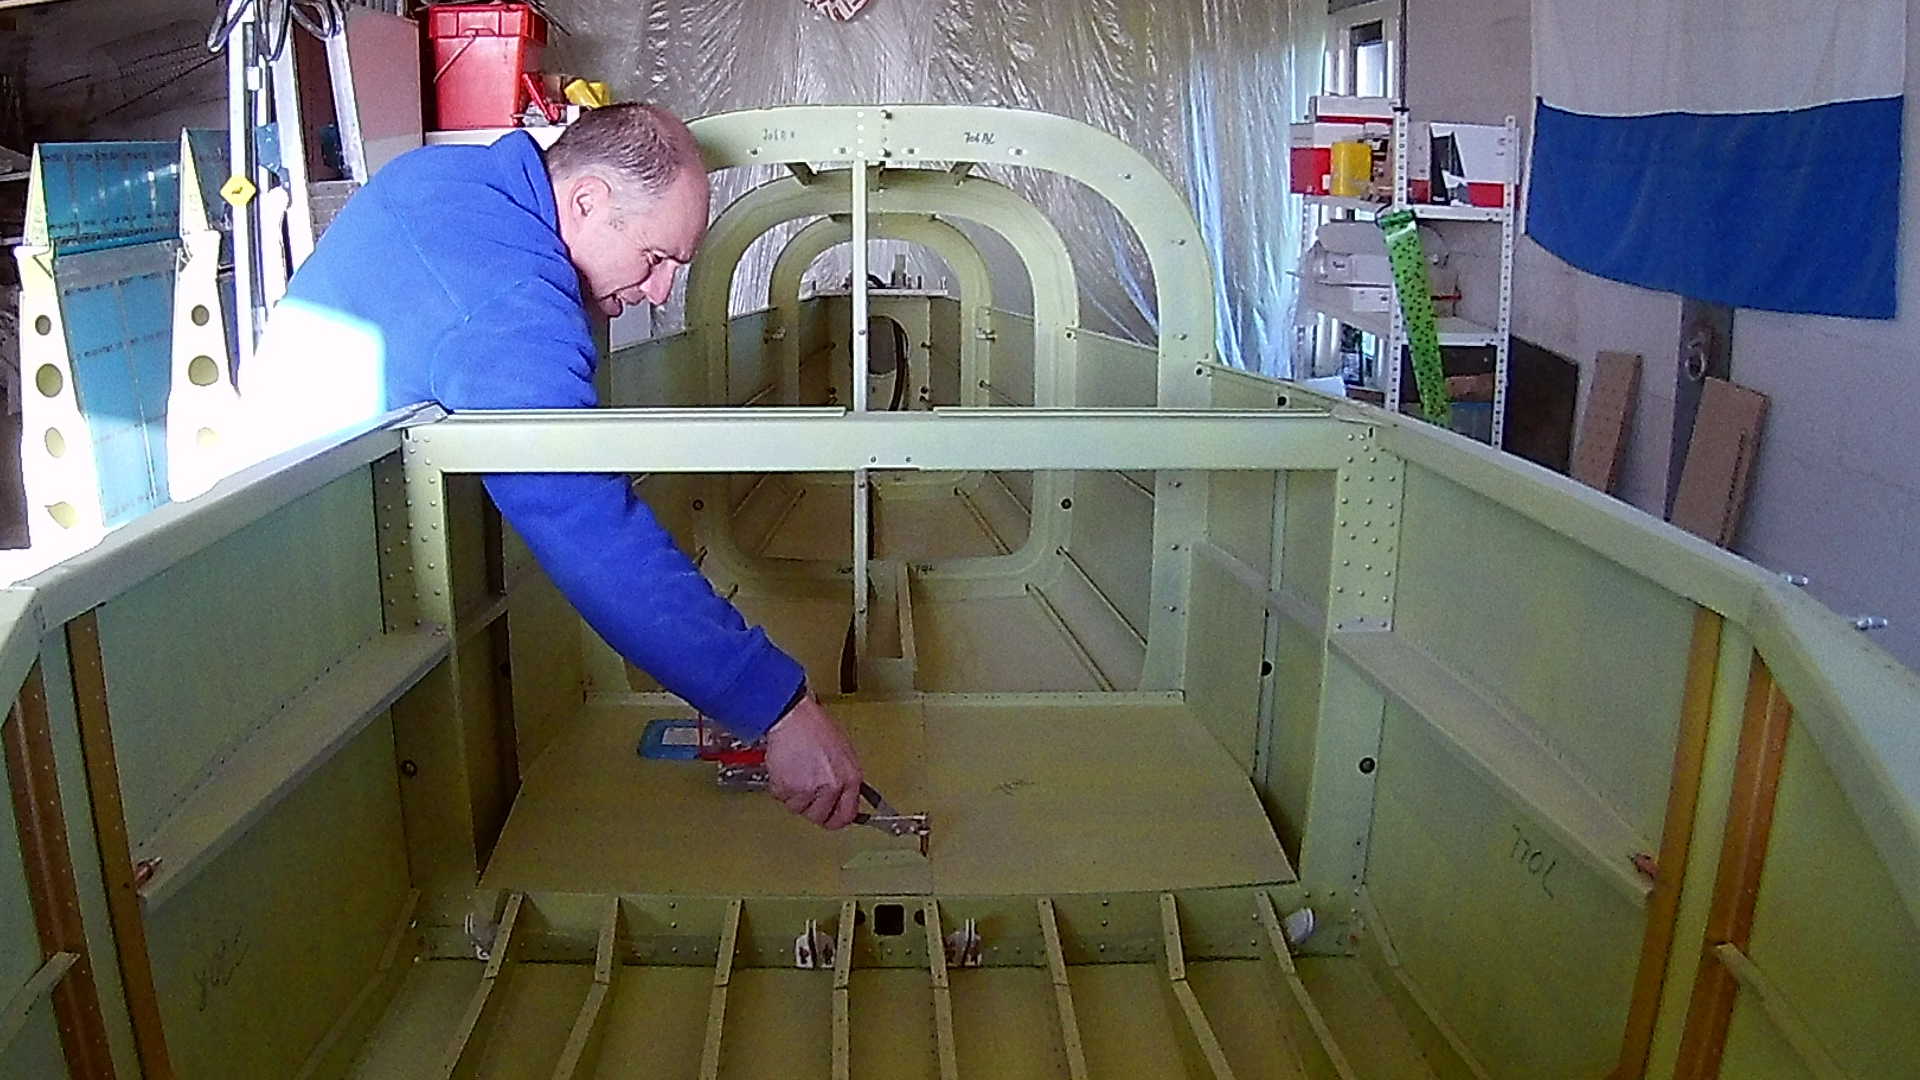
The black (thicker cleco’s fit in the #19 drilled holes. The little angle is for attaching the Flap casing back side.
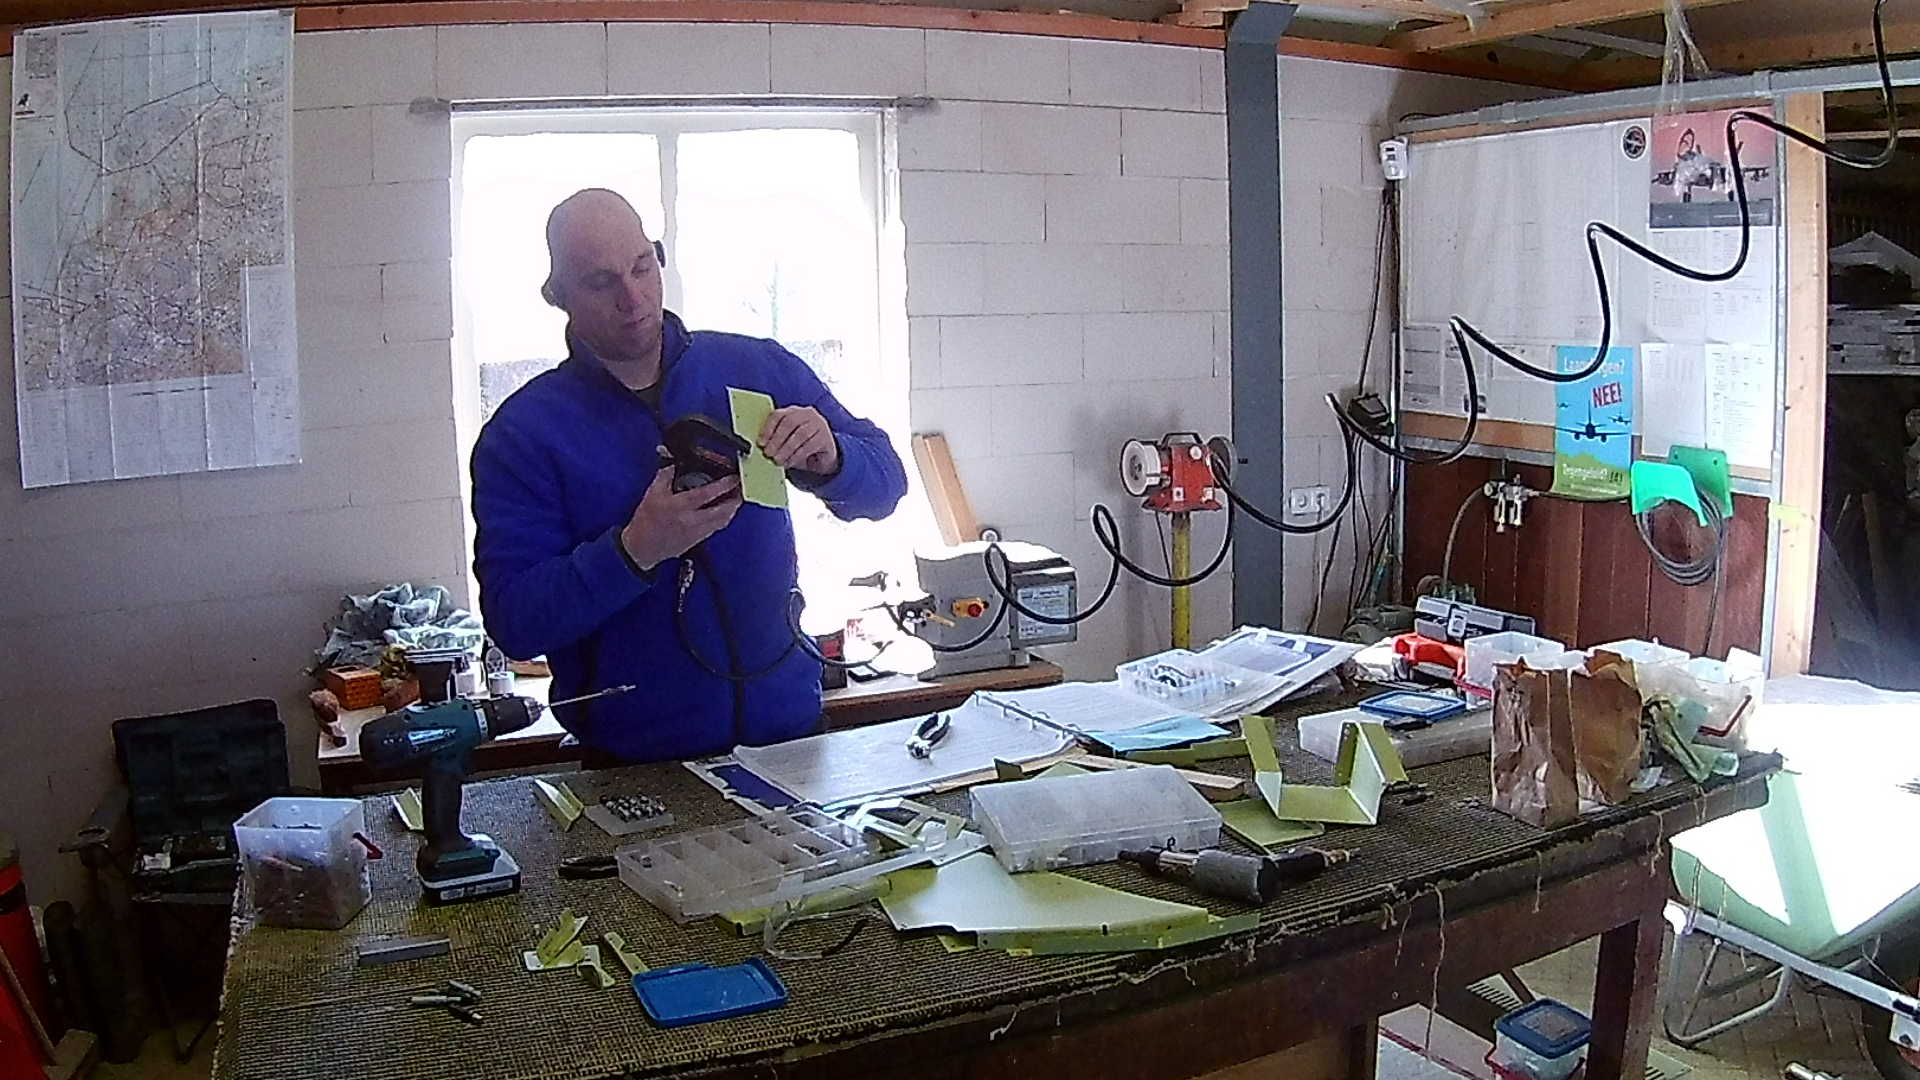
The Seat floors hold the three piano hinges that allow for adjusting the seat backs to different positions. Unfortunately you can’t back rivet them, because they require ‘normal’ (non-flush) rivets. Hence I need the rivet-gun with the special round mouth.
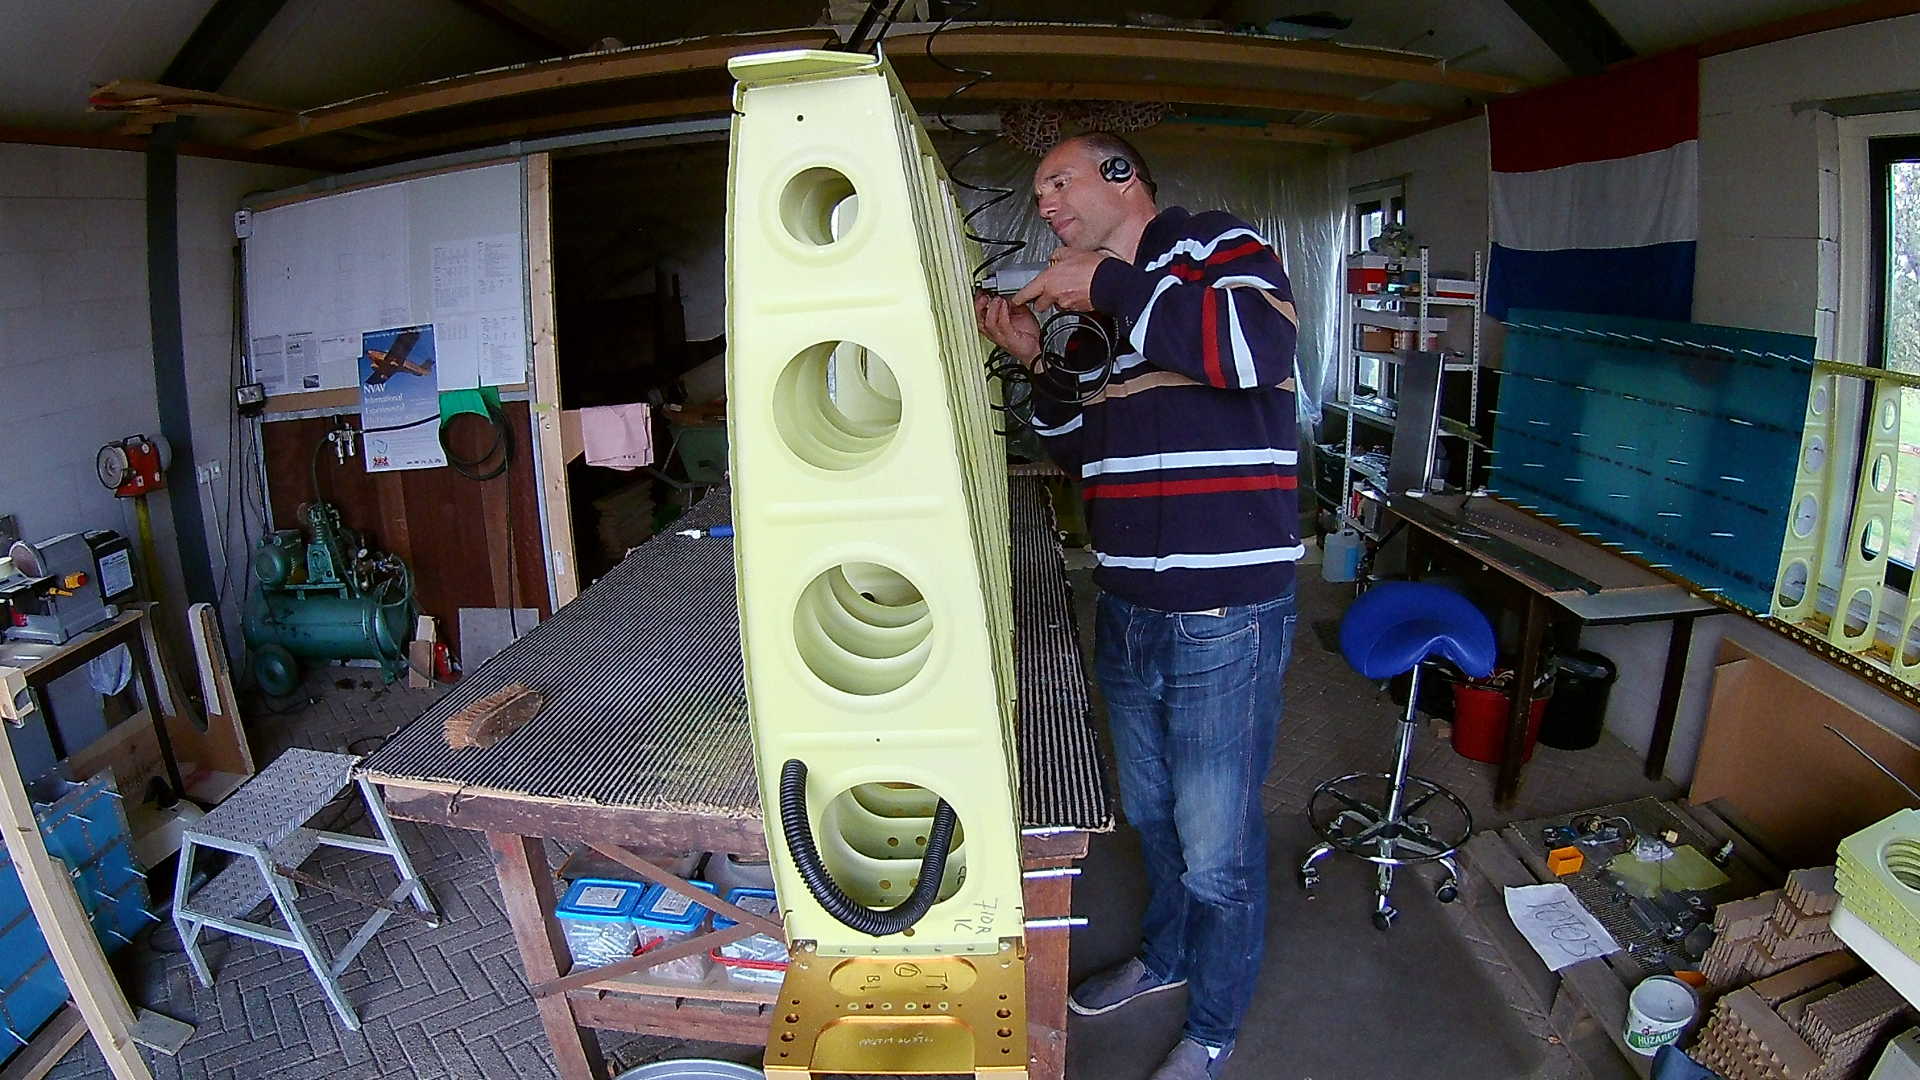
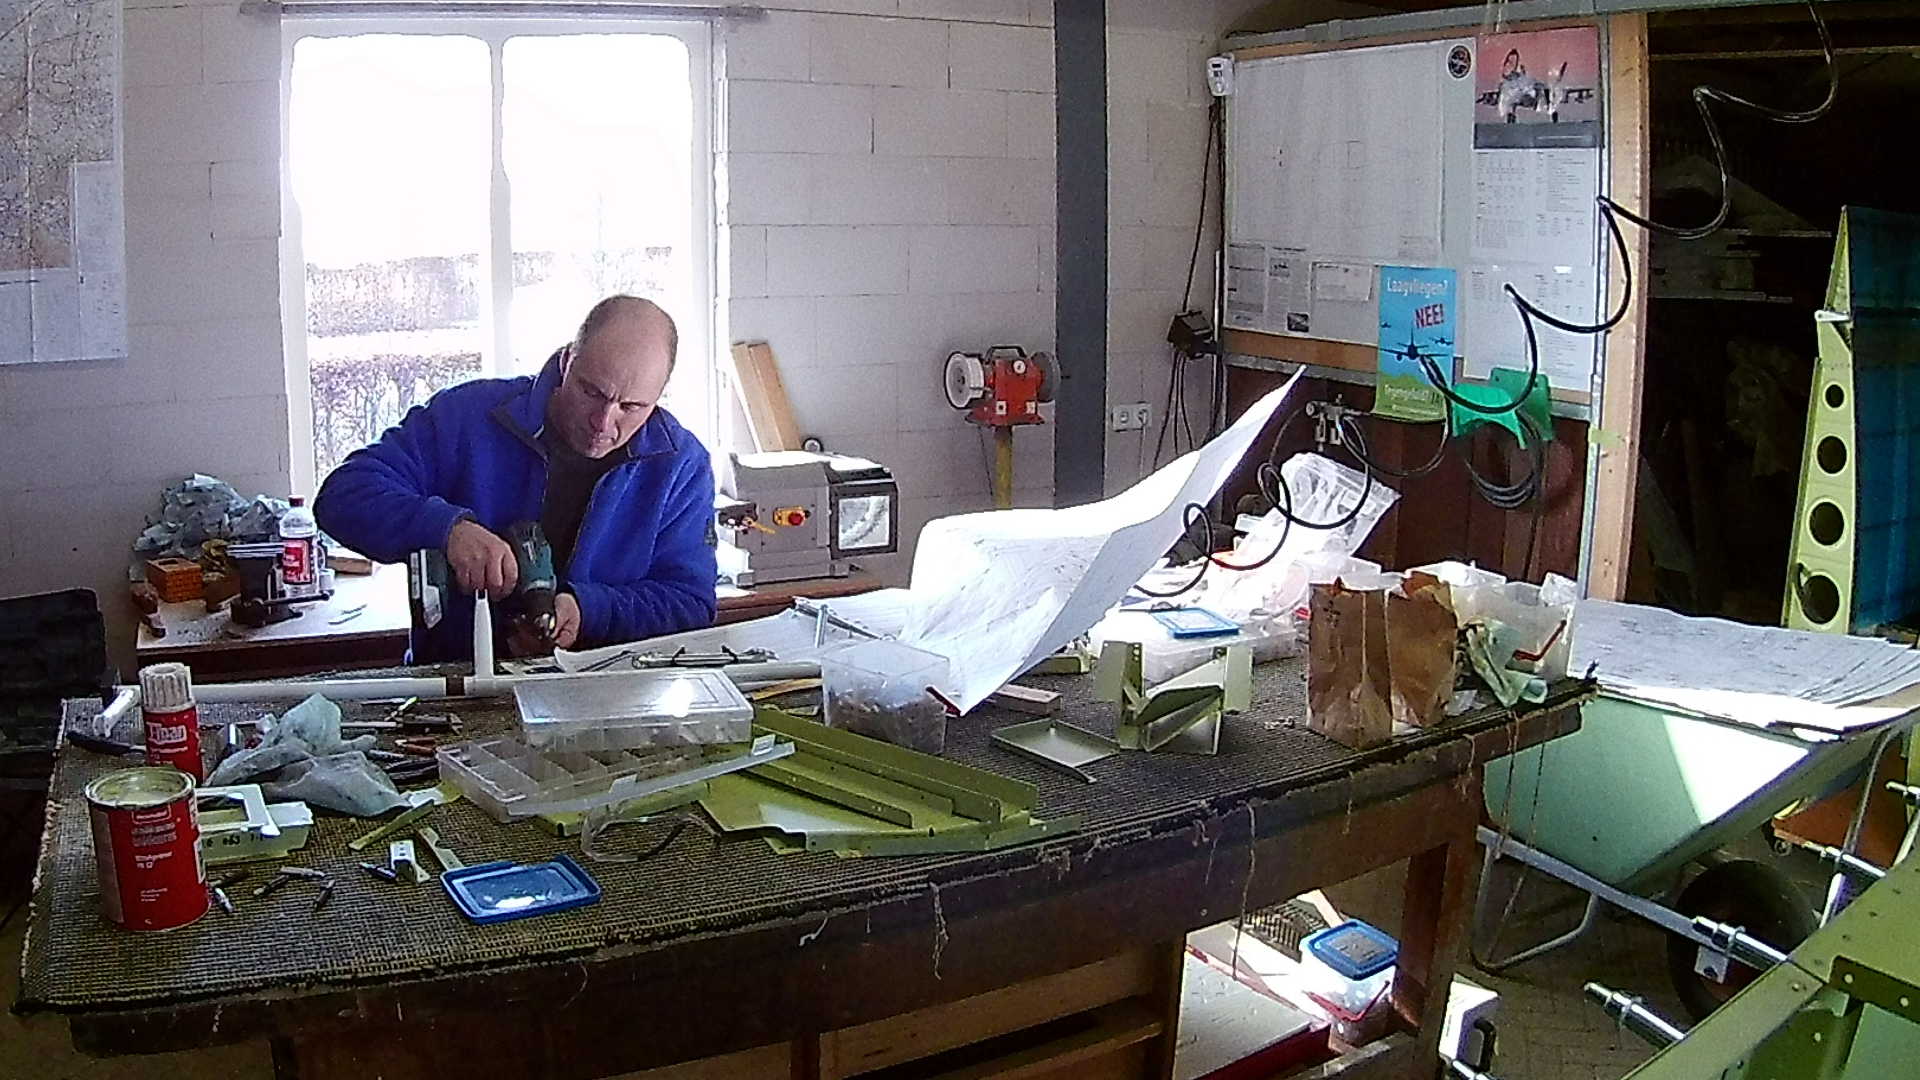
The piano hinge of the Seat-back brace can be riveted with the squeezer. Notice the lighting holes that reduce the weight.
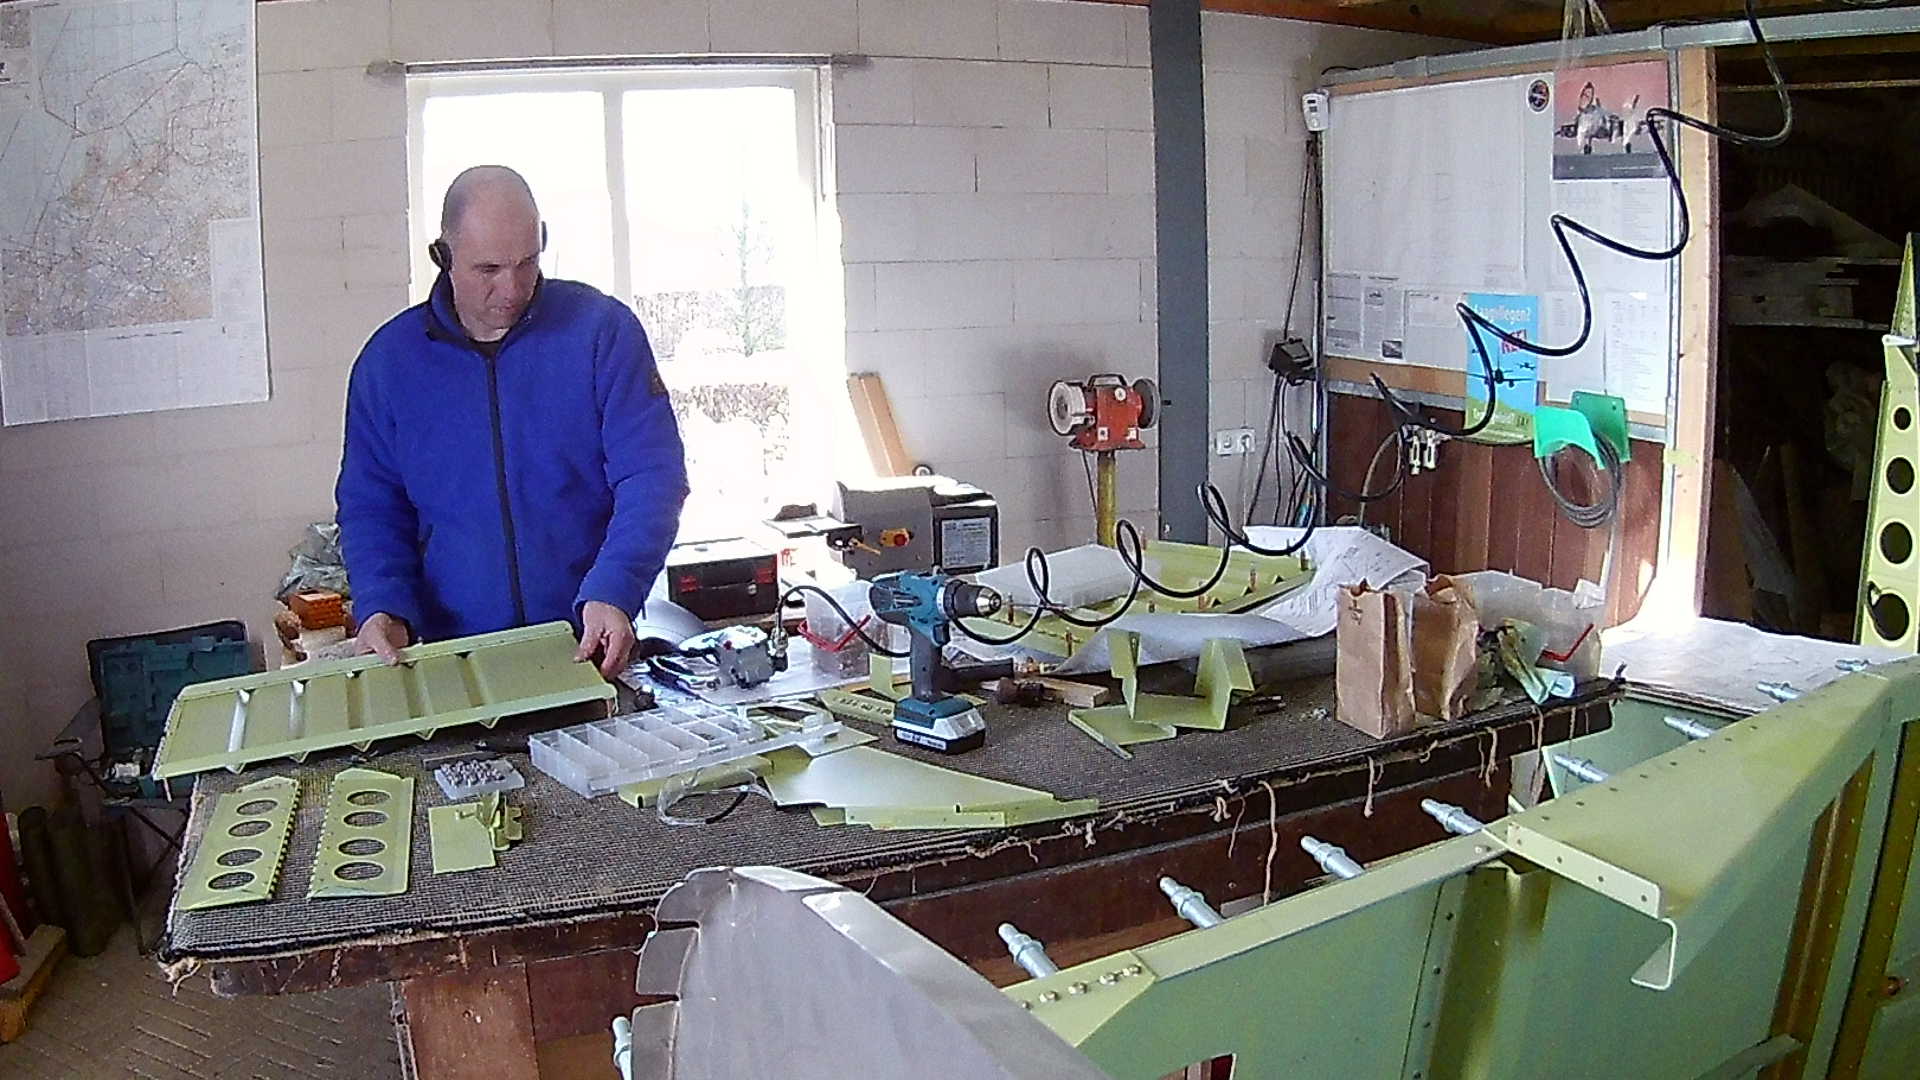
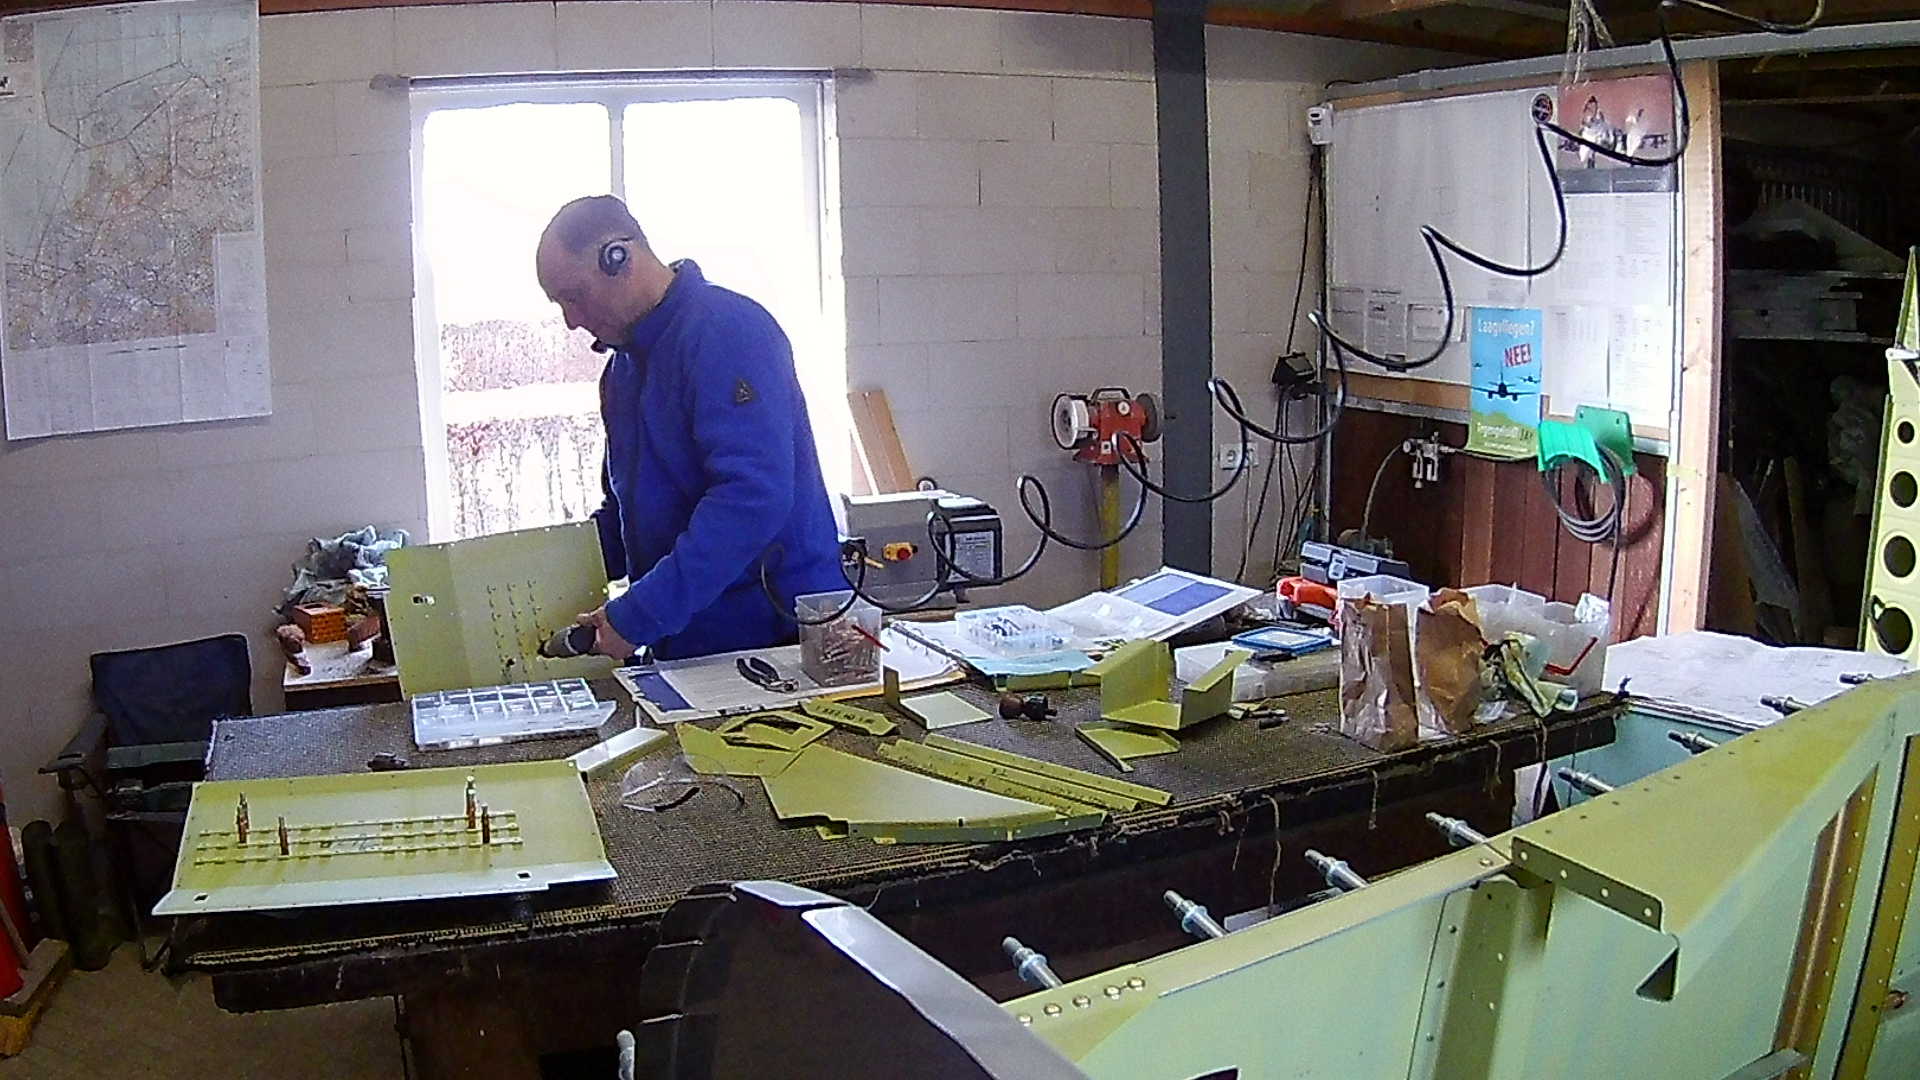
Now I can start with the actual Seat (back). The seat bottom is just the floor itself.
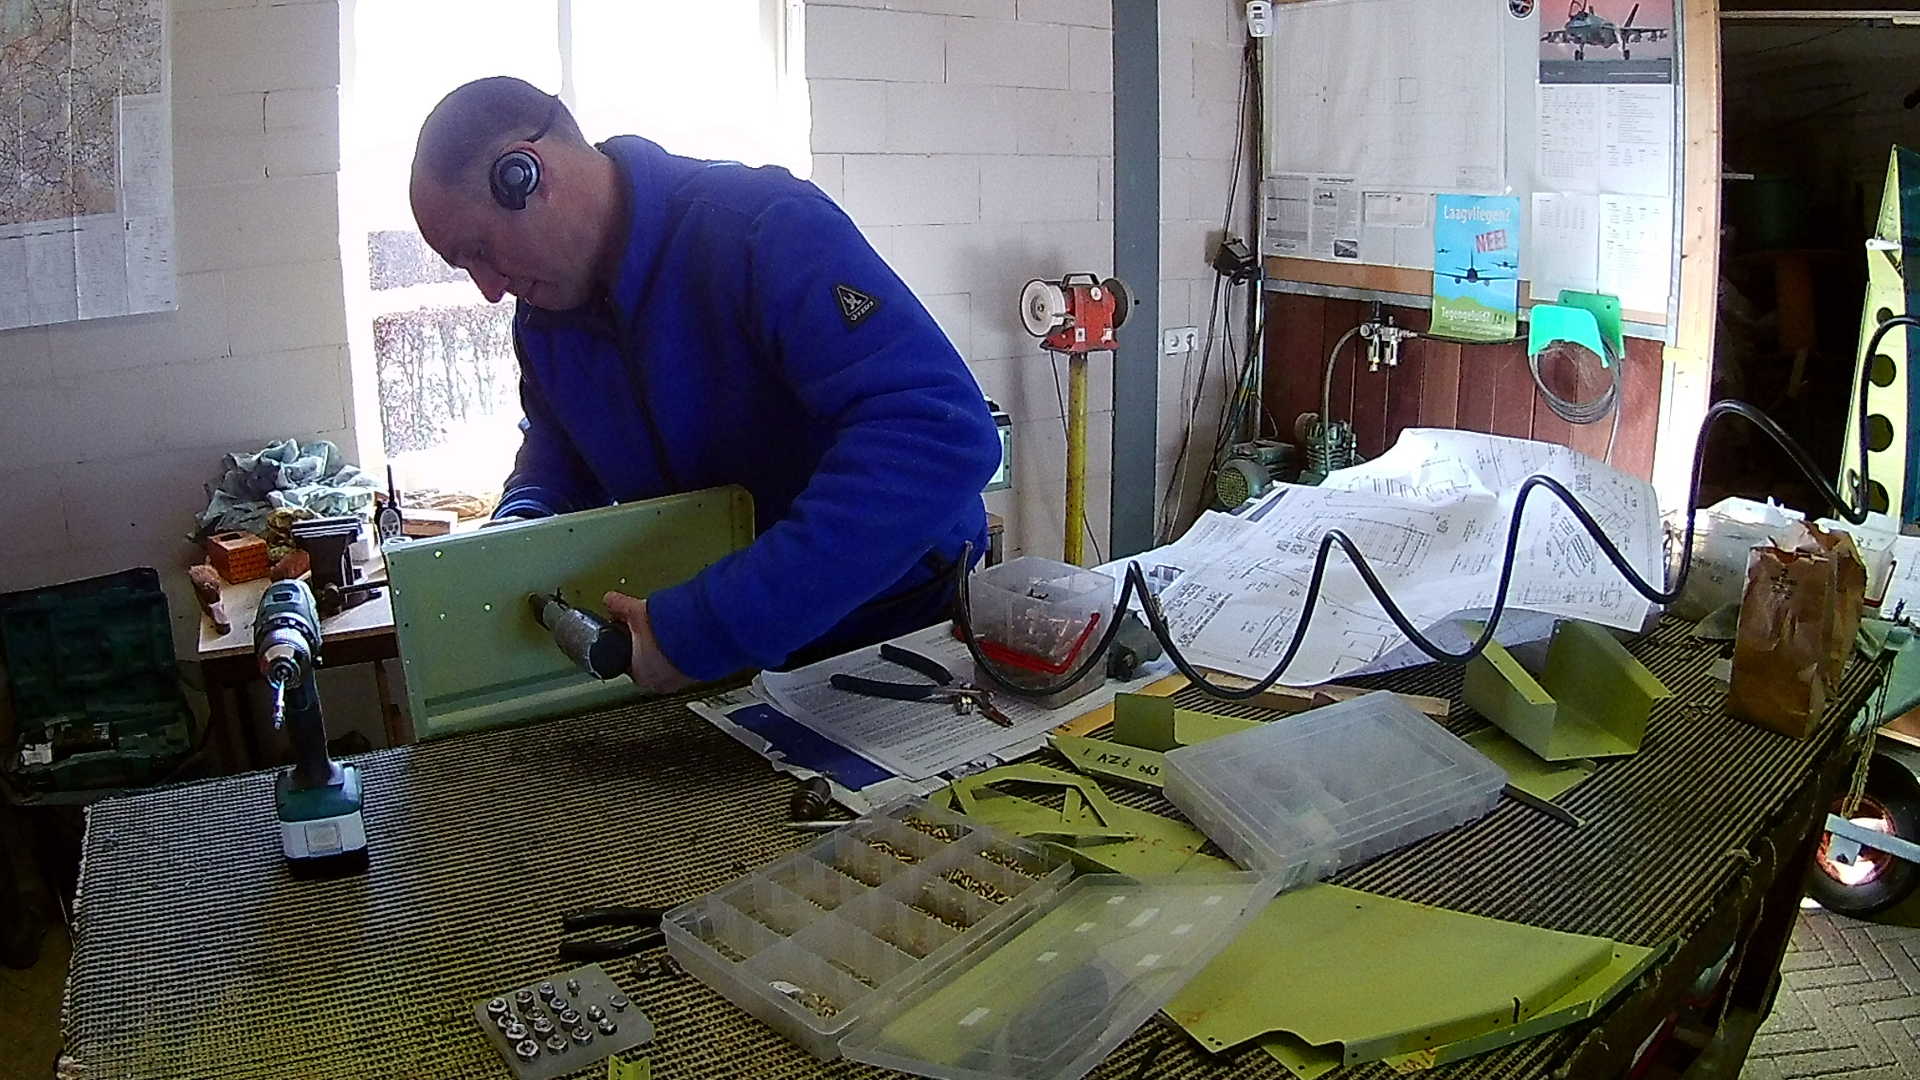
Most parts can be riveted with the squeezer, however the piano hinge part on the Seat-back and the top angle stiffener require the rivet-gun.
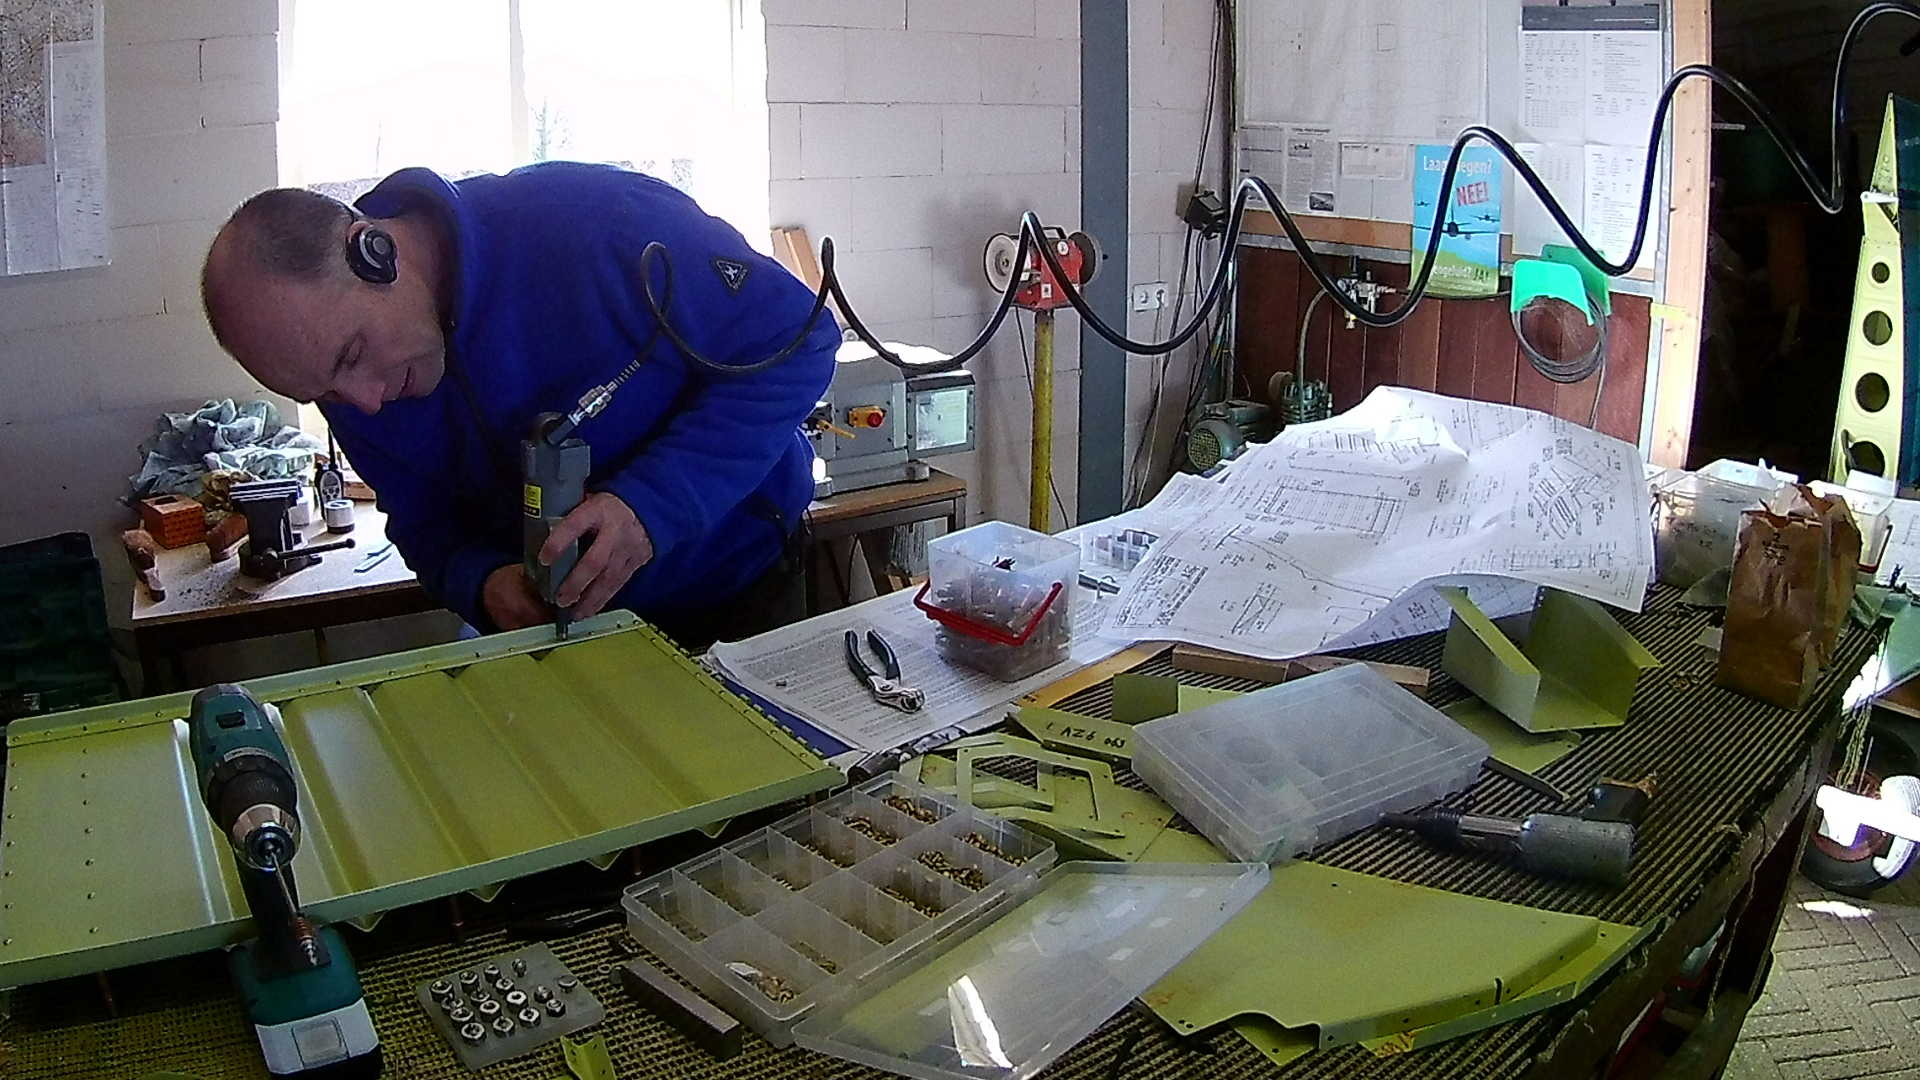
Every time when I work with the squeezer, I get instant joy. Sure it’s an expensive piece of tooling, but it pays of every Euro.

Inserting the piano hinge pin. I decided to add a little polymer kit on both sides to lock the pin up, but still be able to disassemble if necessary.
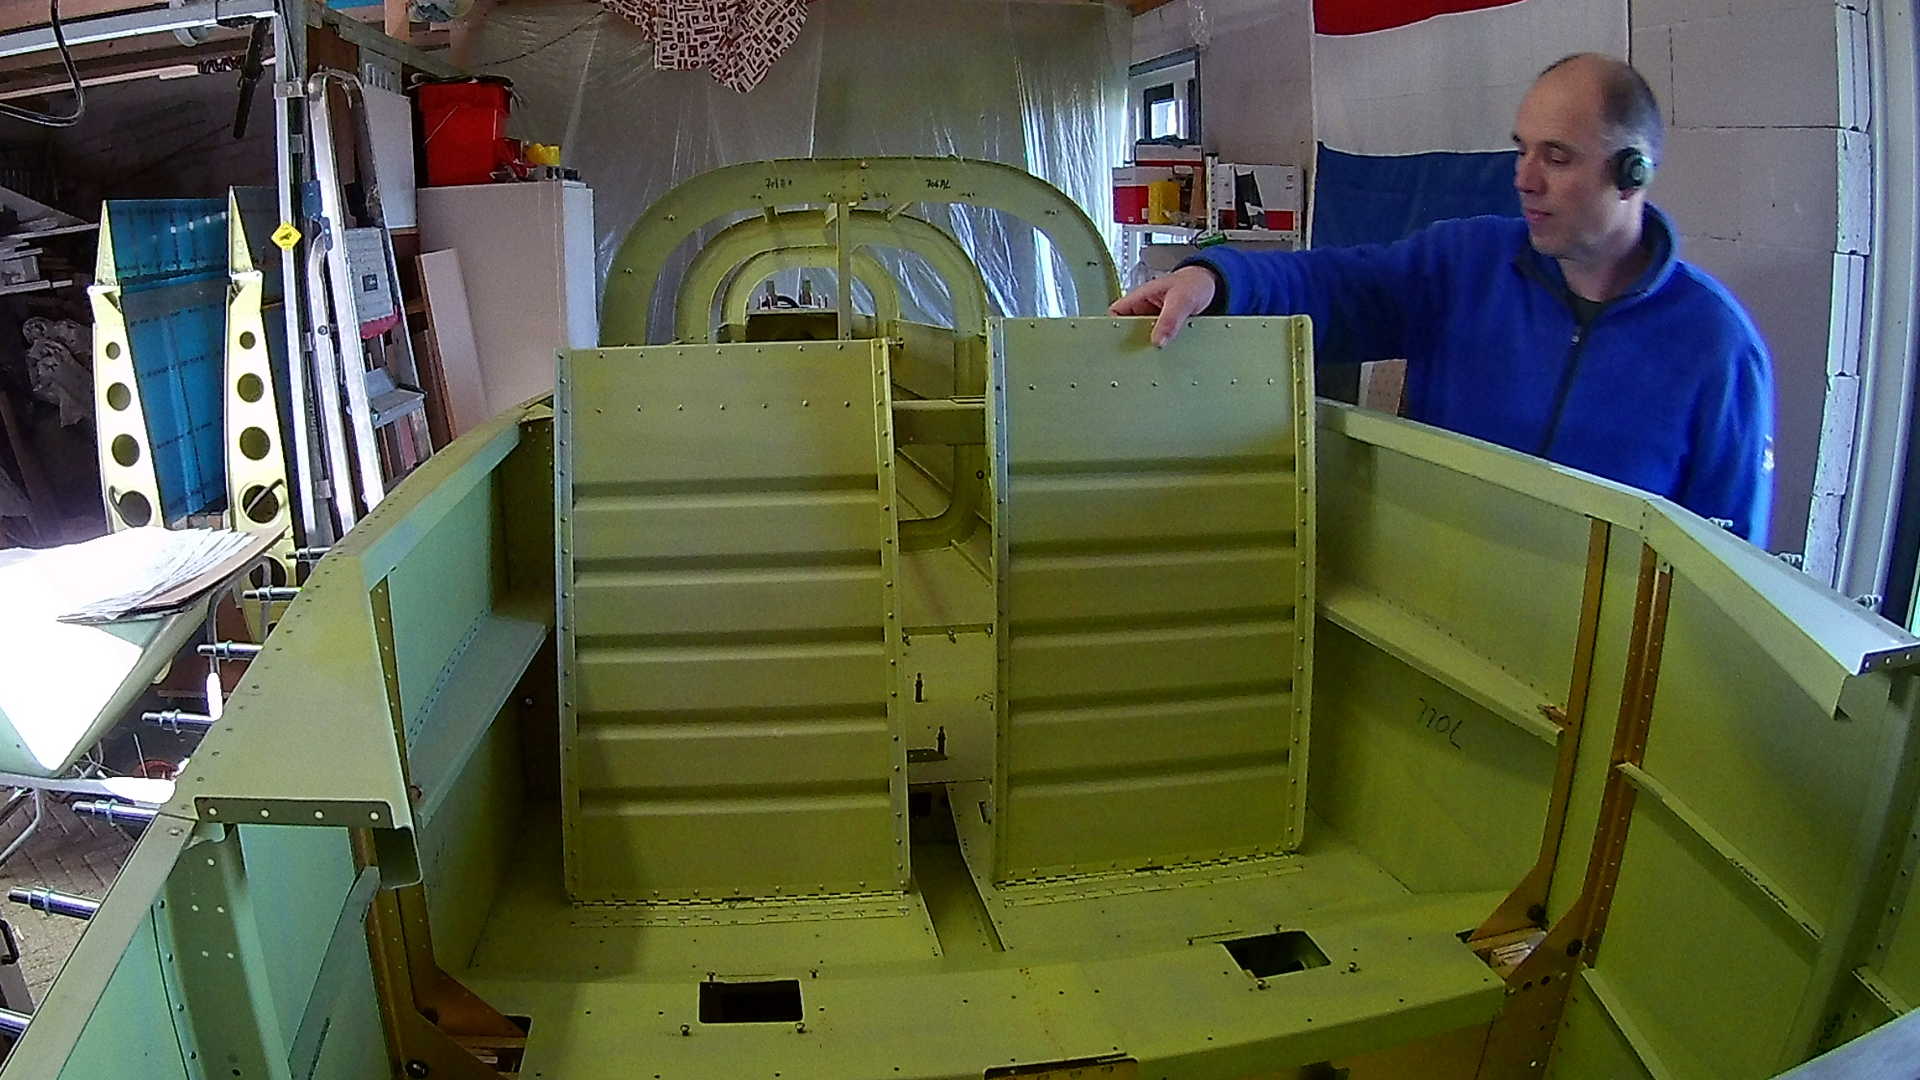
Wauw, the Seats really look great once installed. I’m very satisfied by how they came out. Now I can start thinking of the Upholstery of the Seats.
The mid channel cover will be placed between the seats and covers the forward part of the elevator pushrod channel. The aft part is covered by the Flap motor casing.
All these parts need to be removable later, to enable access to the pushrod. So all these holes have platenuts and the parts are screwed to the Fuselage.
I have to drill a very small hole in the Flap actuator rod, to enable safety wiring to be installed. Safety wiring prevents rotating parts to come loose.
With the Flap motor and actuator arm connected to the Flap push rod (or whatever that is called), I can now install it in the Fuselage.
Time: 6 Hours, Rivets: 285/0 (2020-02-05)
Video