
Based on the discontinued Hanger Banner from Experimental Aero (they were so kind to send me the hires template), I created my own Hangar Banner and use it in the workshop.

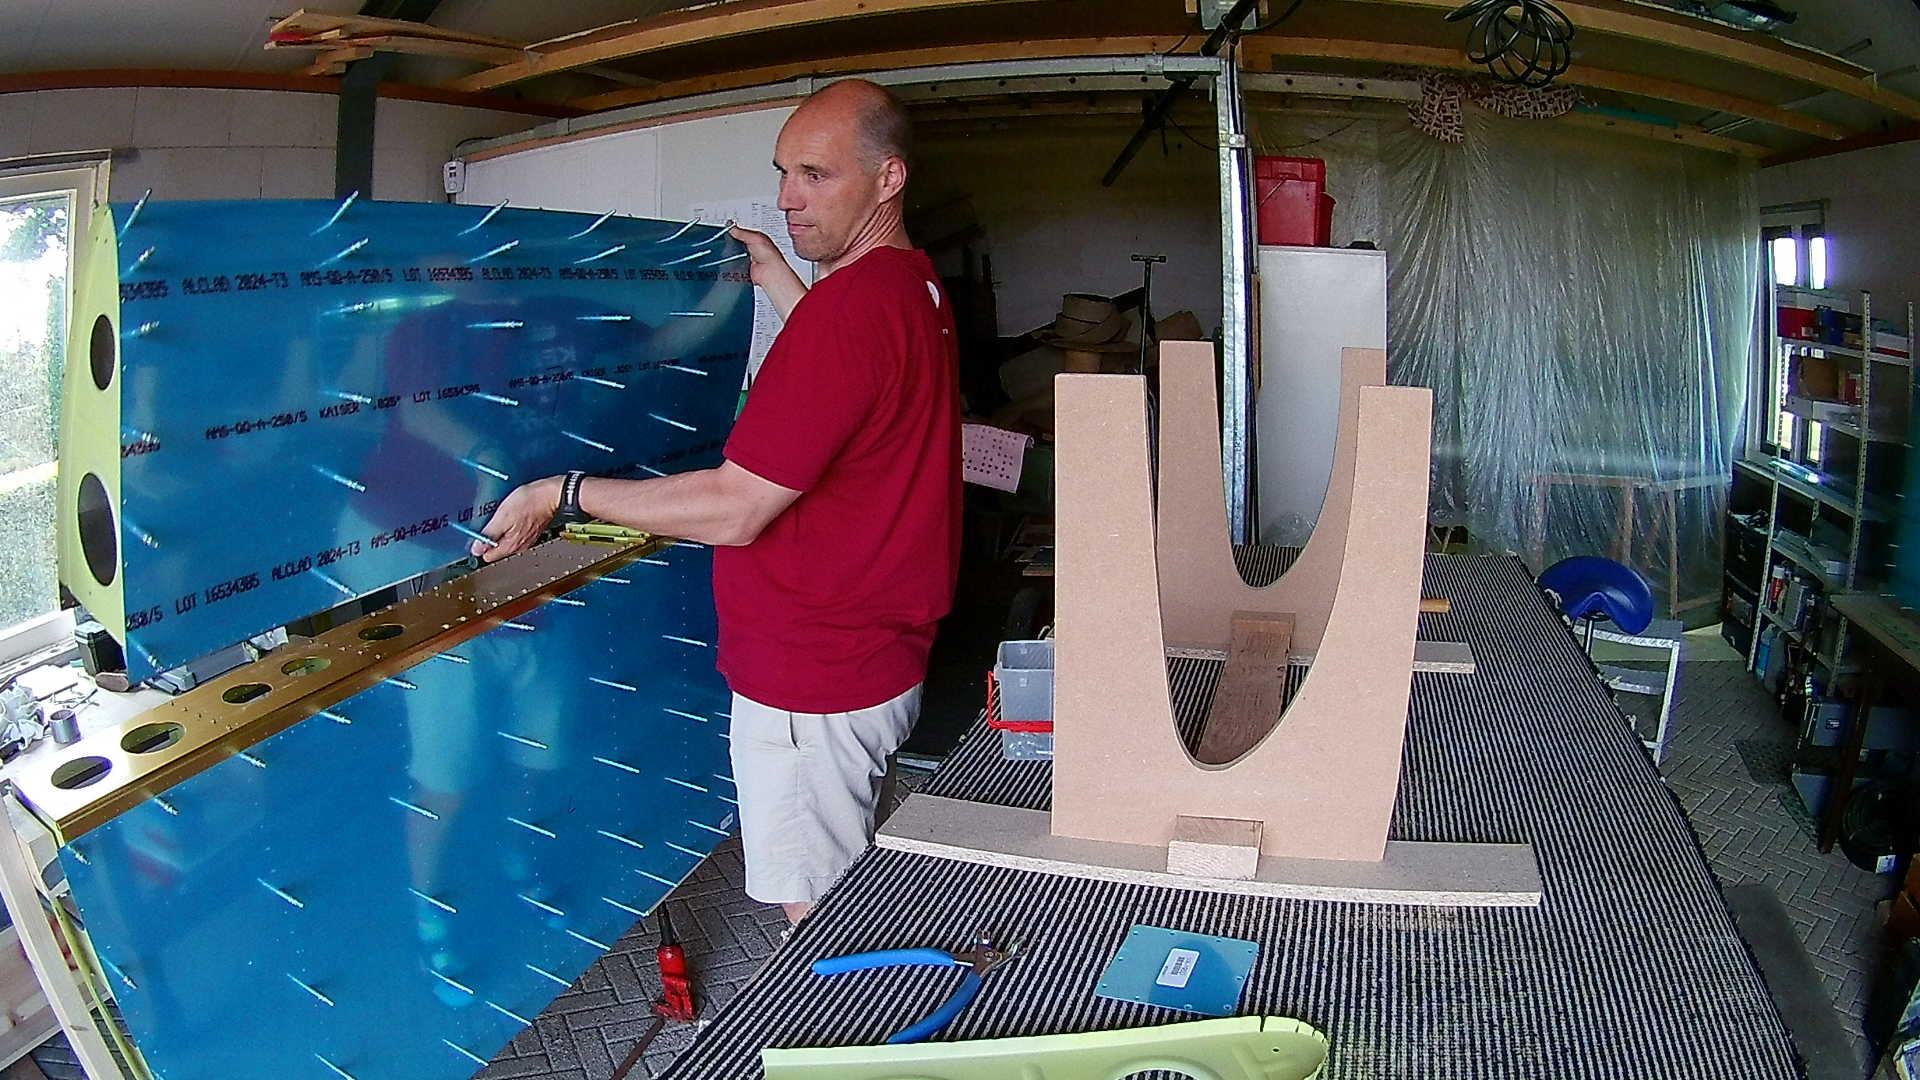
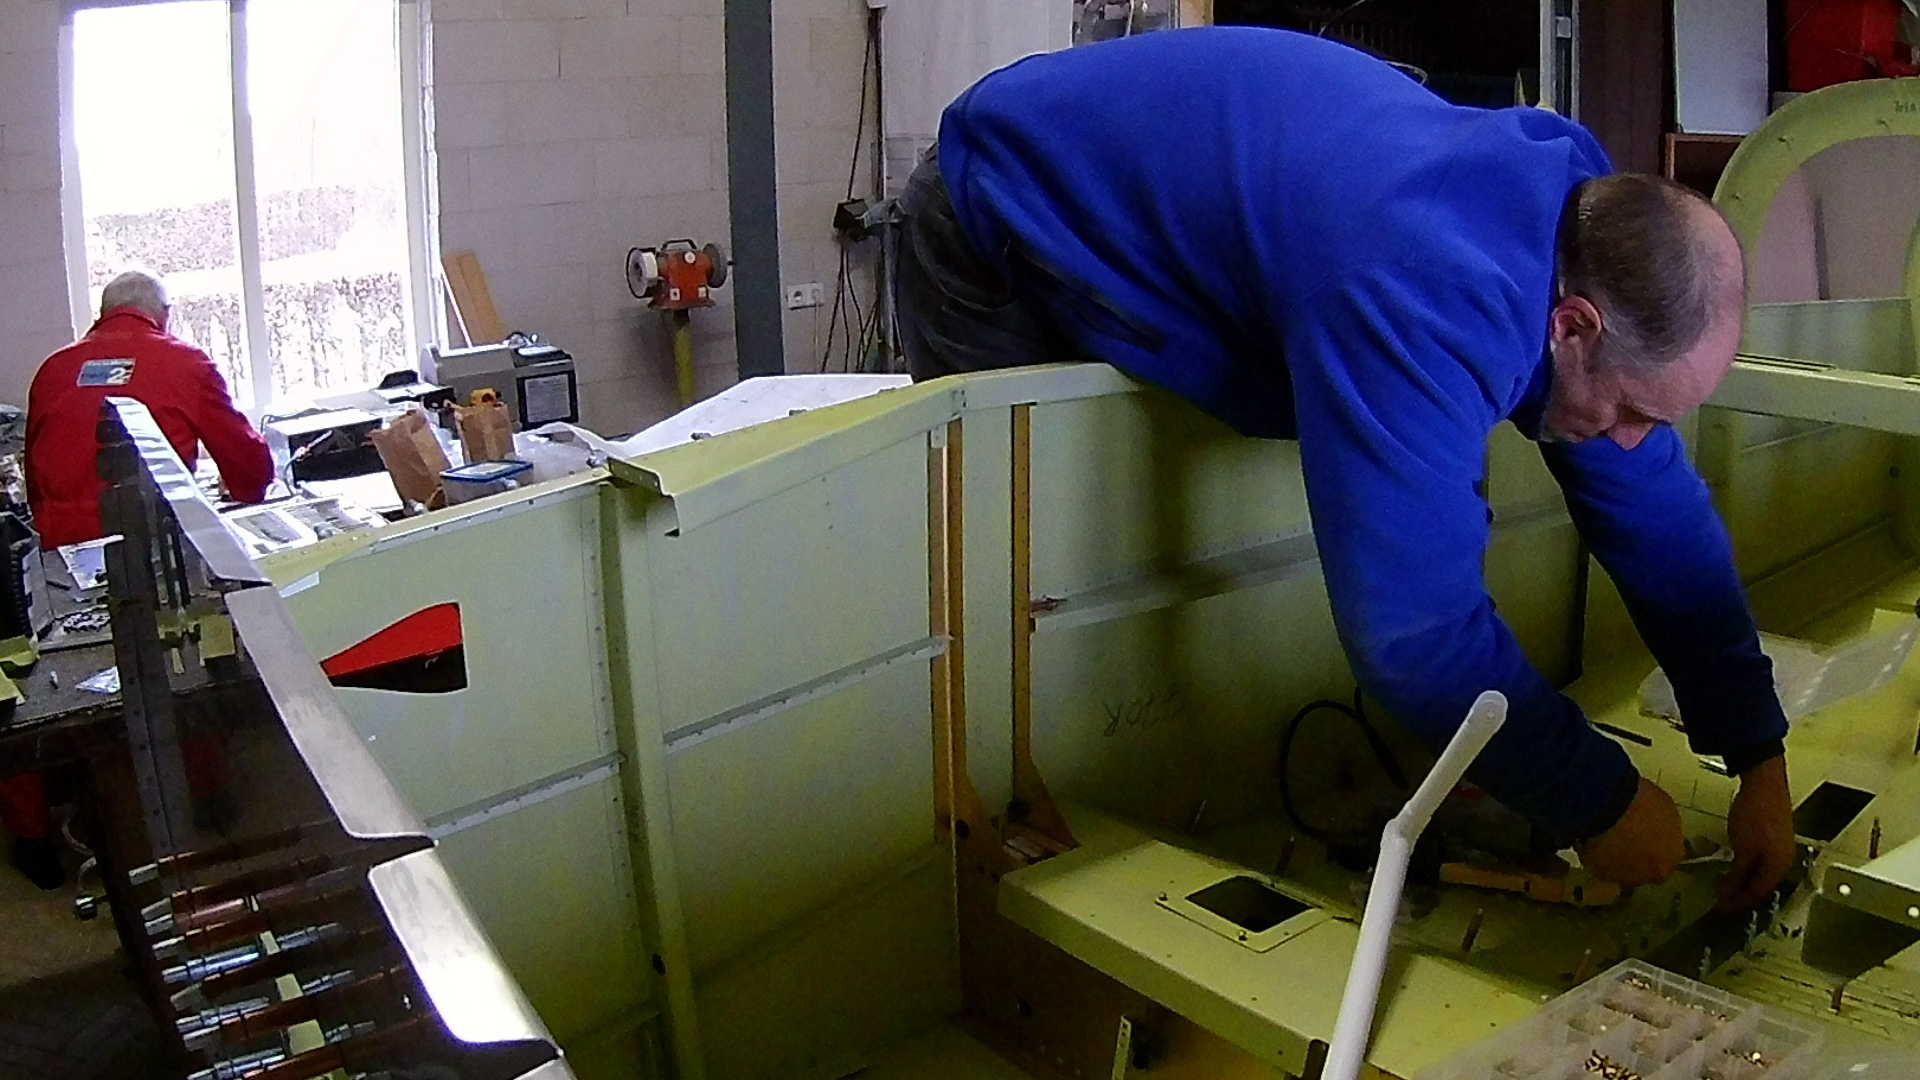
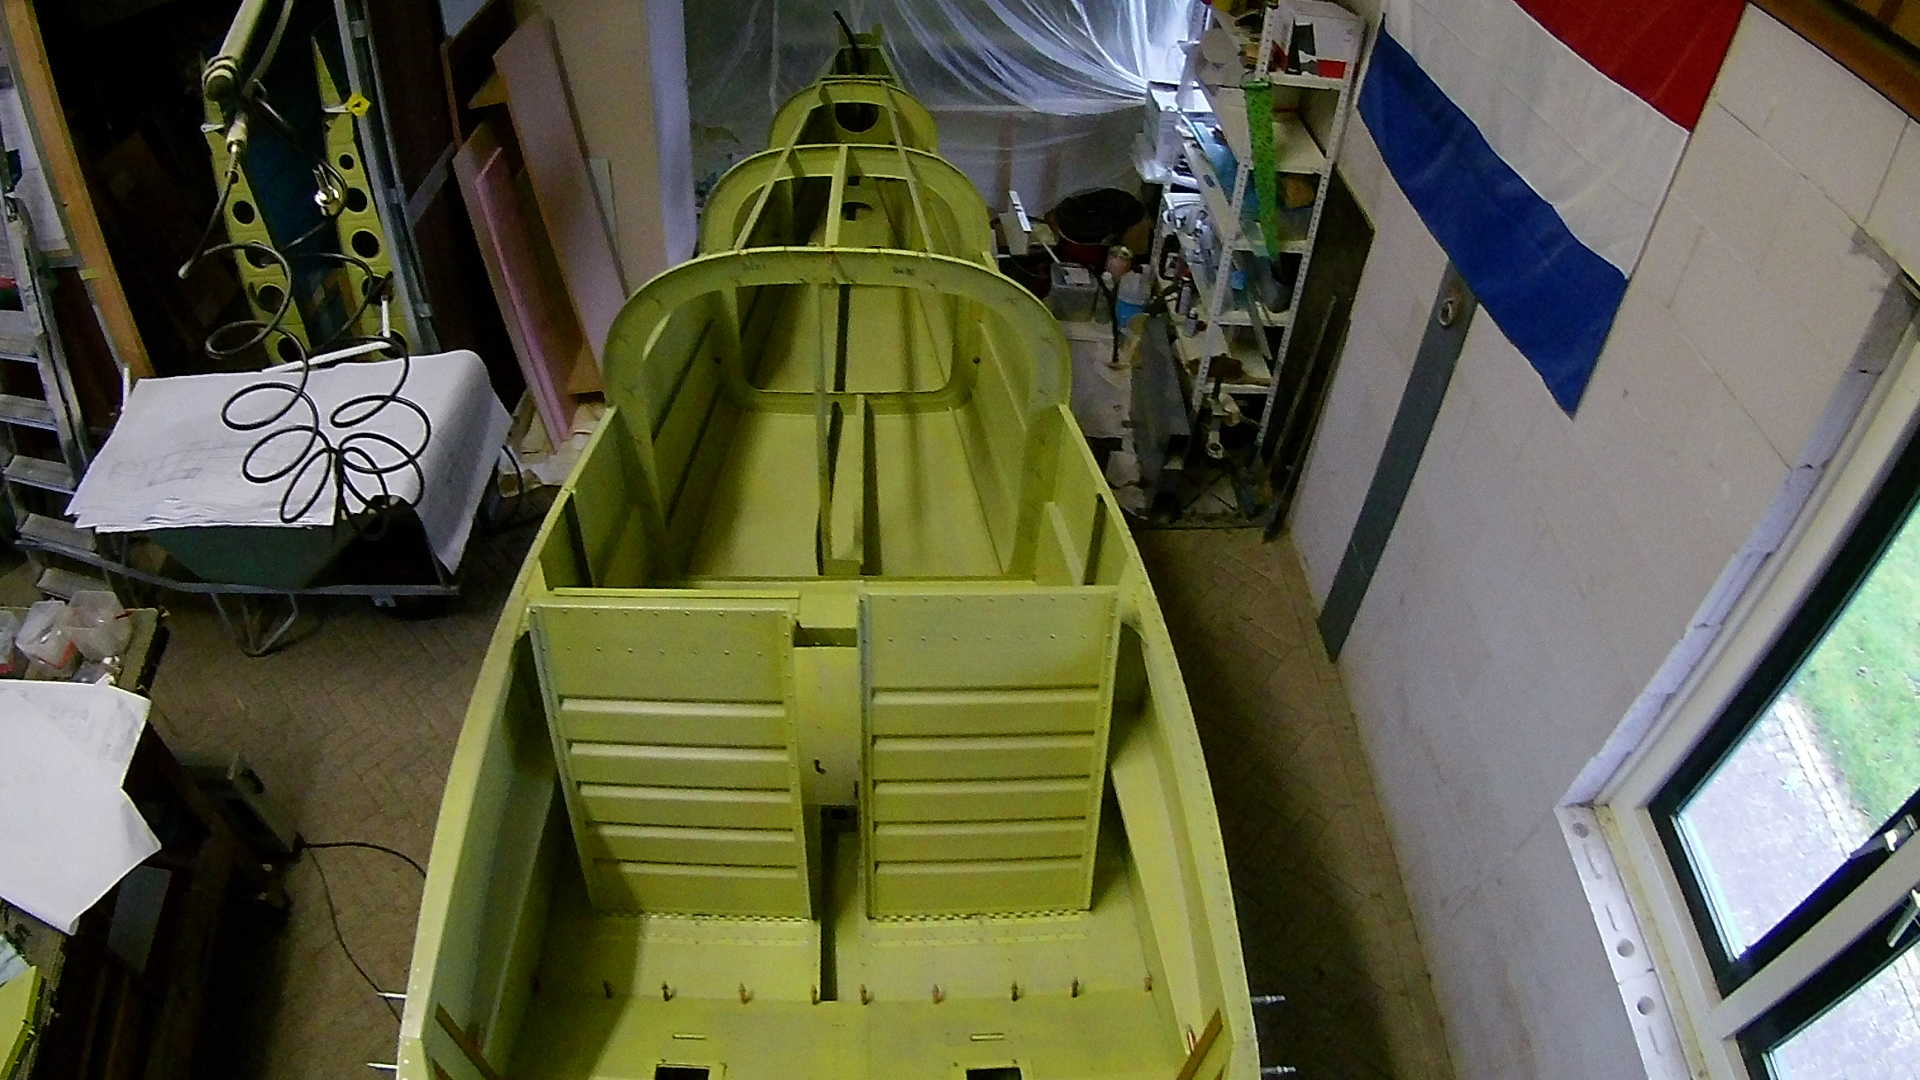
Back to building; The Baggage Floor is riveted to the floor ribs with blind rivets (better known by a former brand name: pop rivets).
However the side at the push rod tunnel consists of nutplates being flush riveted together with both the rib and the floor plate. This is a great solution and it provides the means to screw the tunnel cover (and remove it later).
The rest is all blind riveting.
The Seat Floors are fastened similarly. The side is attached together with the nutplates, the rest is again blind riveting.
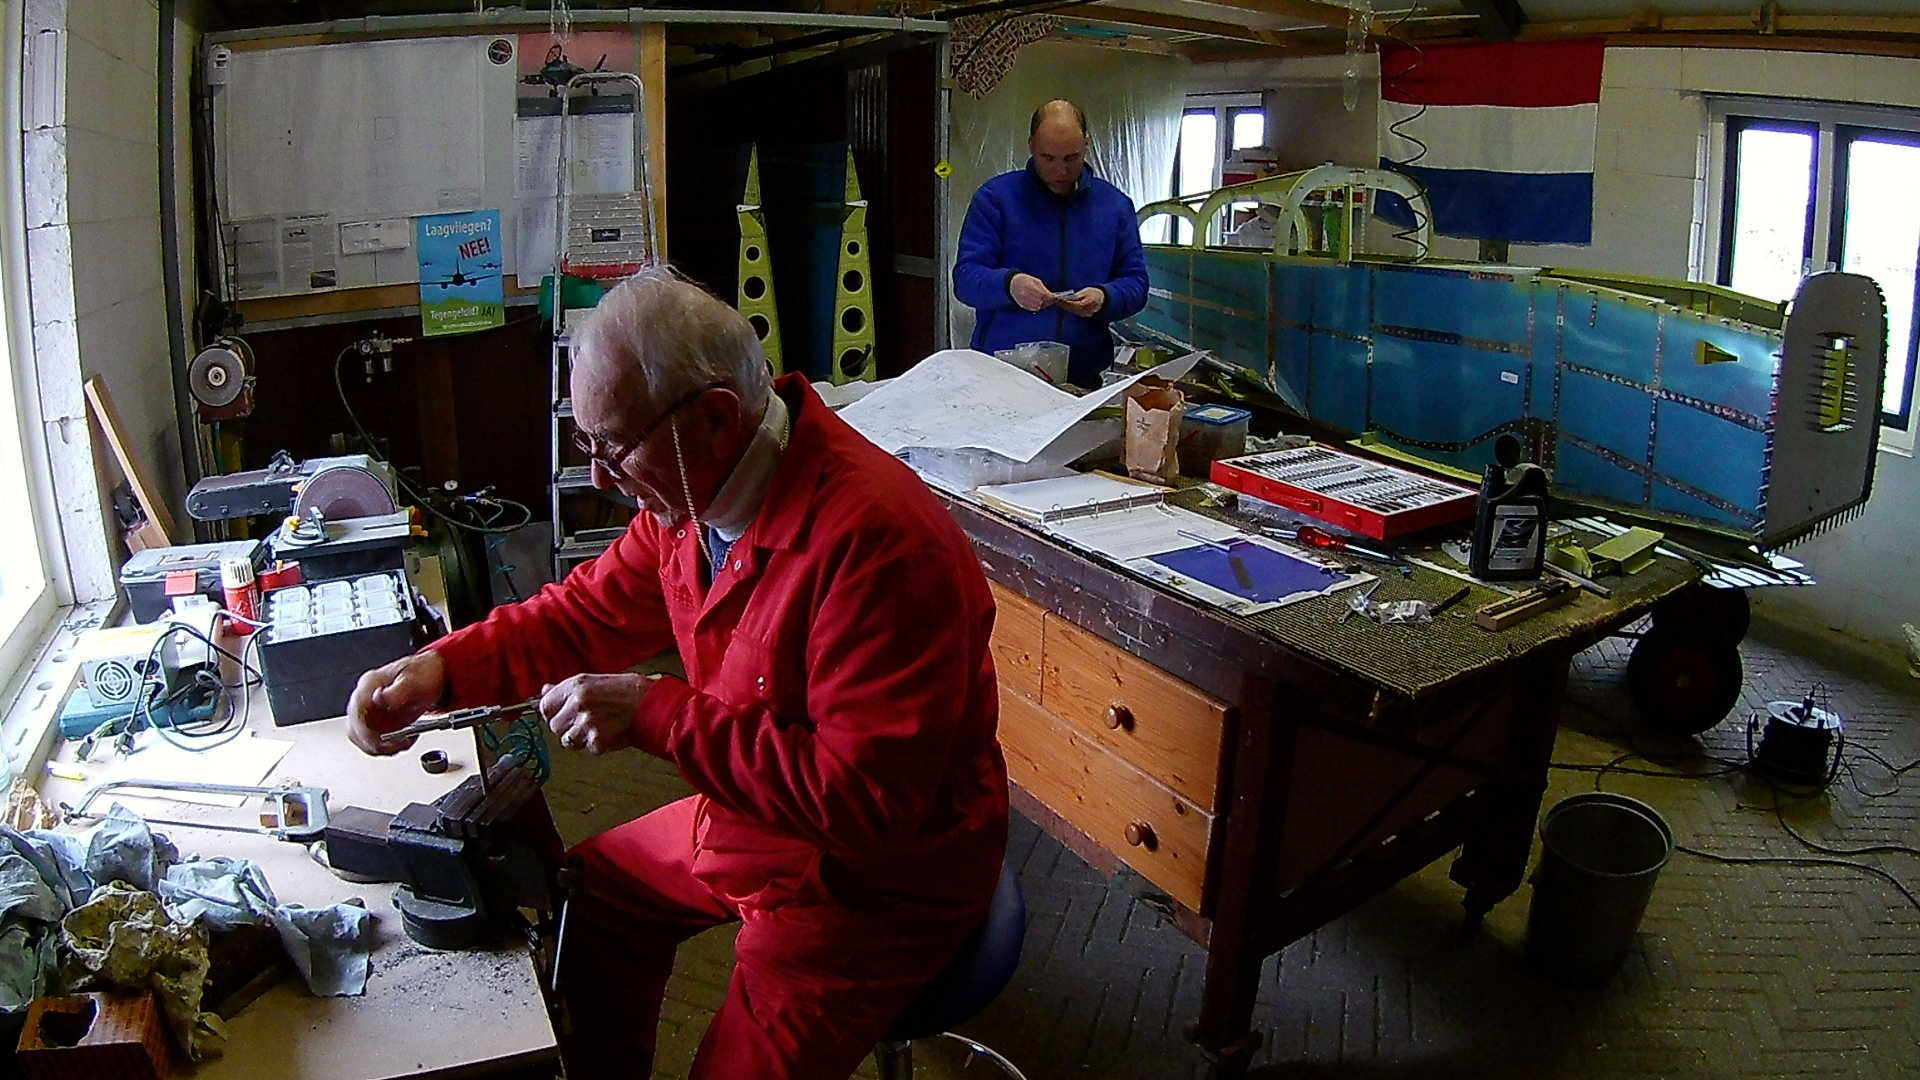
While I’m working on the Floor plates, my dad is threading the push tubes for the Flaps.
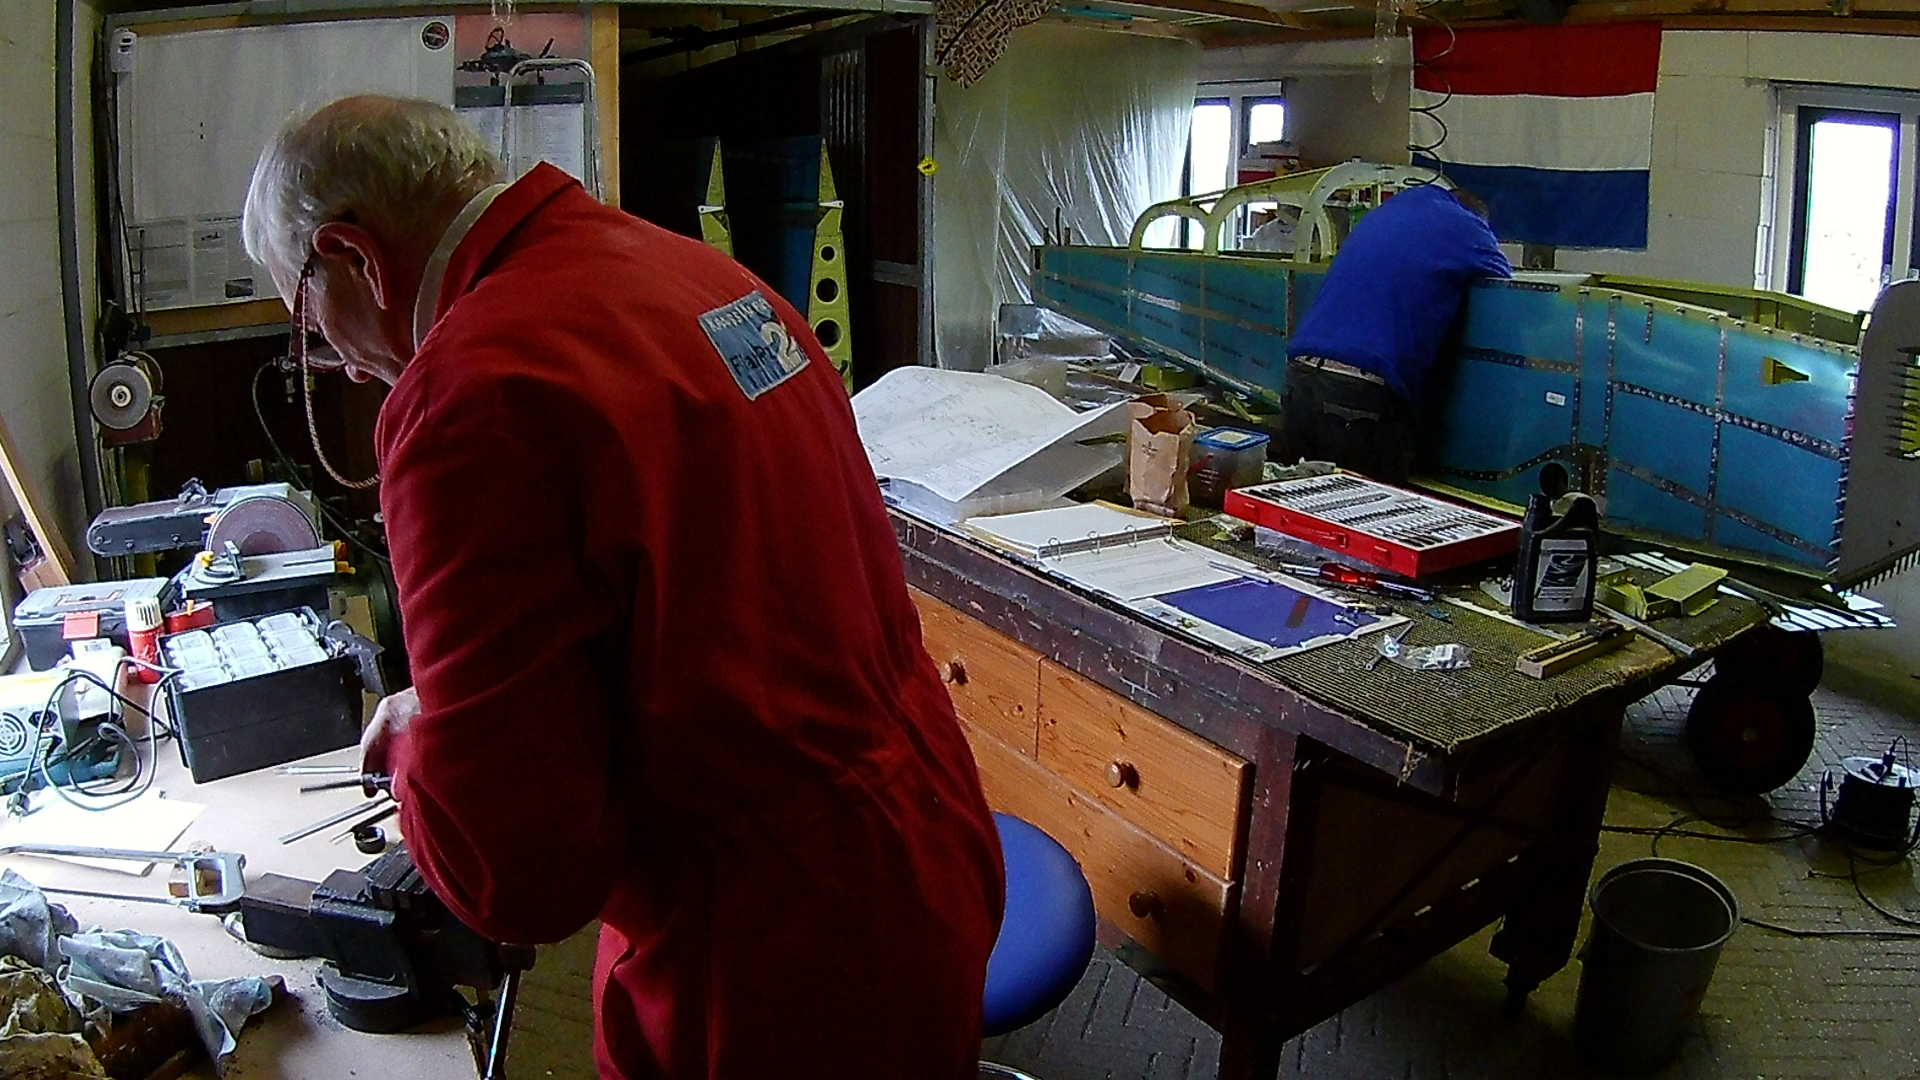
Those are made of Aluminum tube and you have to thread these on both sides yourself, so you can screw the eyebolts of the Flap actuator and the flap itself in there.
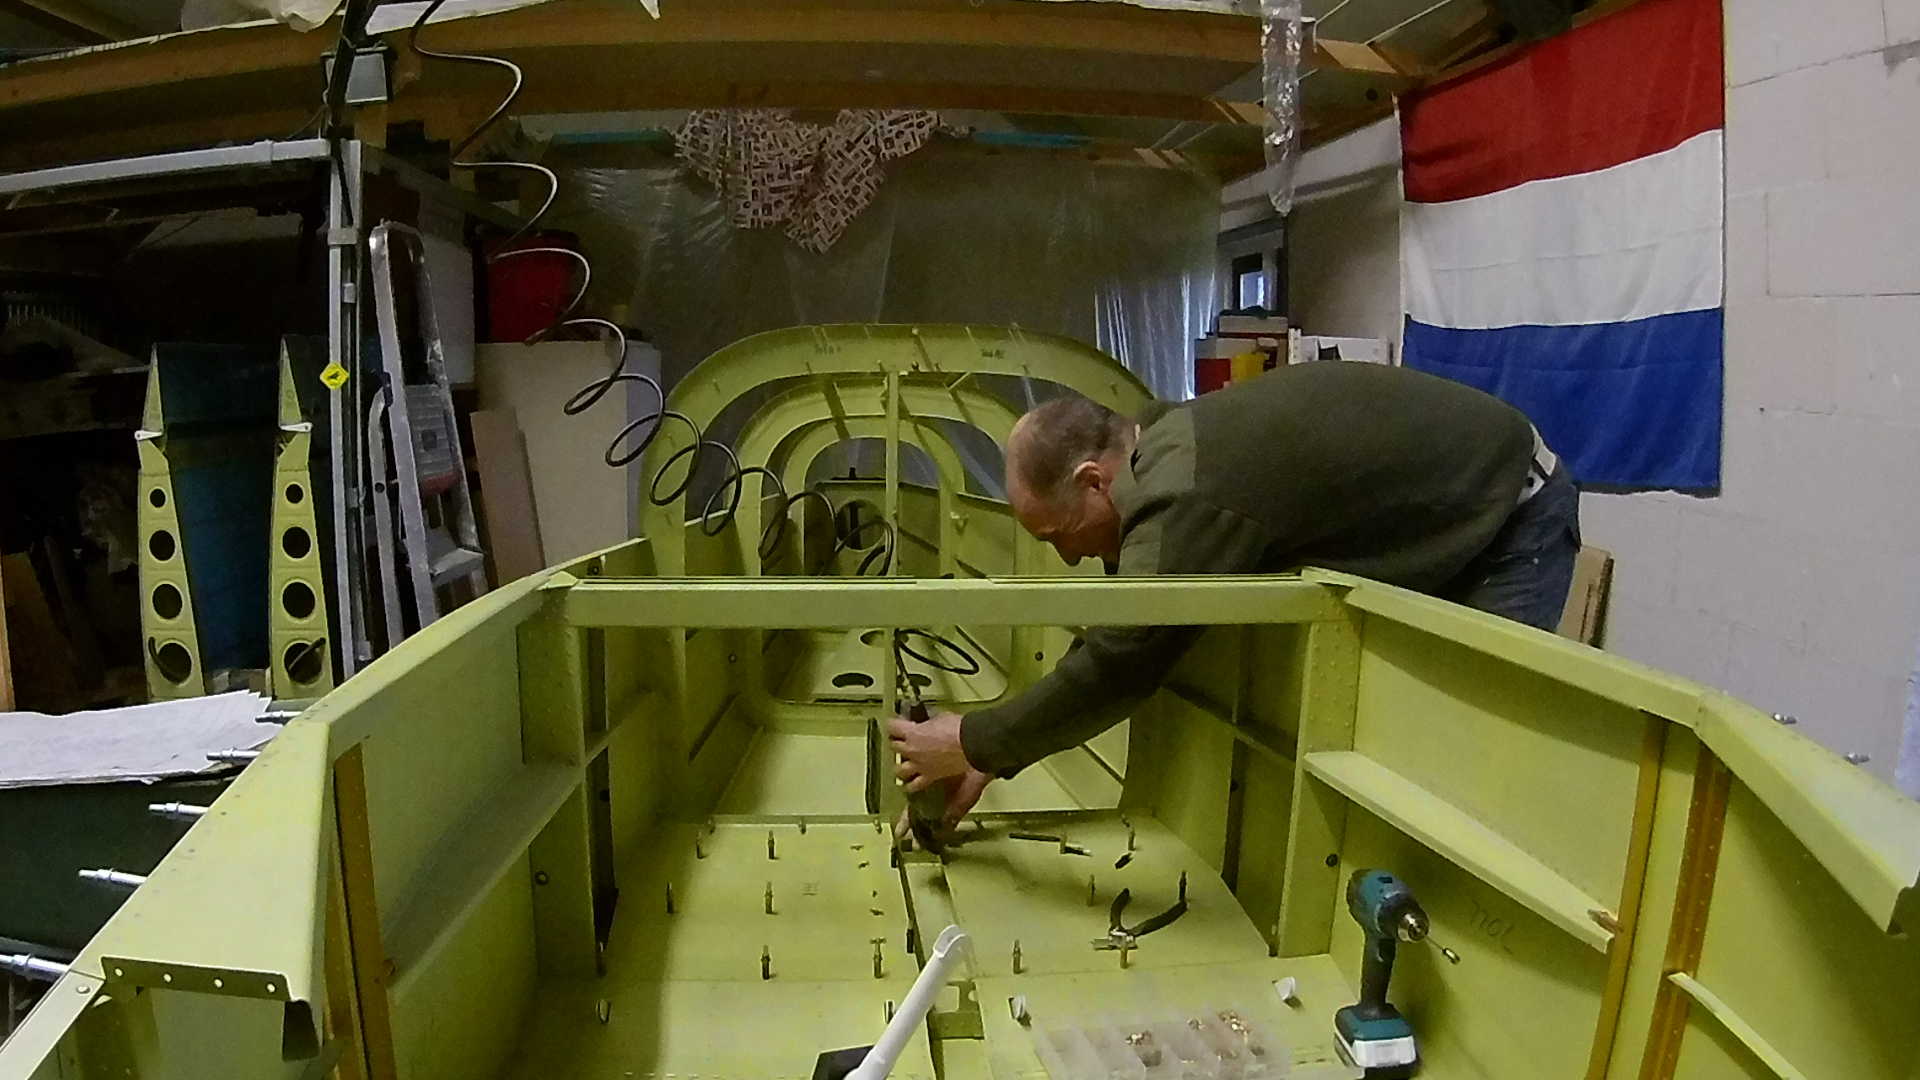
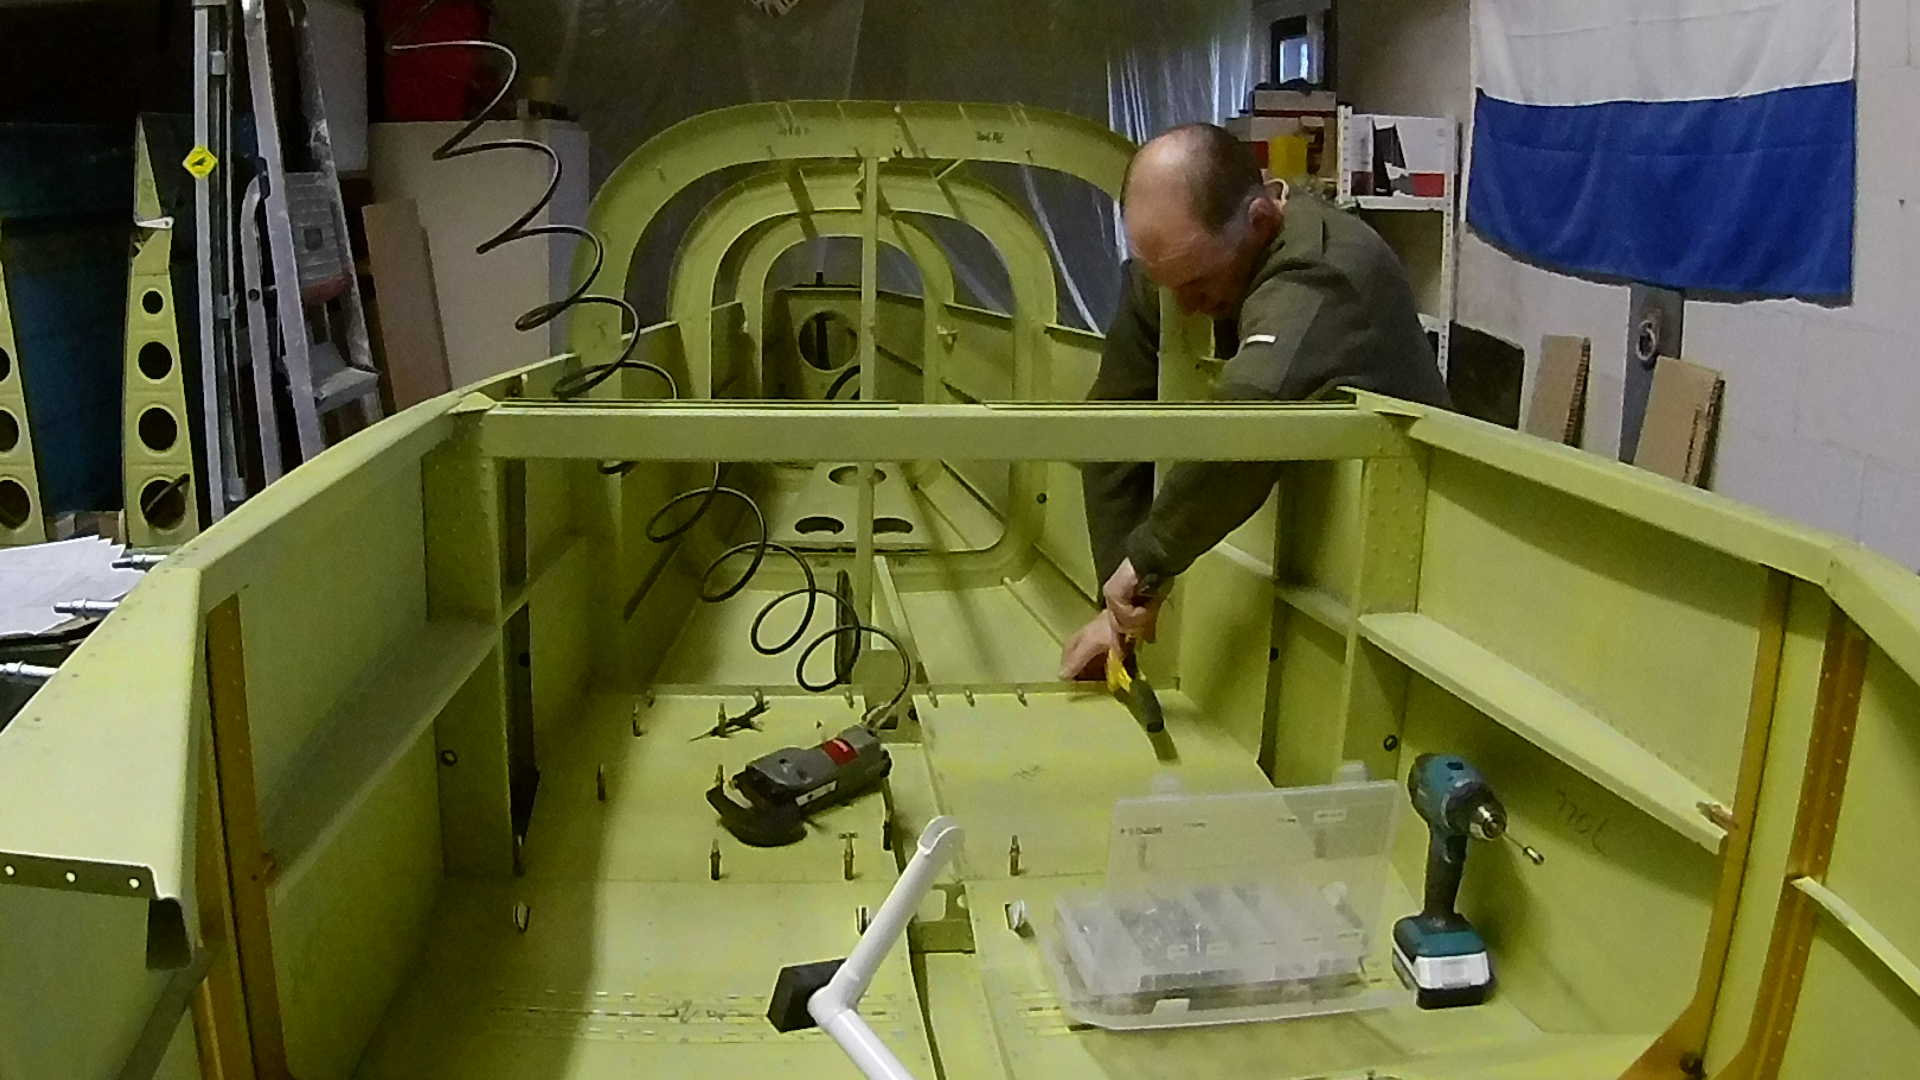
Special care is taken when riveting the Baggage Floor, Seat Floor and Seat Bulkhead together. These rivets are hard te insert, as they construction might be ever so slightly different than when drilling.
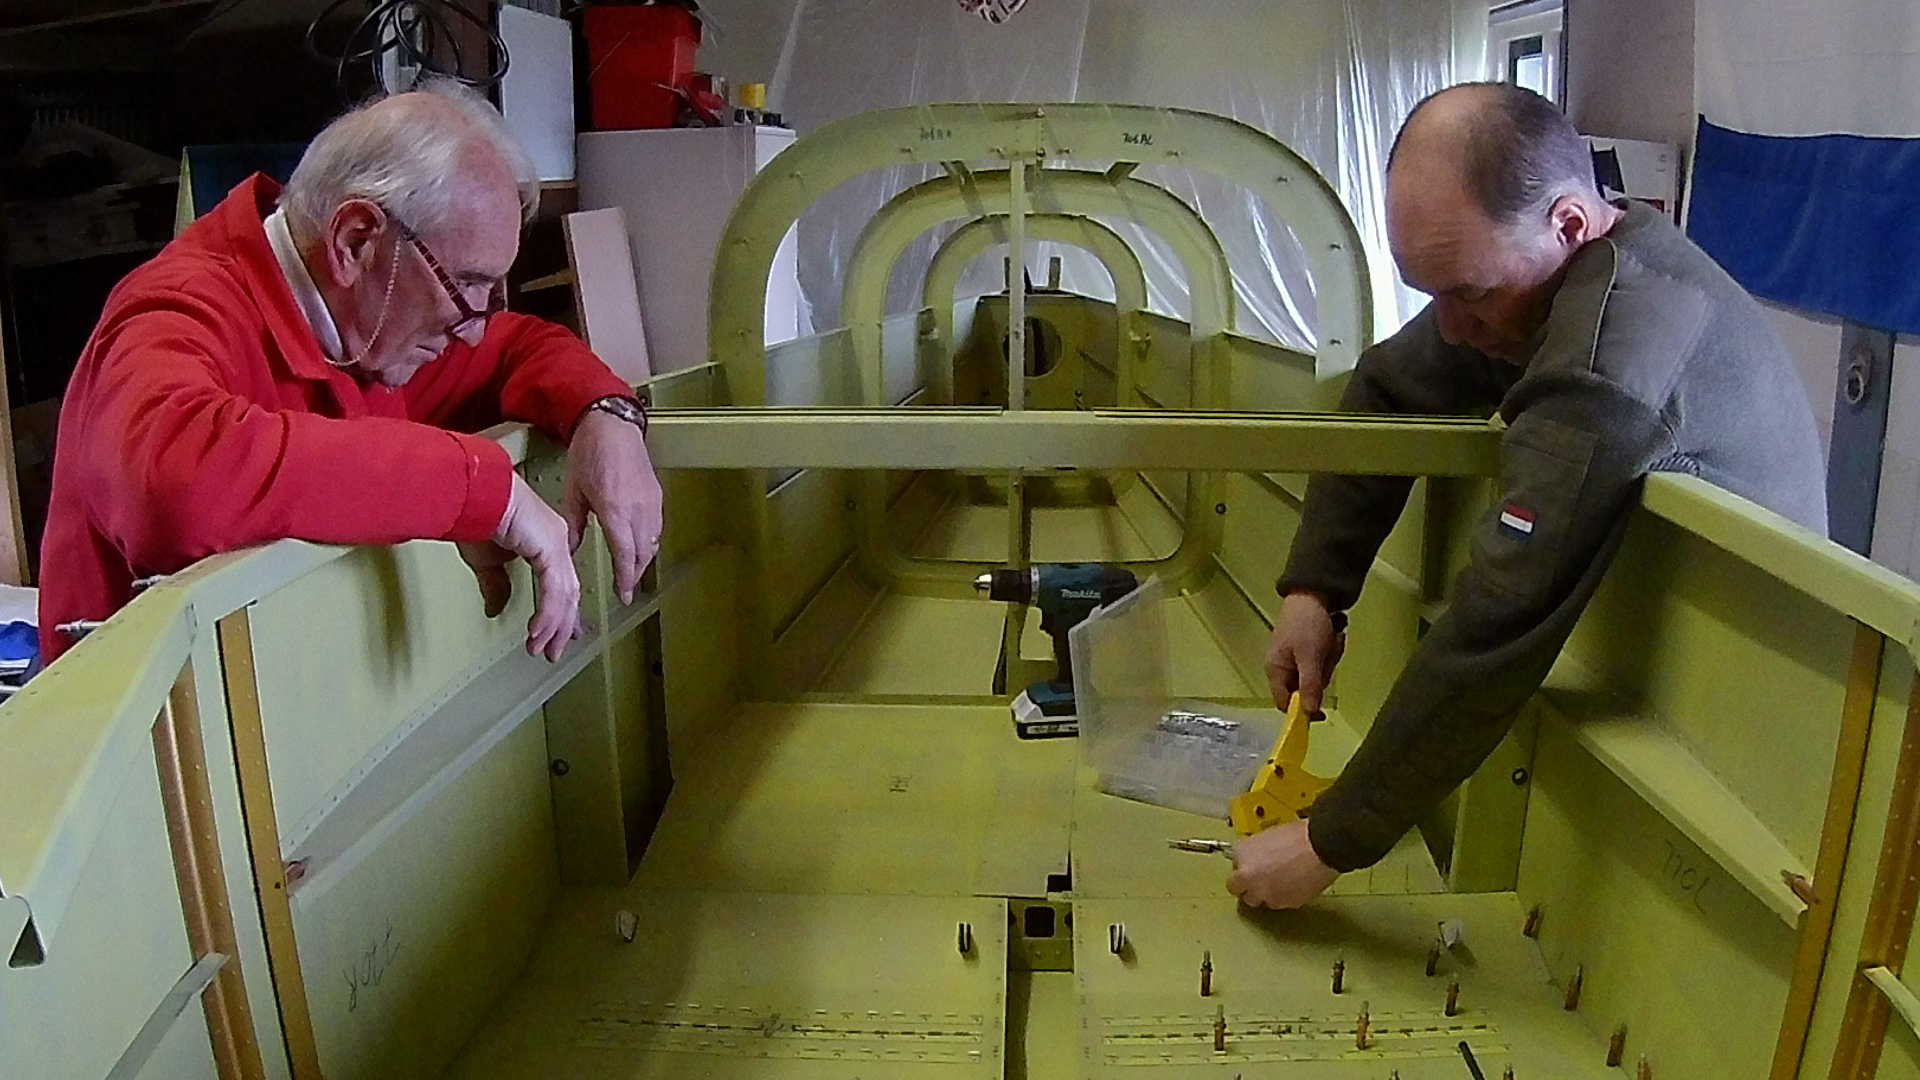
A bigger problem is the gusset of the RV-7 (tail wheel) that connects the Main Bulkhead to the Forward longerons. This just doesn’t fit and checking with others it turns out to be “typical”. Takes some time and ingenuity to get it fit.
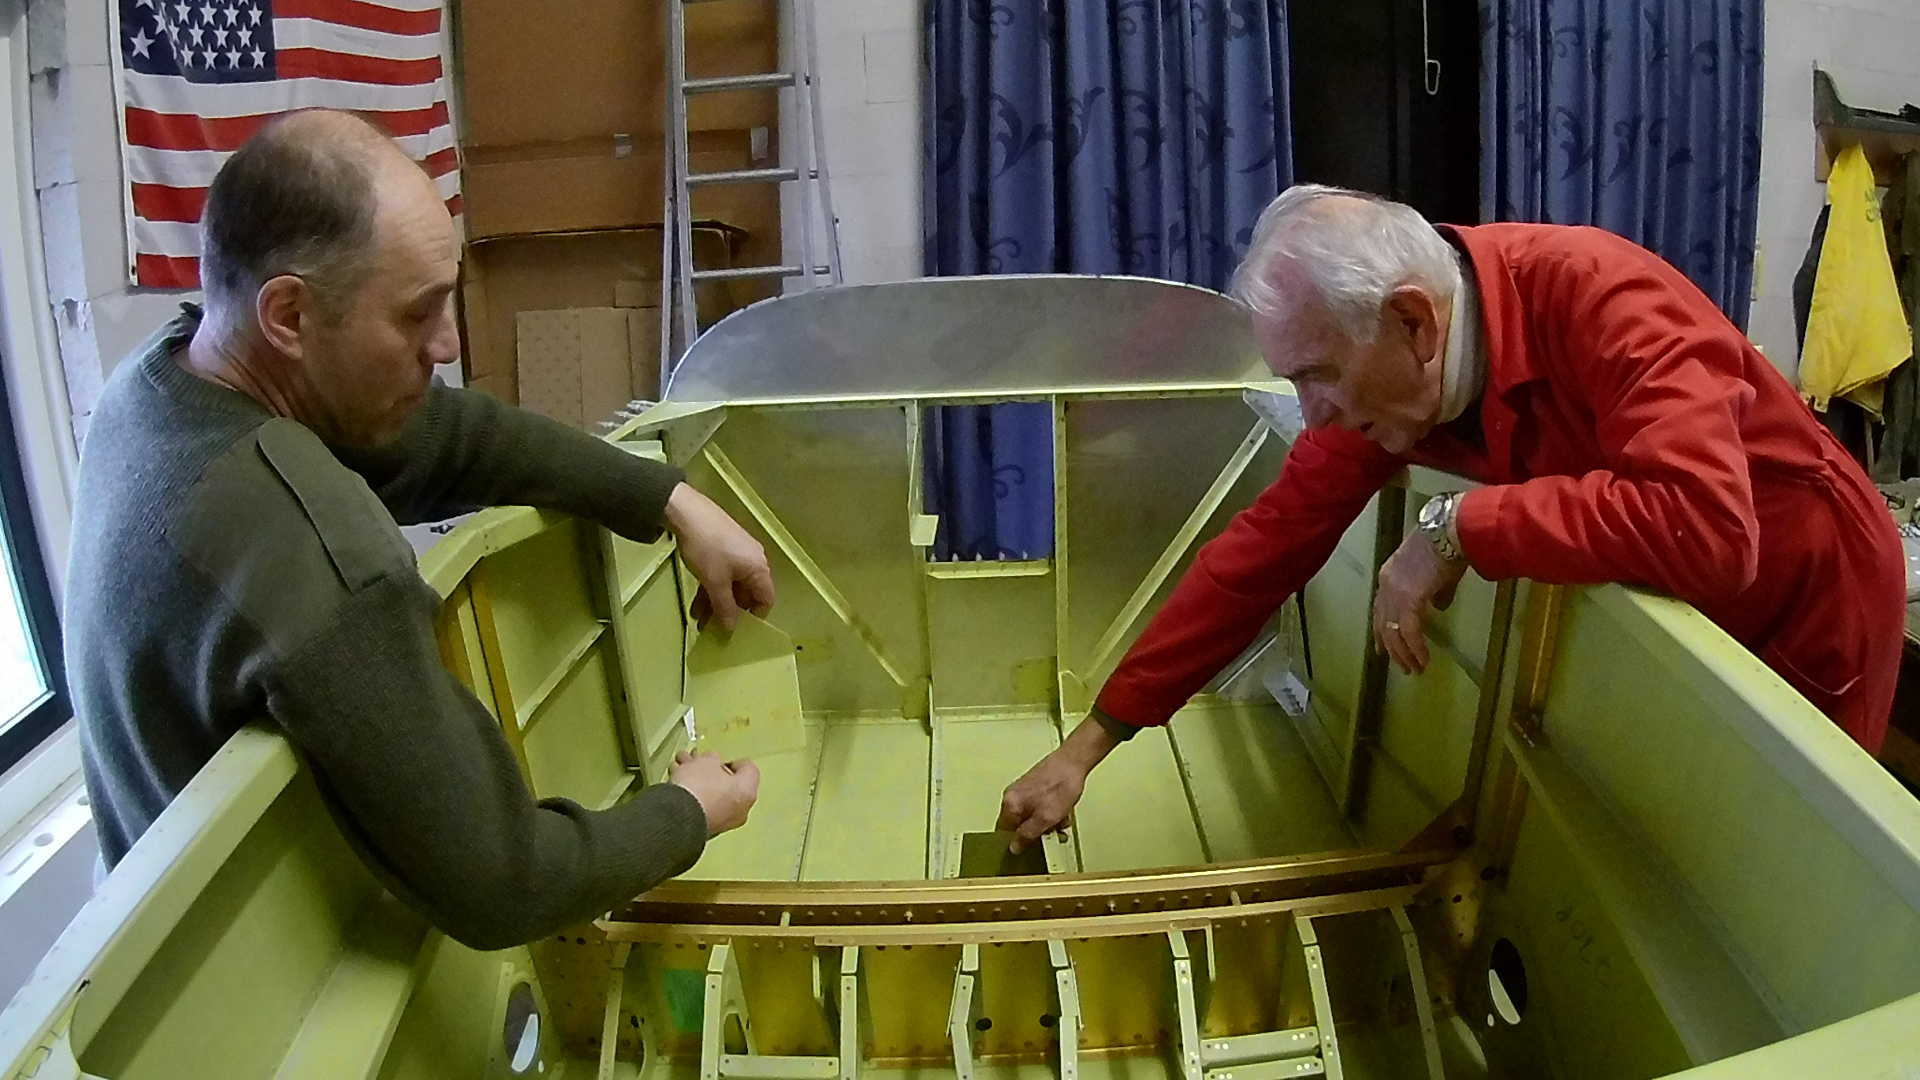
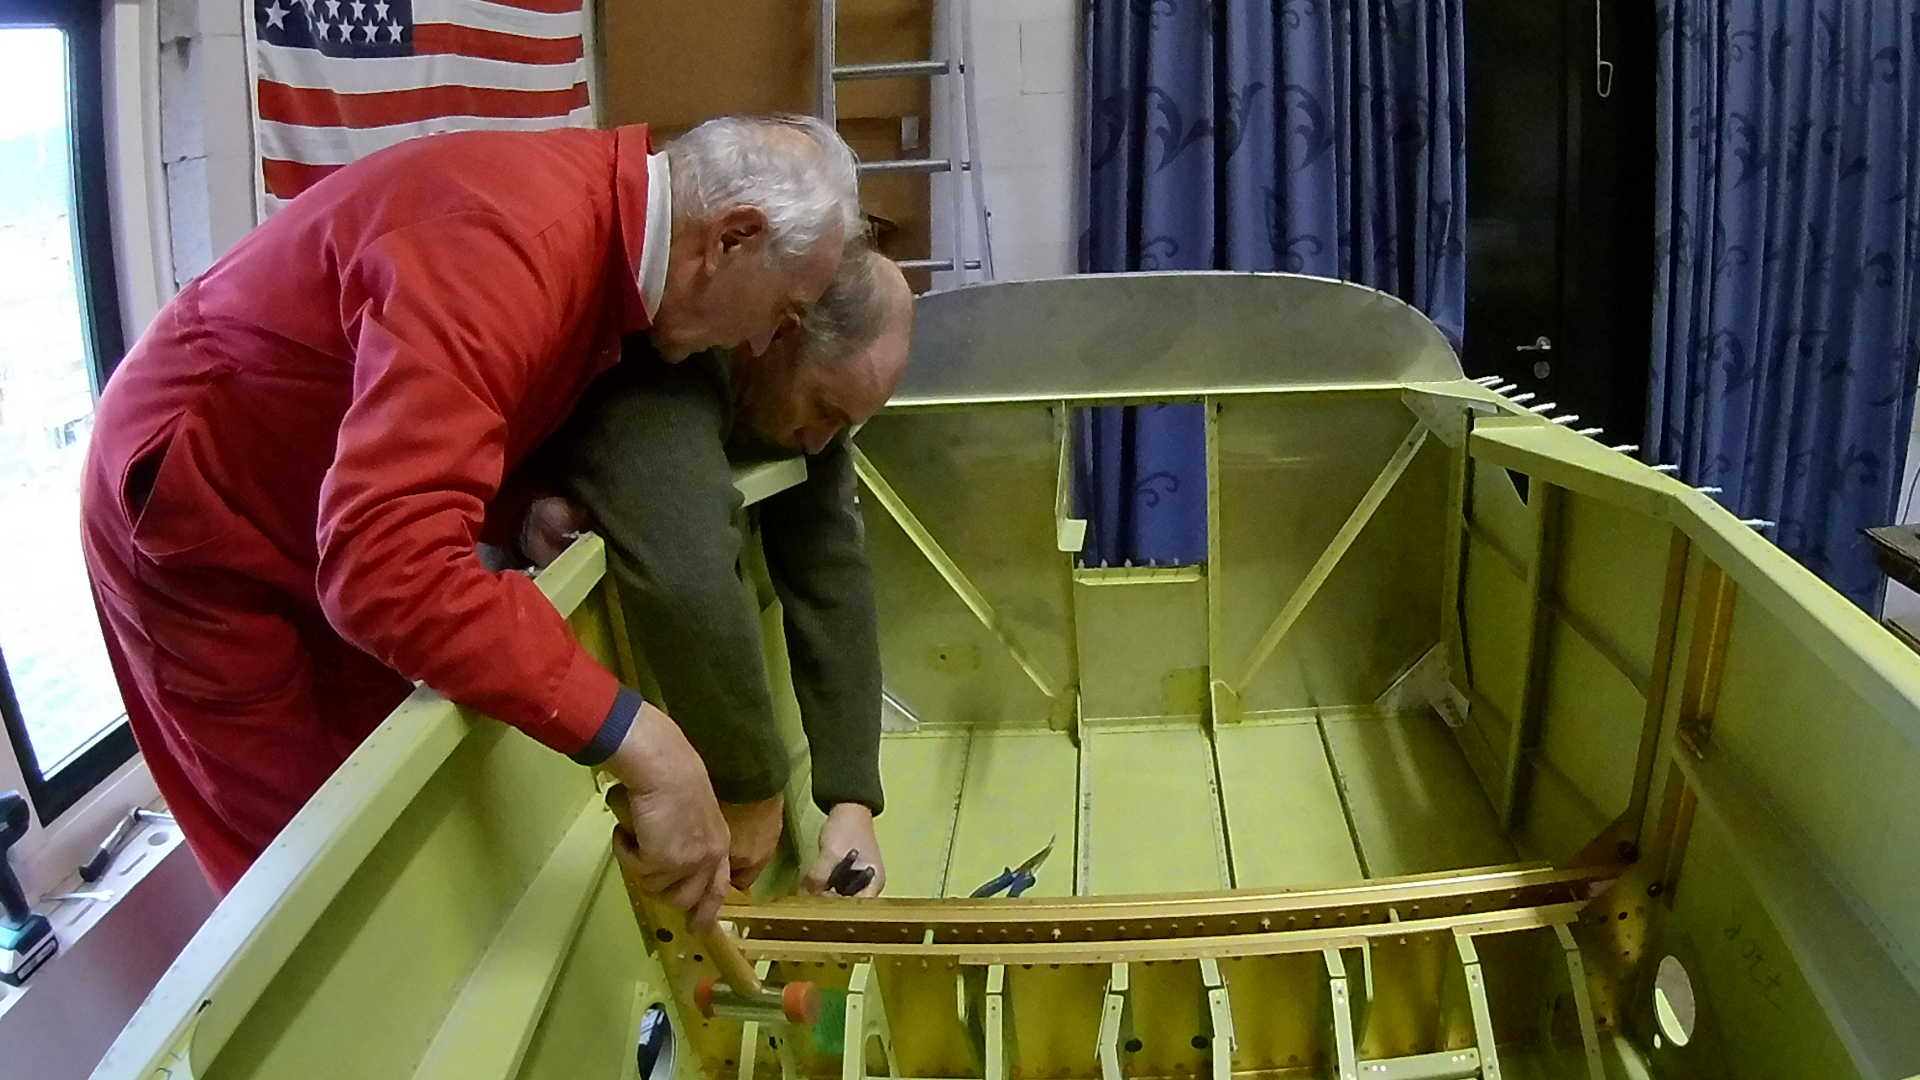
I primed a lot of parts, so we are just trying how stuff should go together in the forward fuselage.
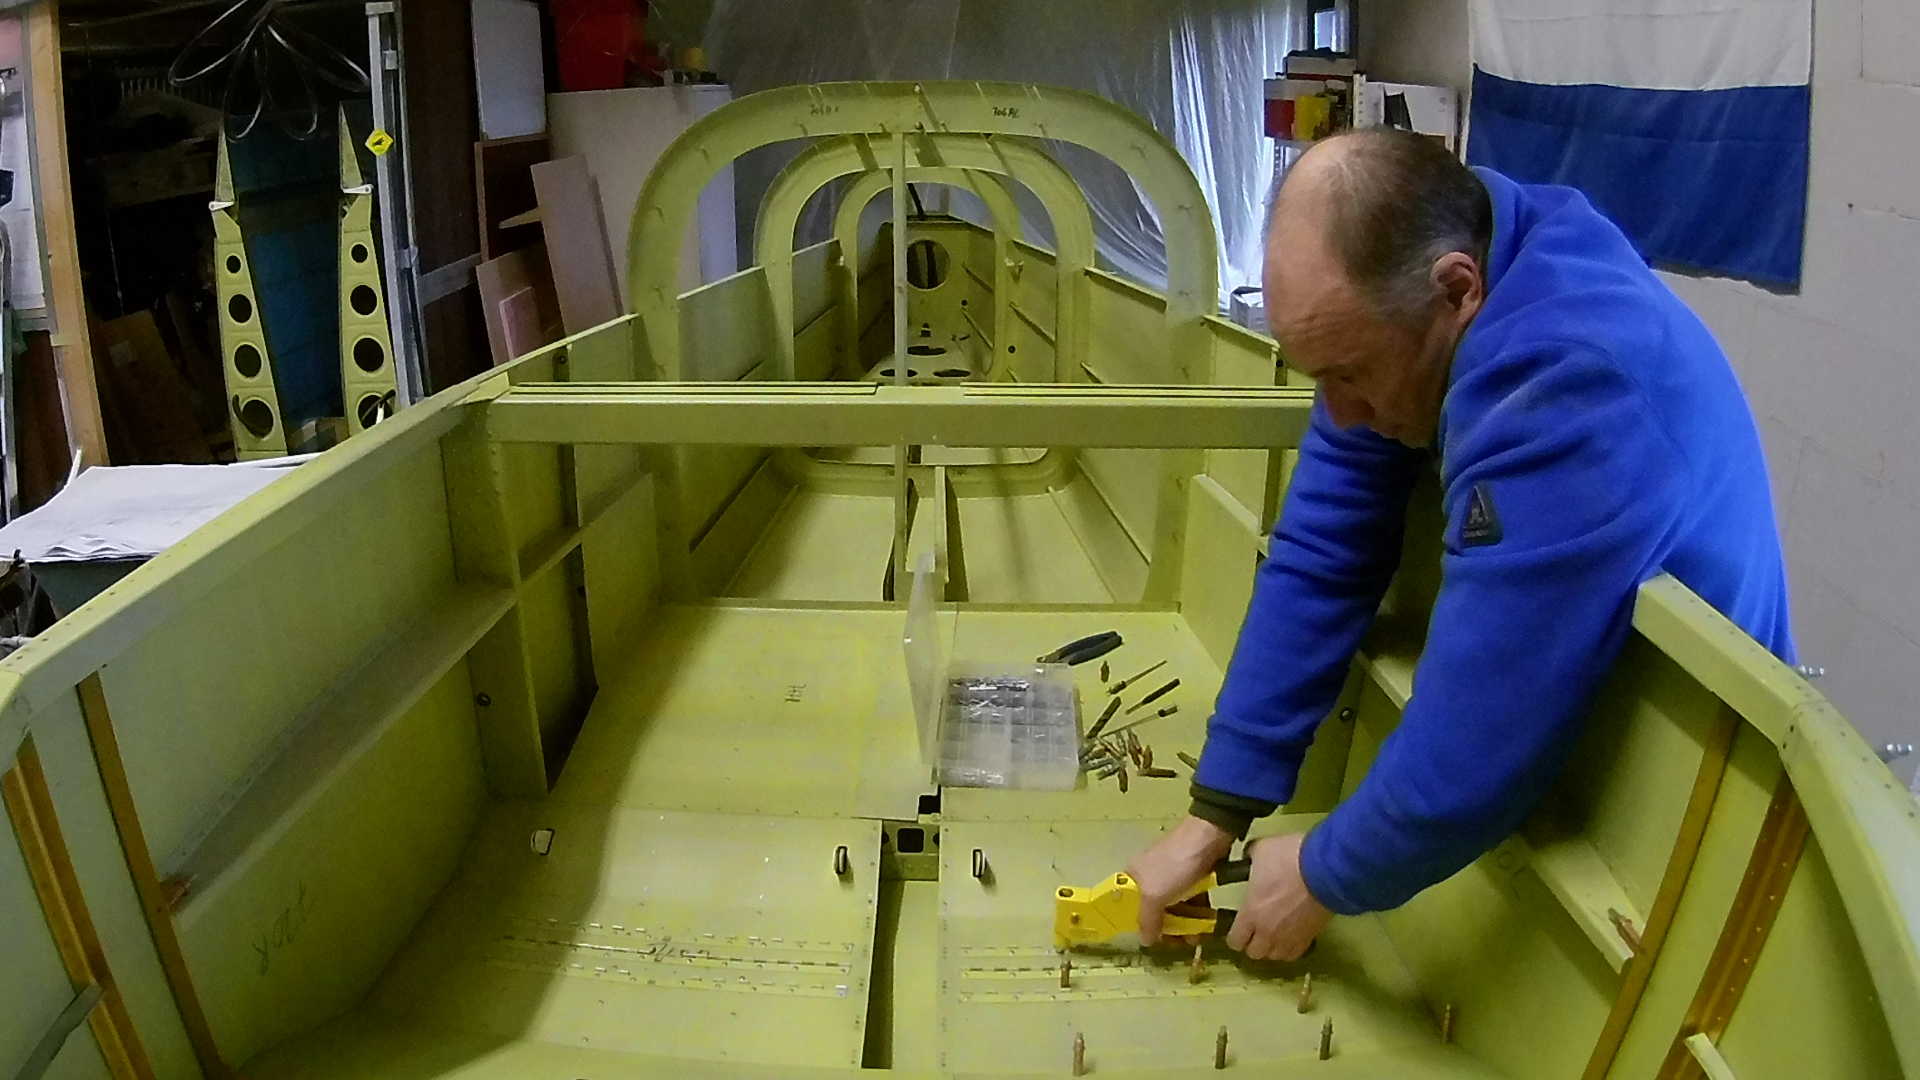
Finishing the Seat Floors with blind riveting them to the seat ribs.
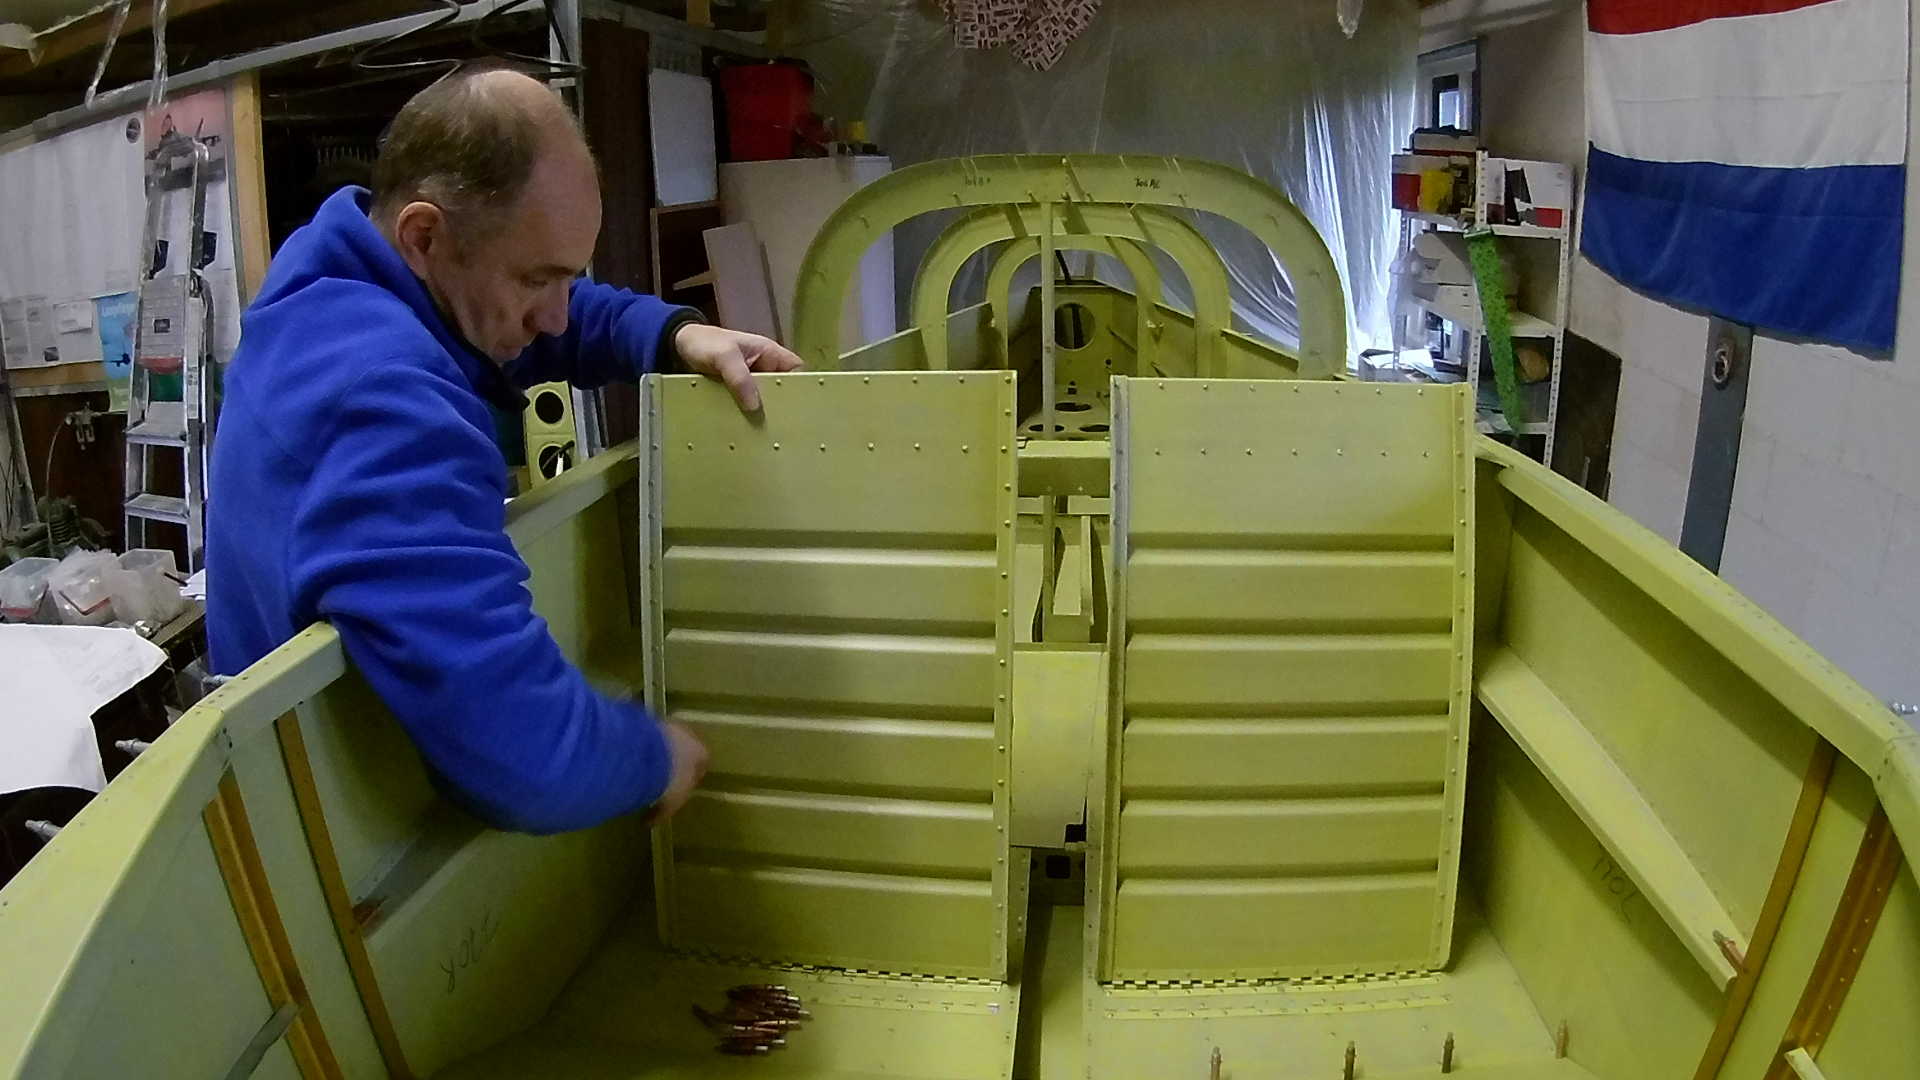
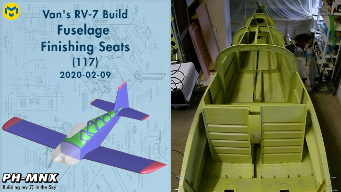
Inserting the seat backs looks great.
Time: 4 Hours, Rivets: 72/0 (2020-02-08)
Time: 4 Hours, Rivets: 114/3 (2020-02-09)
Video