
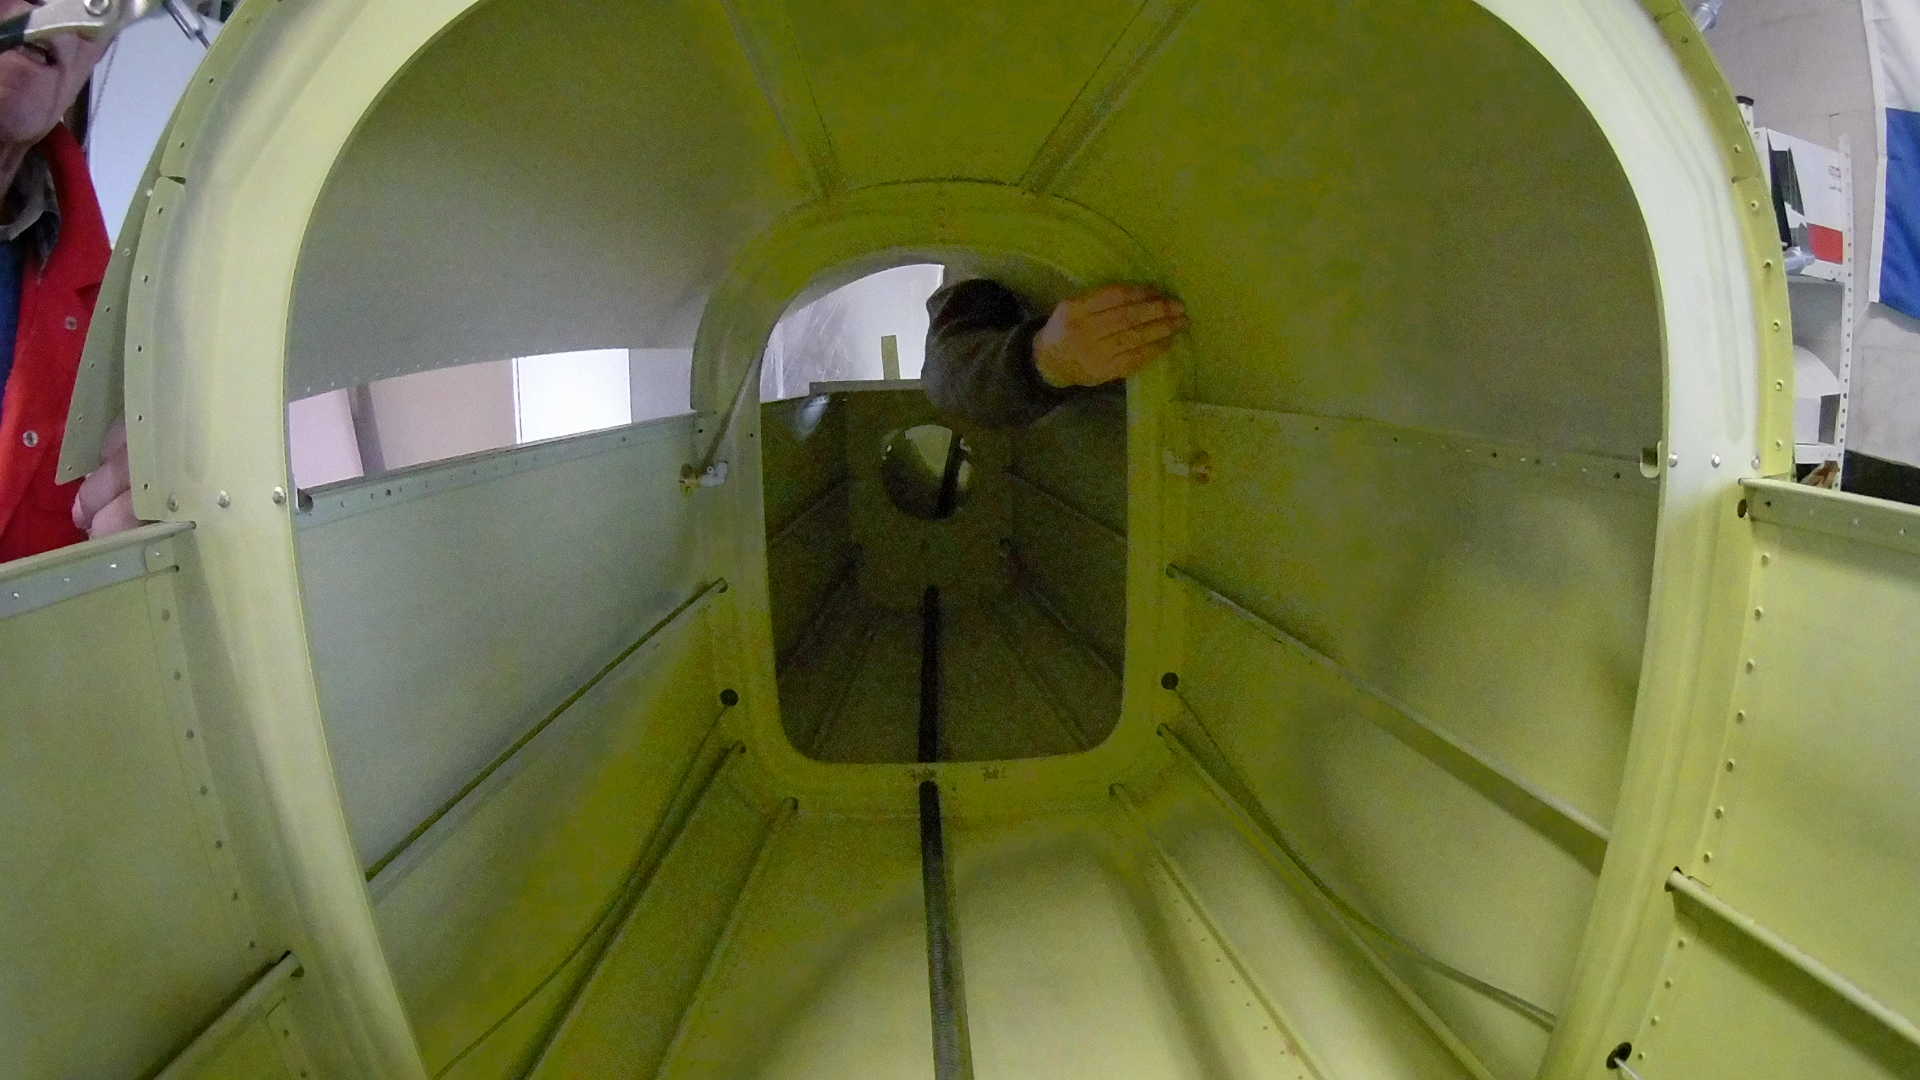
Before closing the first Fuselage part with the most Aft top skin, we need to prepare some the Static Air tube along the bulkhead from right to left.
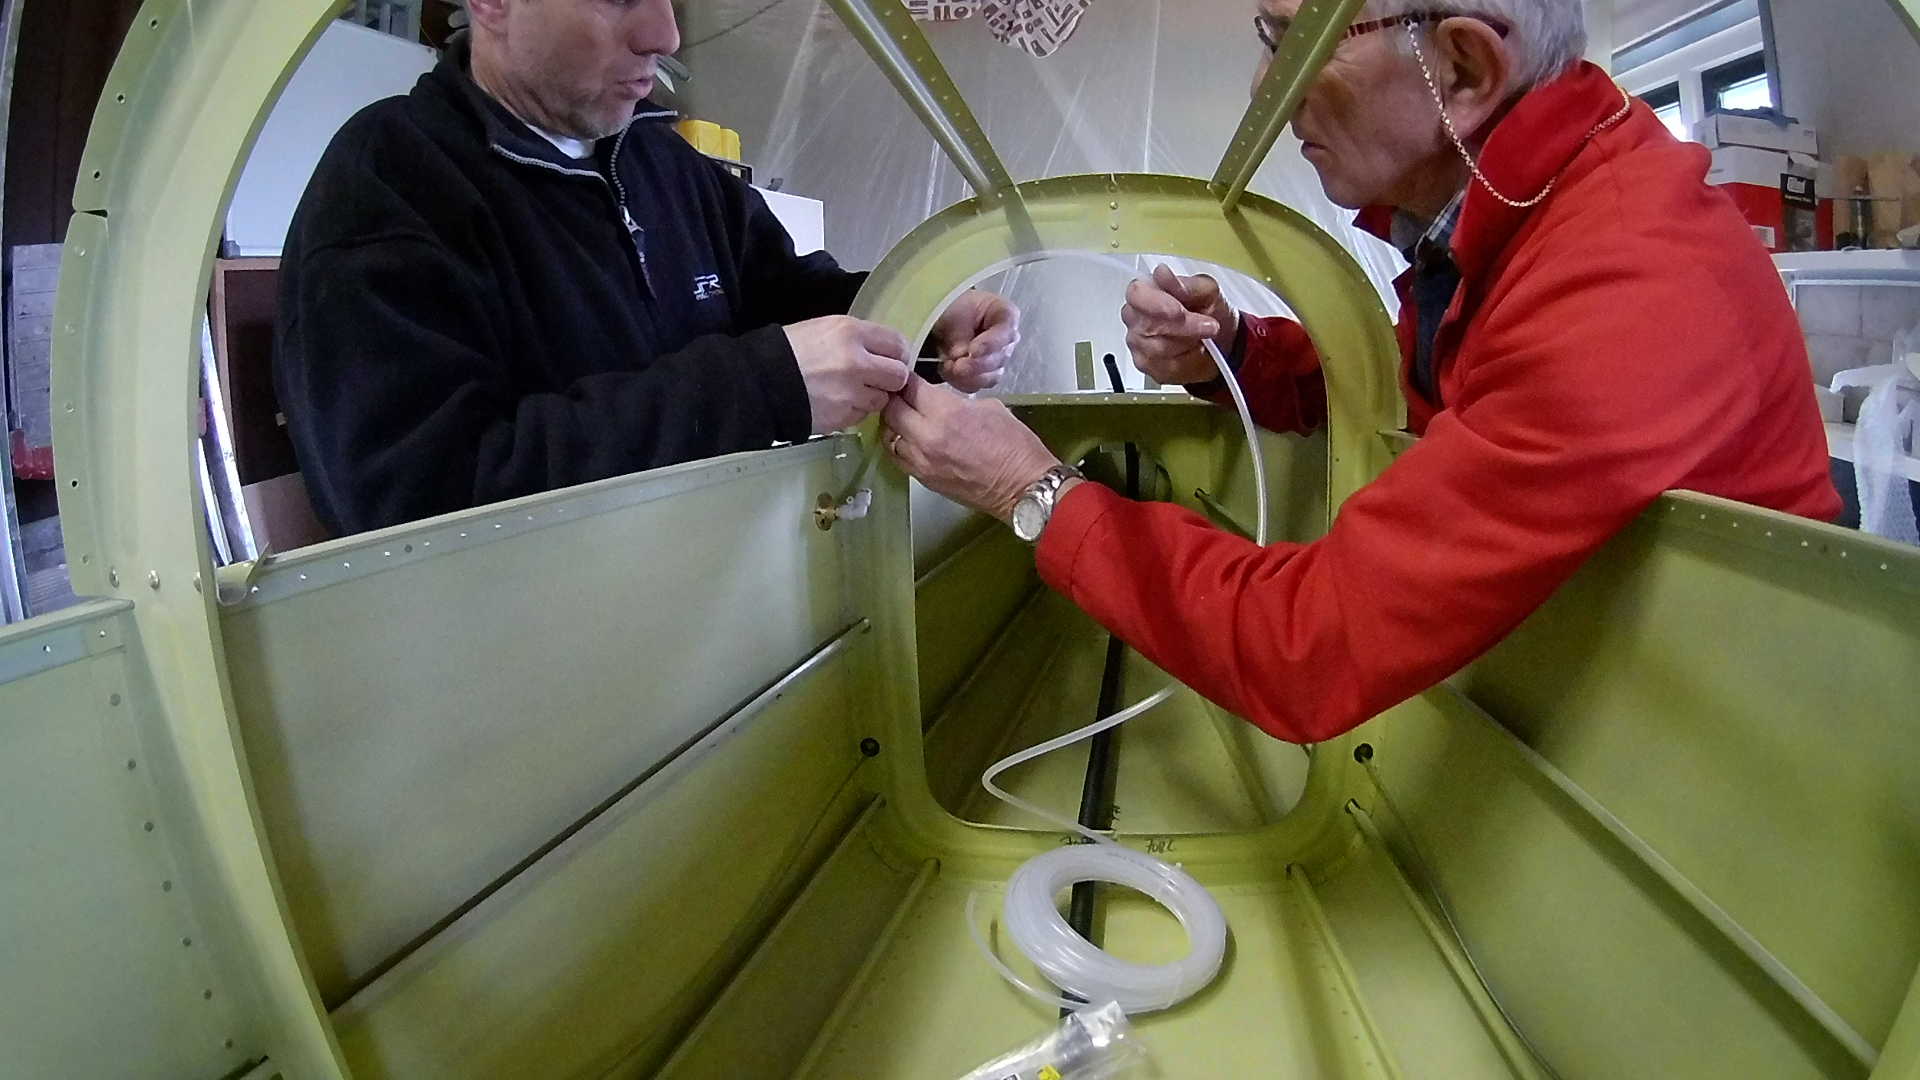
It will be much harder to do this once the skin is in place. However I don’t route the tube forward yet, as it makes it really hard to rivet the skin to the longerons.
I’m getting better and better in thinking activities through.
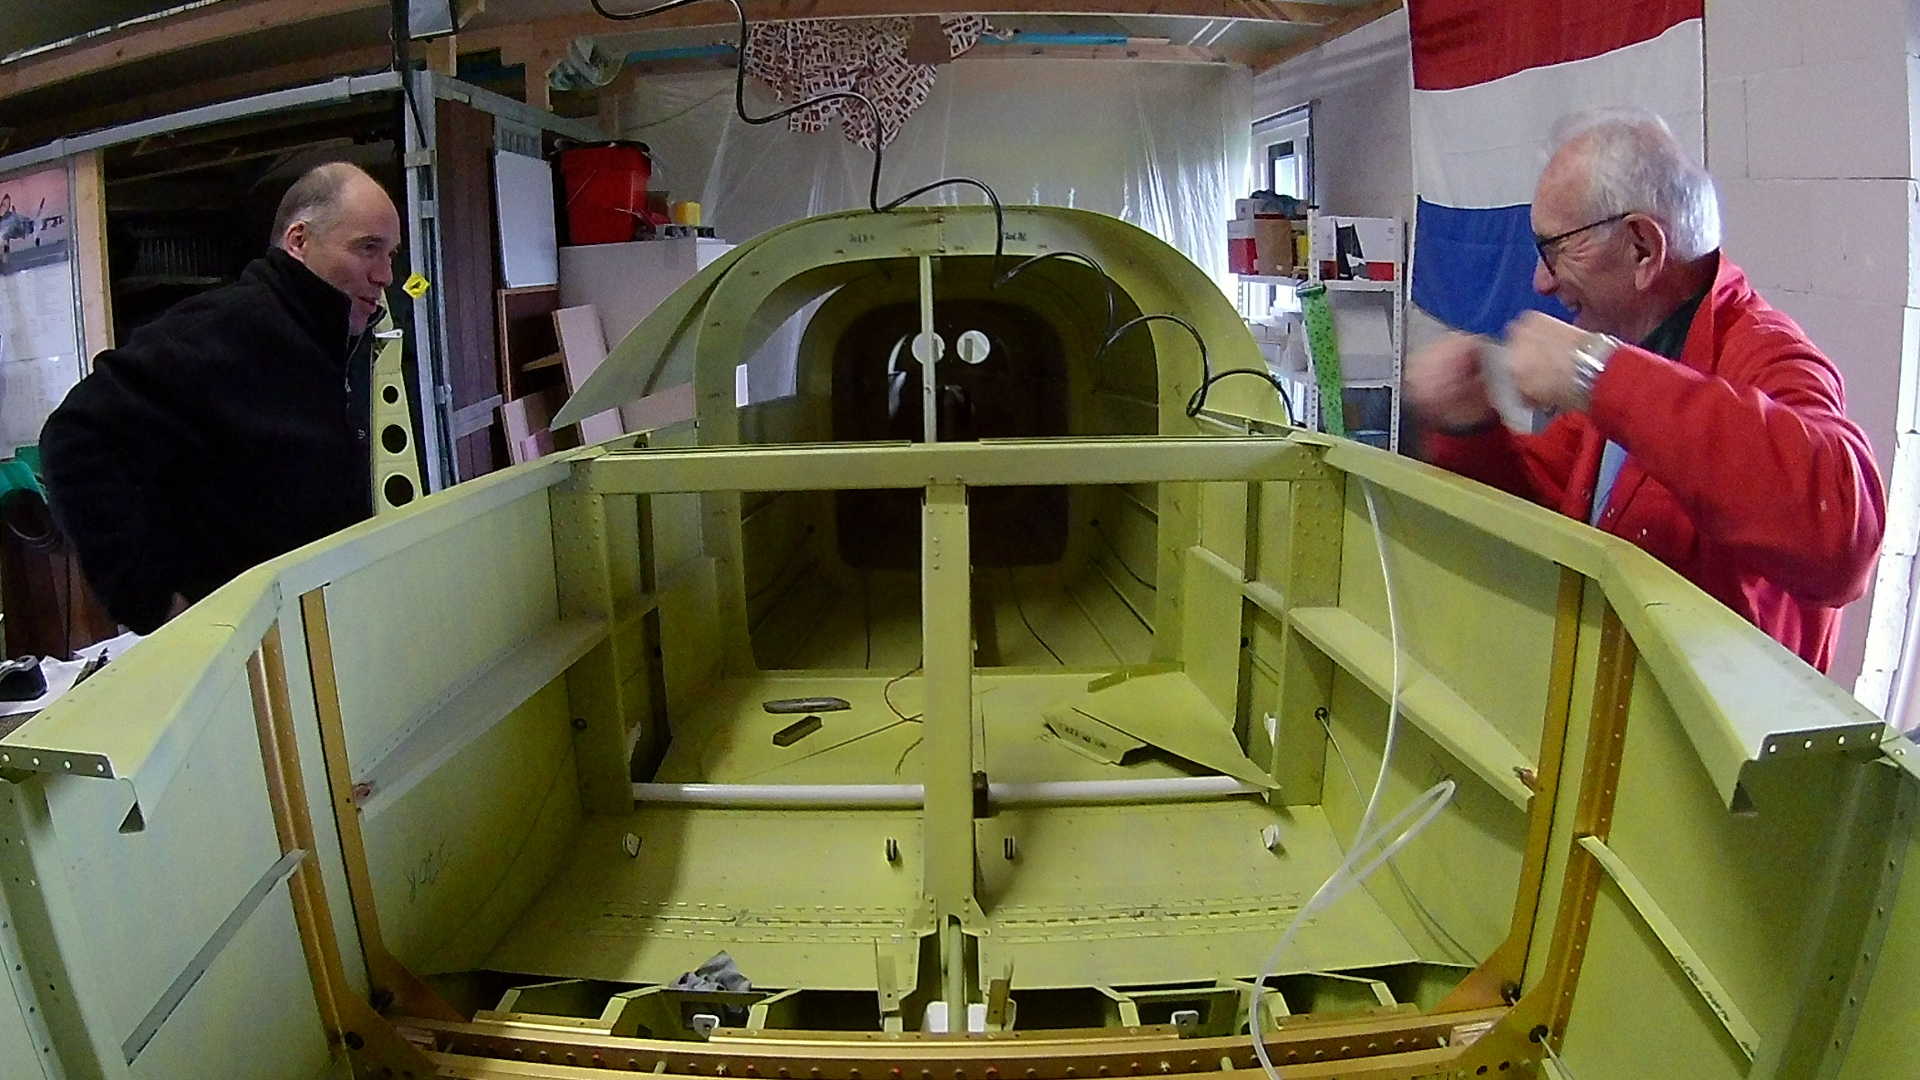
Another task I want to finish before riveting the top skin, is riveting the Aft Deck, which keeps the alignment of the longerons. I’ve postponed this considerably, because I wanted to pull the tube for the electrical wiring to the tail.
With the Aft Deck and Static Air in place, we can now cleco the Aft Top Skin to the Fuselage. Starting from left to right.
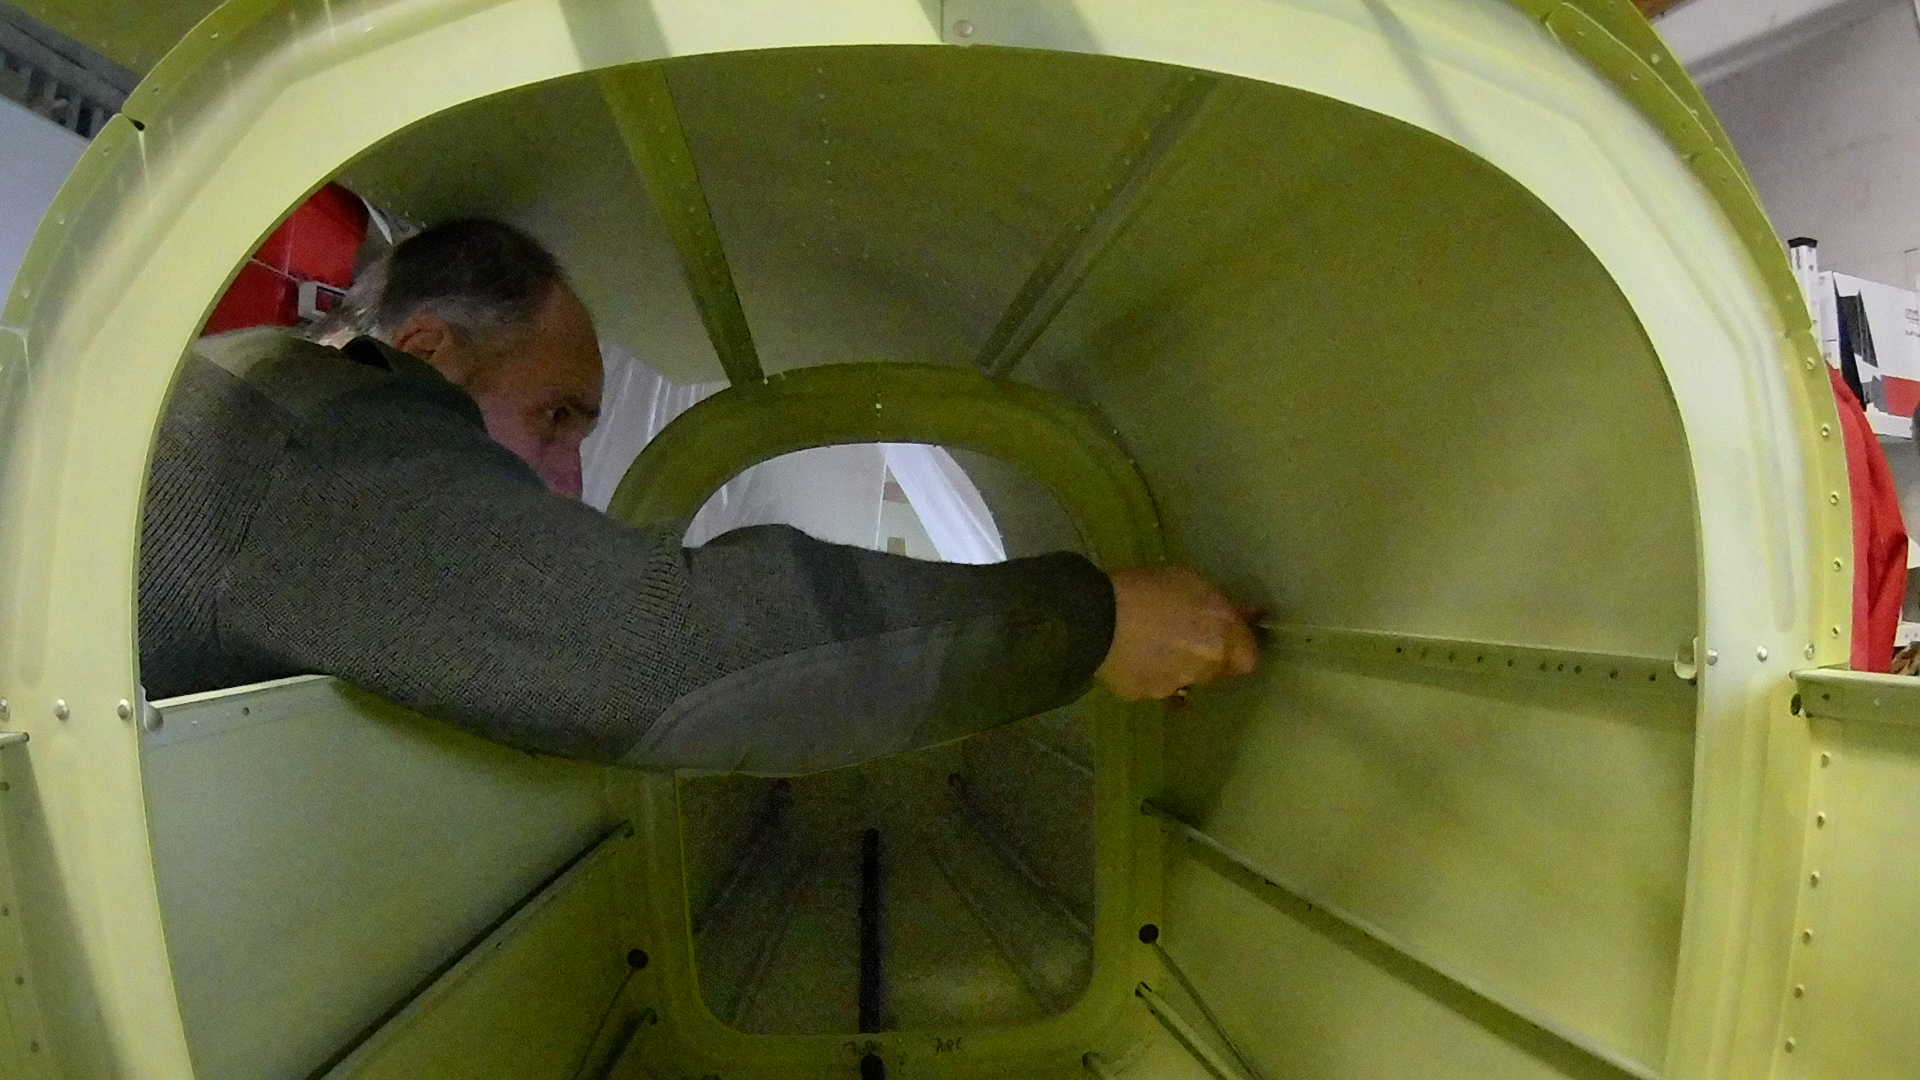
The reason why I started on the left side is that we need to route the Static Air Tube on the left side. So this way we still have easy access.

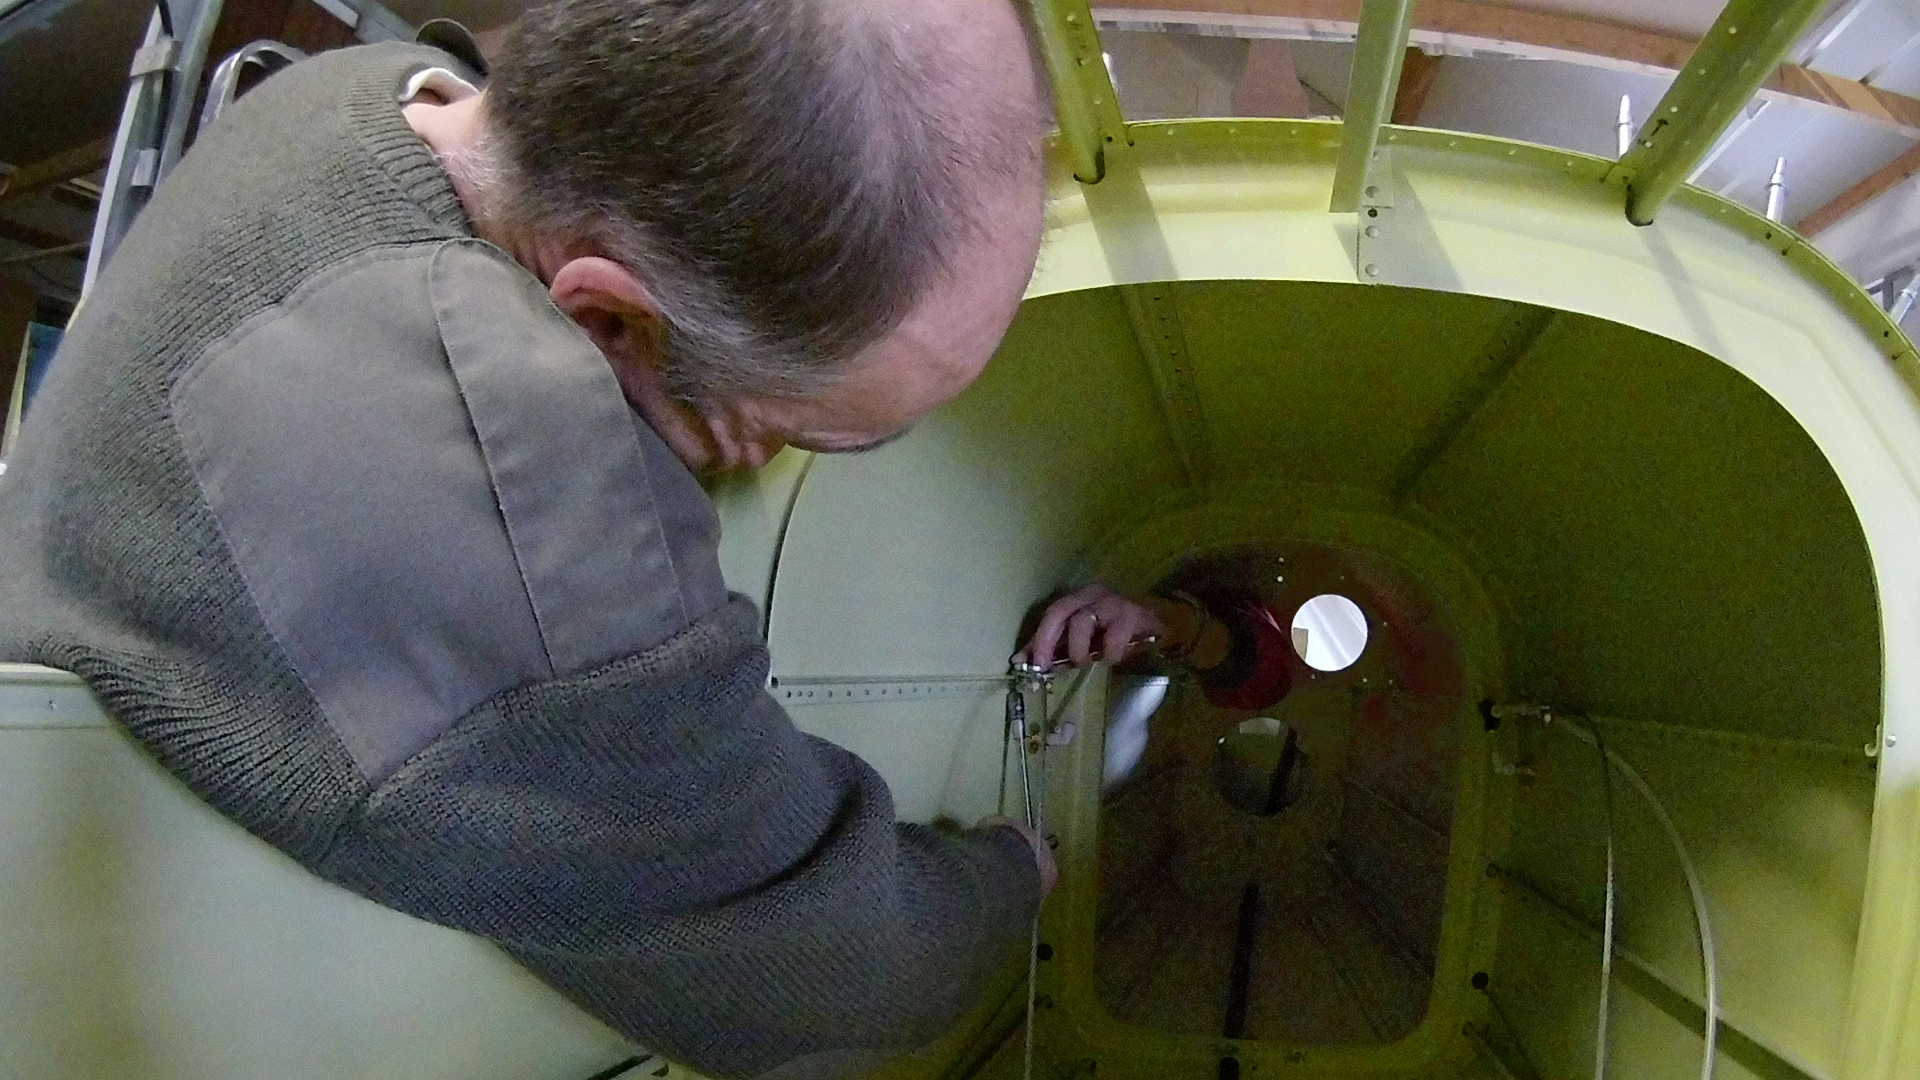
With the left side riveted (to the longeron, we can now attach the harness cable bracket and the Static Air tubing.
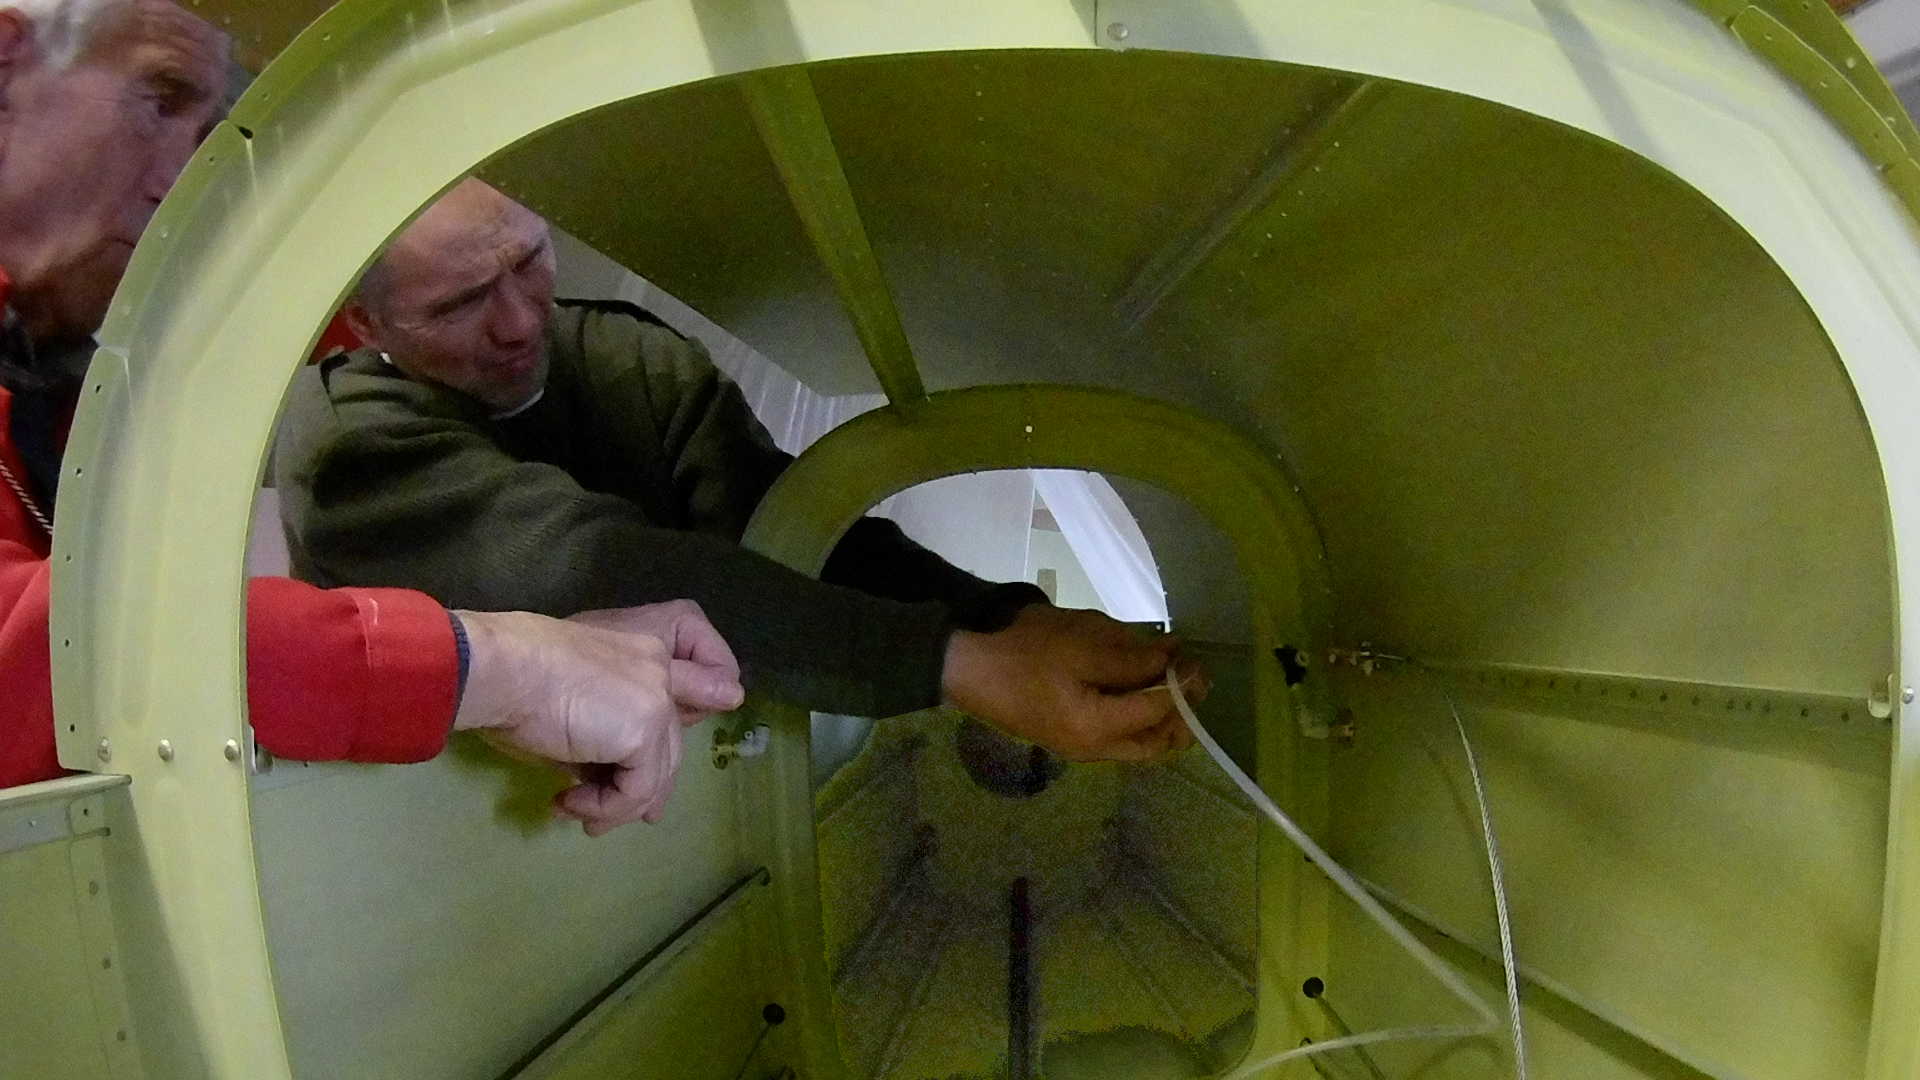
We placed the connector of the Static Air higher than the left side port. This way if moist comes in, it will flow out of the port and not towards the instruments.
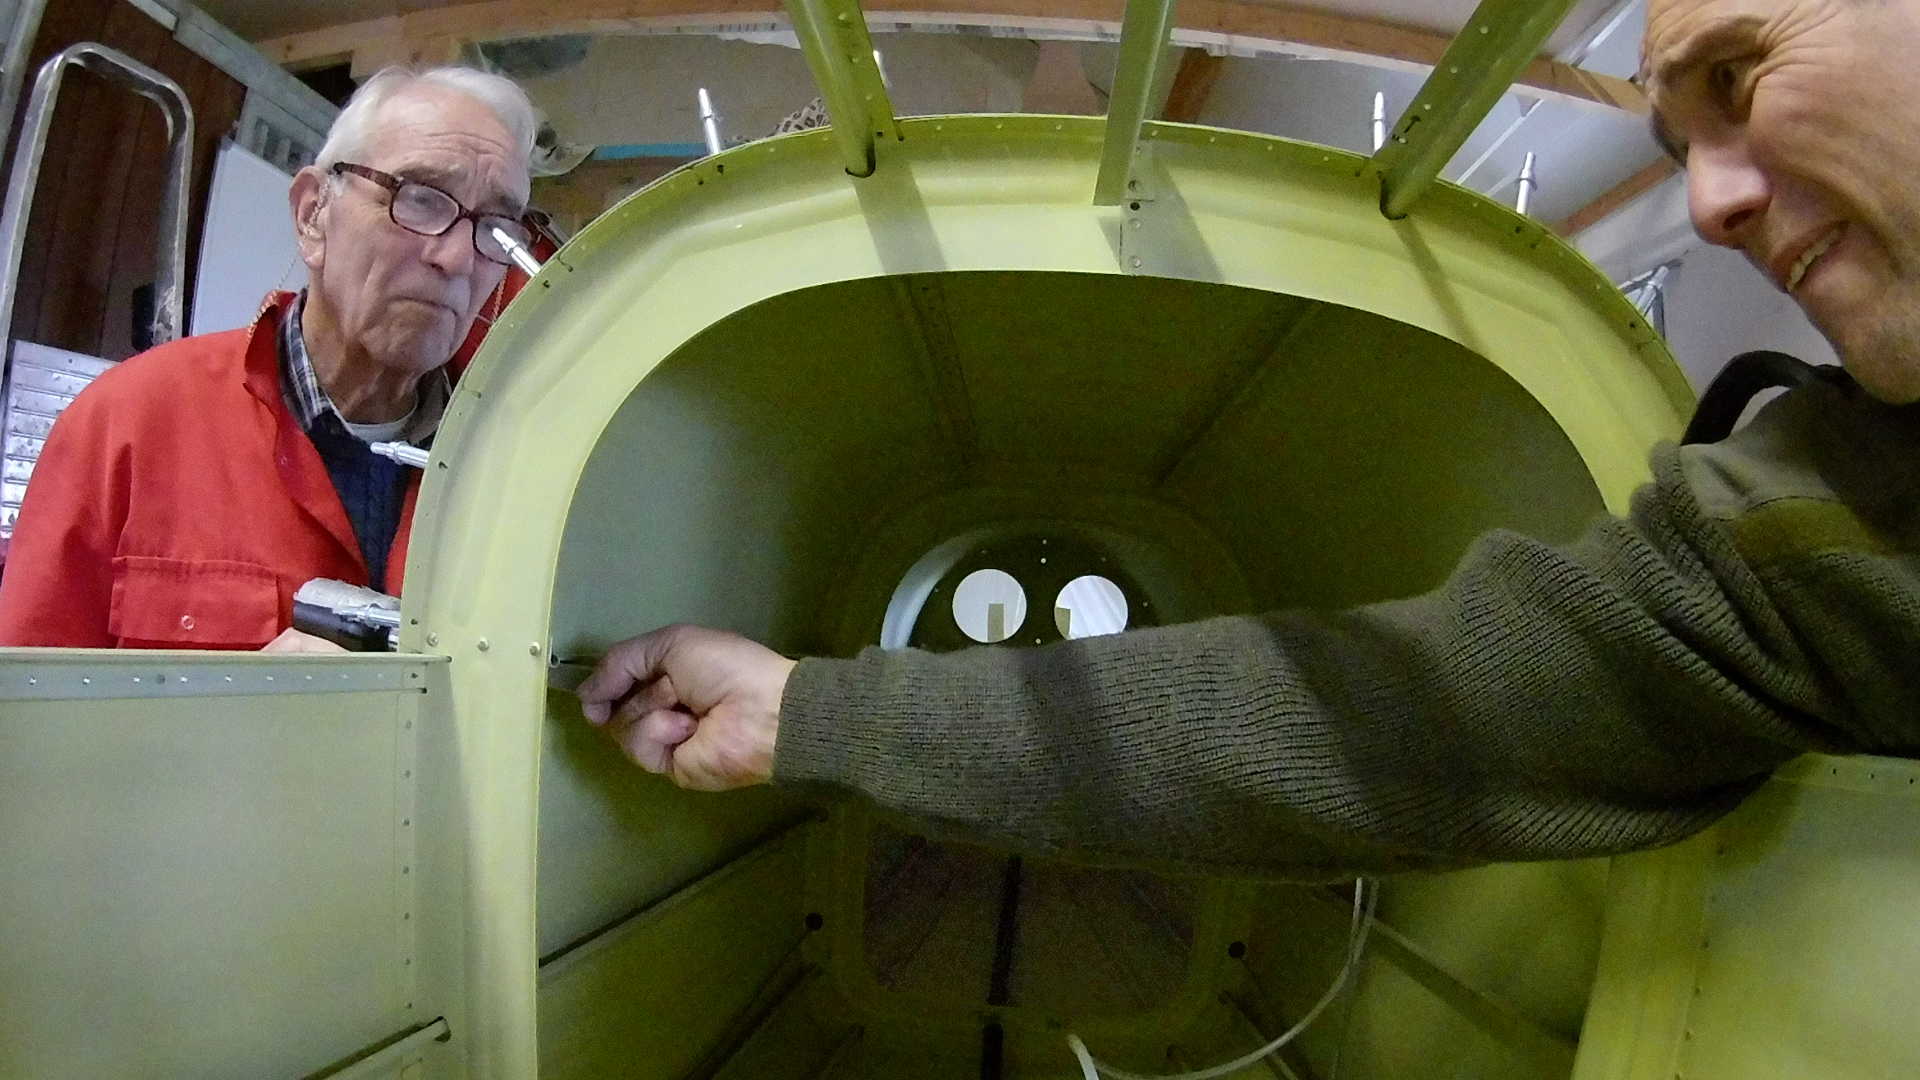
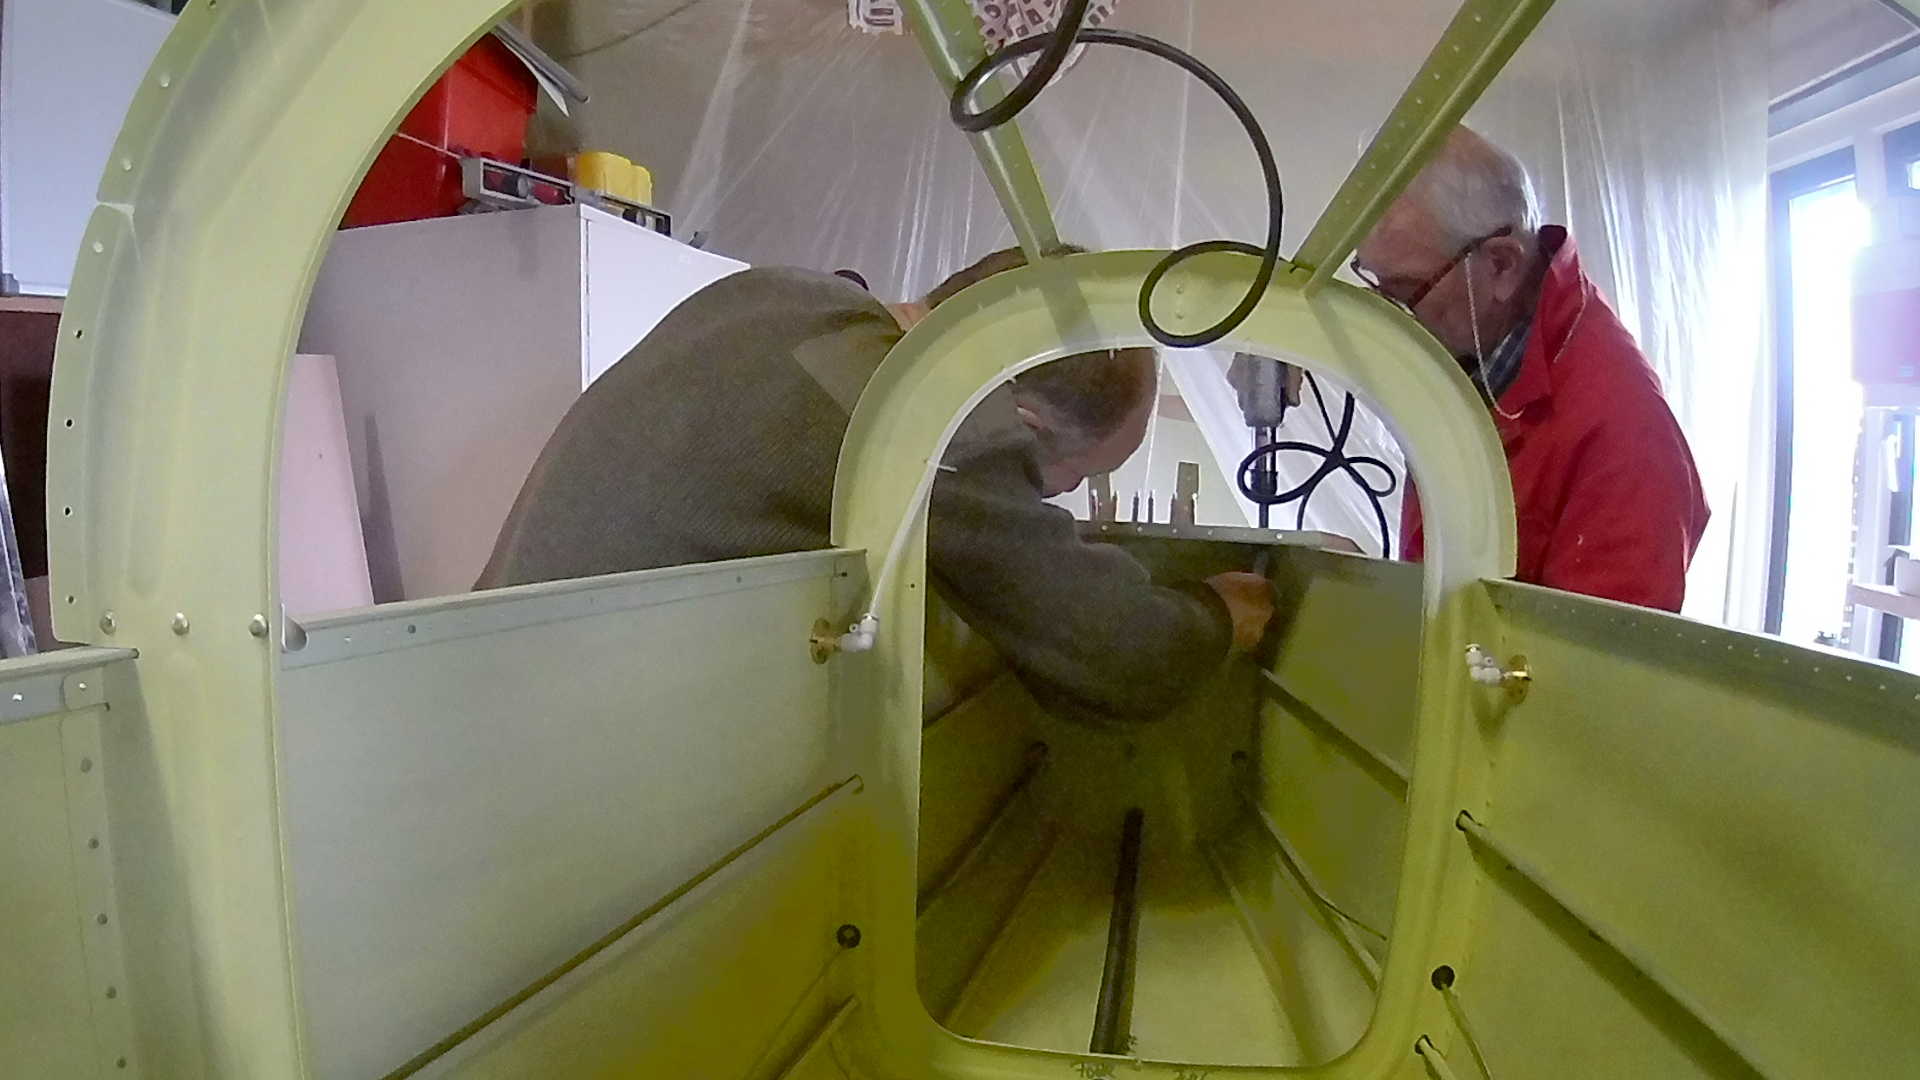
Now we can rivet the remaining holes and we can still reach in for the J-Channels. The last part is the right longeron rivets. Those can only be done from the other side.
With the first top skin riveted, we can also install the right harness cable bracket and torque it.
Time: 5 Hours, Rivets: 231/0 (2020-02-16)
Time: 3 Hours, Rivets: 39/2 (2020-02-17)
Video