I finished the Horizontal Stabilizer and Elevator two years ago. However I skipped the fiberglass Tips, because I wanted to do all the Fiberglass at once.
In hind-side, I’d probably should have just finished it than and there, because It turns out I still do it at different times. On the other hand, it’s not a problem anyway. I just had to find the Tips in my storage rack.
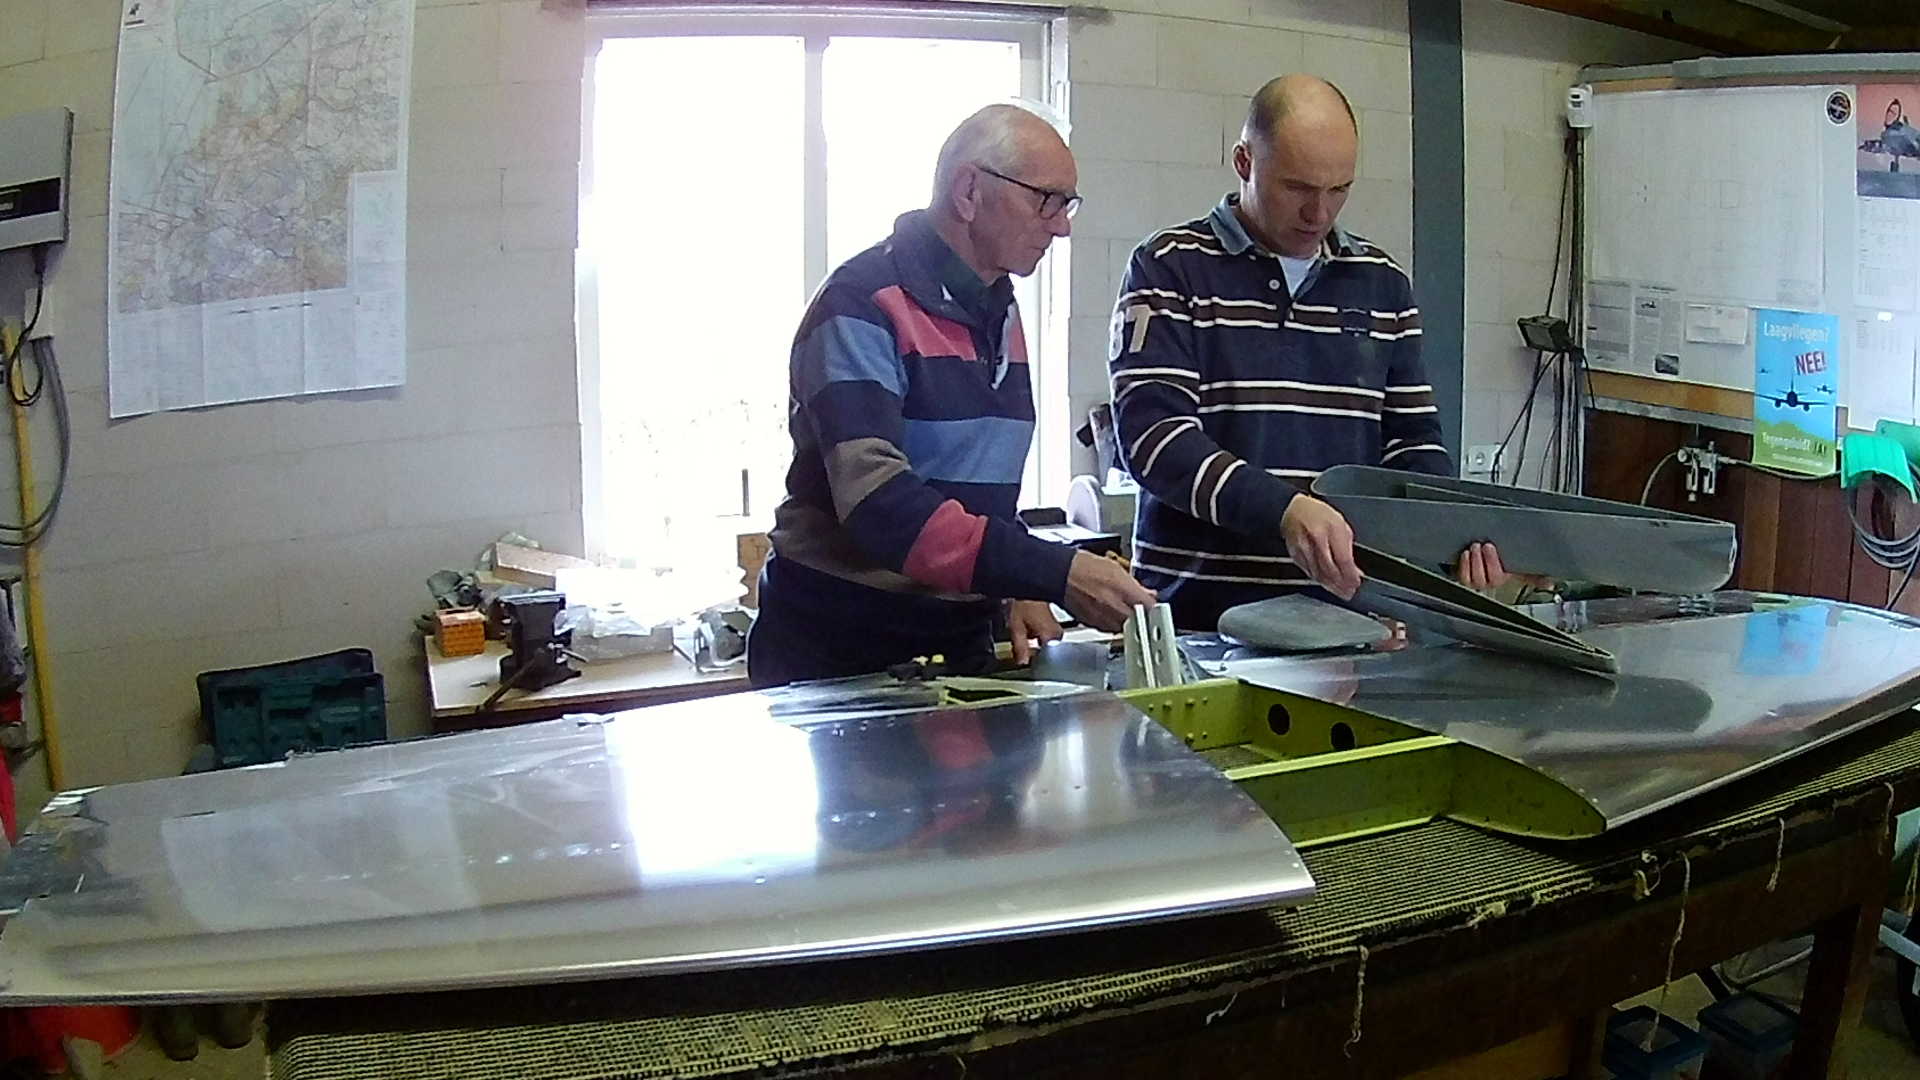
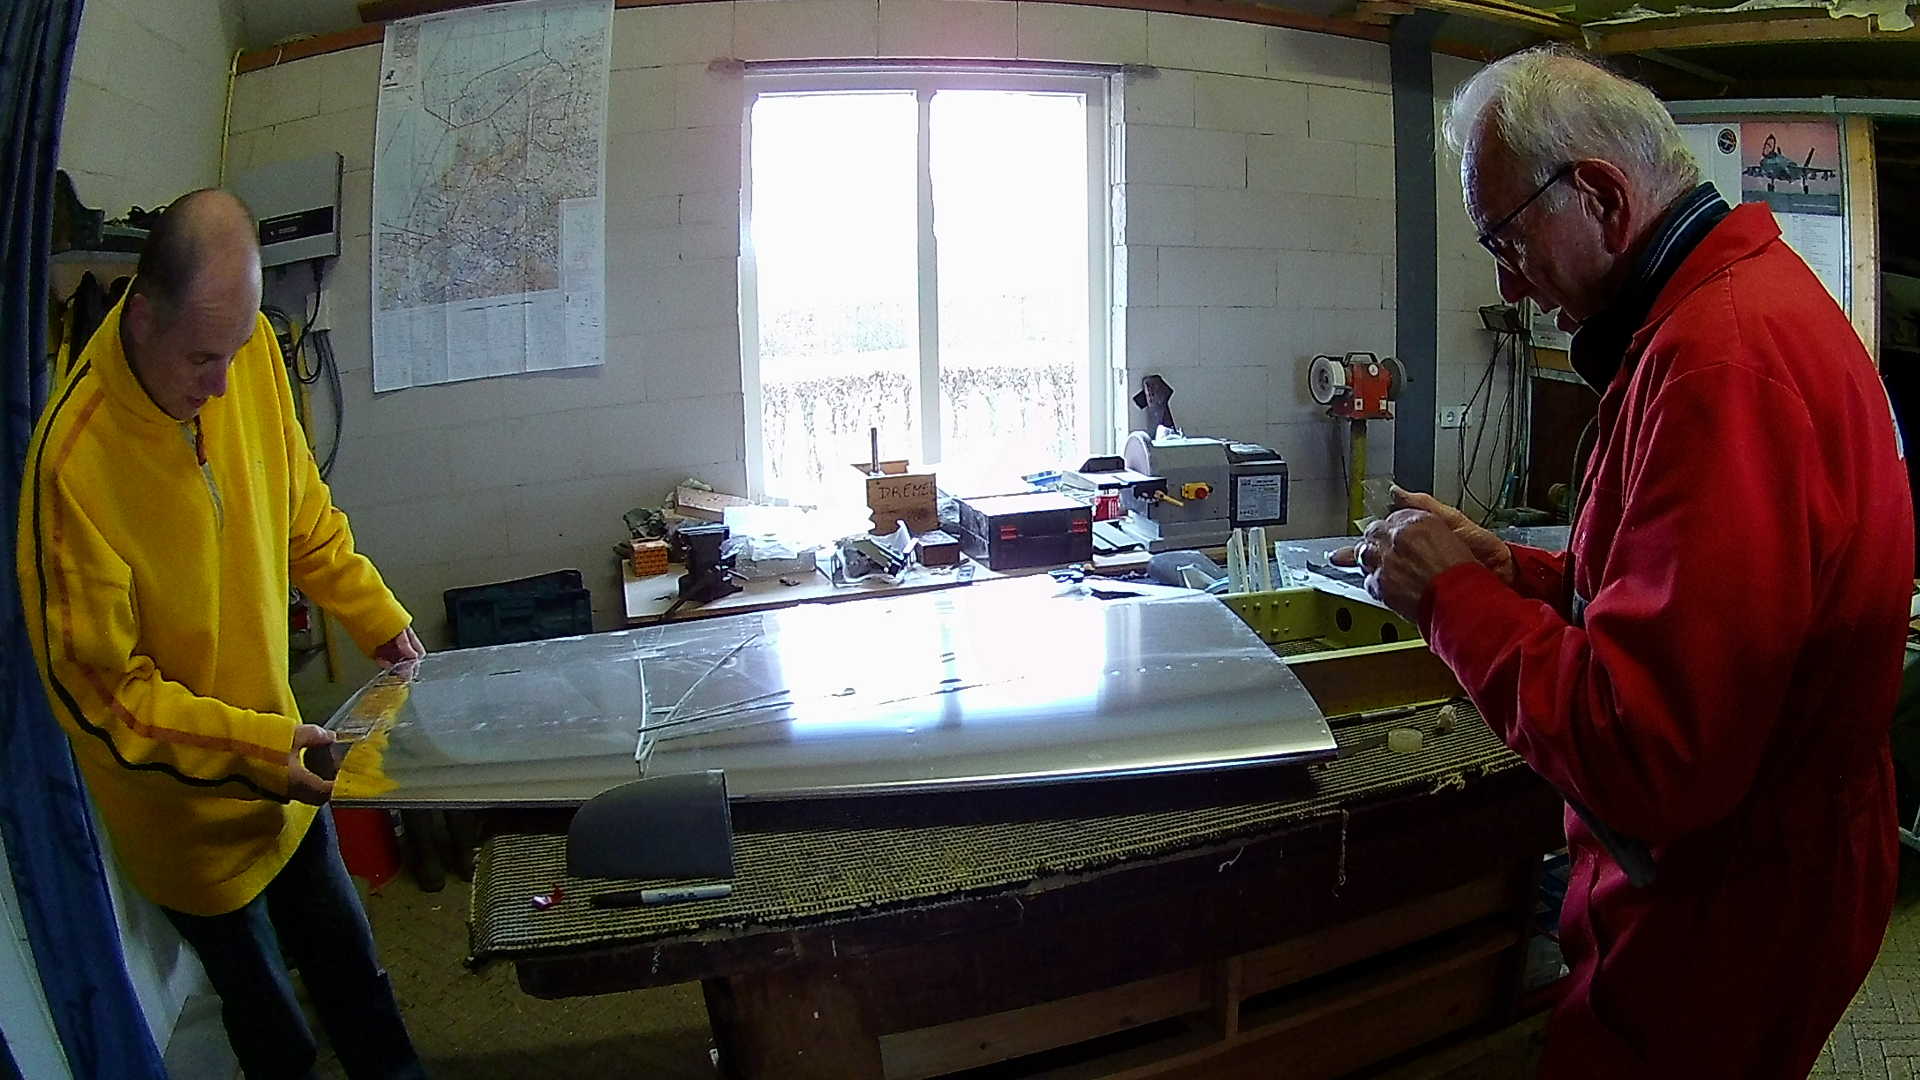
From the factory, the preformed Elevator Tips fit quite nicely. Just a little trimming is enough.
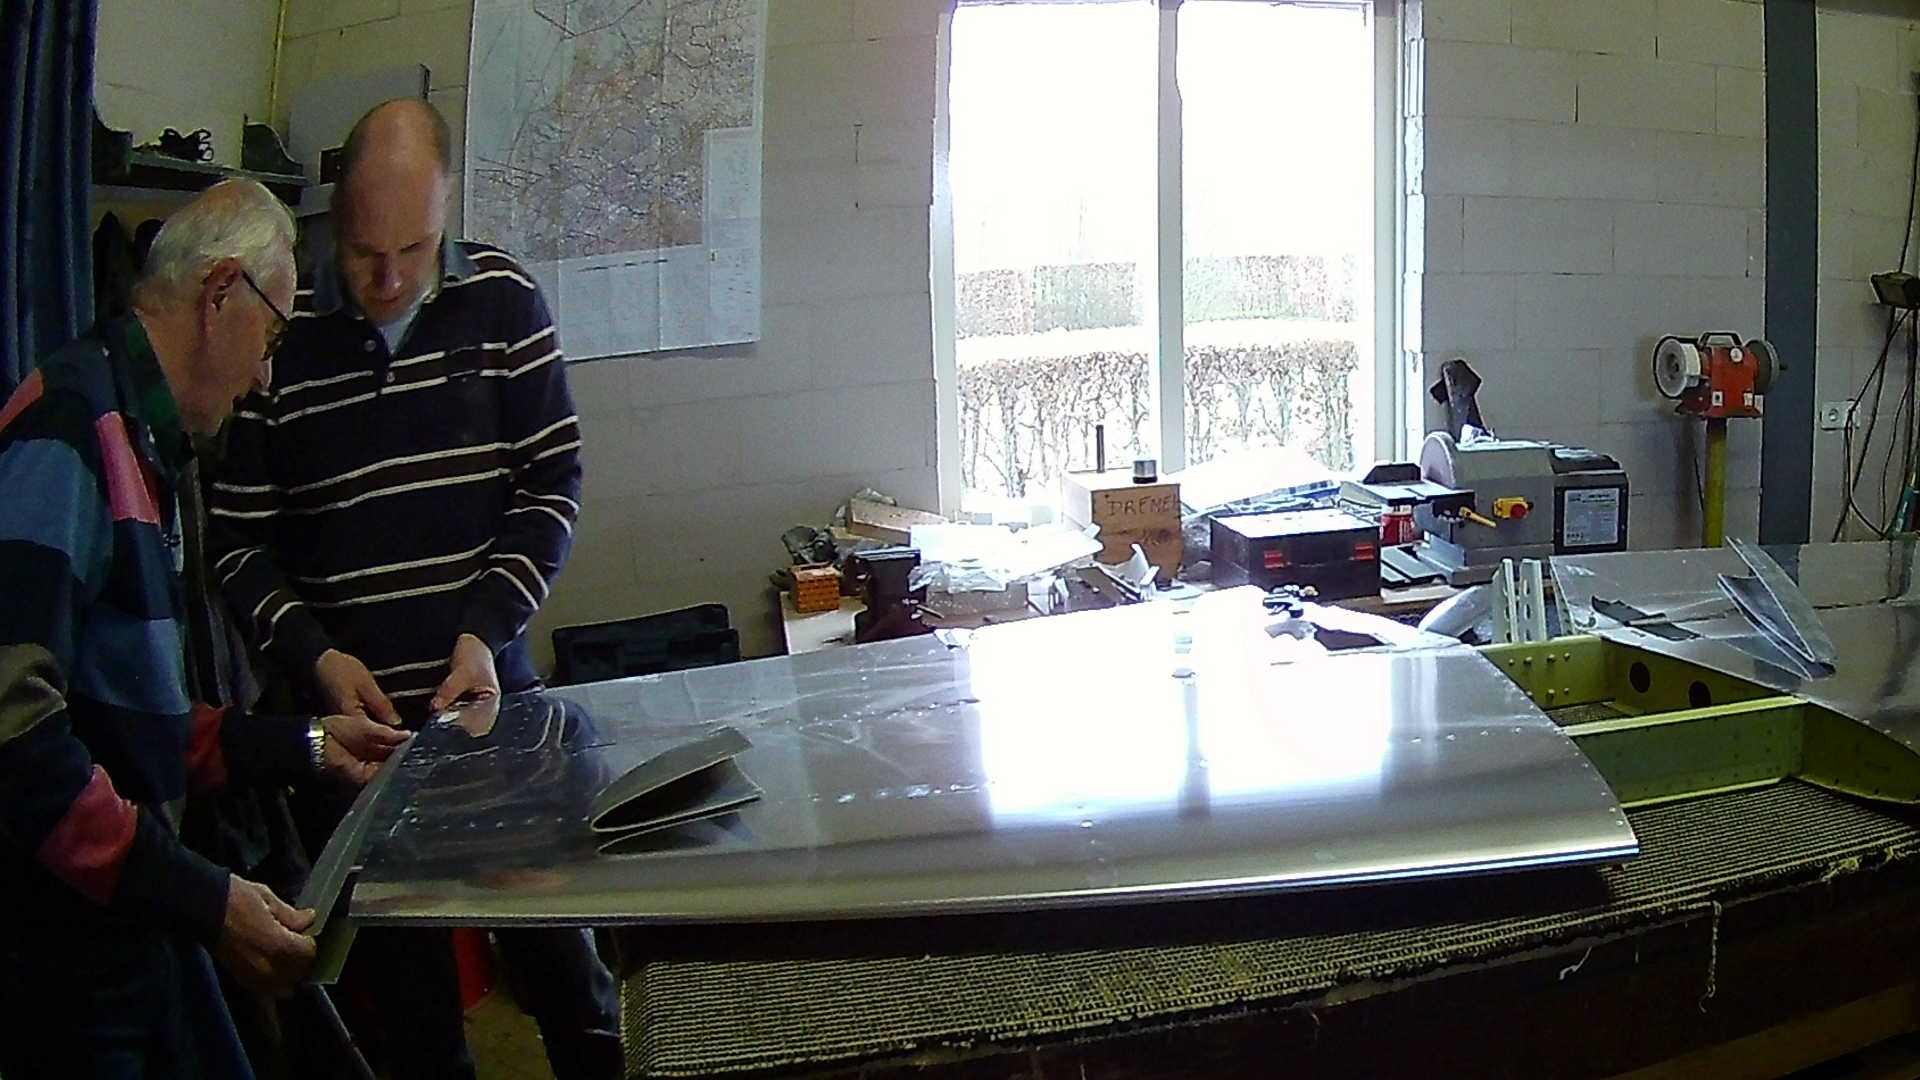
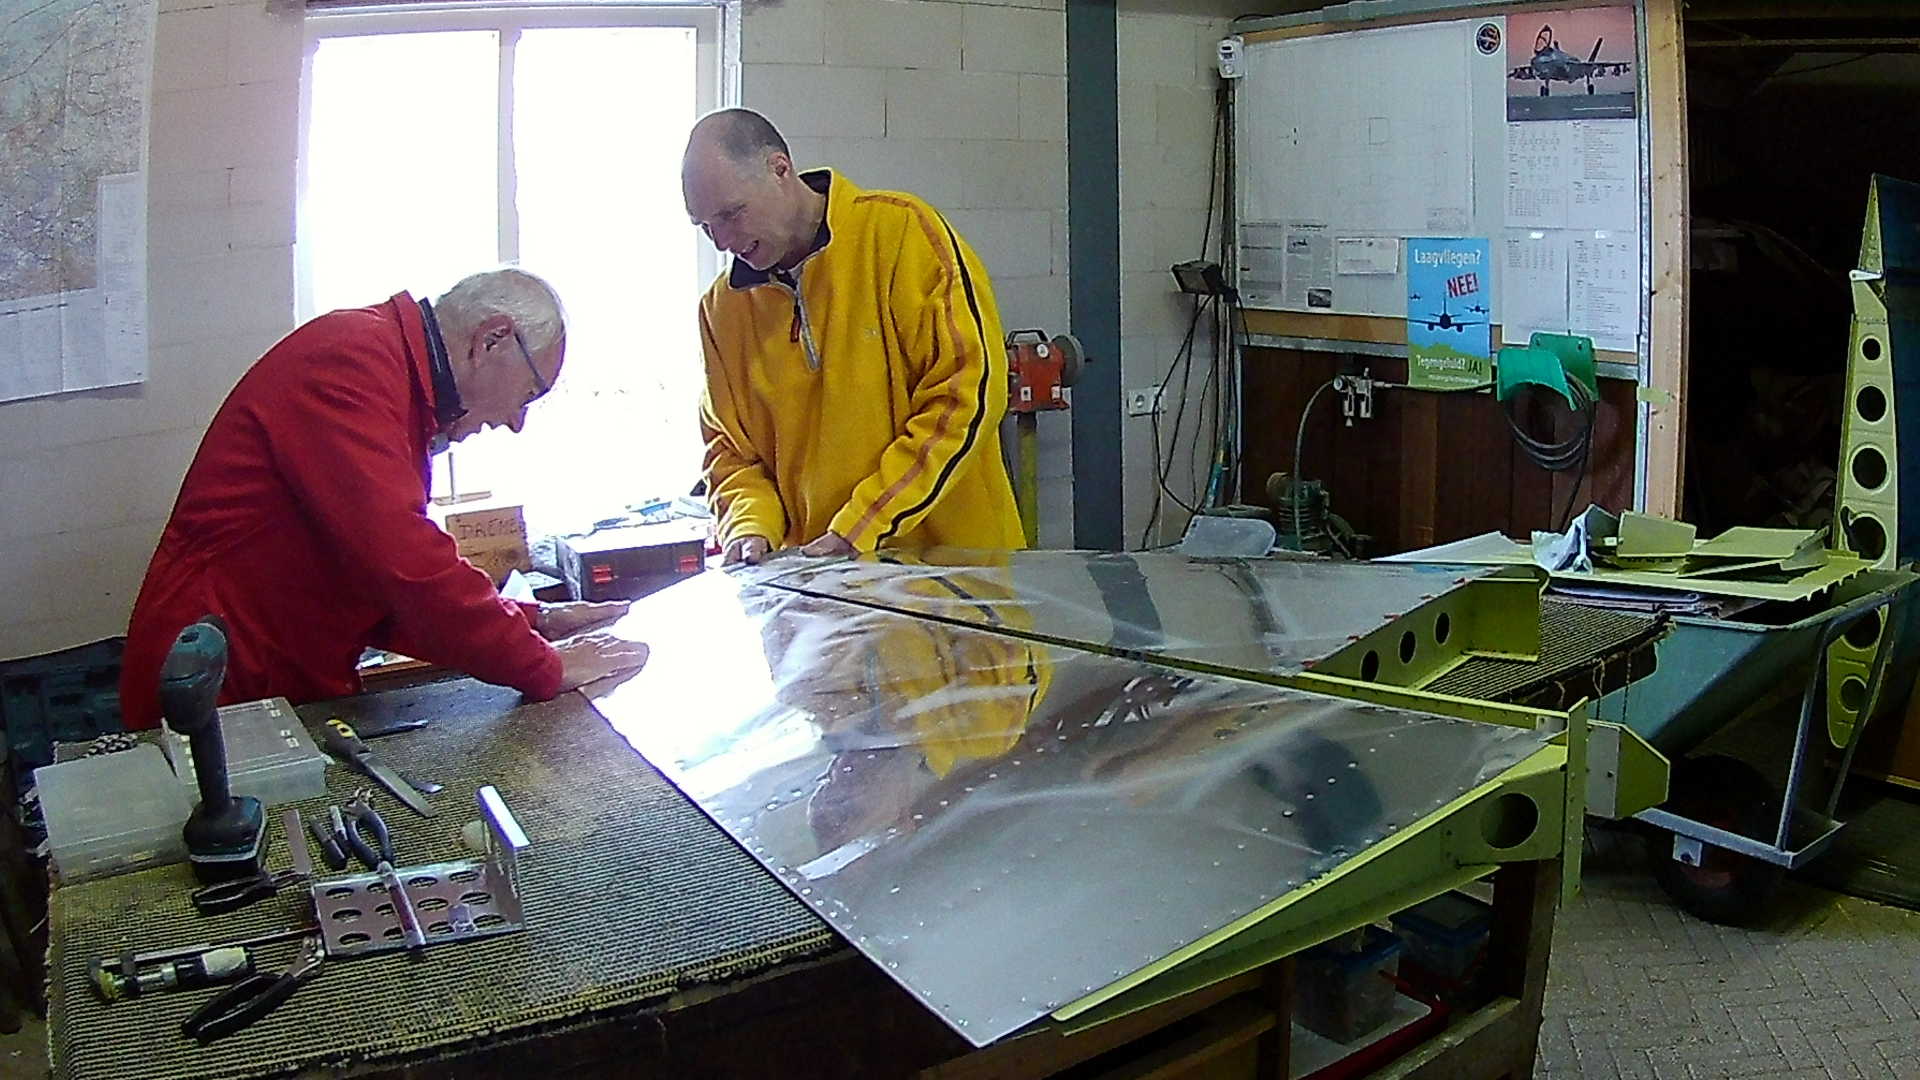
Because the Tips are blind-riveted to the Elevator, with the Aluminum to the outside, the rivet in pulled to the fiberglass. To prevent pulling the rivet right through the fiberglass, you have to secure it on the inside. You can use either a small washer or aluminum strip. I decided to make custom ‘washers’ from Aluminum. just a strip cut into small squares and drill them.
As a final touch I dimpled the ‘washers’, so it is distributes the tension when pulling the rivet.
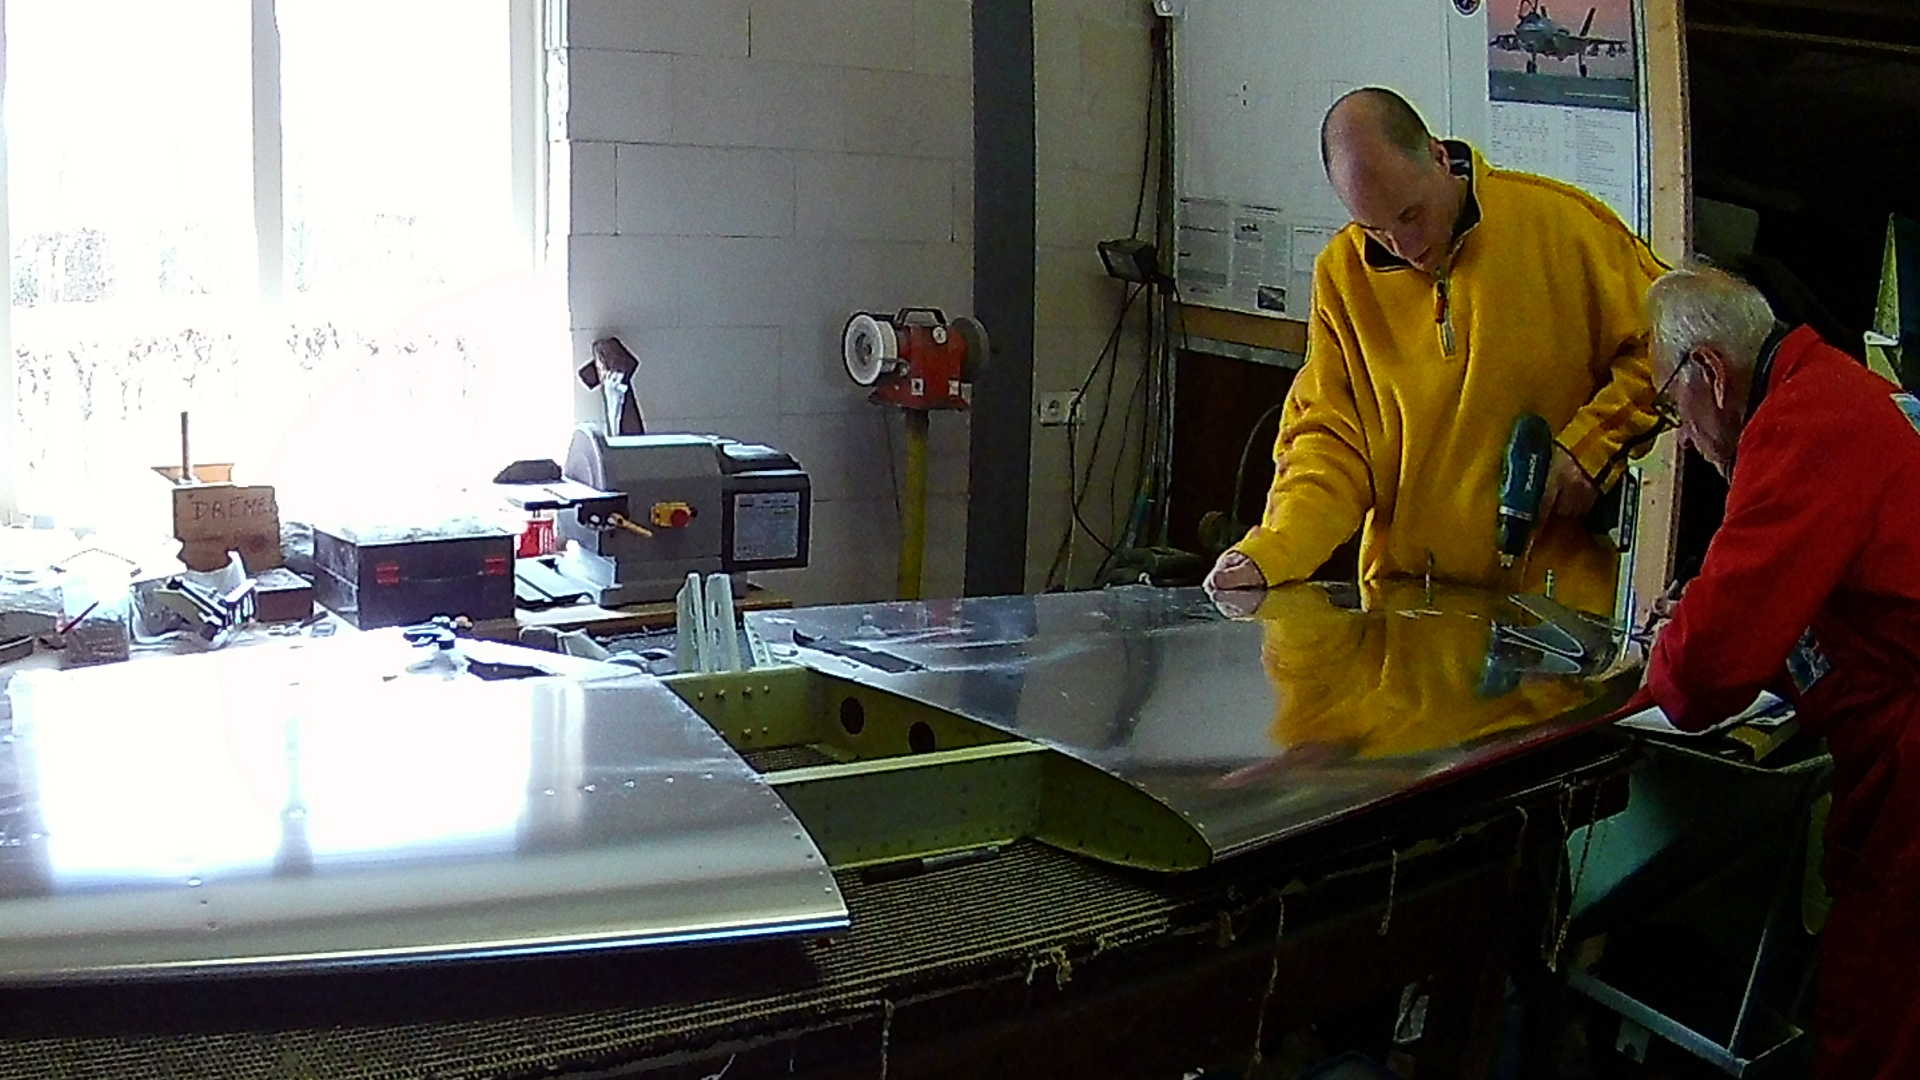
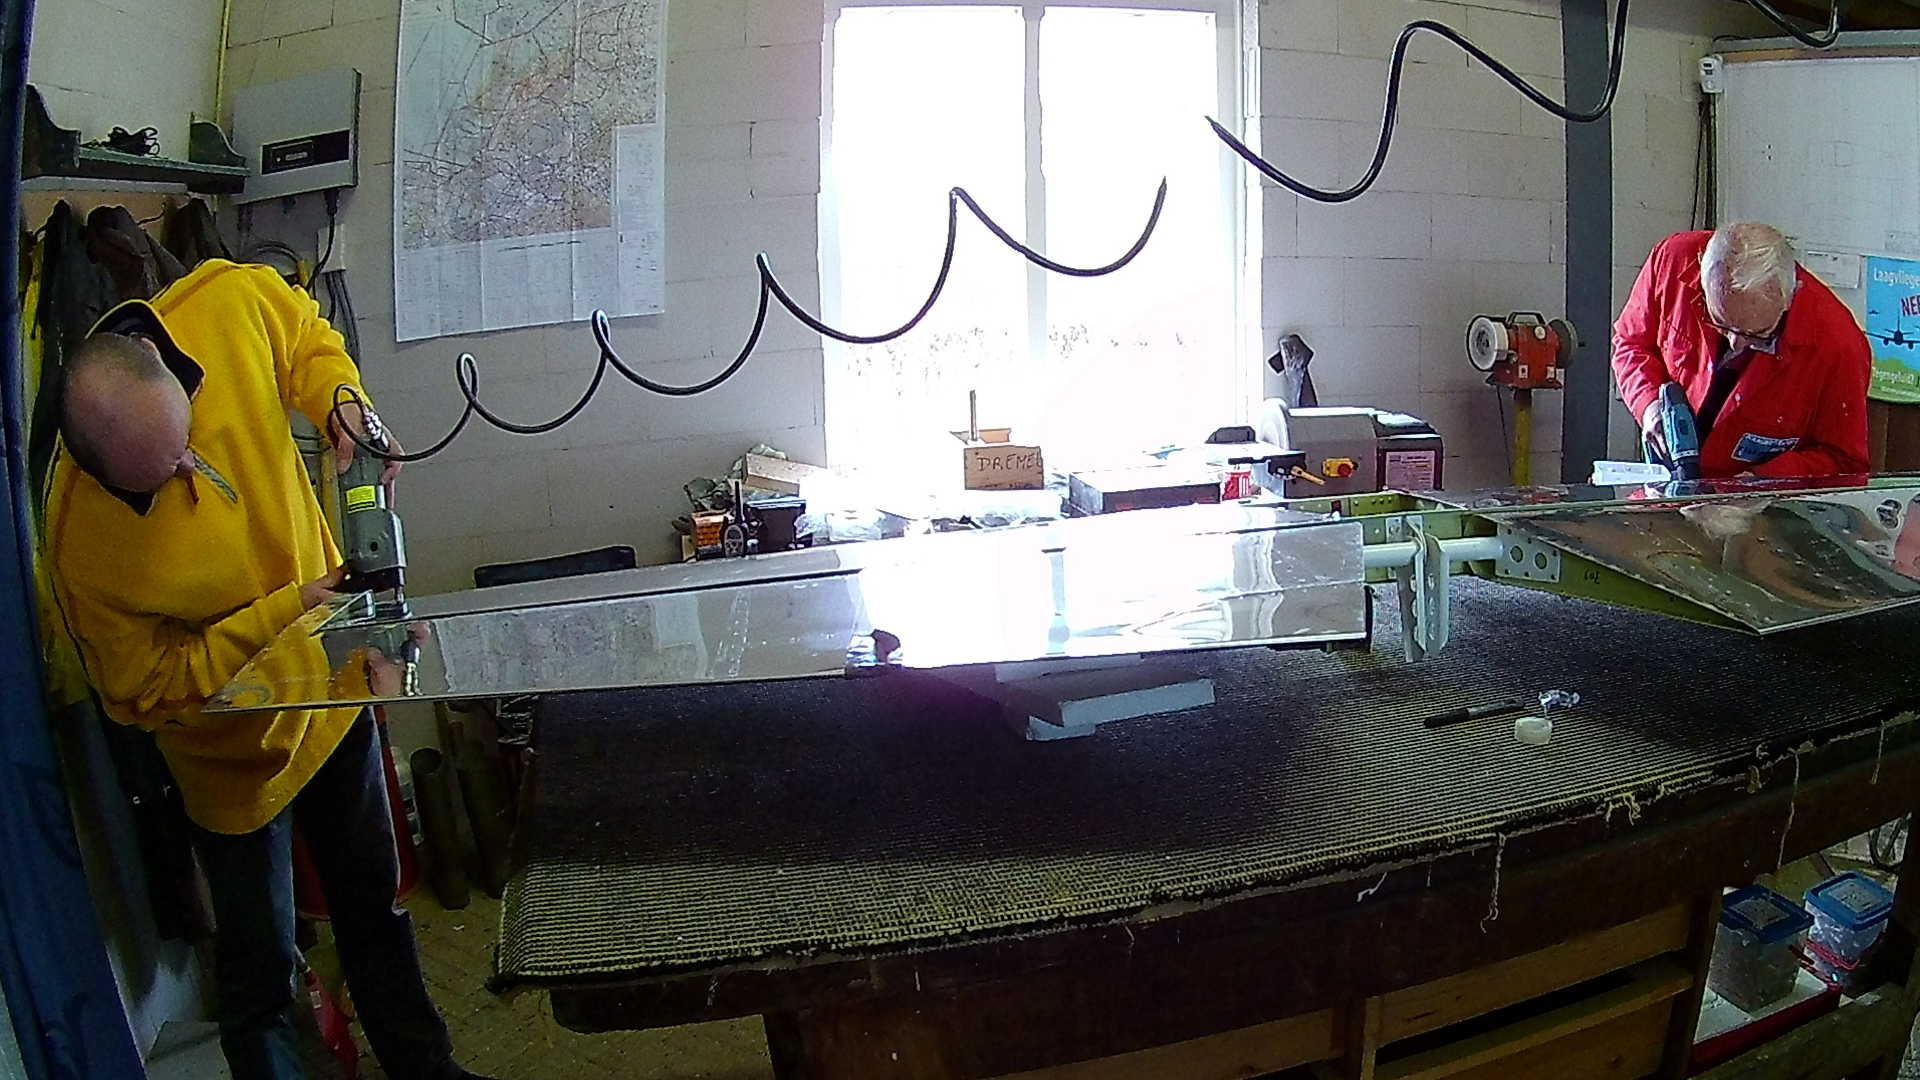
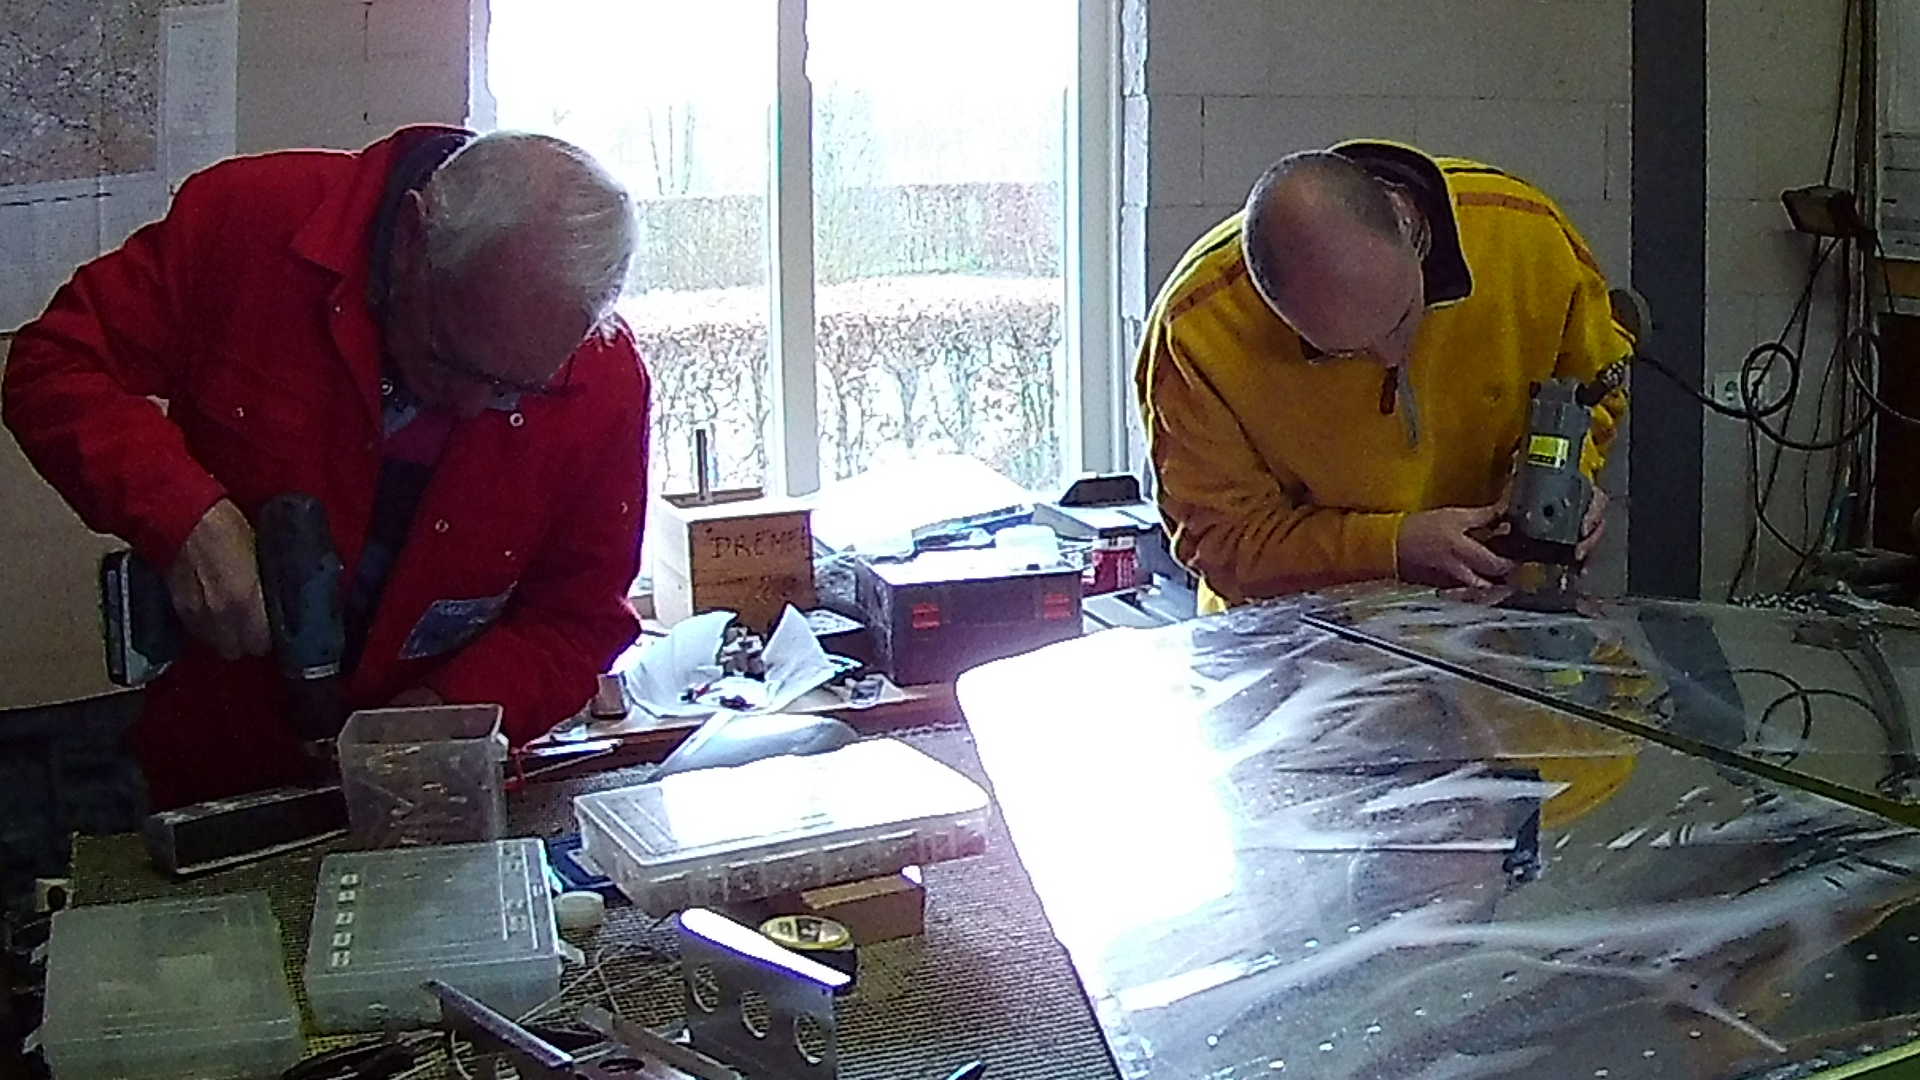
Drilling the holes though the Aluminum into the glassfiber works good. However you need to check if the Tip is straight on the Aluminum. The preformed fiberglass fits great, but it will not guarantee being aligned, so check it.
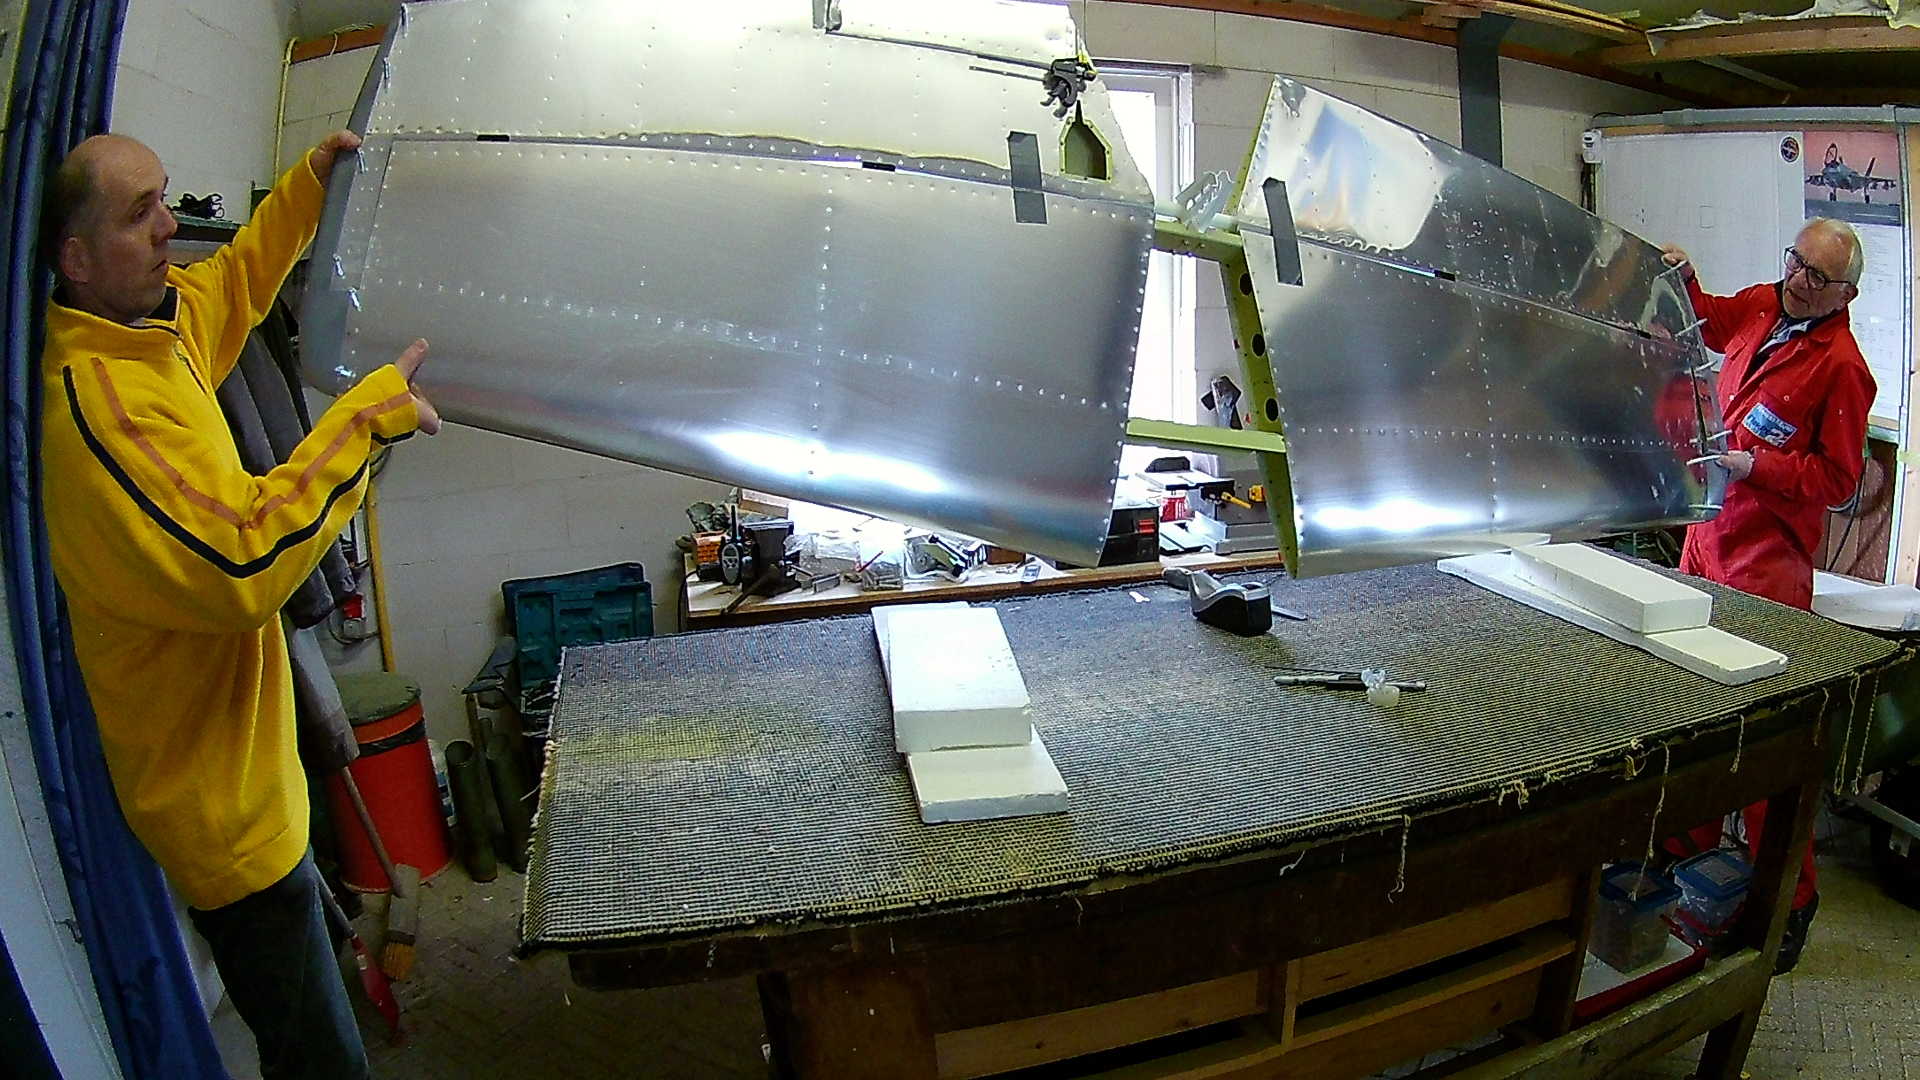
Flipping the Horizontal Stabilizer to drill the other side.
Another problem is the Lead weight on the forward part of the Elevator. In Hind-side (again) it’s better to trim it on the forward side, so you can comfortably make a fiberglass front piece to it.
I didn’t dimple the Aluminum, which is a good thing, as it made fitting the Tips much easier.
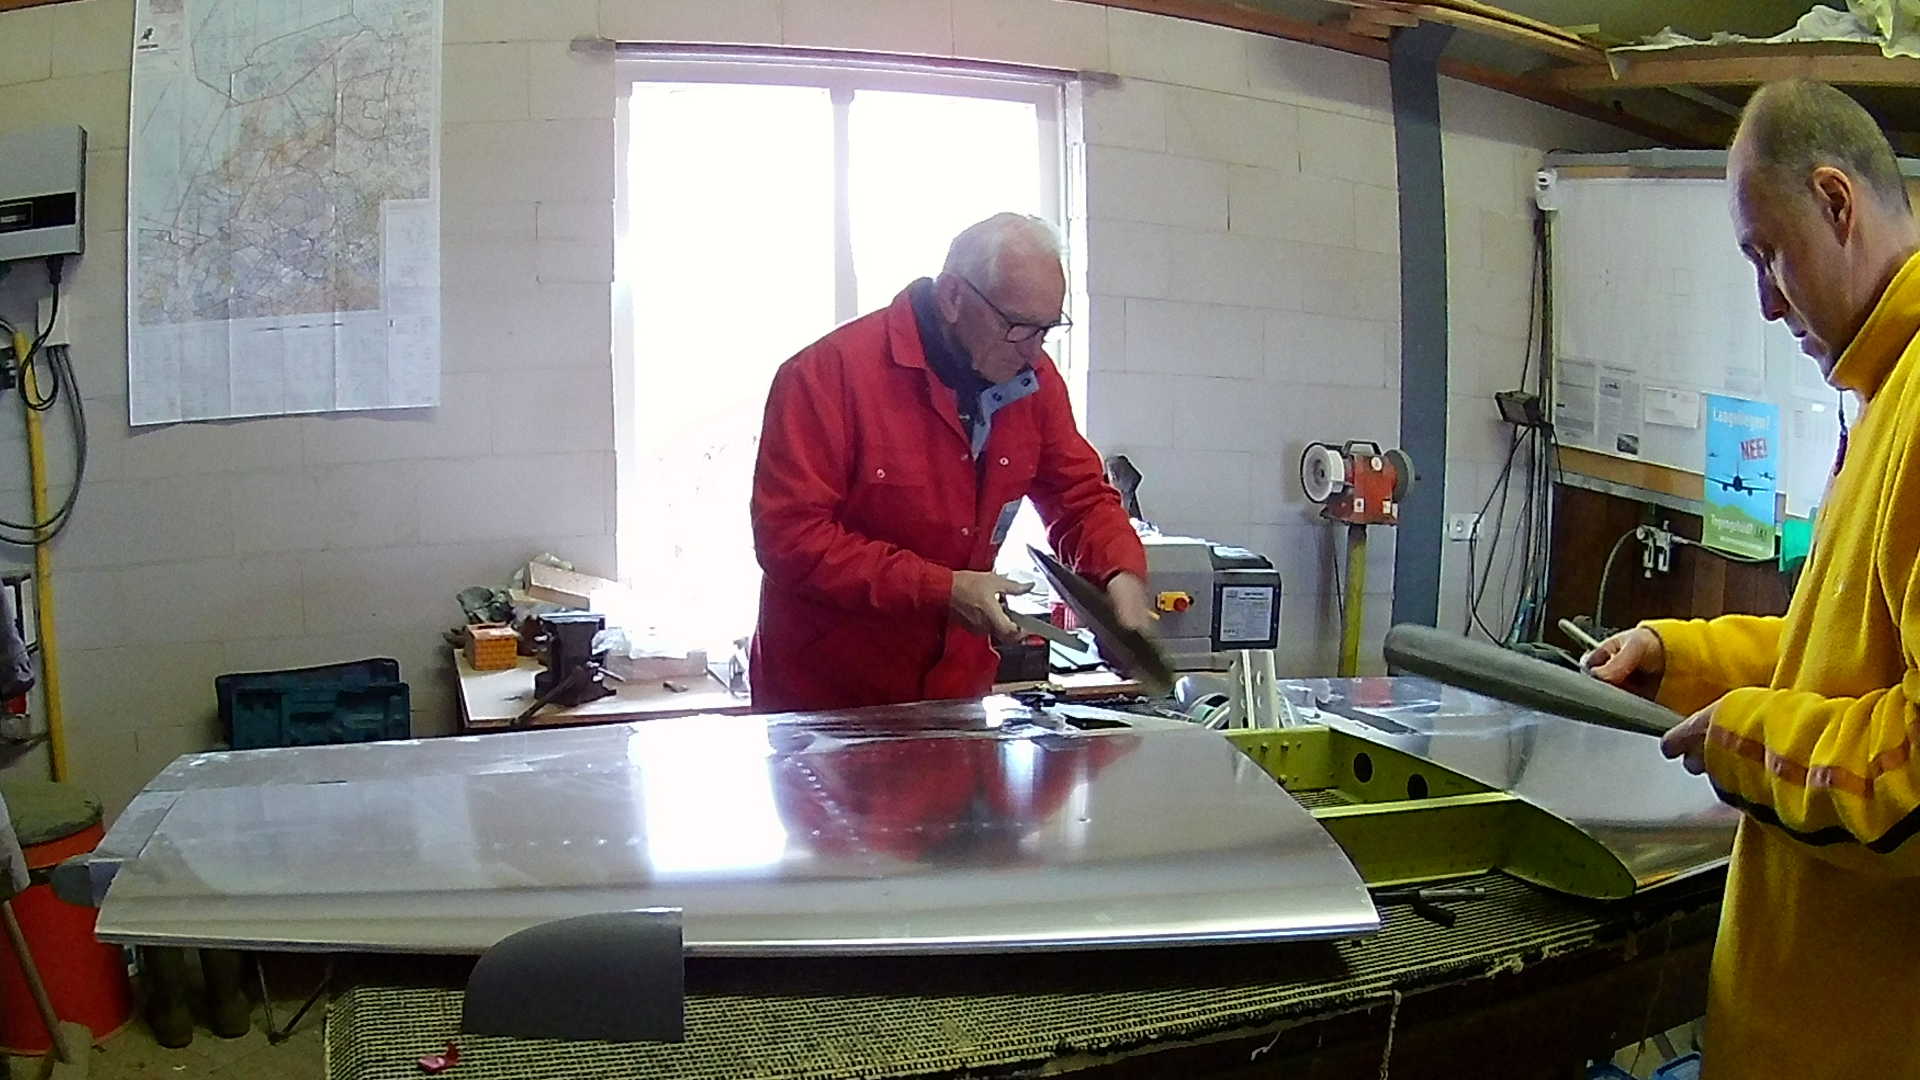
With some time left, we also started with the Rudder Tips (the top side. The Rudder Horn (bottom part) can only be done after fitting it to the tail. Because of the Tail wheel, you need to do some extra trimming.
Again after trimming I had to dimple the Aluminum (with the squeezer of course). I used the same Aluminum (custom) square ‘washers’ on the inside to prevent ripping the fiberglass when riveting.
Time: 5 Hours, Rivets: 31/1 (2020-03-29)
Time: 3 Hours, Rivets: 2/0 (2020-04-01)
