
This is my first attempt on bending Aluminum tubes to Fuel Lines and spoiler alert: I horribly failed.
I did some initial bending of sample lines, but somehow couldn’t find out how the ‘hand tubeing bender’ works. After this experience I actually did RTFM!
And I watched several YouTube video’s that explained it. It always seems so simple when experts do it.
The bigger the frustration when you try it and you mangle a piece of Aluminum until it’s FUBAR.
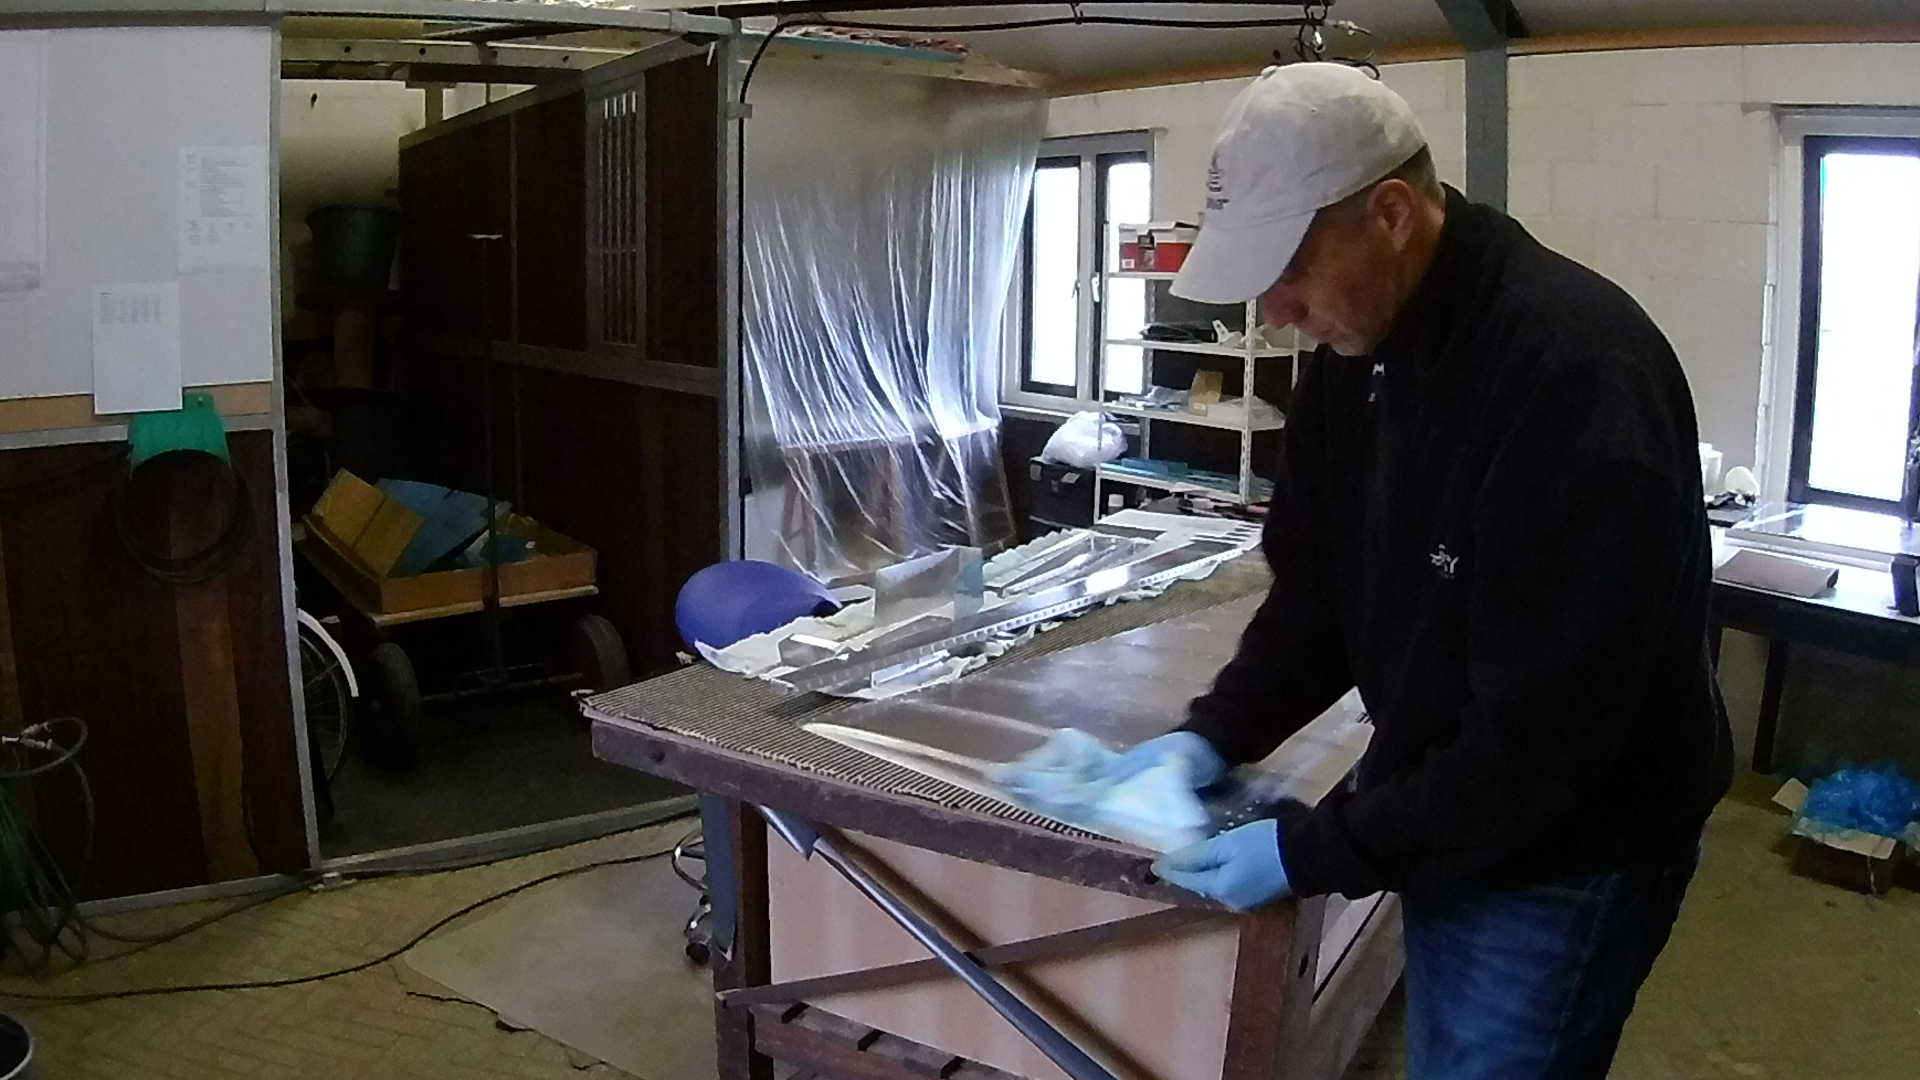
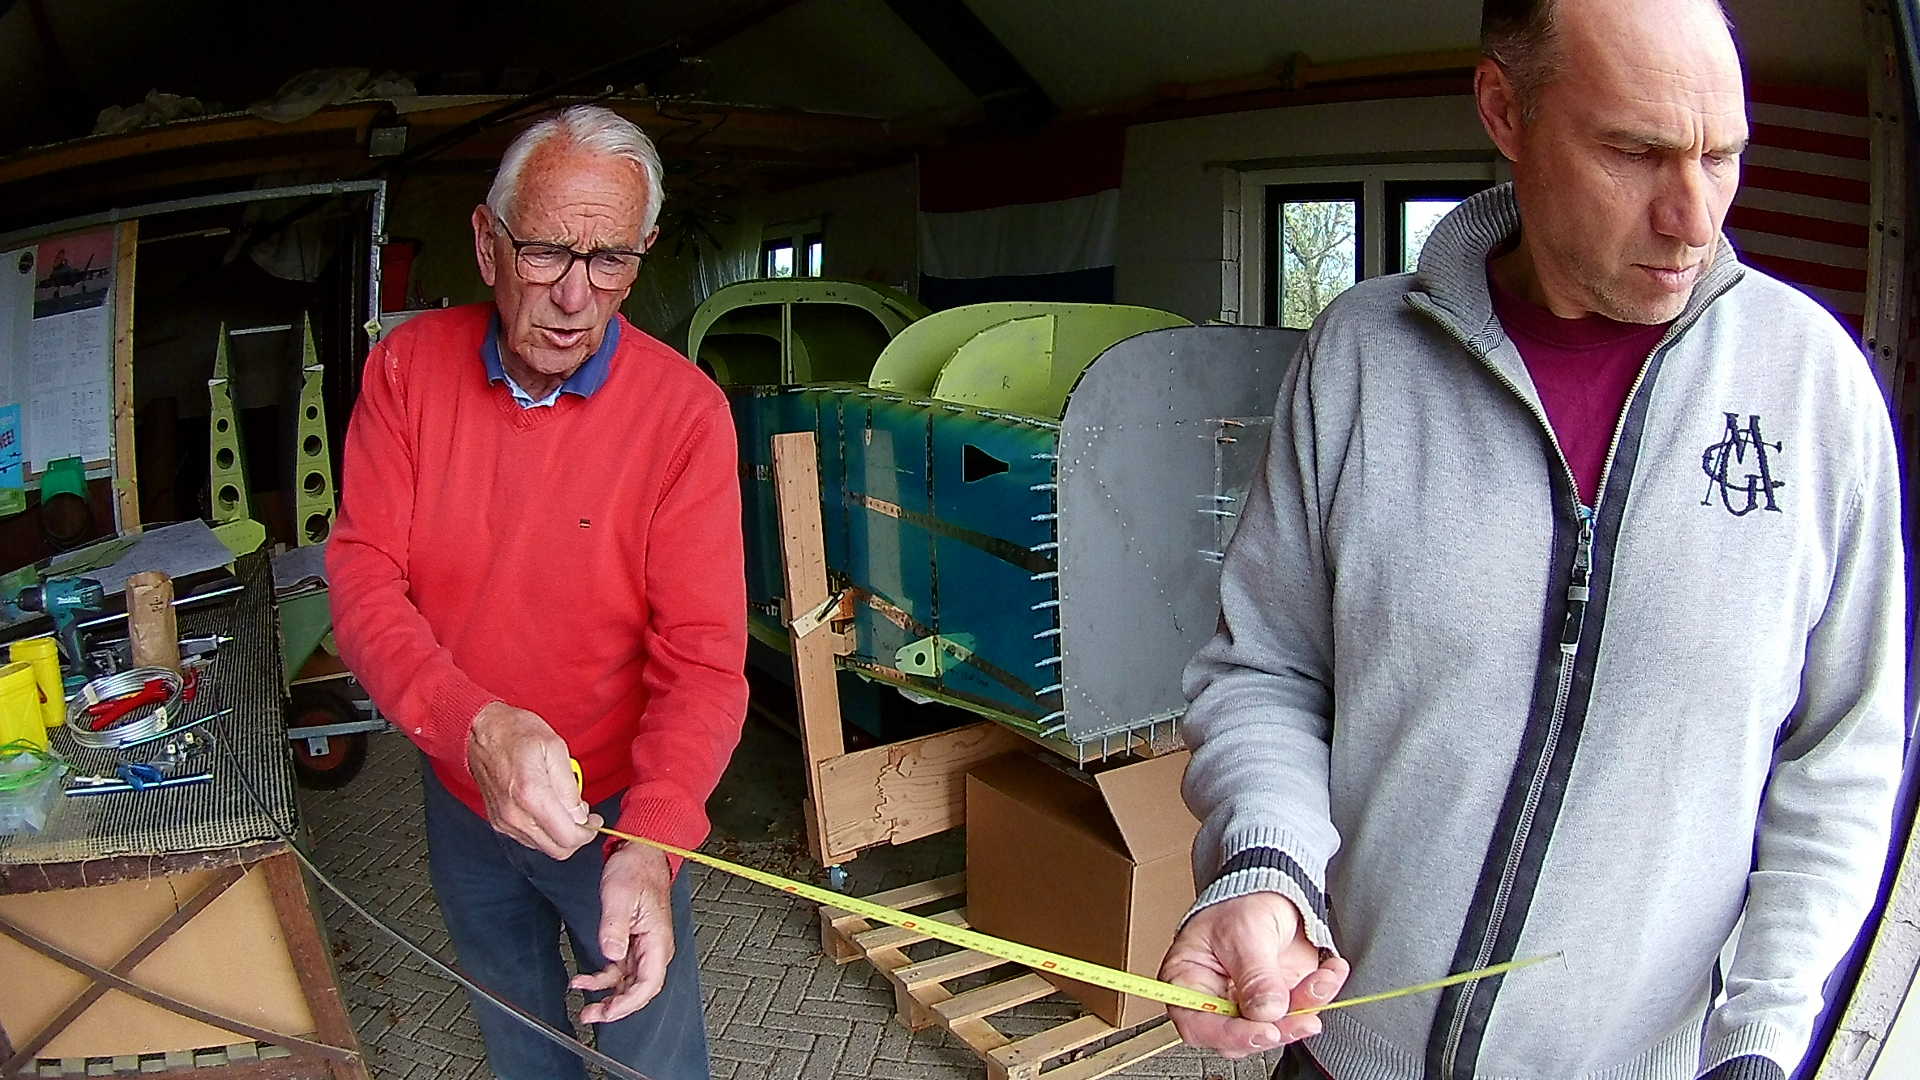
First step is measuring the tube and cutting of the part you need for a specific Fuel line.
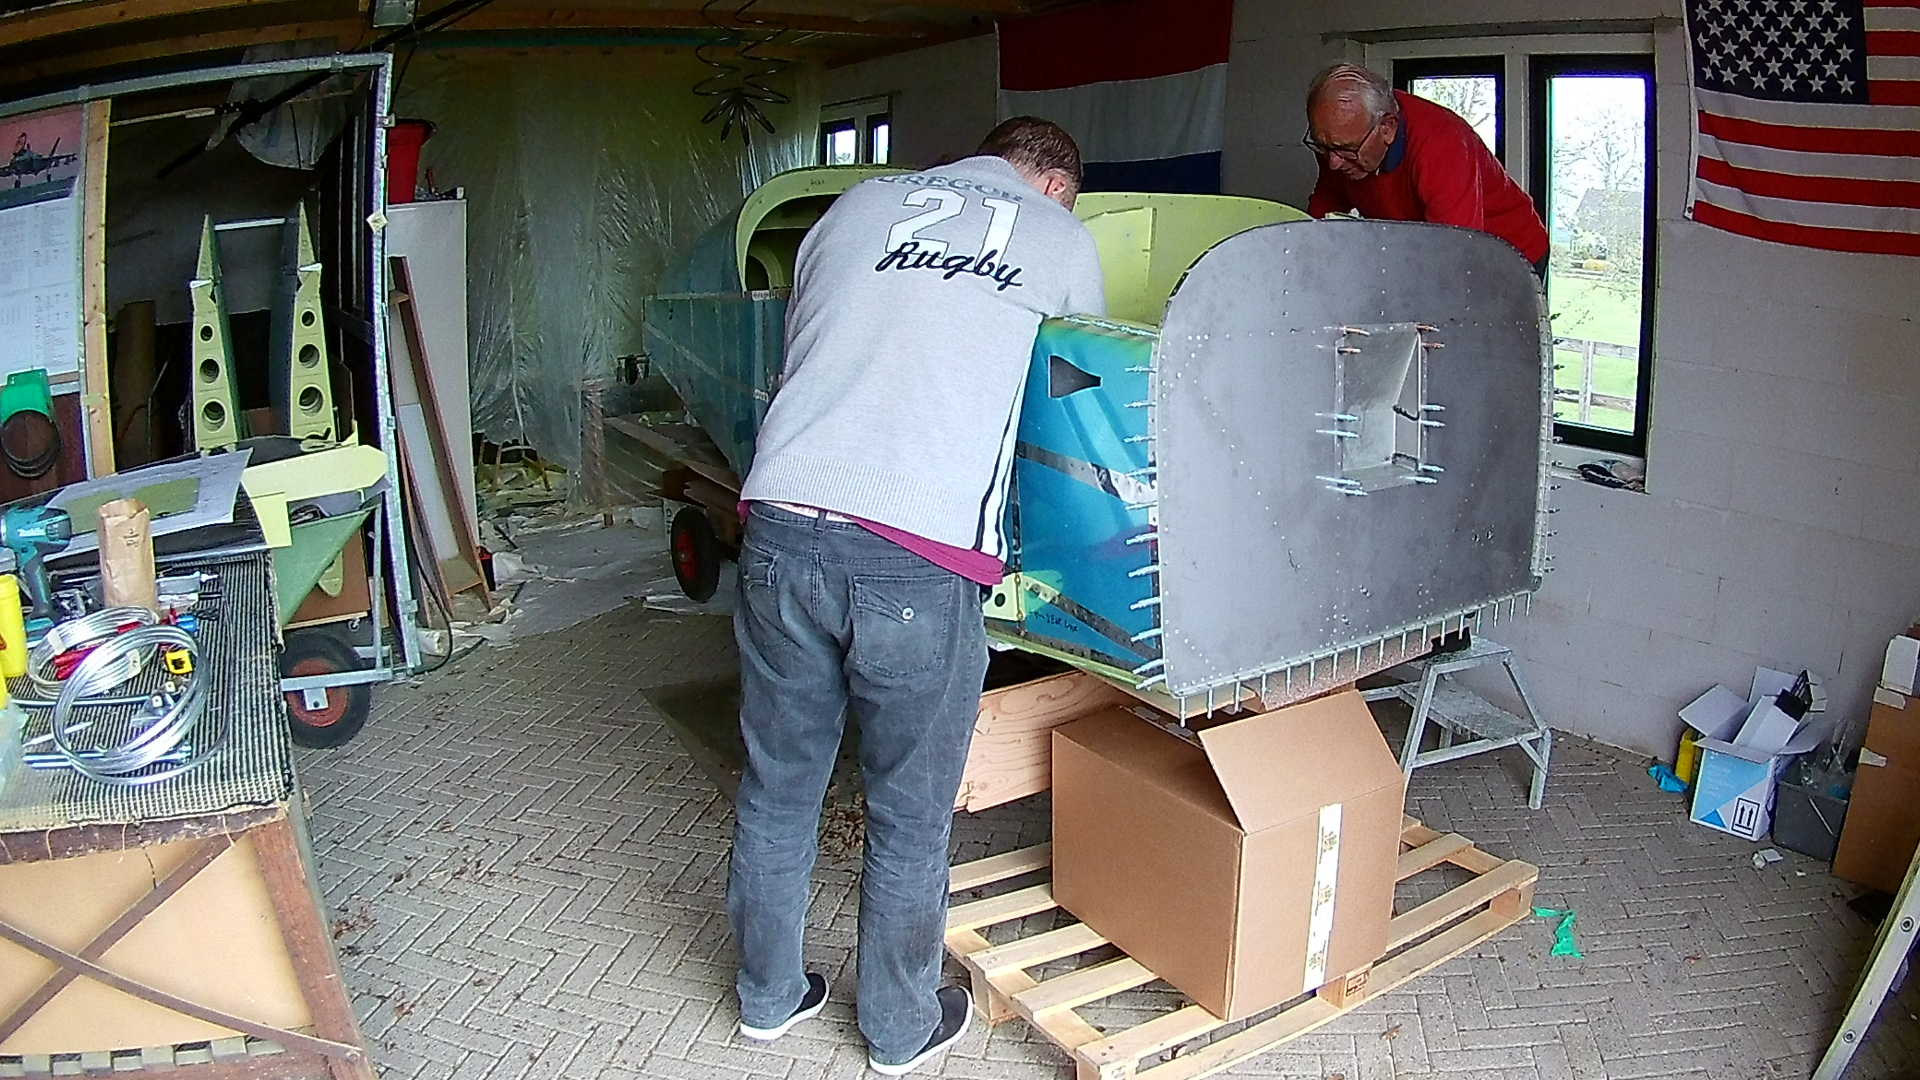
We need two feed lines (left and right) and a single return line. The ULPower 520 iSA is an electronic injected engine and requires a return line.
I decided to make a single return line to the left wing. The Sport Cruiser has a similar approach.
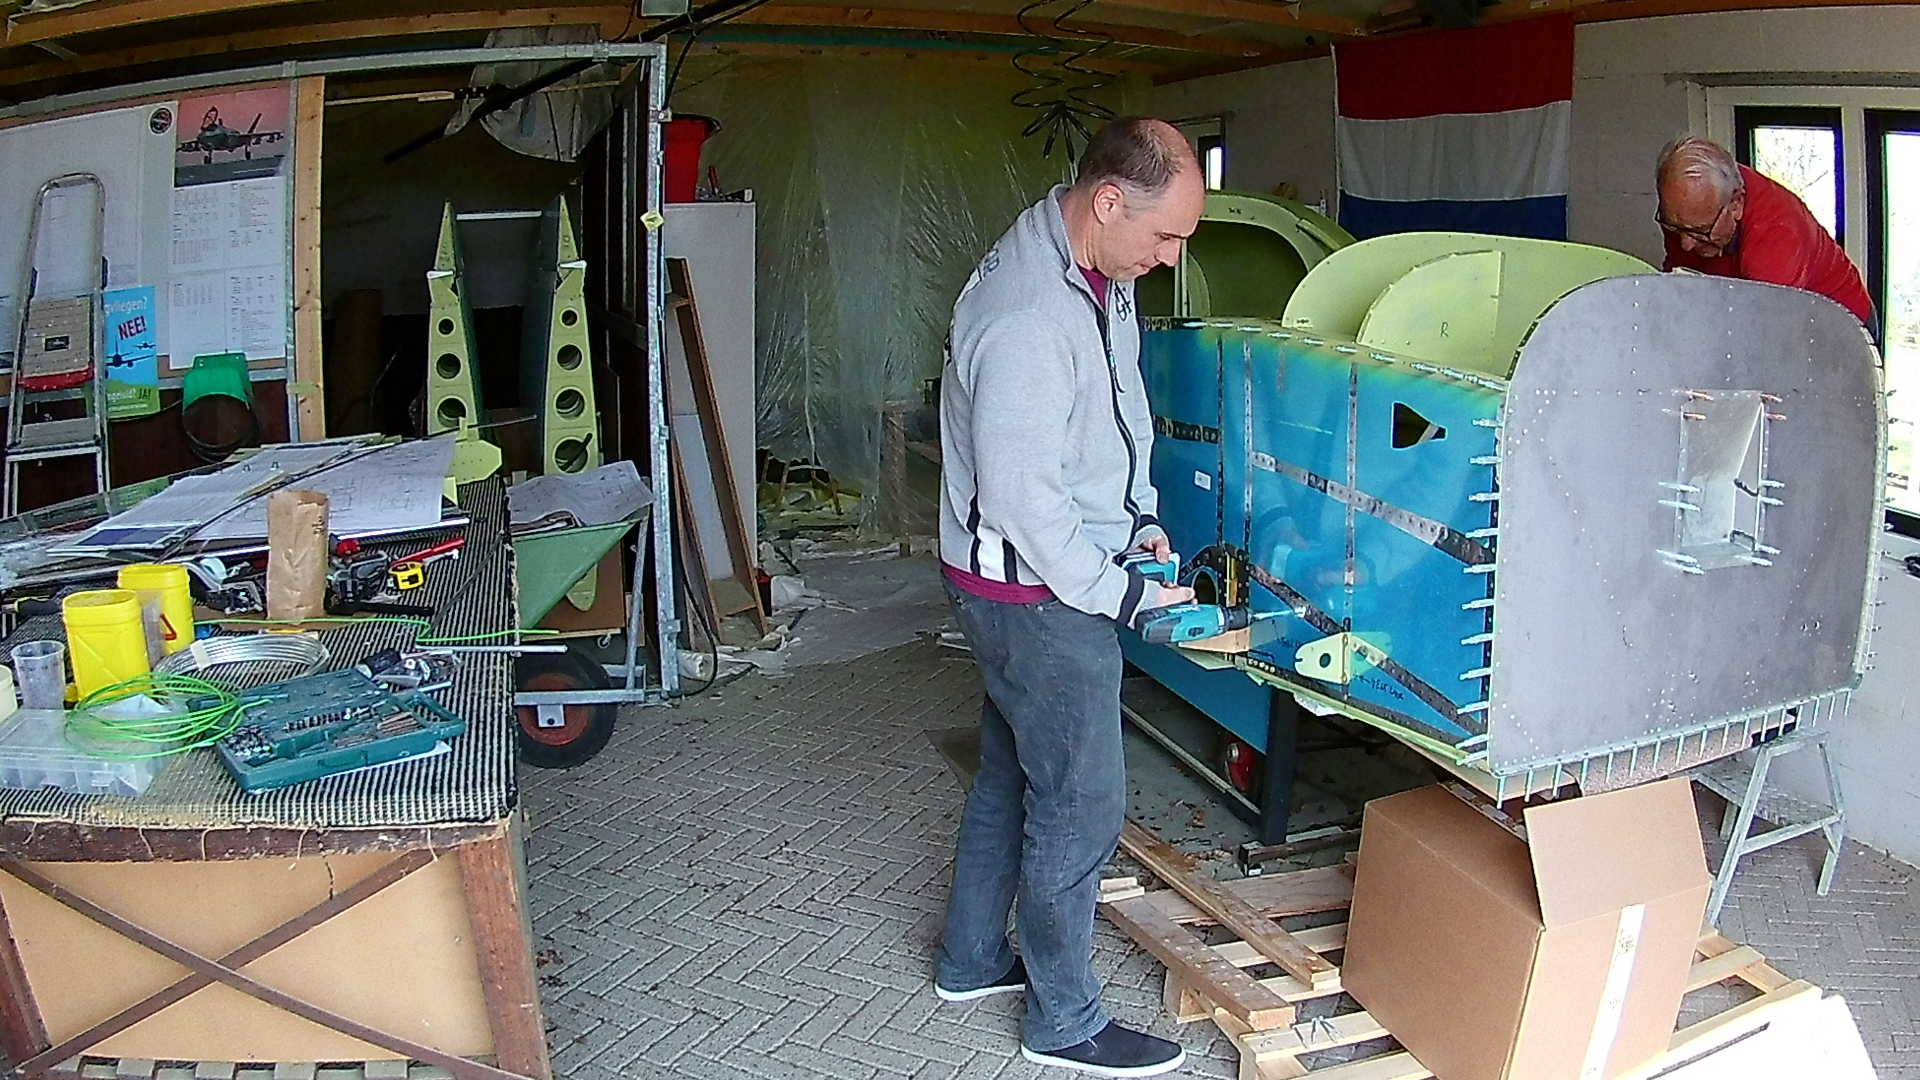
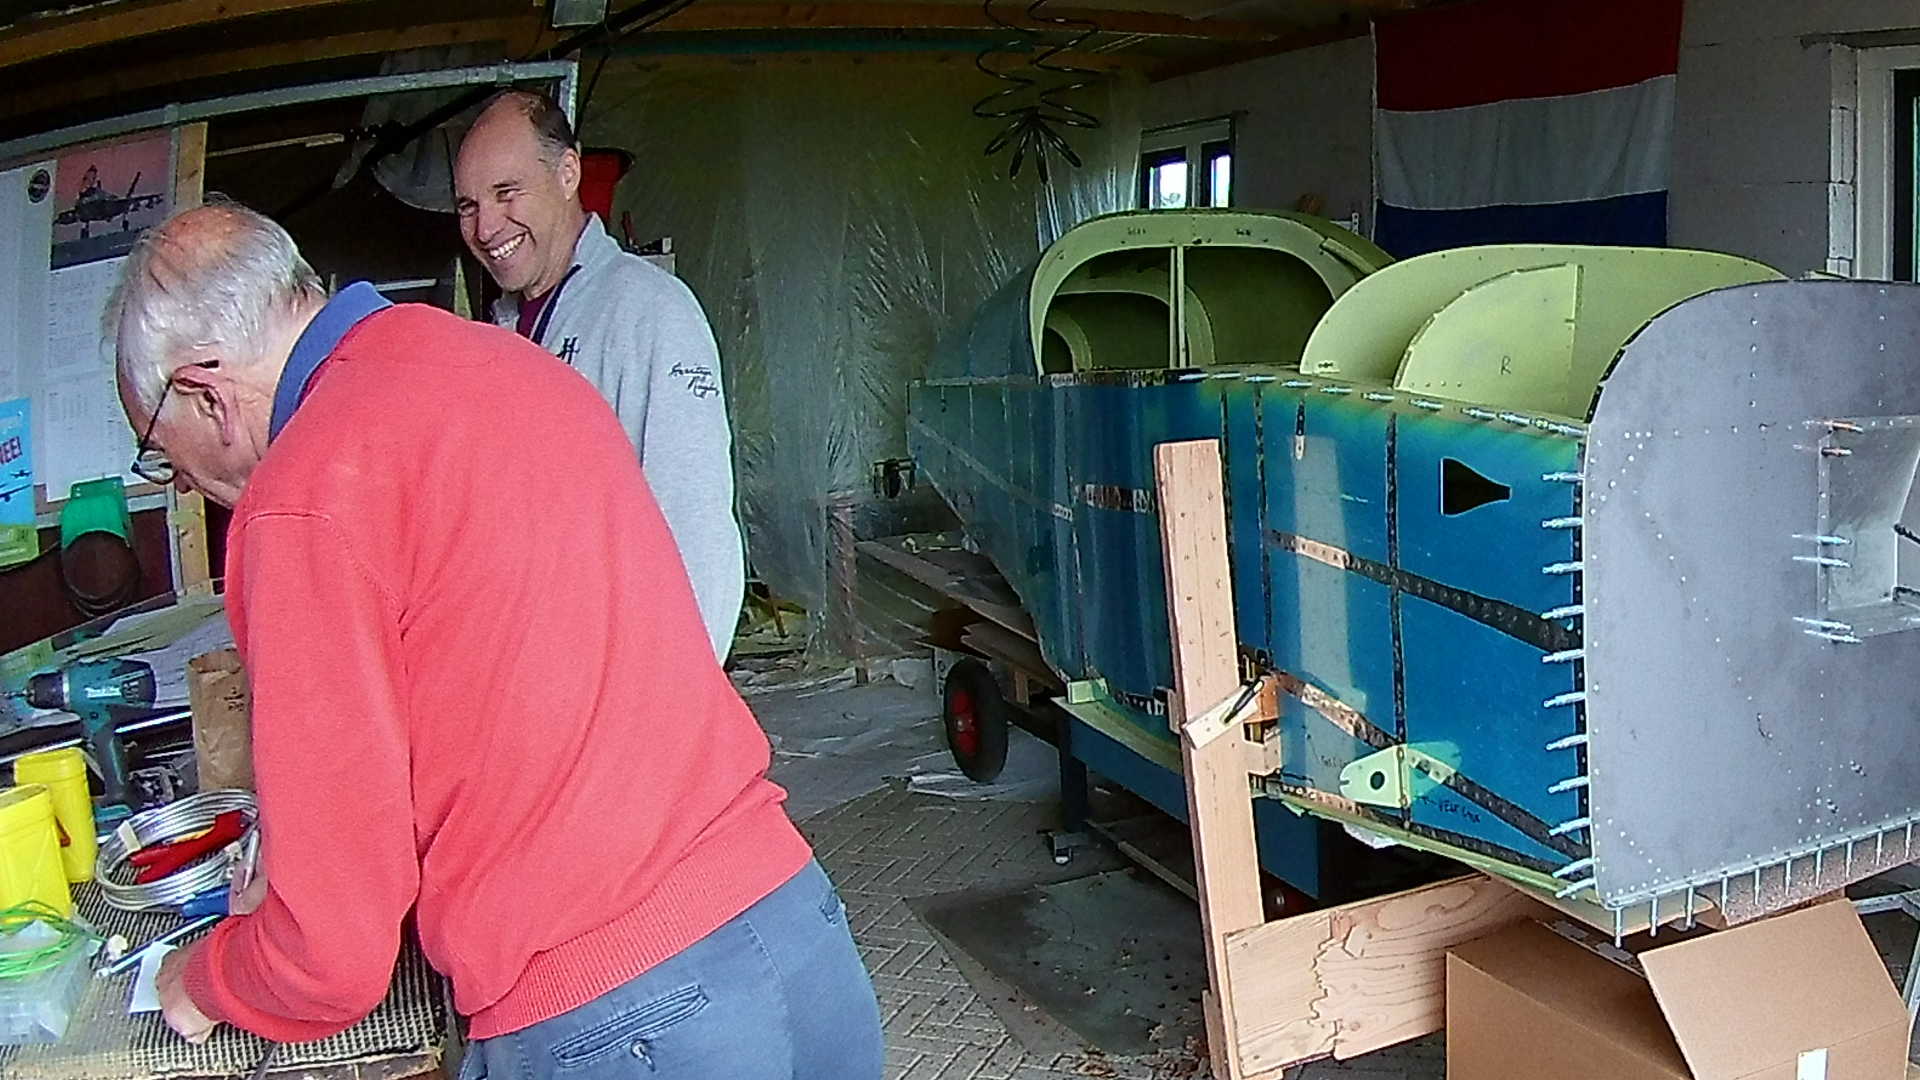
While my Dad uses a electric wire to bend a template, I’m widening the holes, so the Fuel lines and the grommet fit the hole.
The Fuel line cover plate needs to fit exactly in the corner of the ‘bend’.

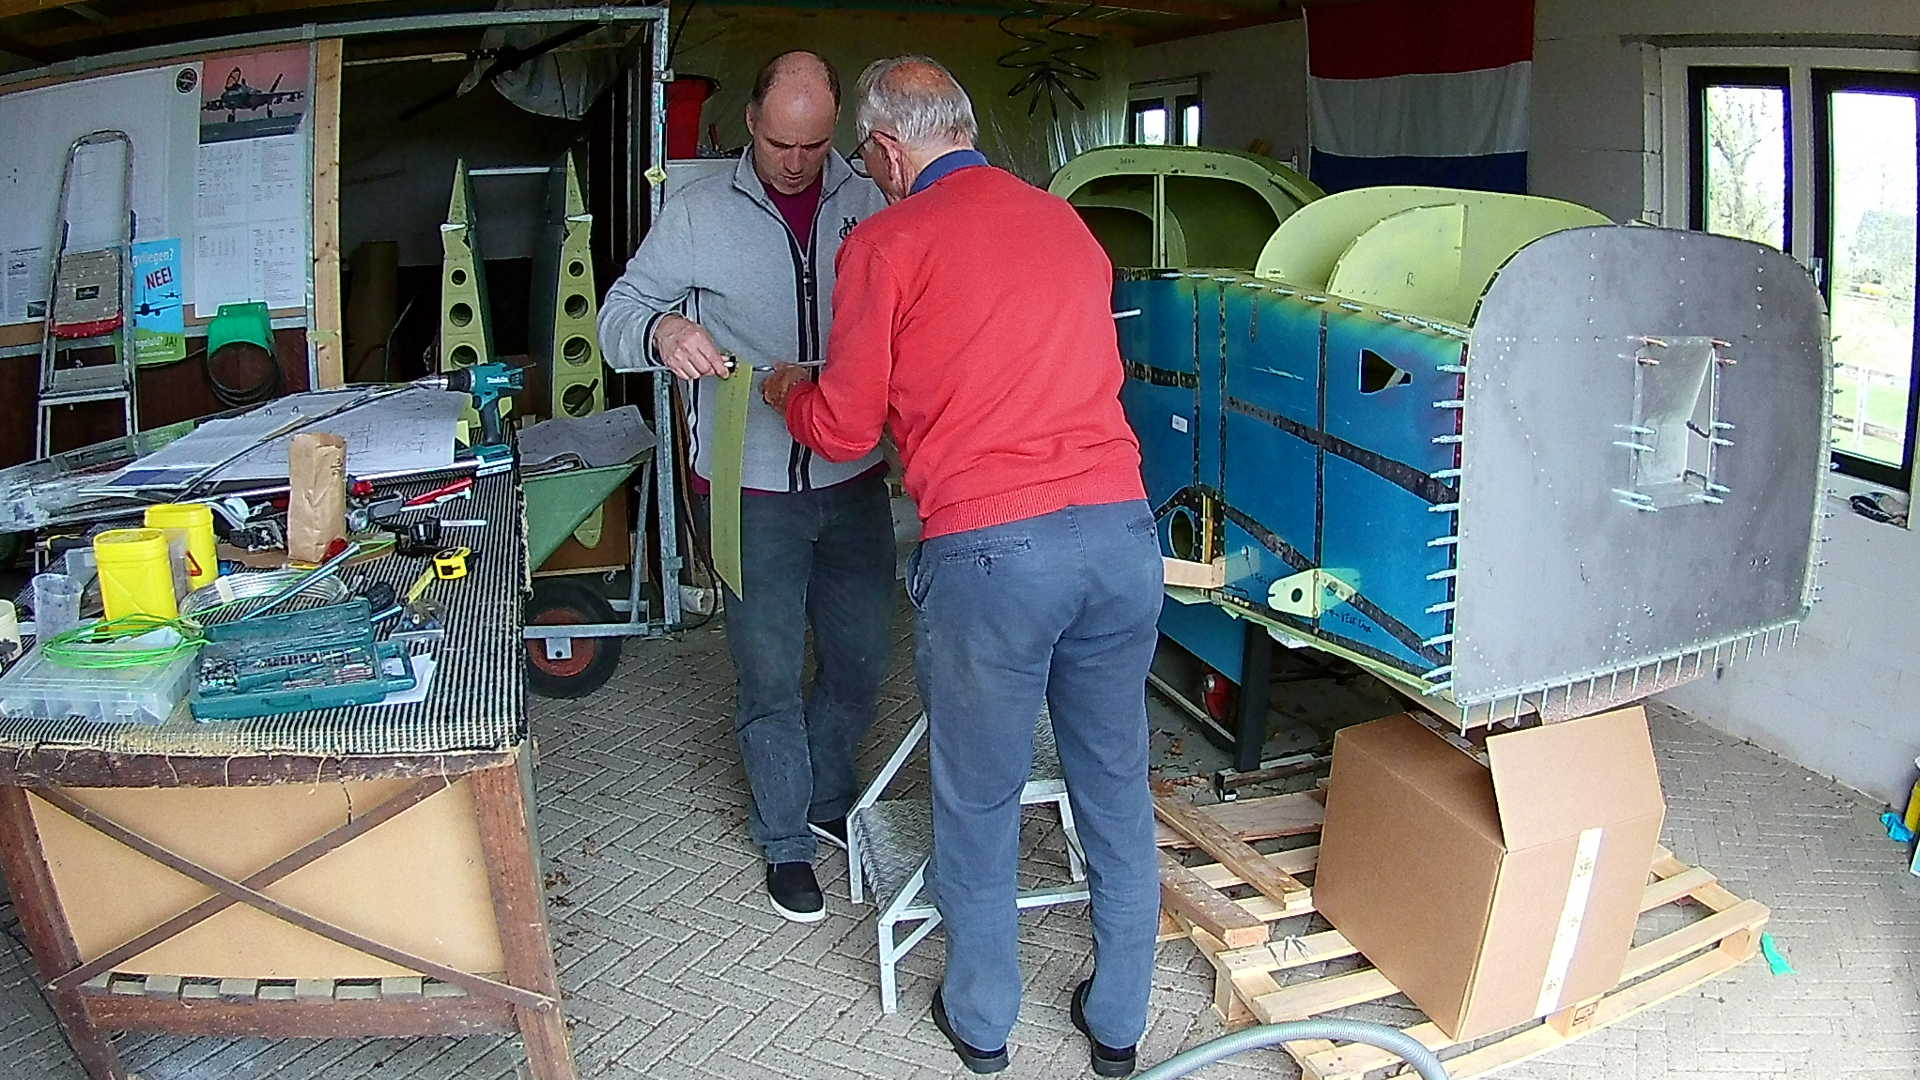
We discuss how the routing of the left feed line relates to the return line. I figured that we should use different routing, but it is now too late. Good thing I had to redo everything 🙁
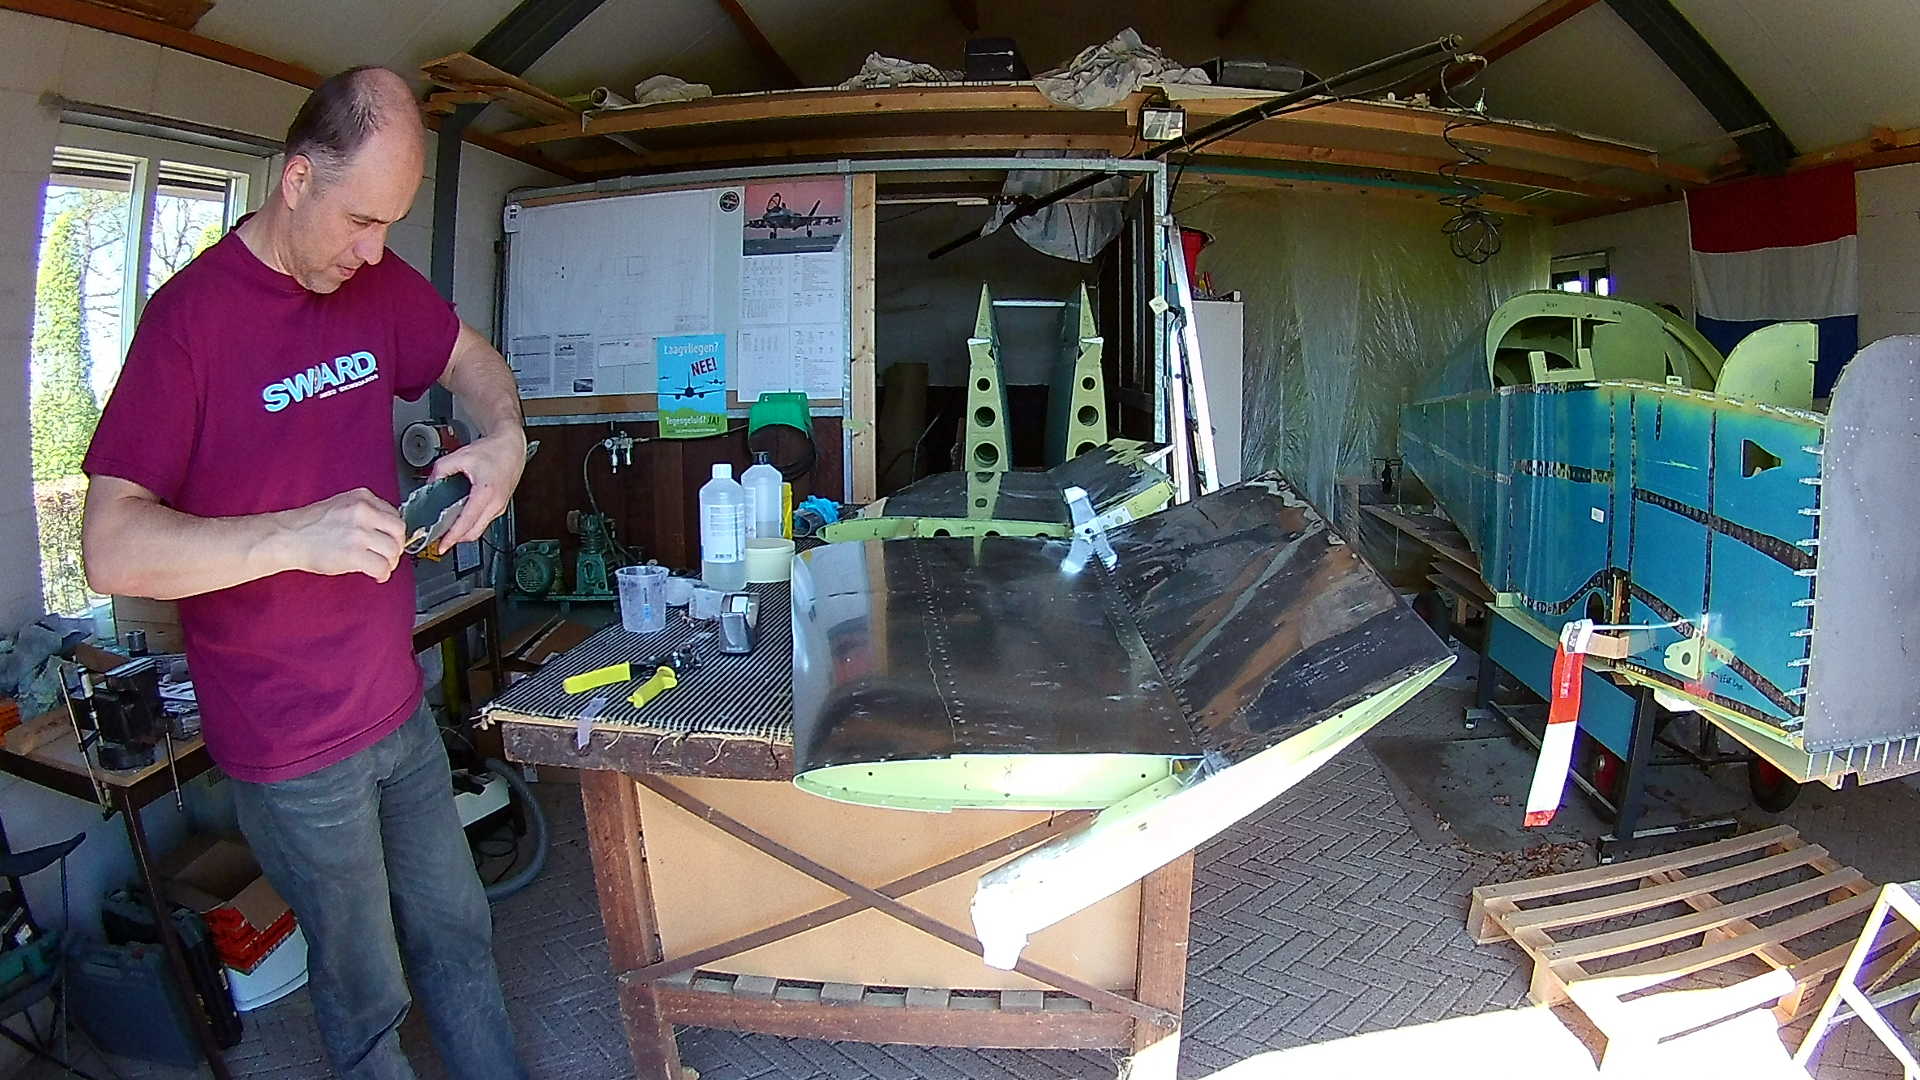
Next day, I concentrated on the Elevator tips.
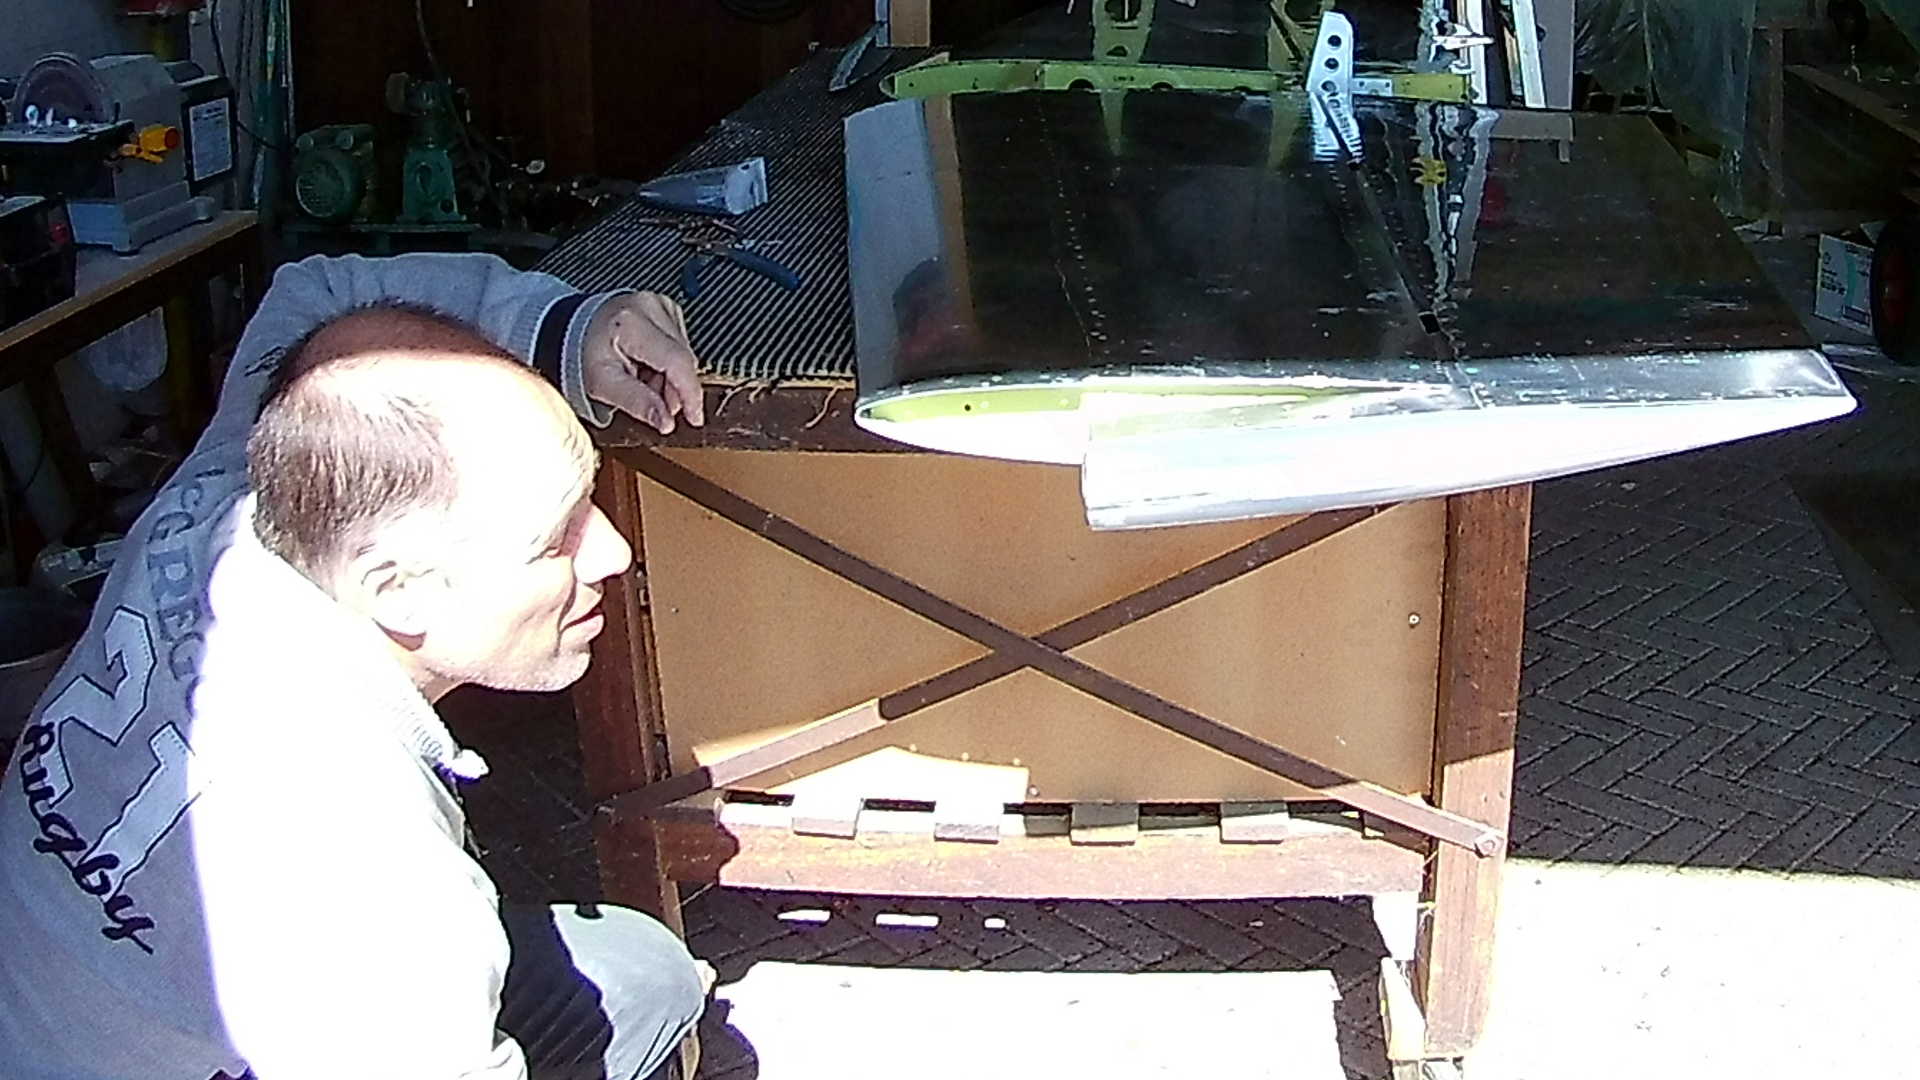
The lead counter balance weight at the forward side of the elevator tab is trimmed aft as per the drawing. However in hind-side I think it would be better to trim it at the front.
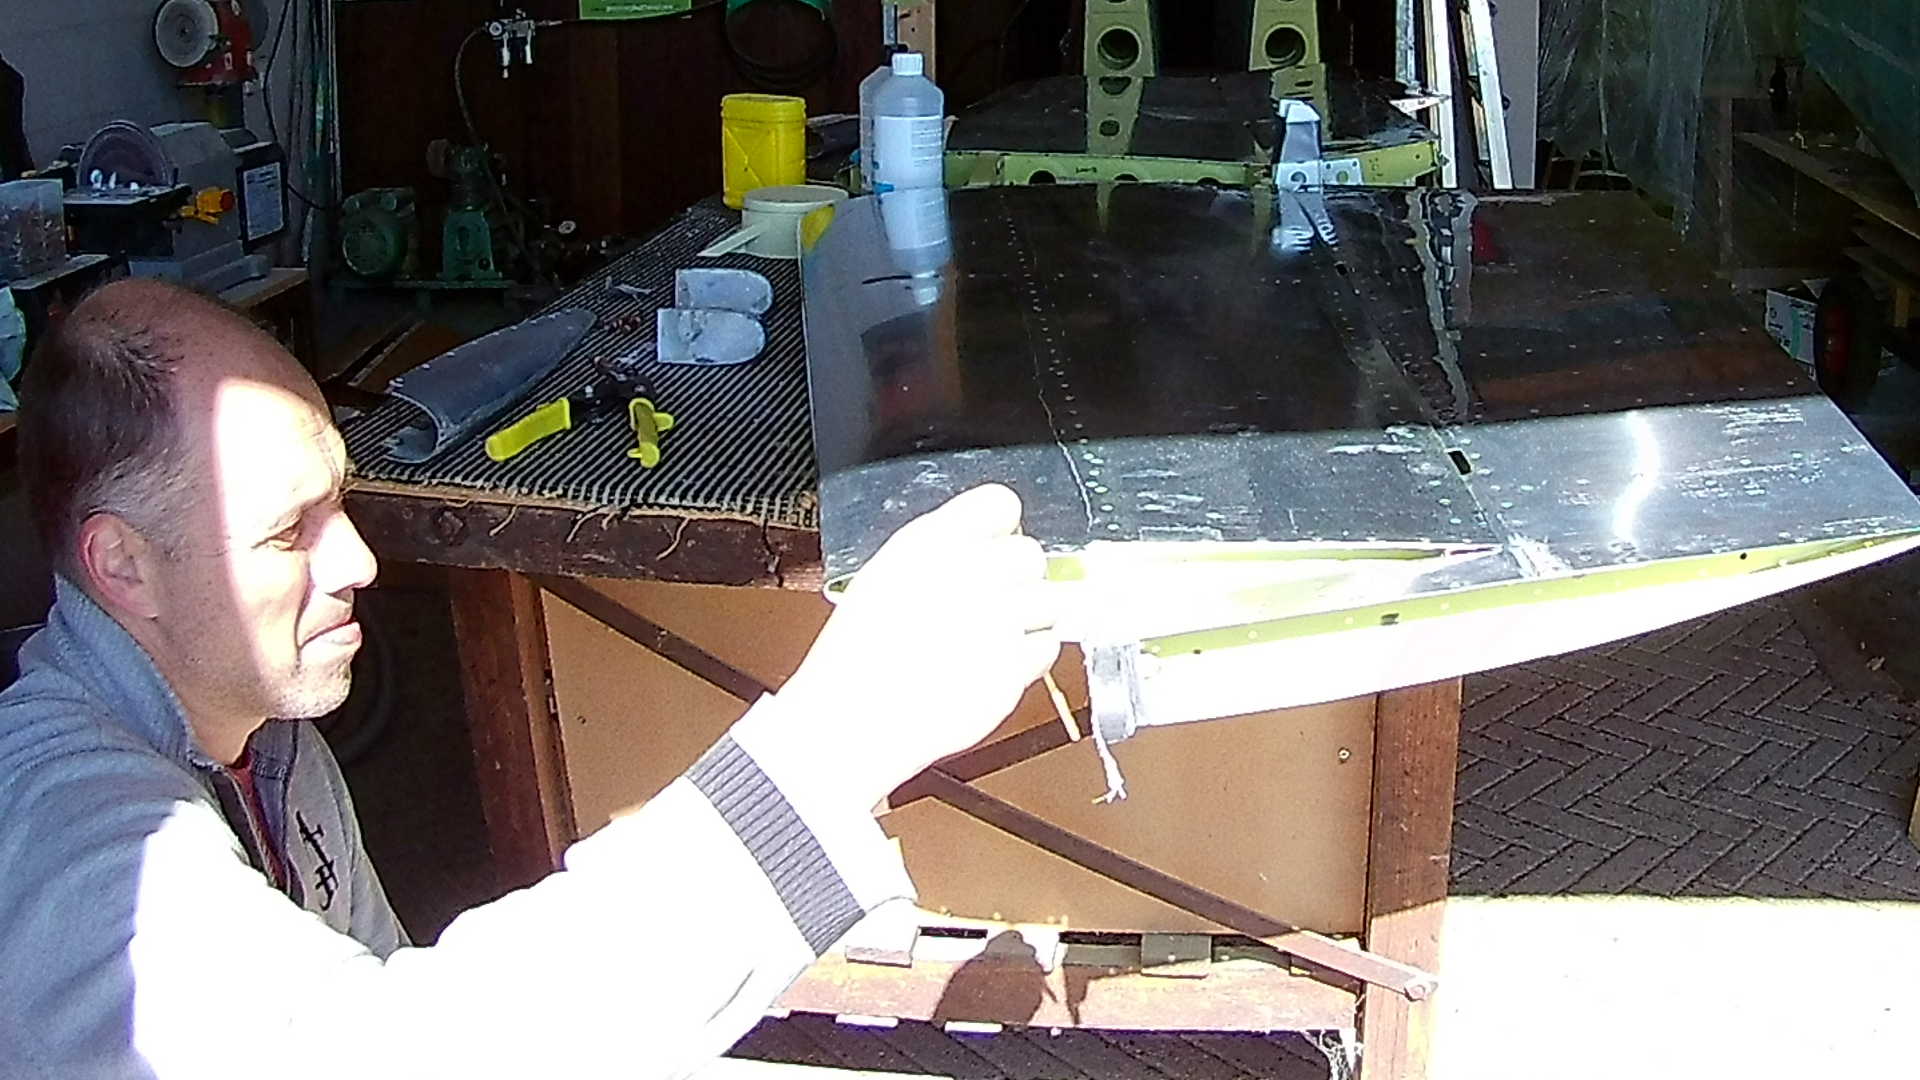
At least then there is enough room for some glass fiber covering. Now I did create the glass fiber cover, only to grind it all away in the finishing.
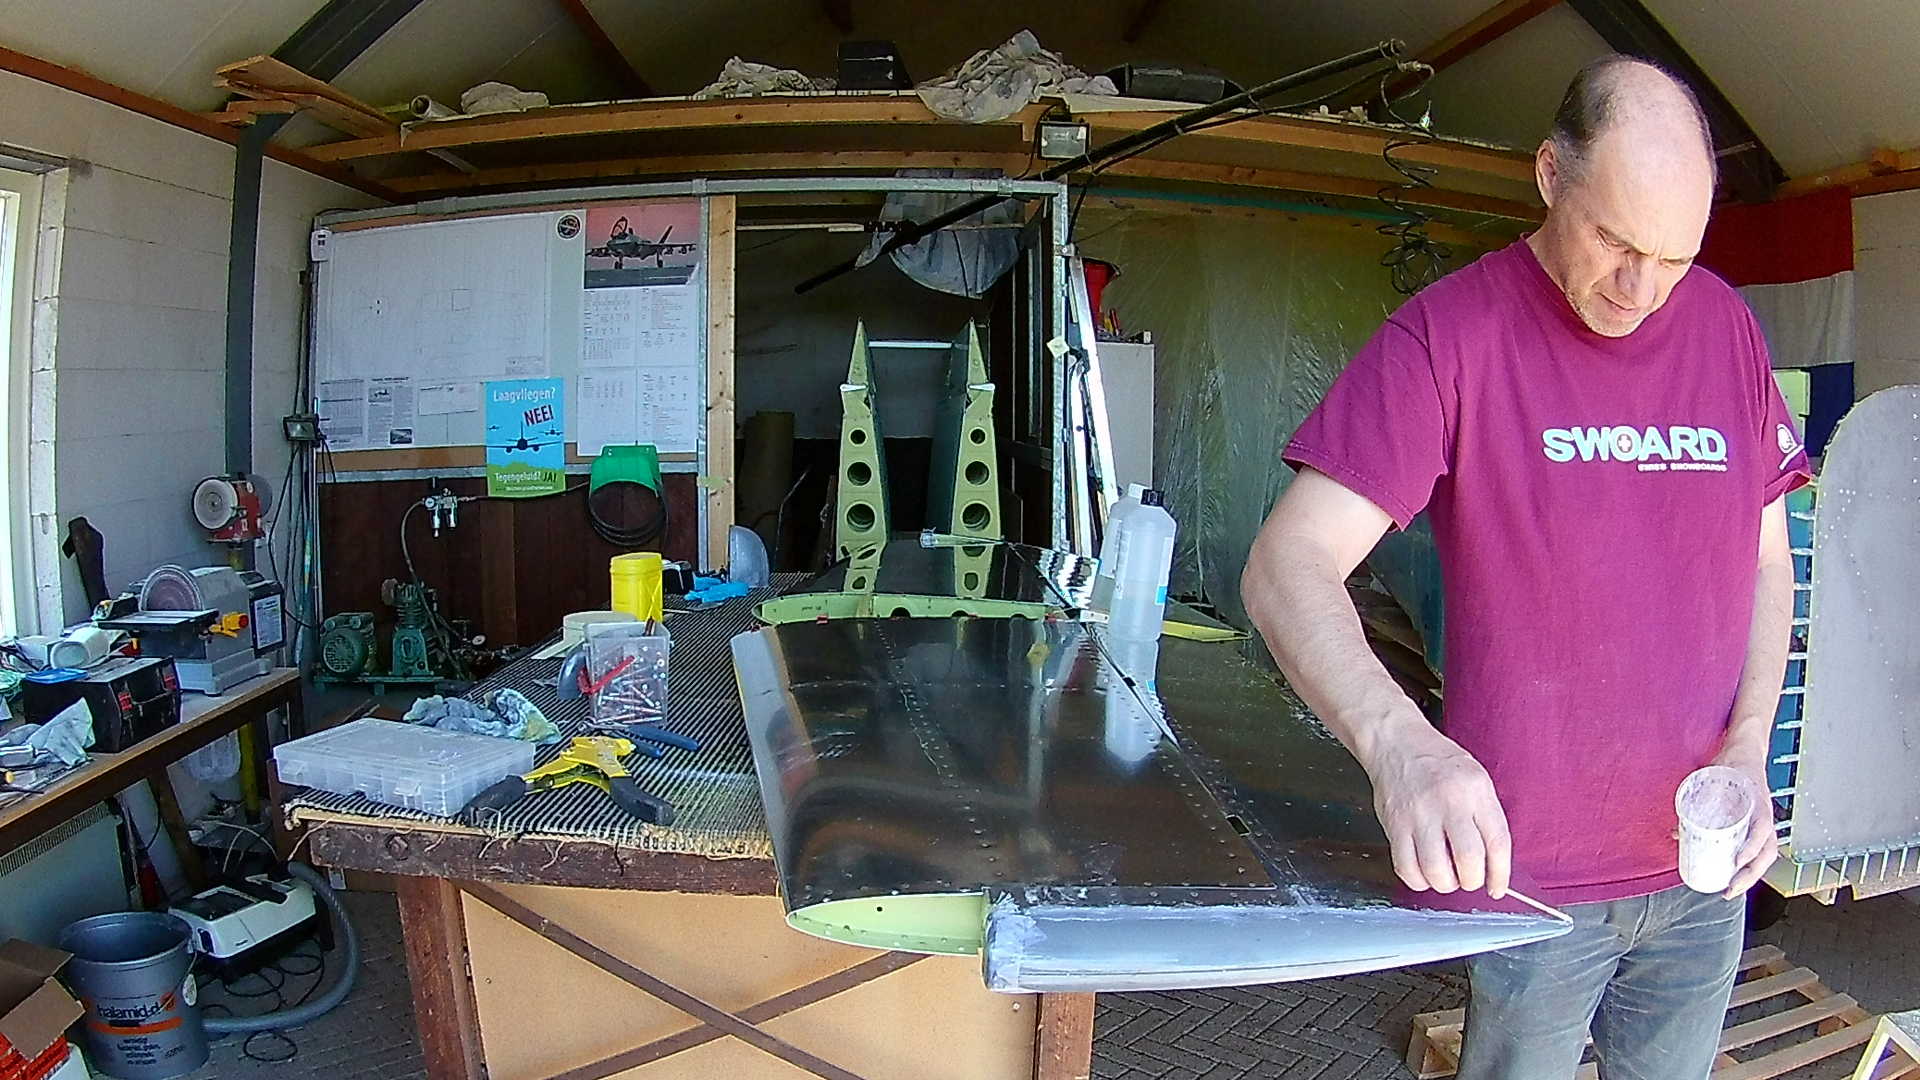
In order to ‘connect’ he tip to the glass fiber front, I also put some resin on the tip itself.
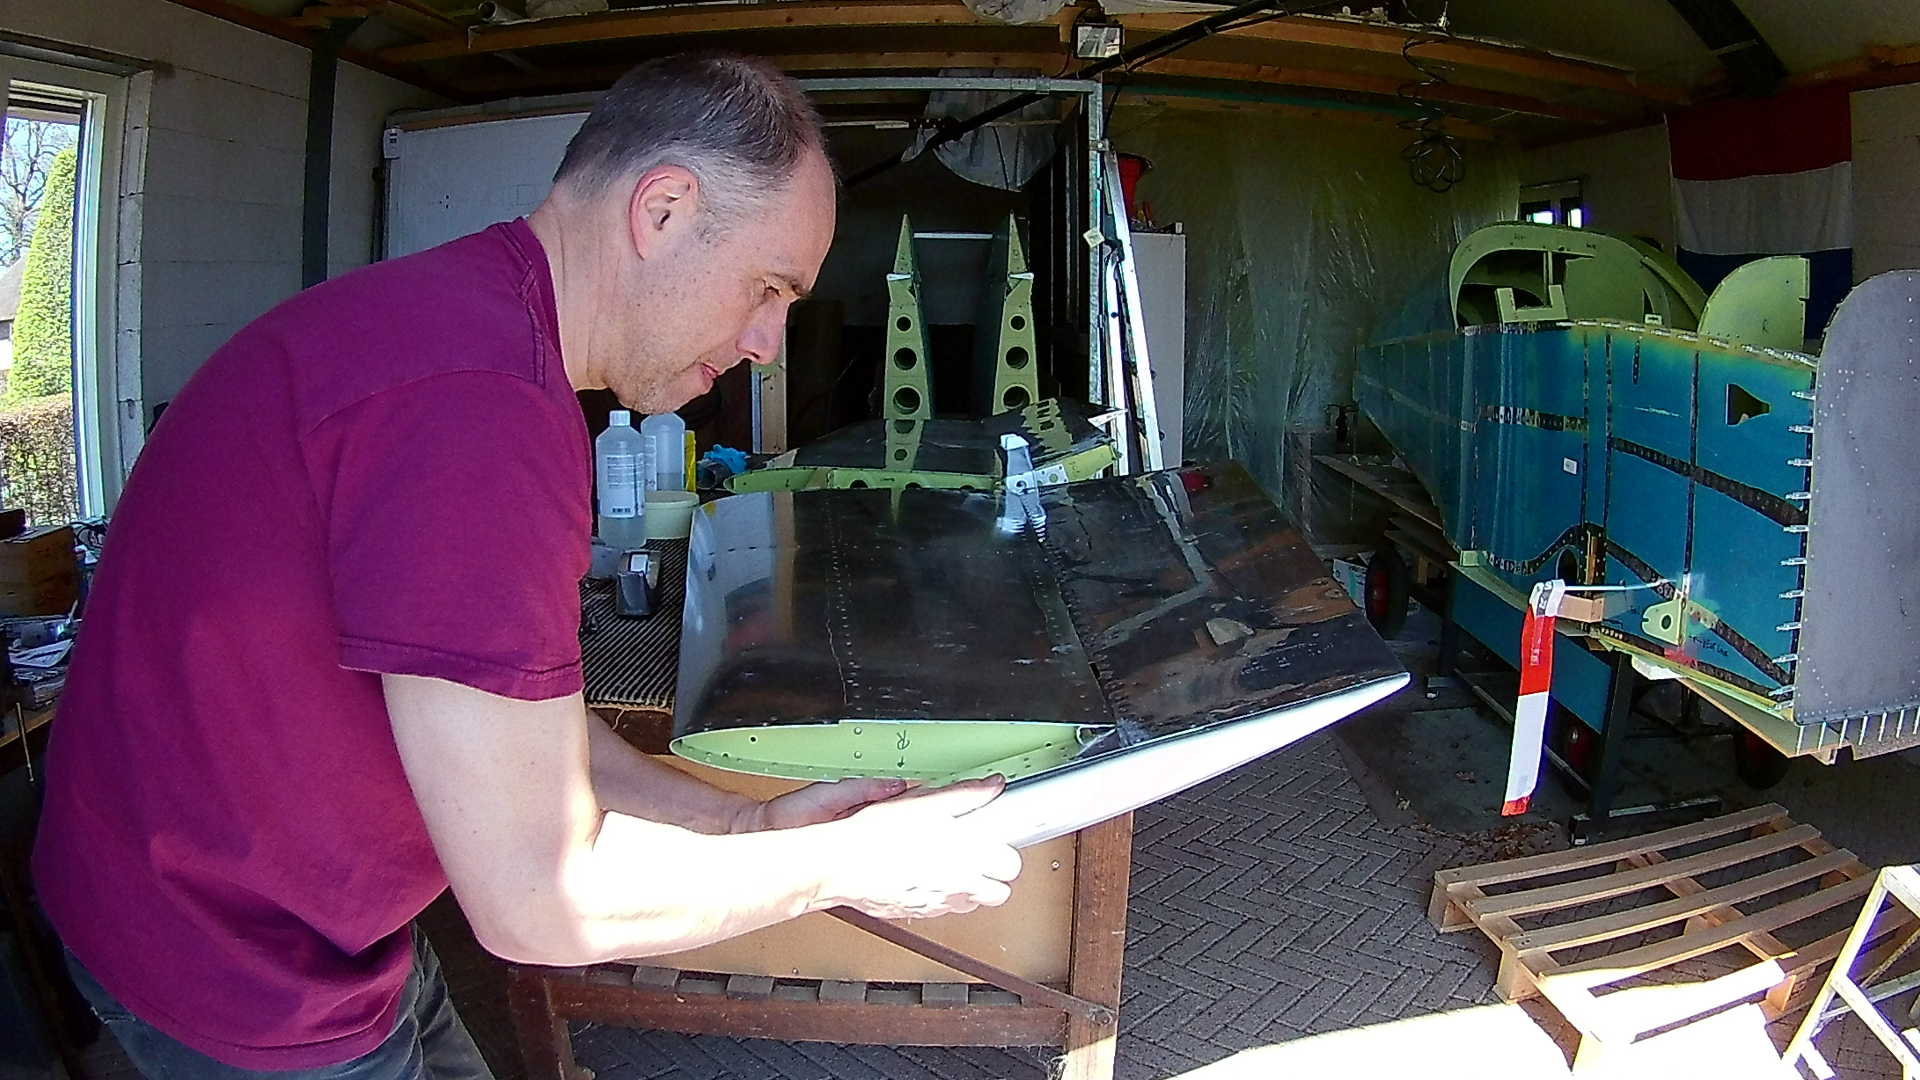
The fit is good and no I can let it cure (dry) for some time.
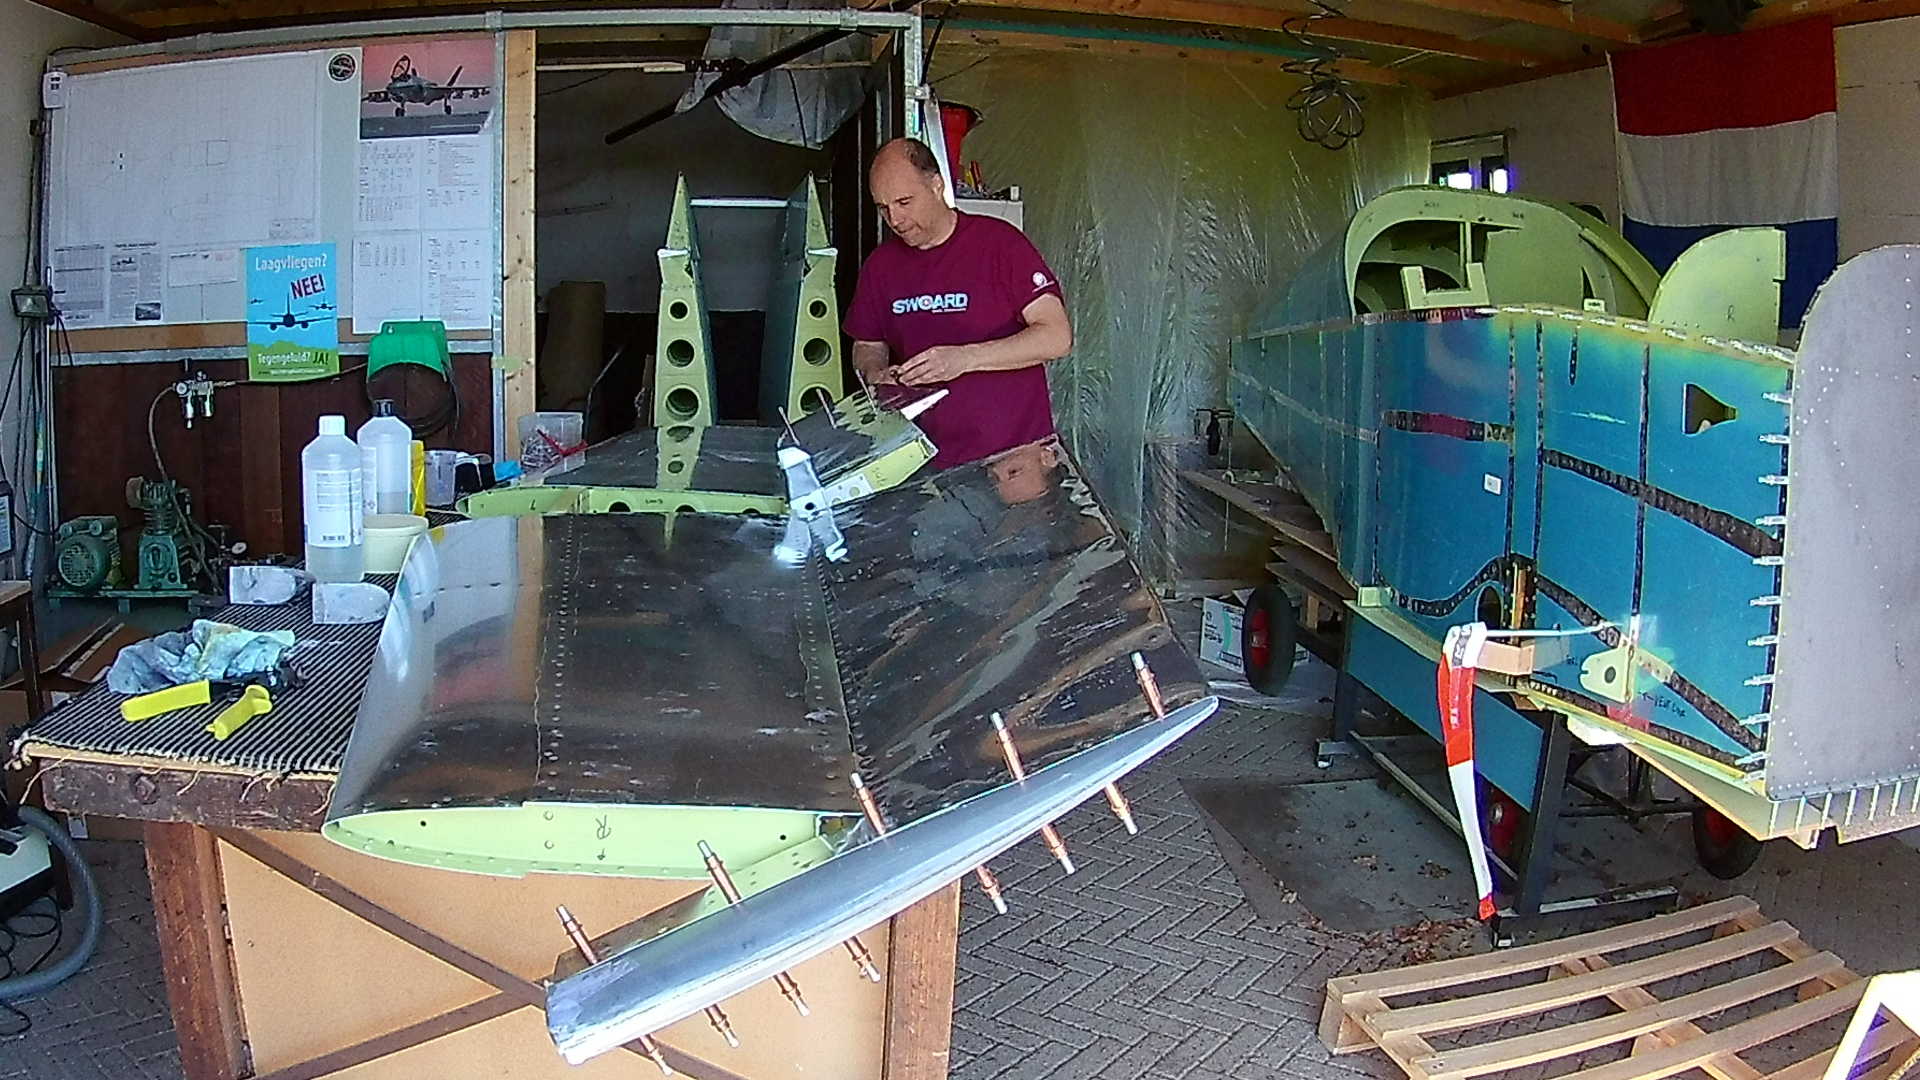
After clecoing the tips to the Elevator, I can start riveting them together.
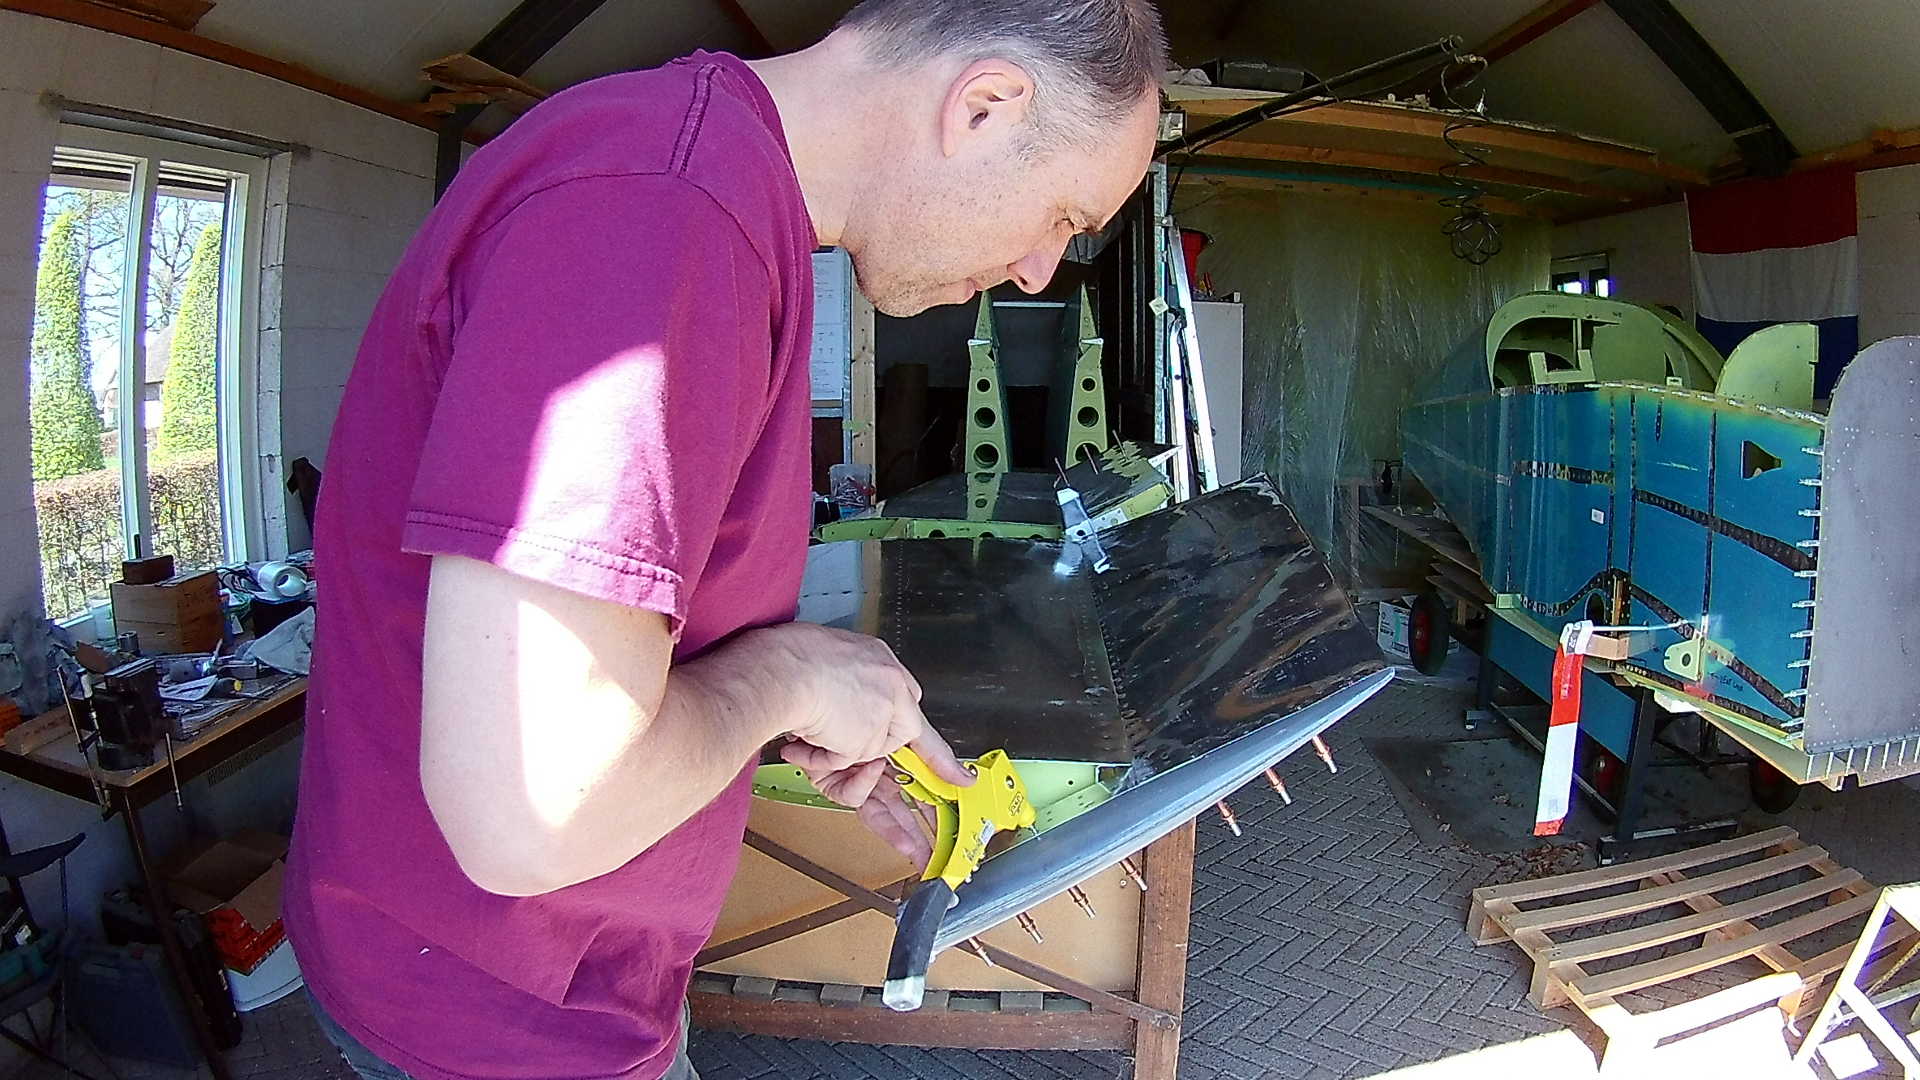
Because I don’t need ‘entry’ to the Elevator and Rudder tips, I use blind rivets to attach them. There is no way you can use ‘normal’ rivets. You could install screws, but that is overkill.
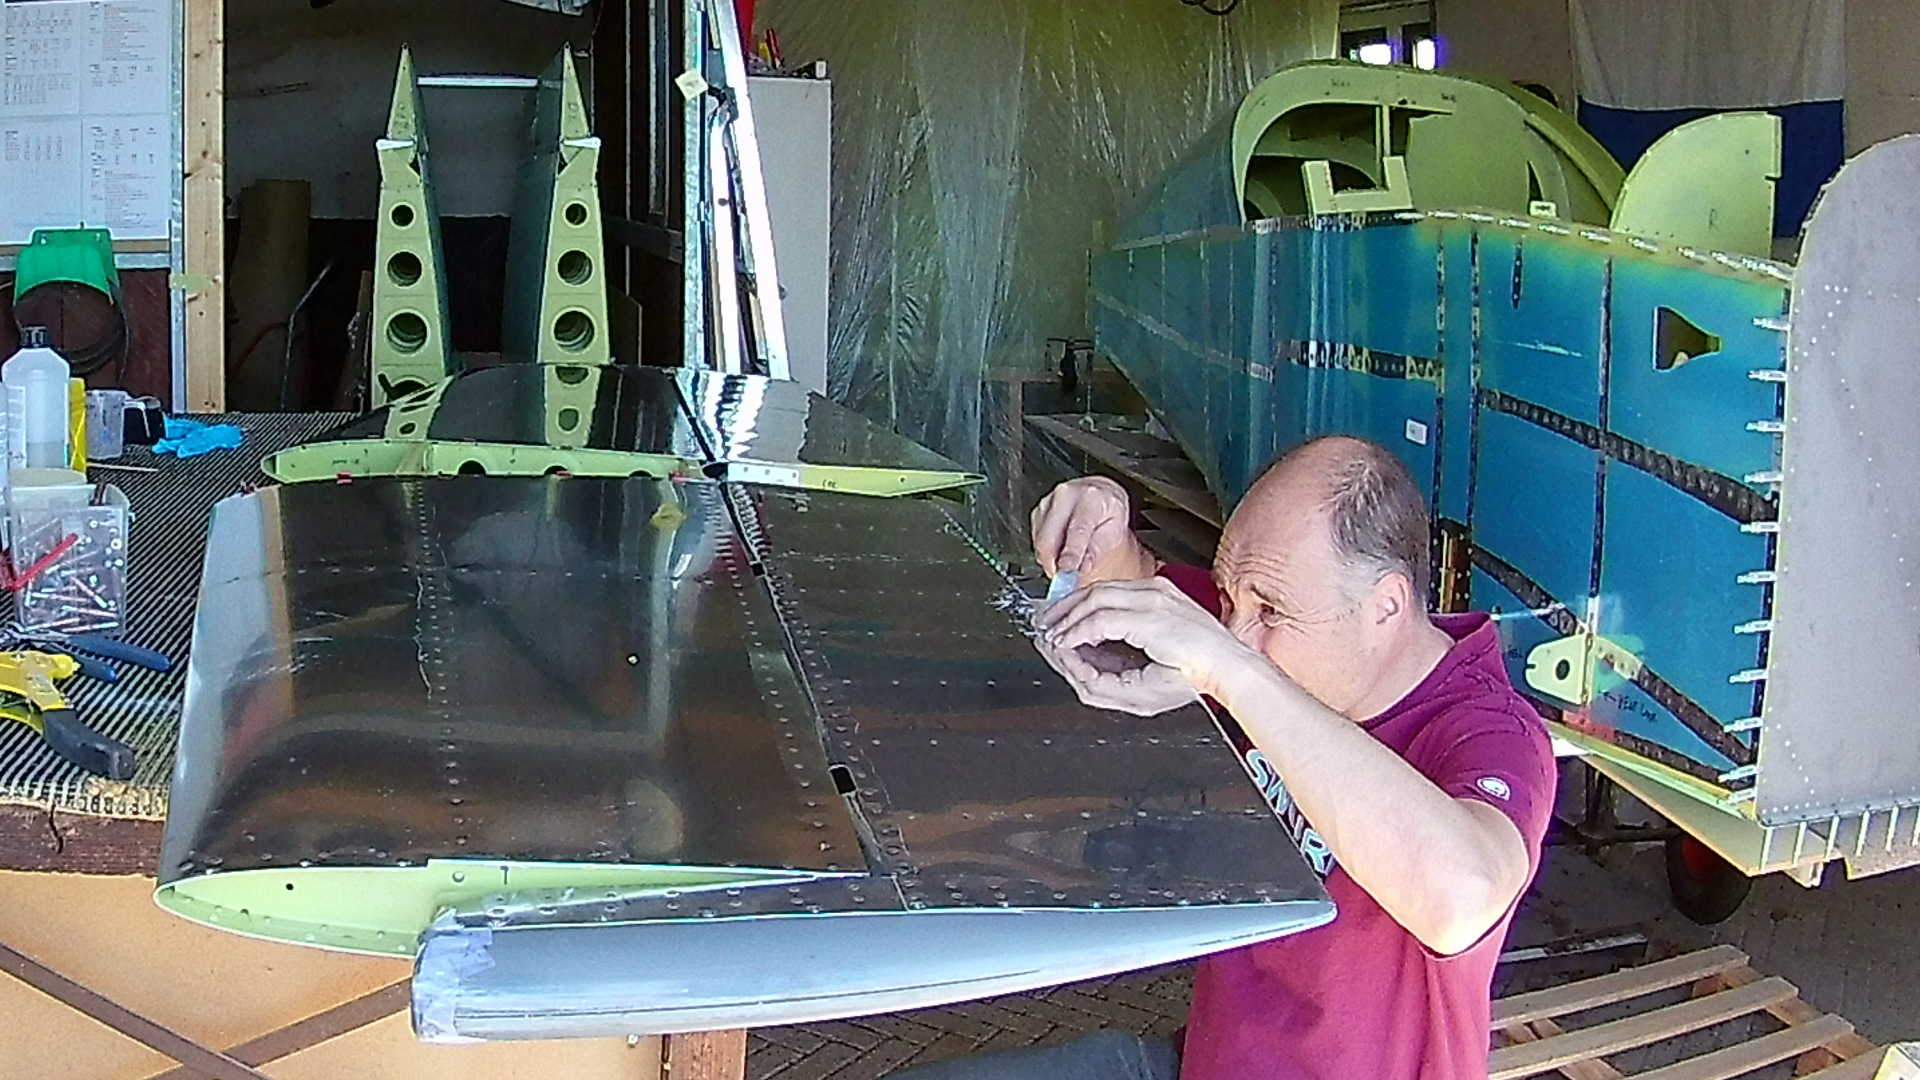
While the tips dry, I use the remaining epoxy resin (you always make too much), to fill the gap between the Elevator and the trim tab. The gap widens at the end and I want a consistent gap. Nothing a little resin can’t solve.
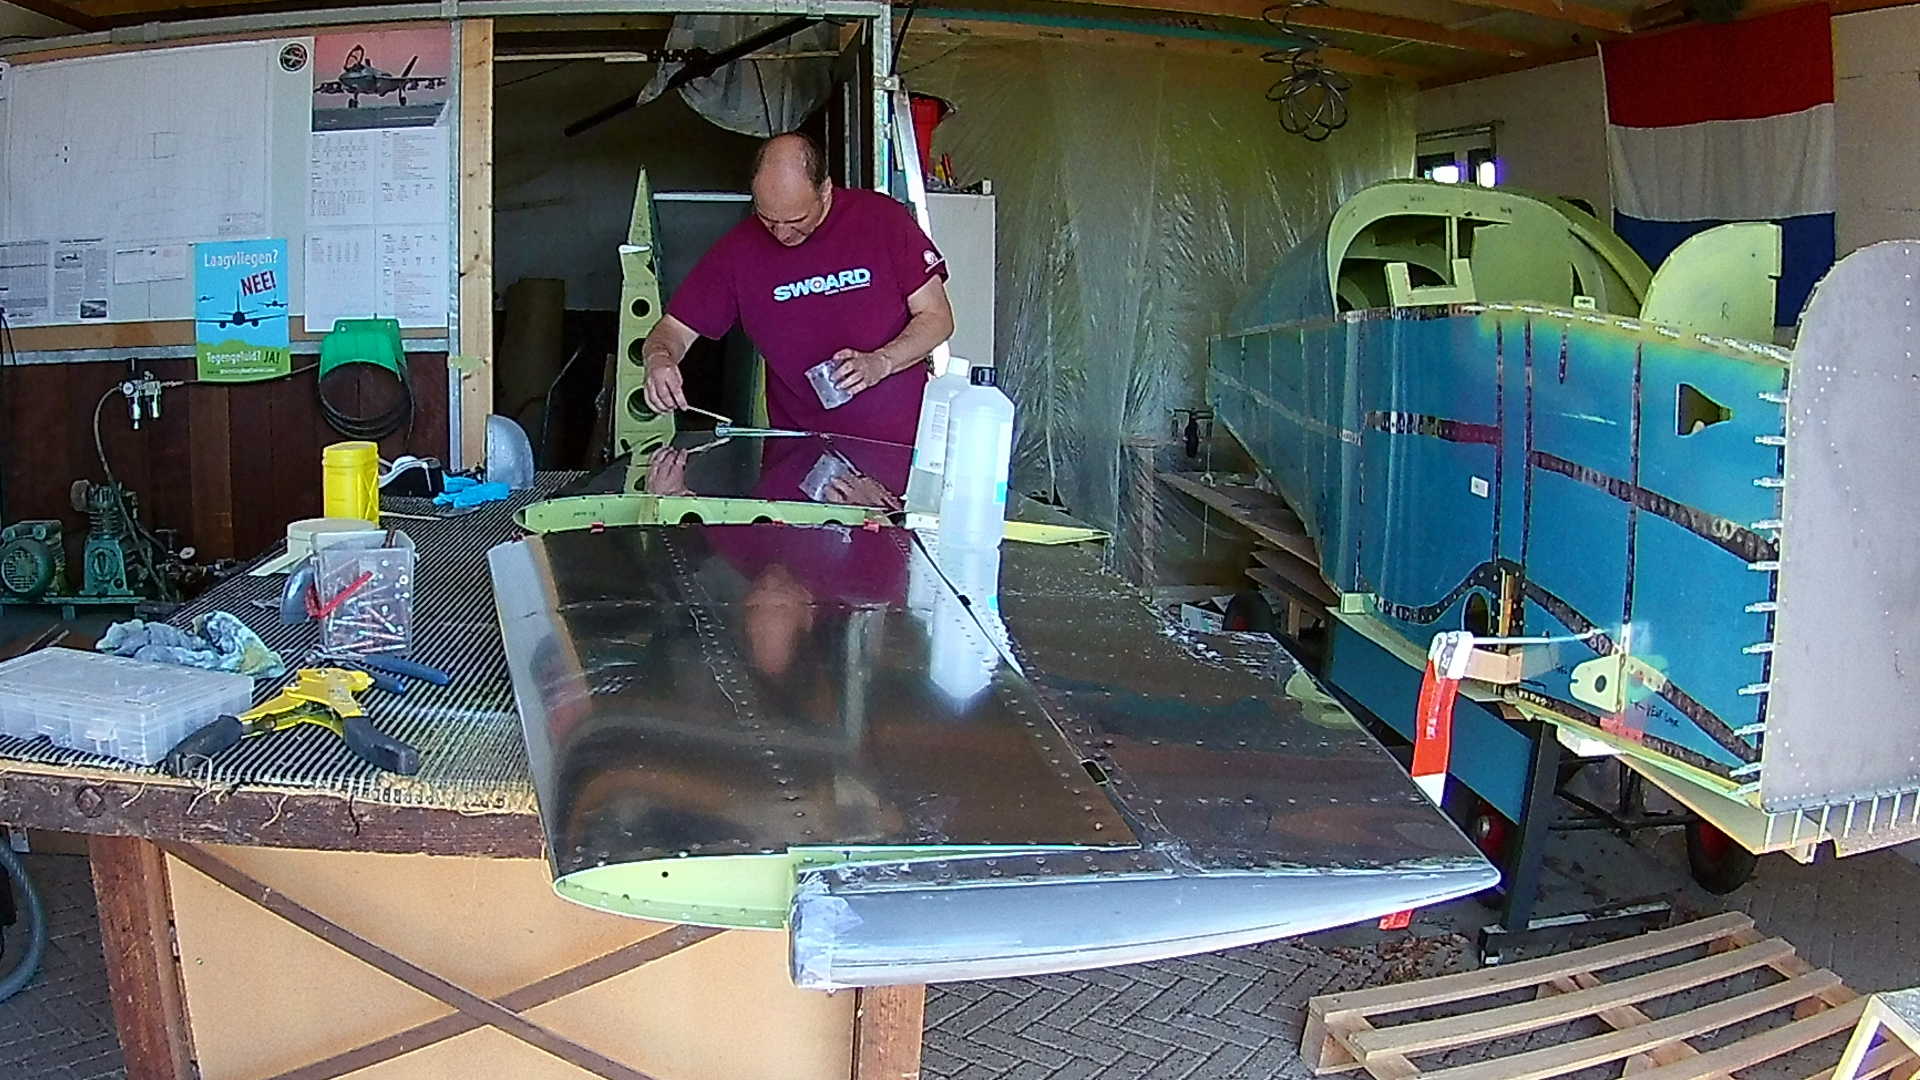
And while we’re at it, we also apply it to the blind rivets and the Glass Fiber – Aluminum connection.
Of course as a noob with resin, I apply too much and I regret it the next day when I have to grind all the excess resin away.
Oh well, learned yet some more.
Time: 5 Hours, Rivets: 11/3 (2020-04-11)
Time: 6 Hours, Rivets: 0/0 (2020-04-18)
Time: 4 Hours, Rivets: 19/0 (2020-04-19)
Time: 3 Hours, Rivets: 0/0 (2020-04-22)
Time: 3 Hours, Rivets: 0/0 (2020-04-23)
Time: 2 Hours, Rivets: 0/0 (2020-04-25)
Time: 2 Hours, Rivets: 0/0 (2020-04-26)
Video