
There are several options on attaching the Wing Tips to the Wings. The first one is to make them detachable by using screws.
Another option is to attach them permanently to the wings with rivets, either blind or solid rivets. I decided to go for the latter option.
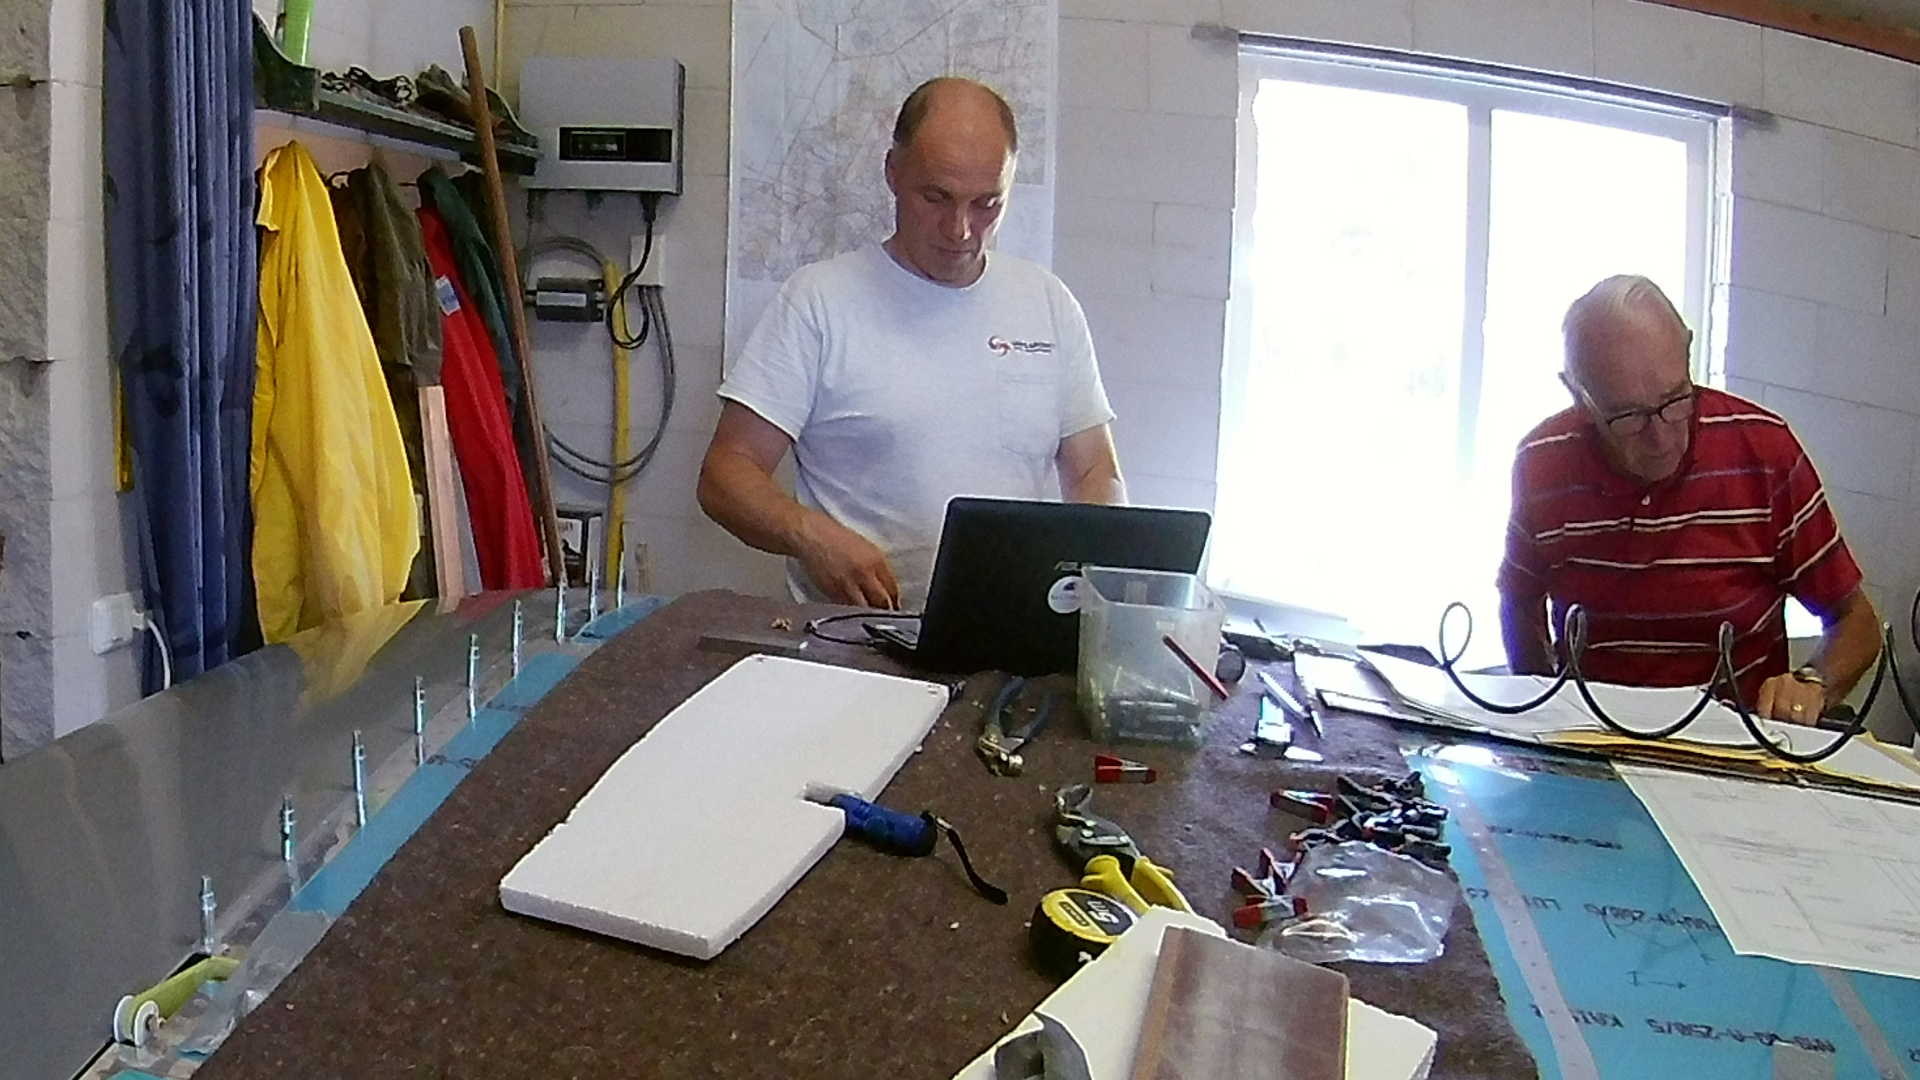
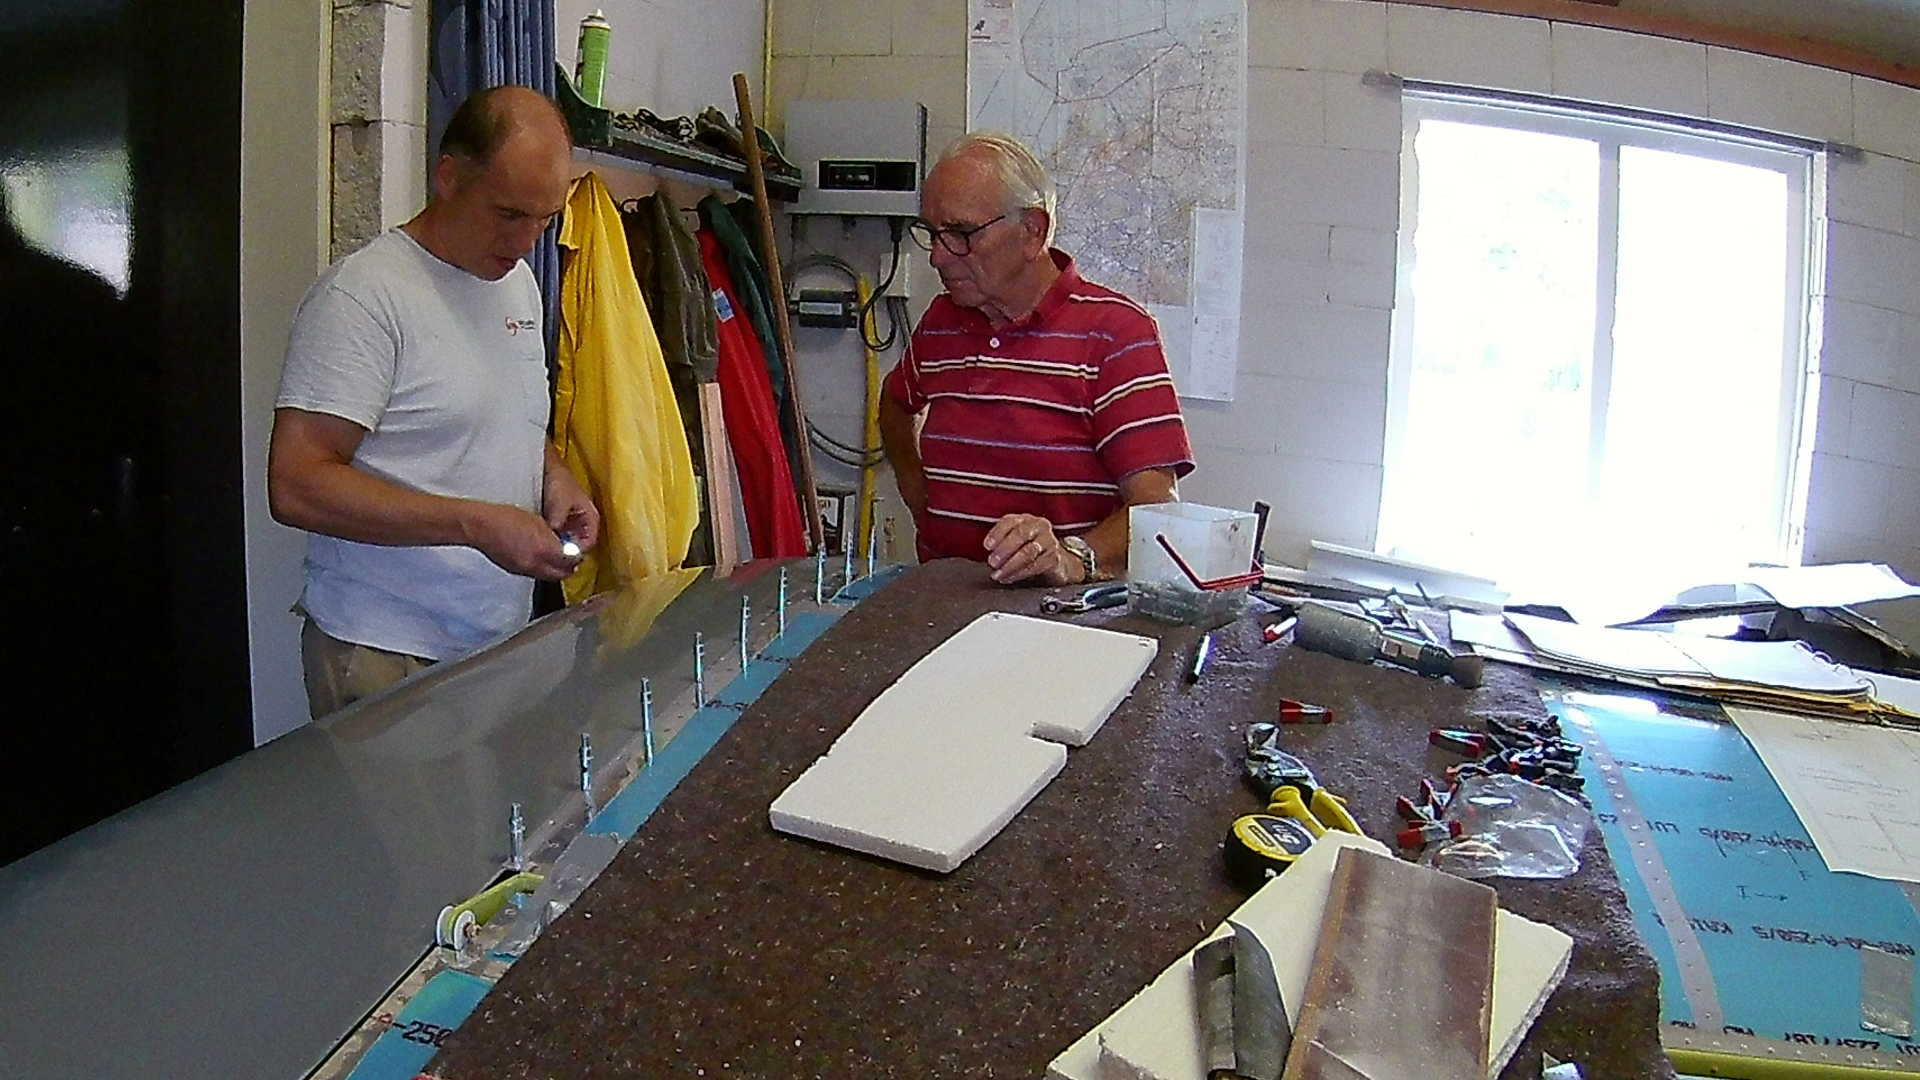
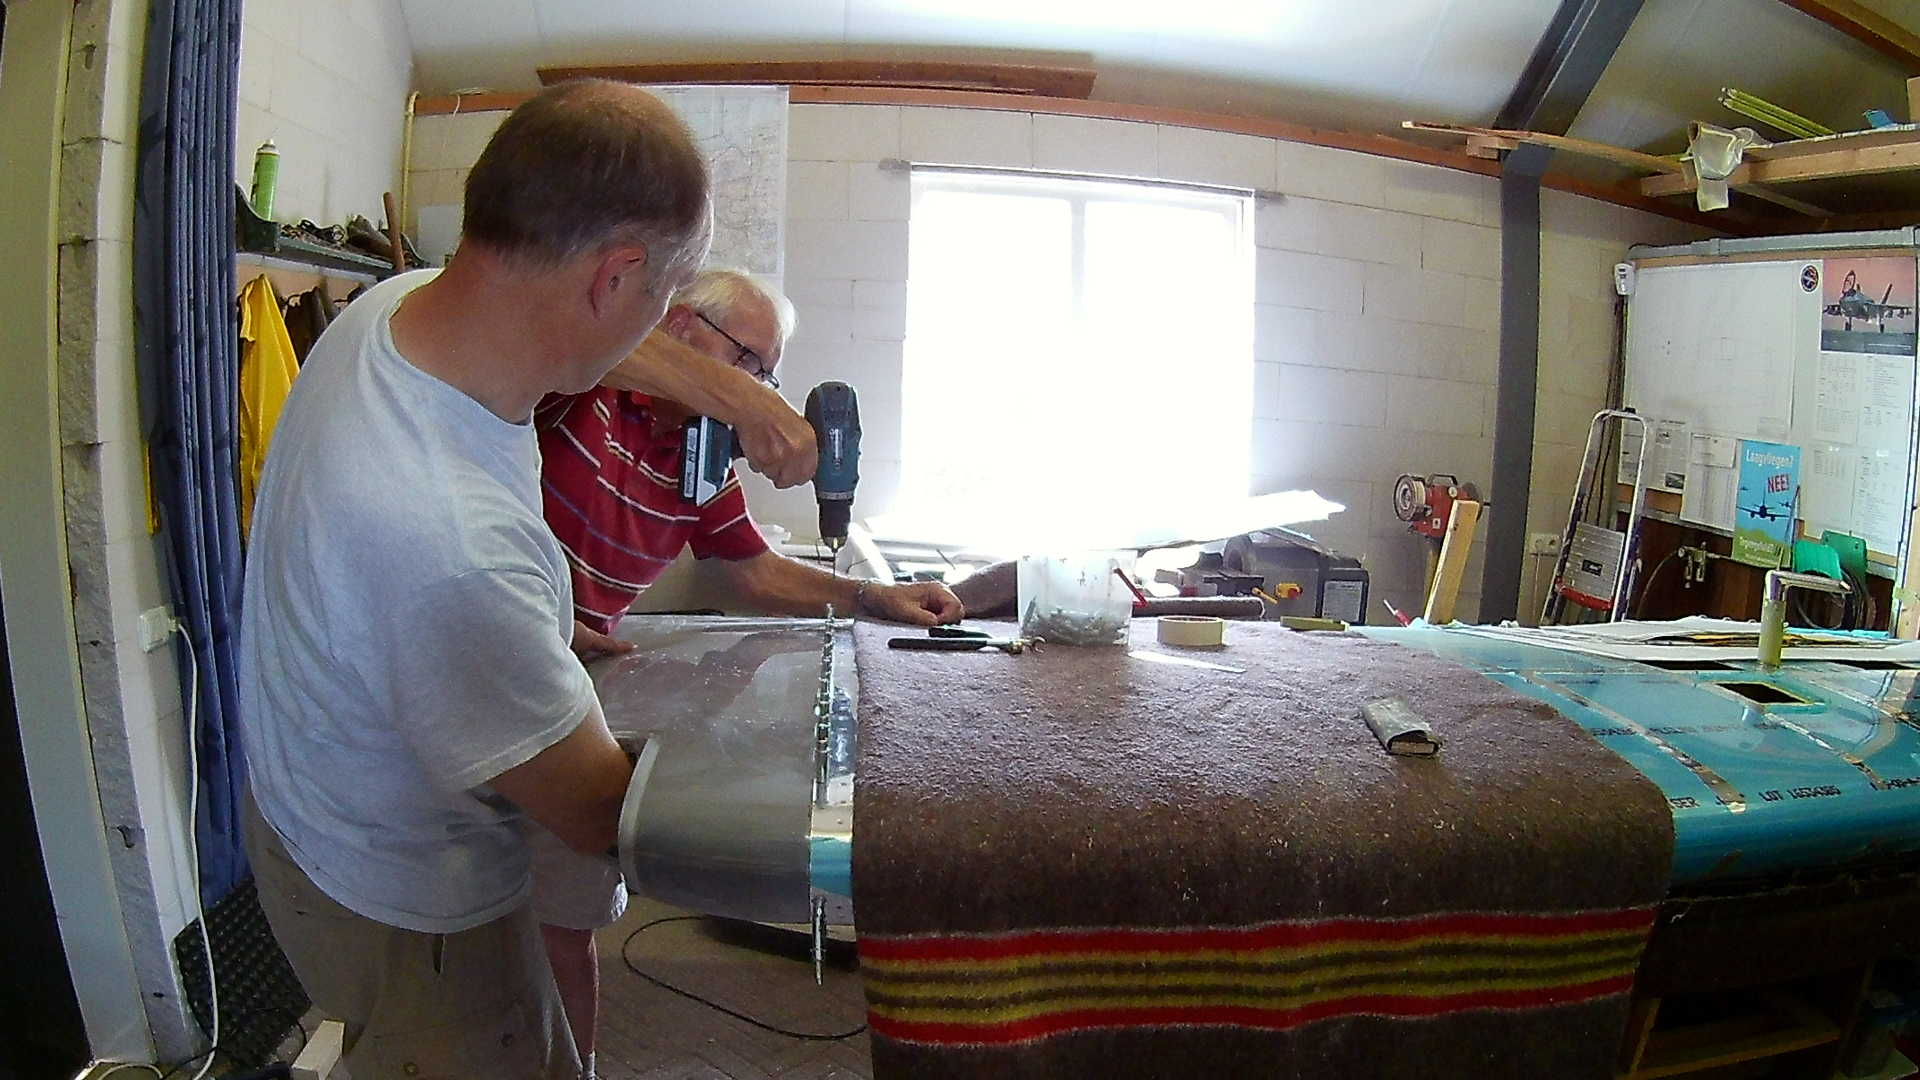
Using solid rivets is a challenge, as the rivets at the trailing edge are hard to reach. I bought an inexpensive endoscope and connected it to a small laptop. This provides me with the ‘sight’ I need to determine if the rivets are set correctly.
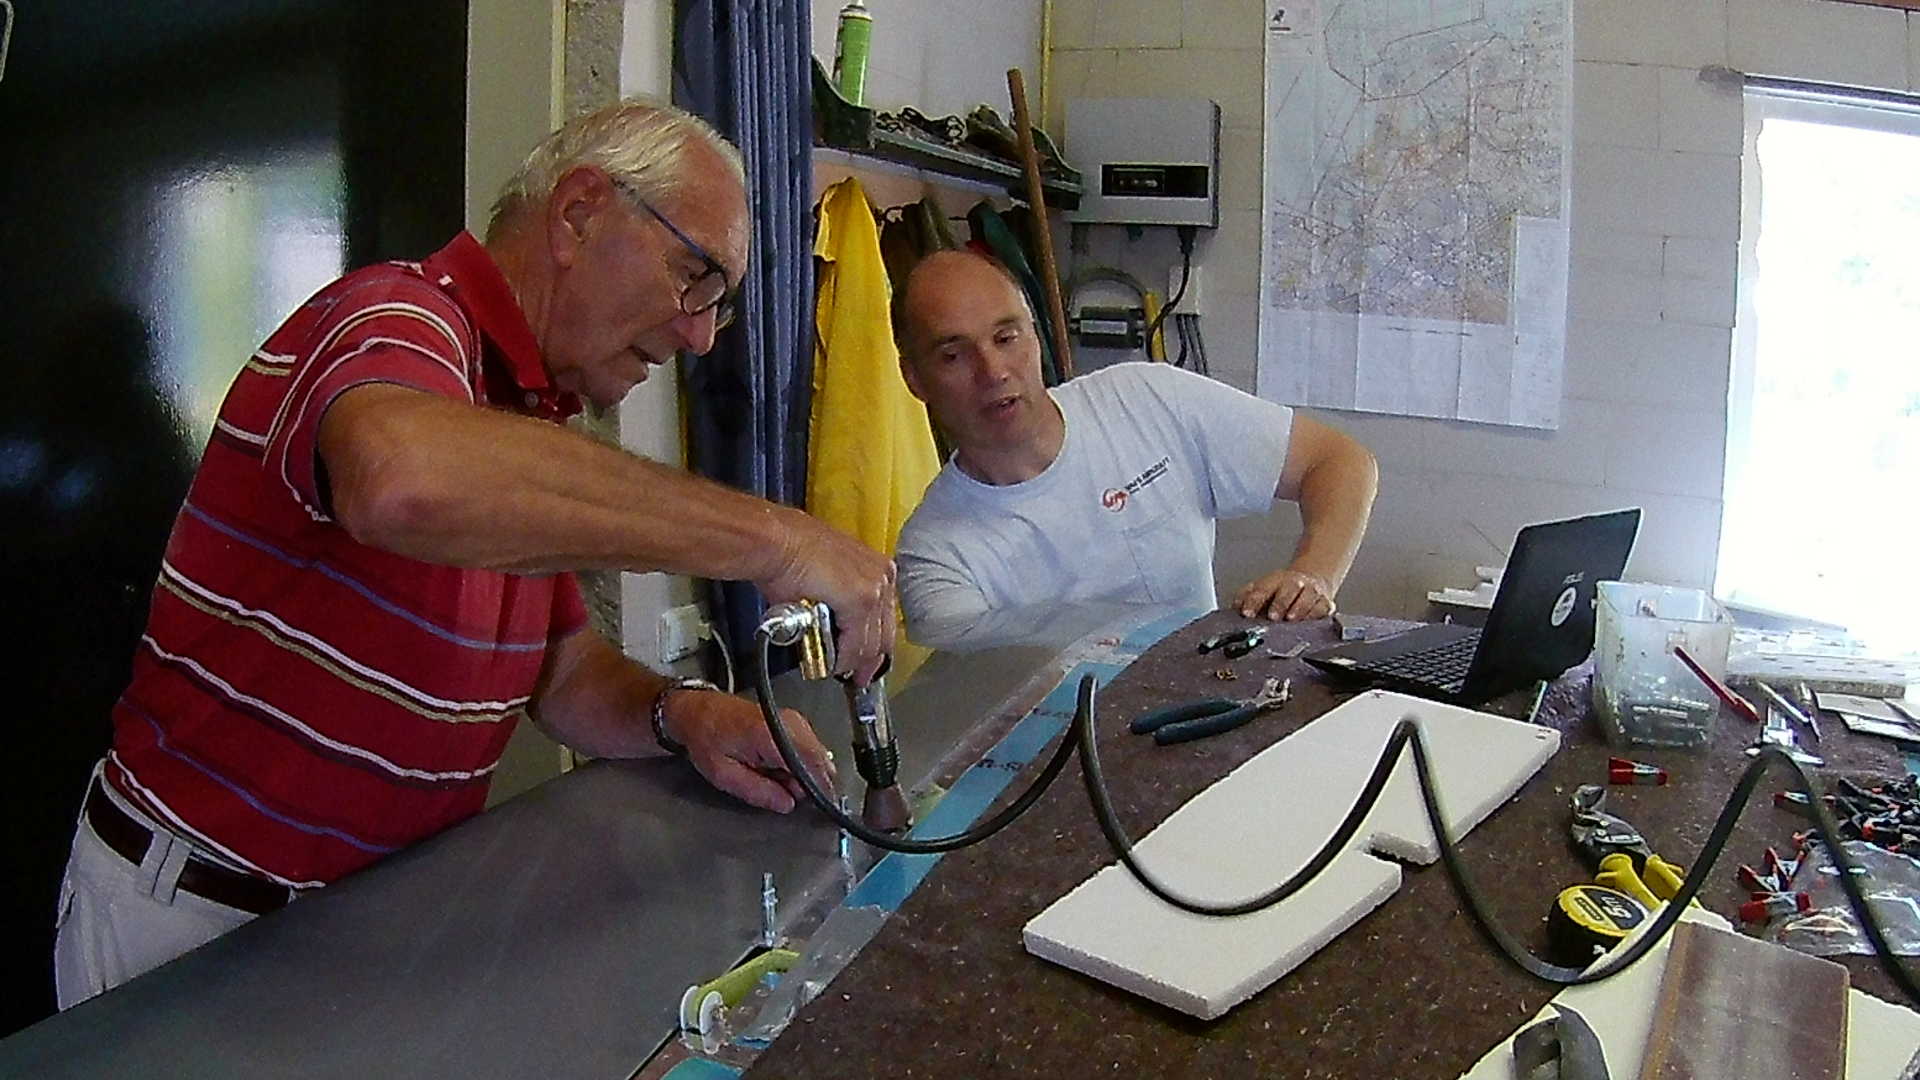
Now I can reach in with the bucking bar and check the laptop to see whether I’m bucking at the right place and afterwards the quality of the work. Without the endoscope it’s really hard to check inside.
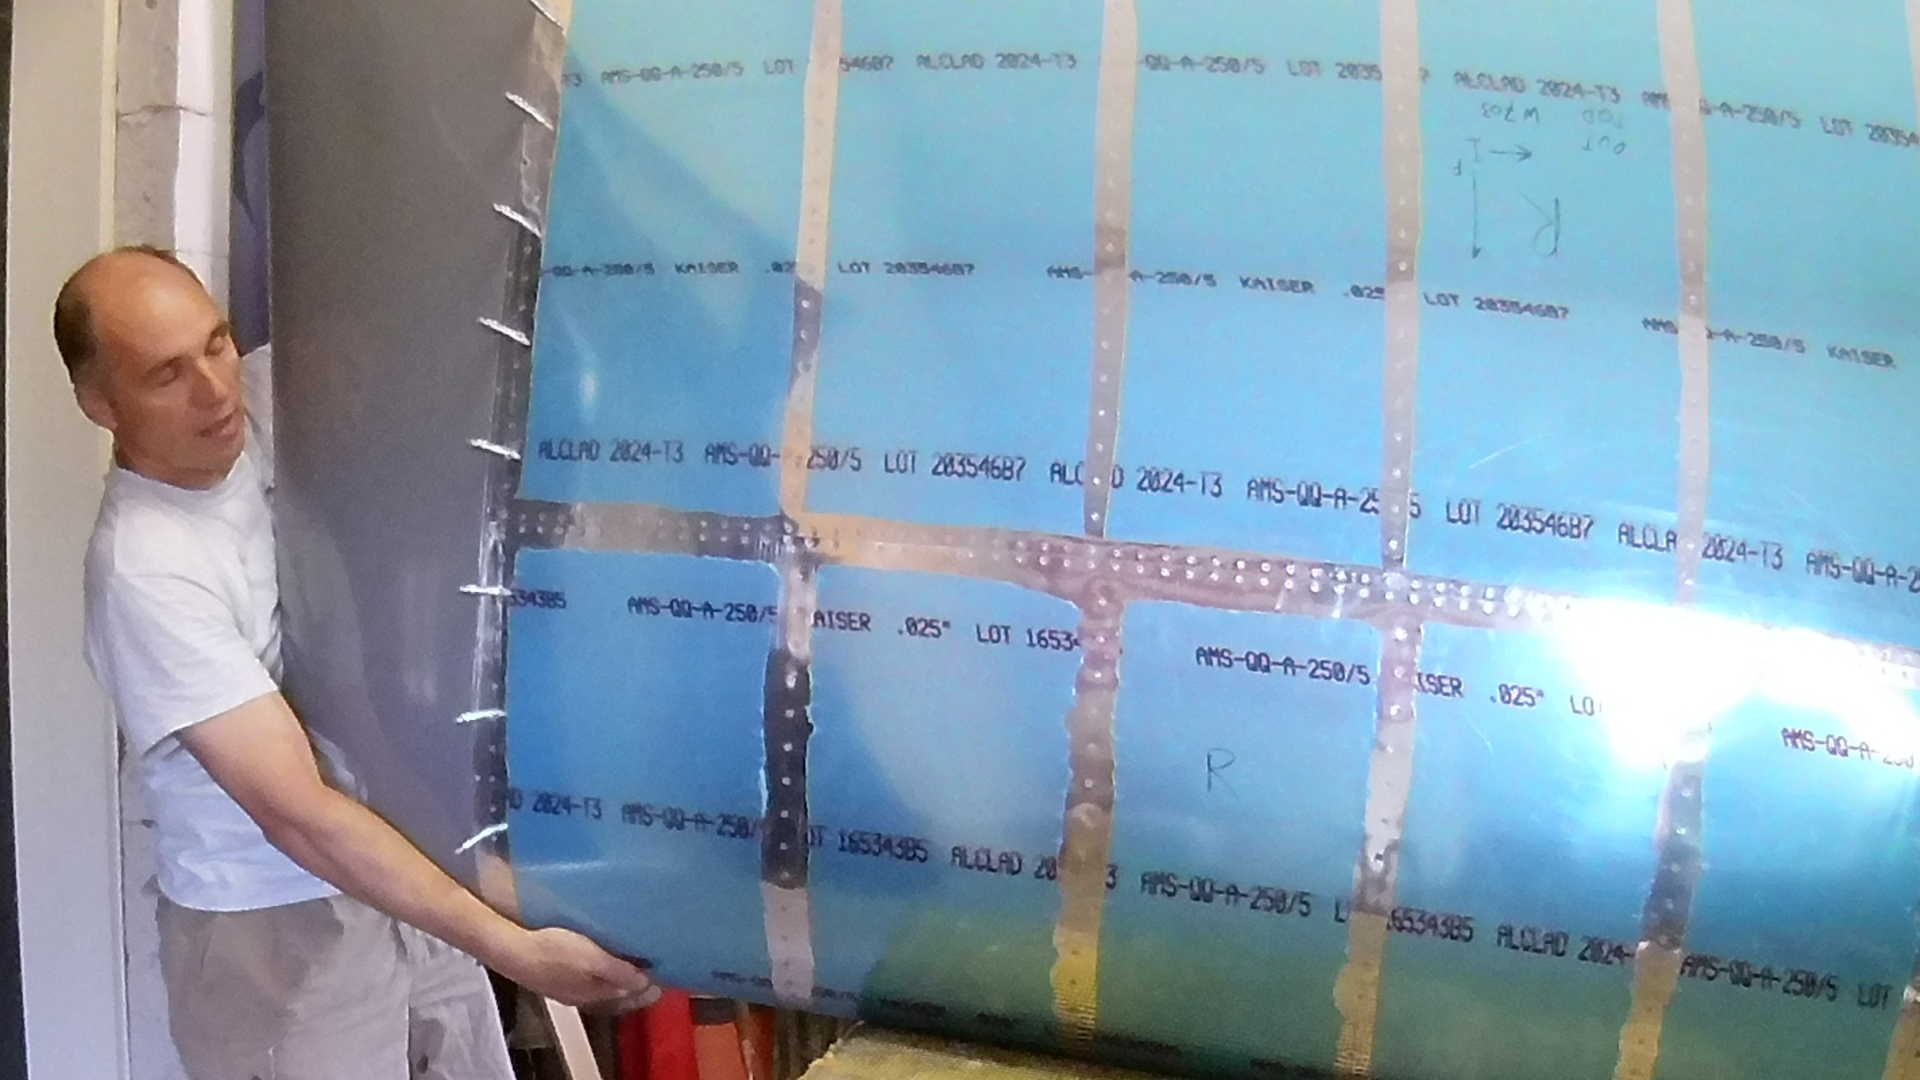
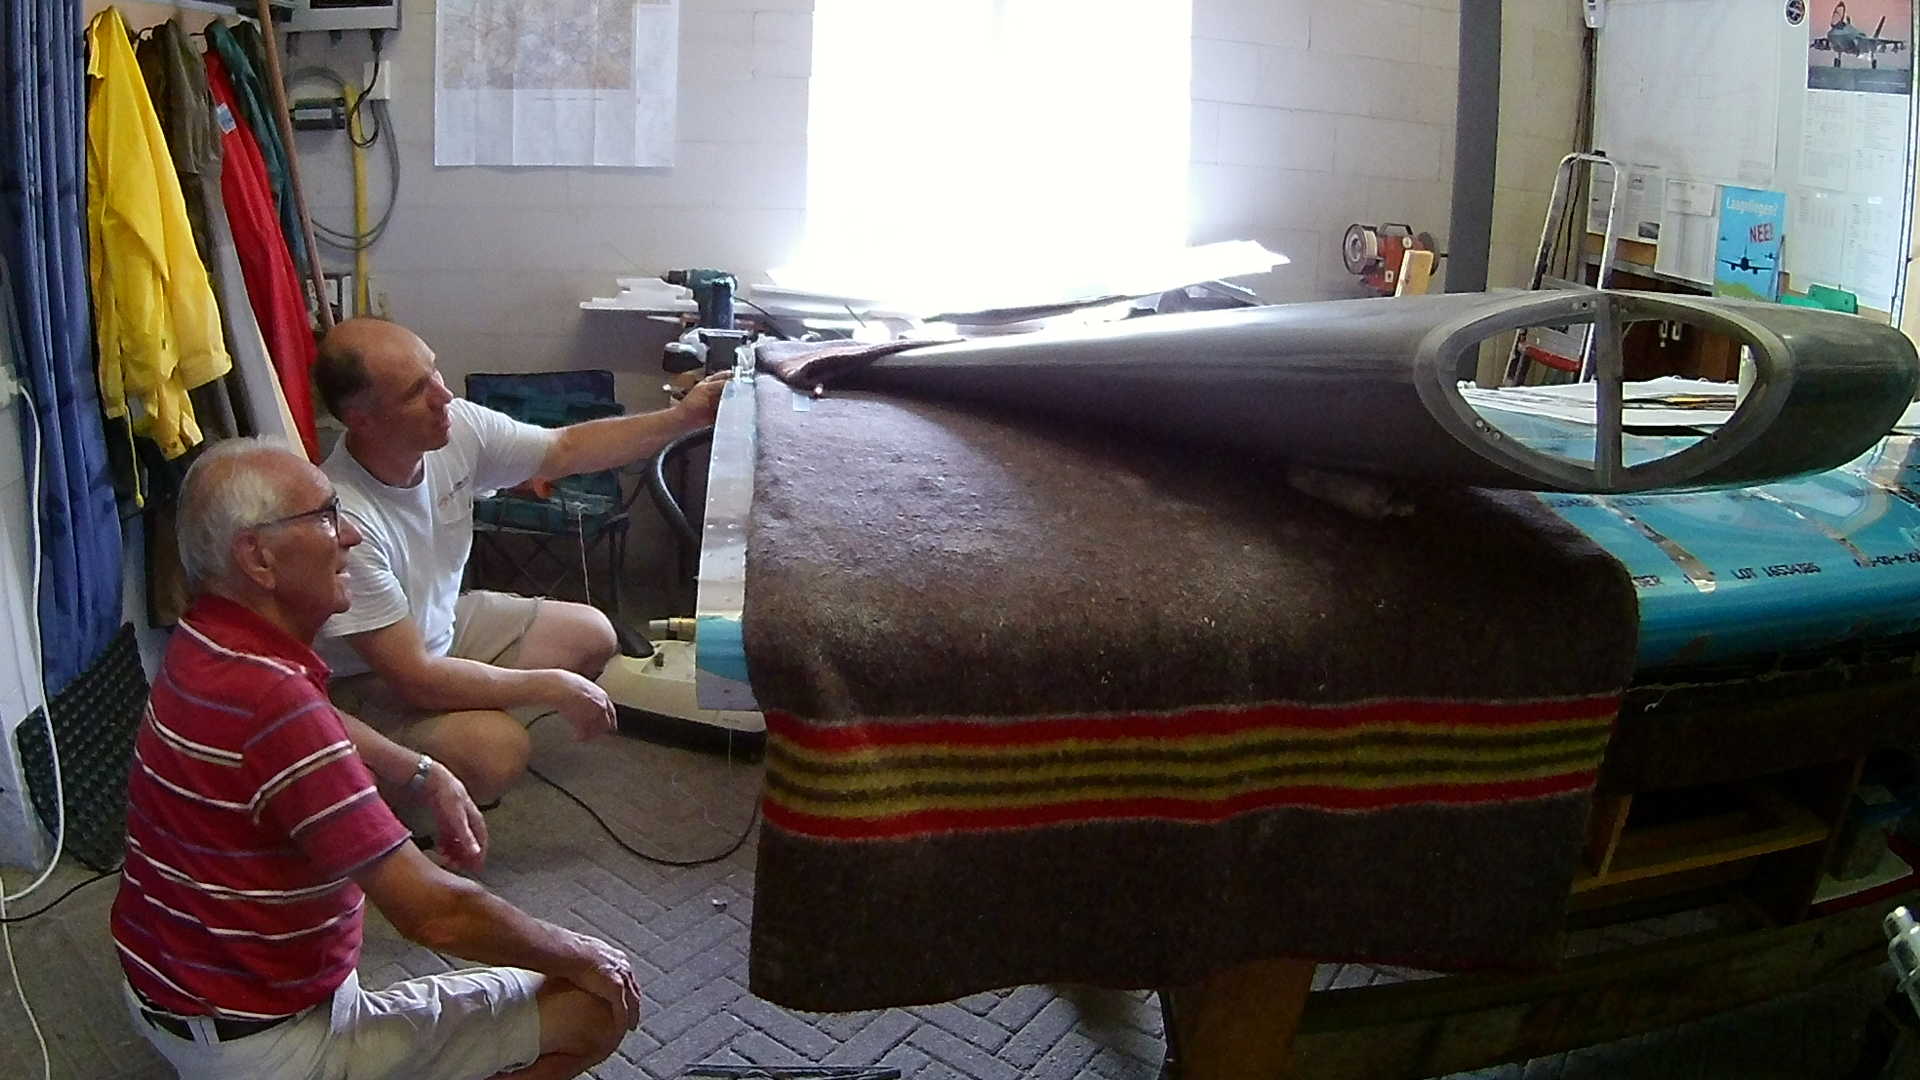
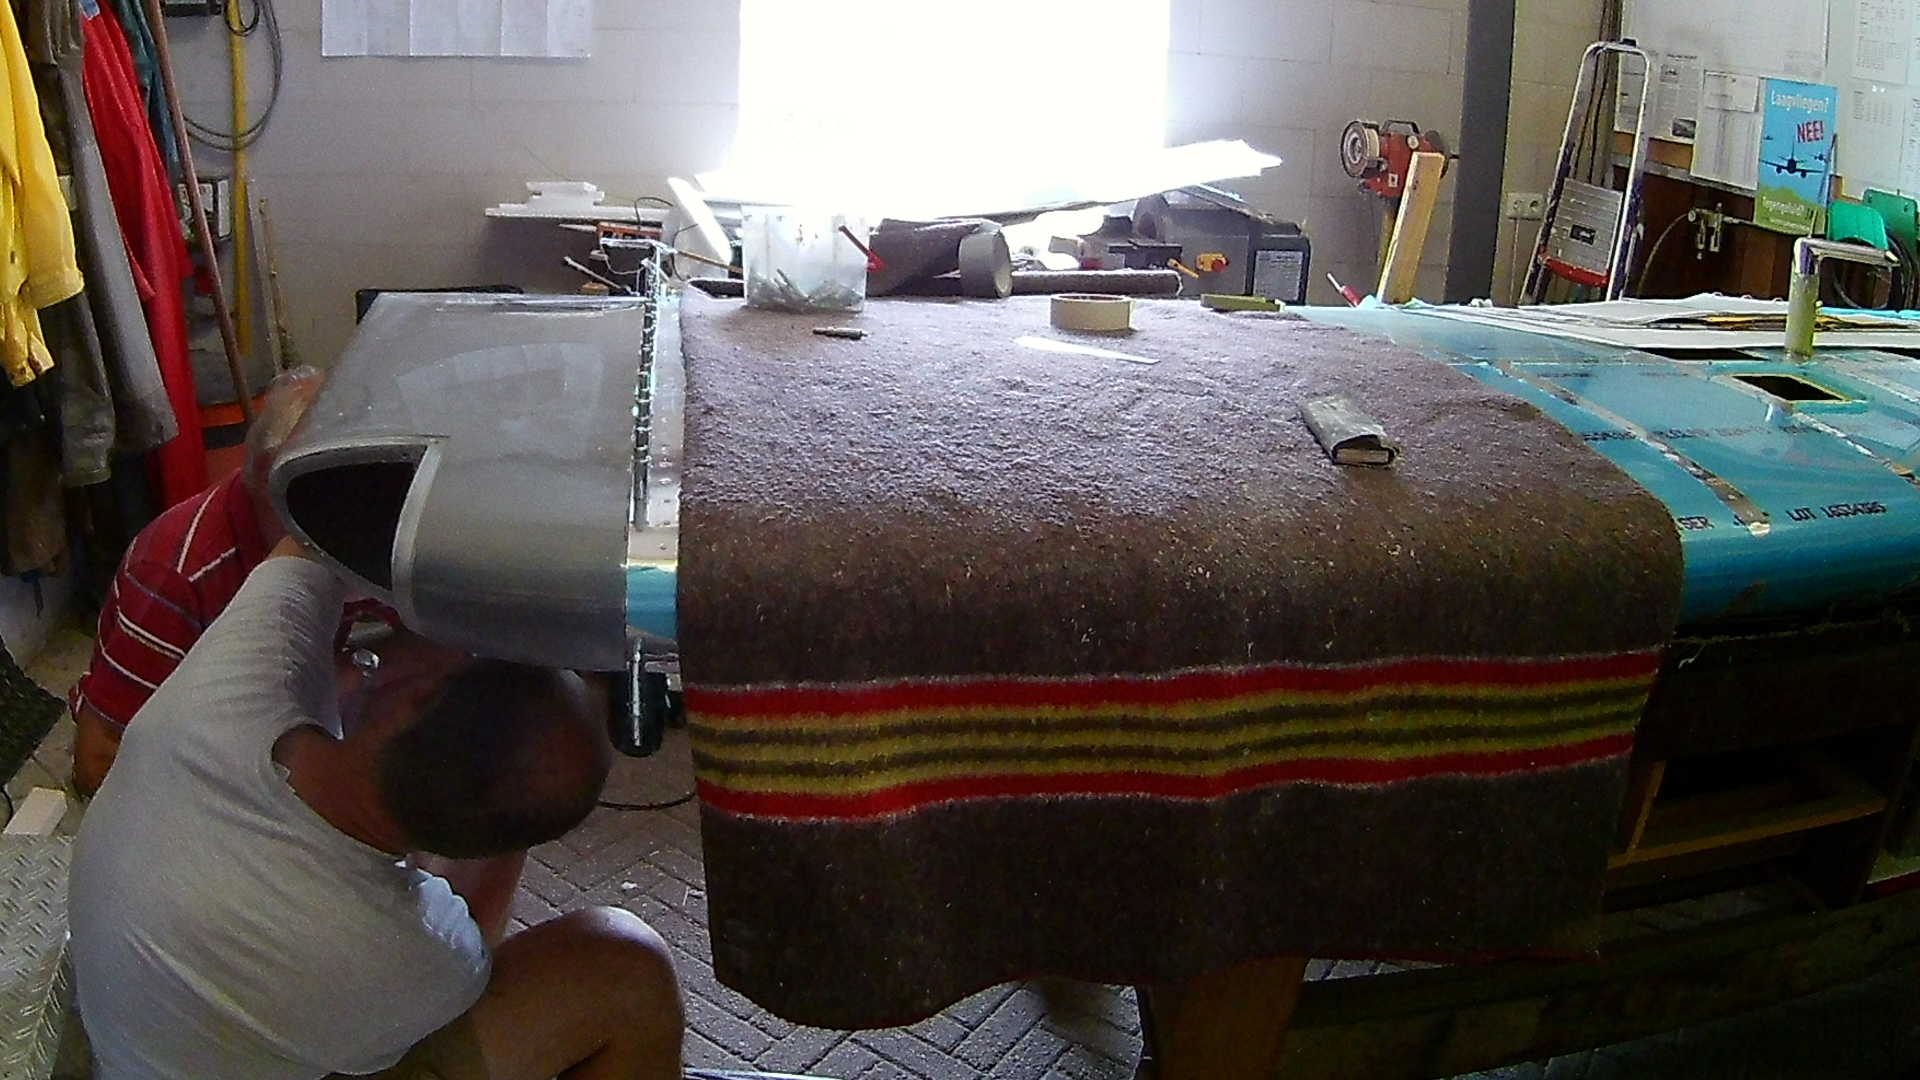
The aft most rivets can be reached by lifting the Aileron. Now that the bottom side of the right Wing is done we turn the Wing top side up on the workbench.
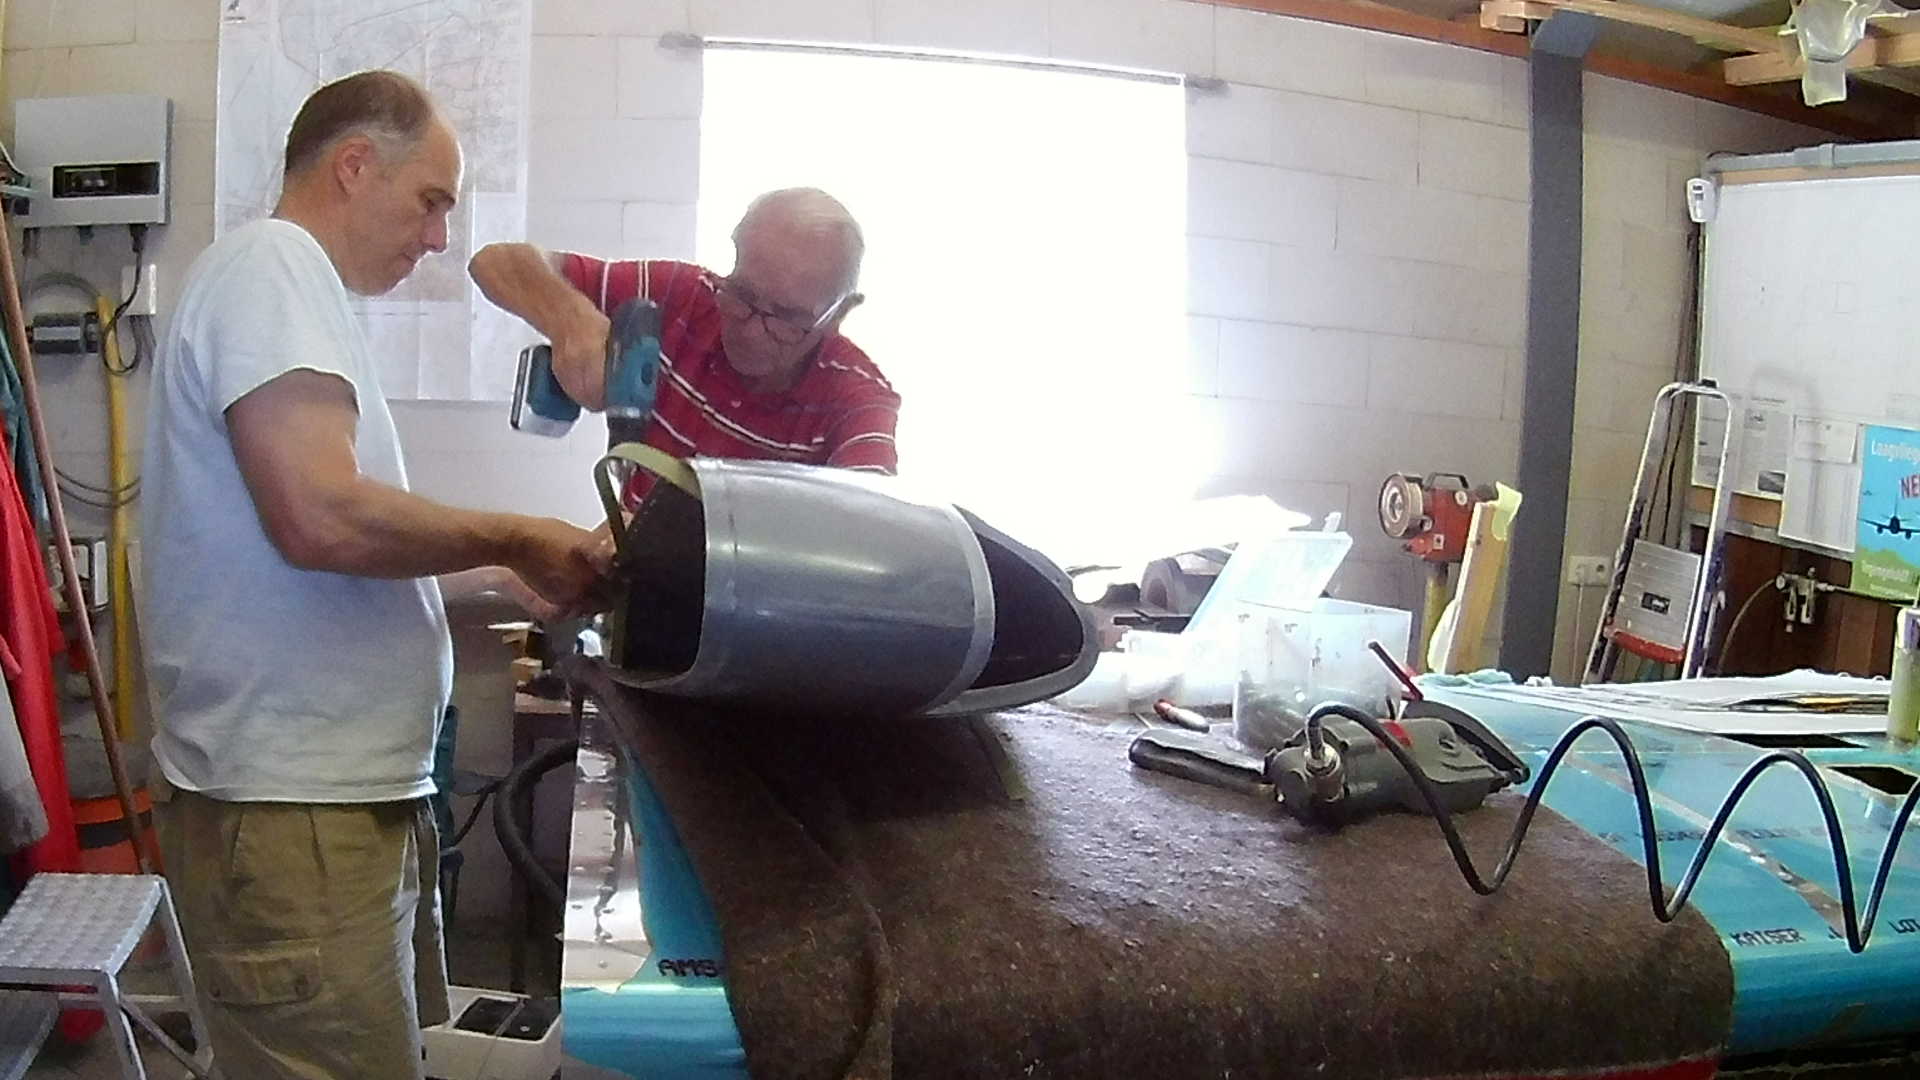
The rivets on the top side are even harder to reach. I duck-taped a hammer as a counter-weight to a stick and taped the bucking bar to the front.
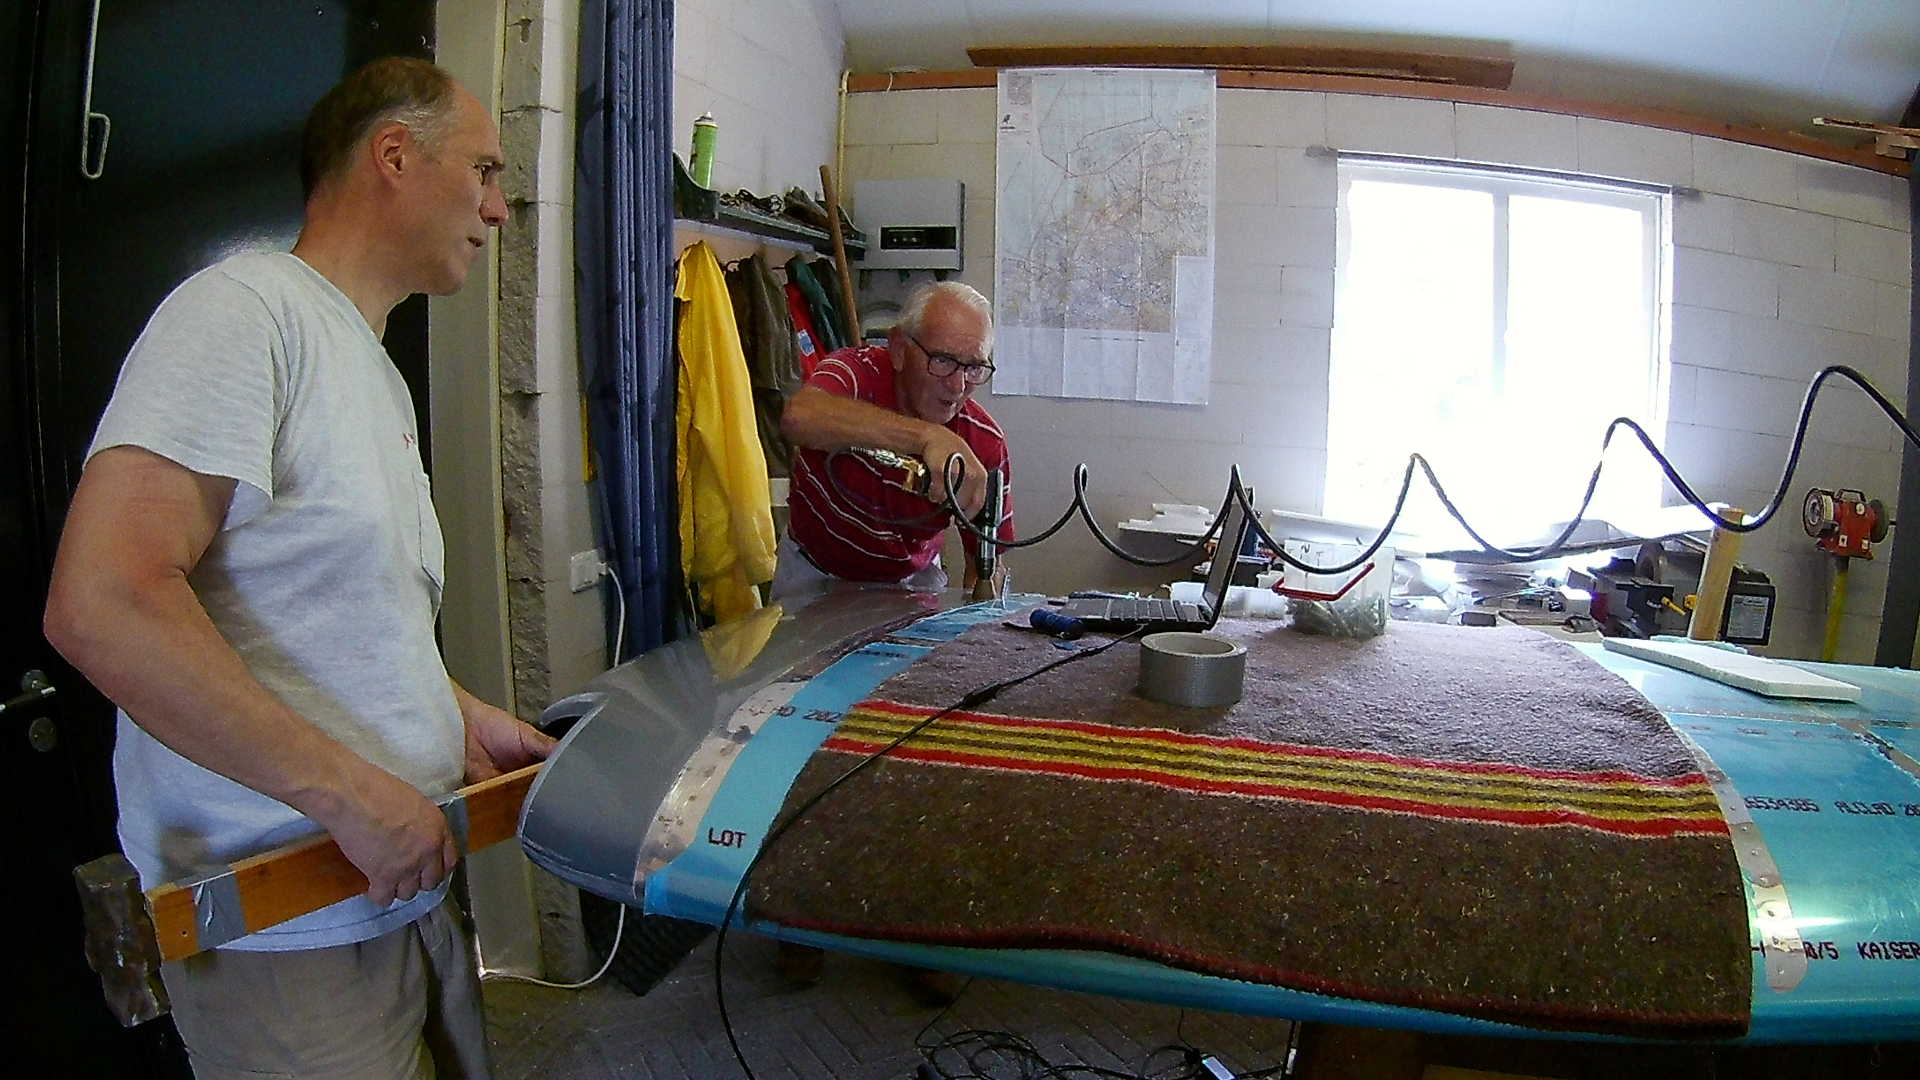
Again by checking the endoscope image on the laptop we can determine the correct position.
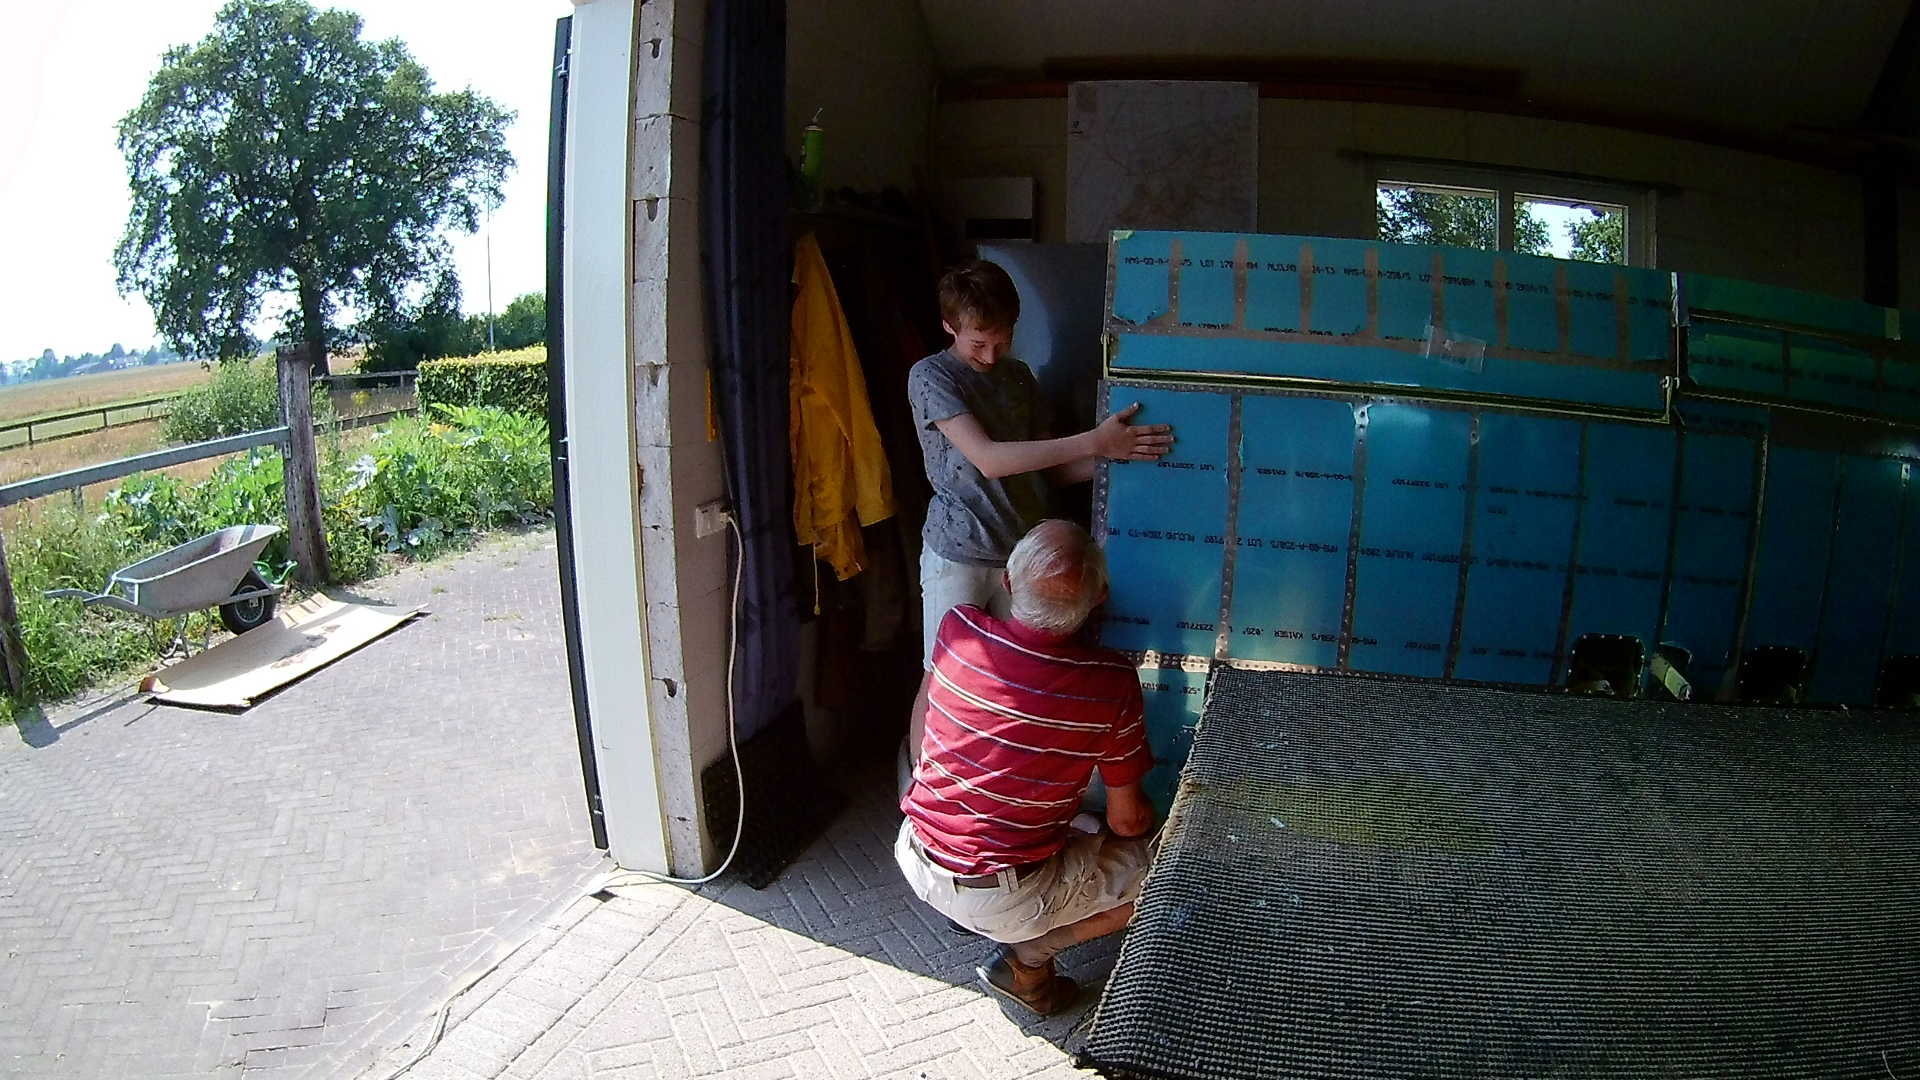
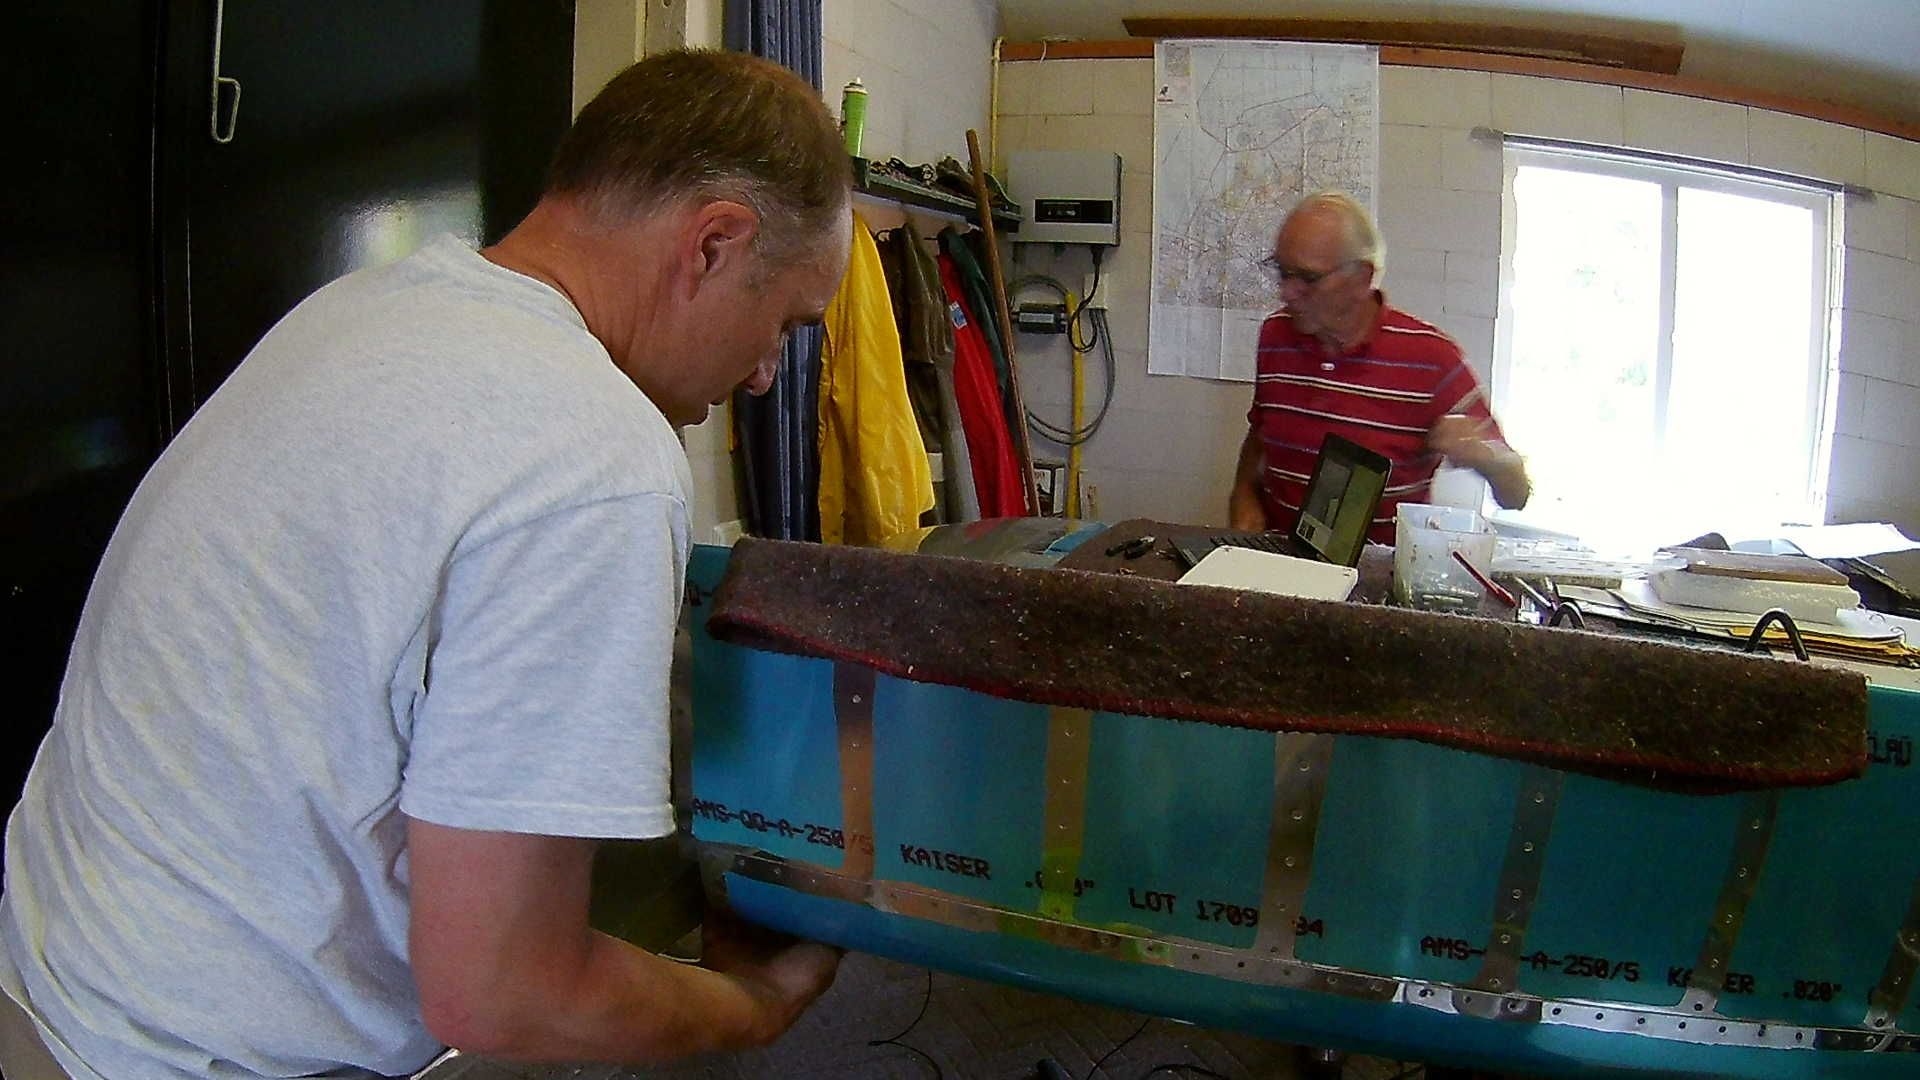
With the right Wing finished, we now need to swap Wings. The workshop is too small to handle the swap, so I rolled the workbench out and positioned the cradle to insert the finished Wing.
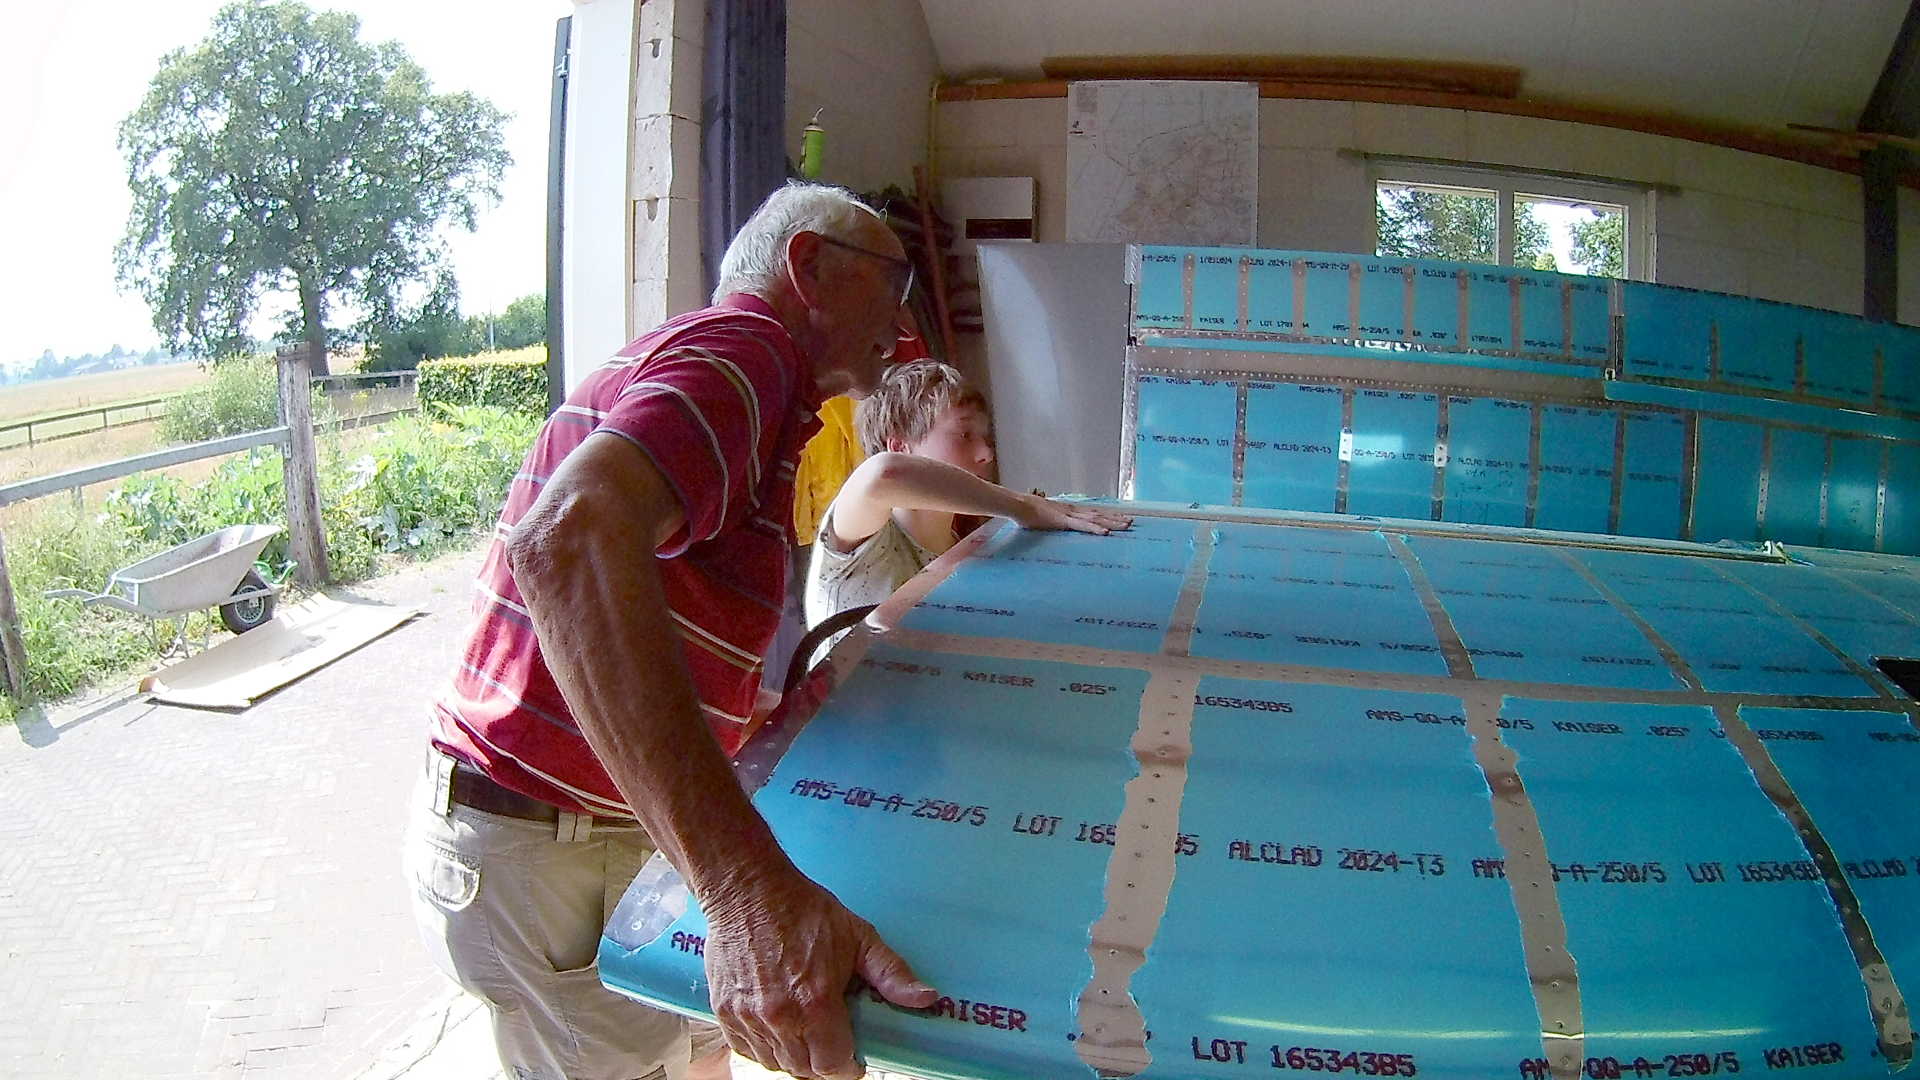
Now we can lift the left Wing out of the cradle and place it on the workbench. Last stop is moving the cradle out of the way.
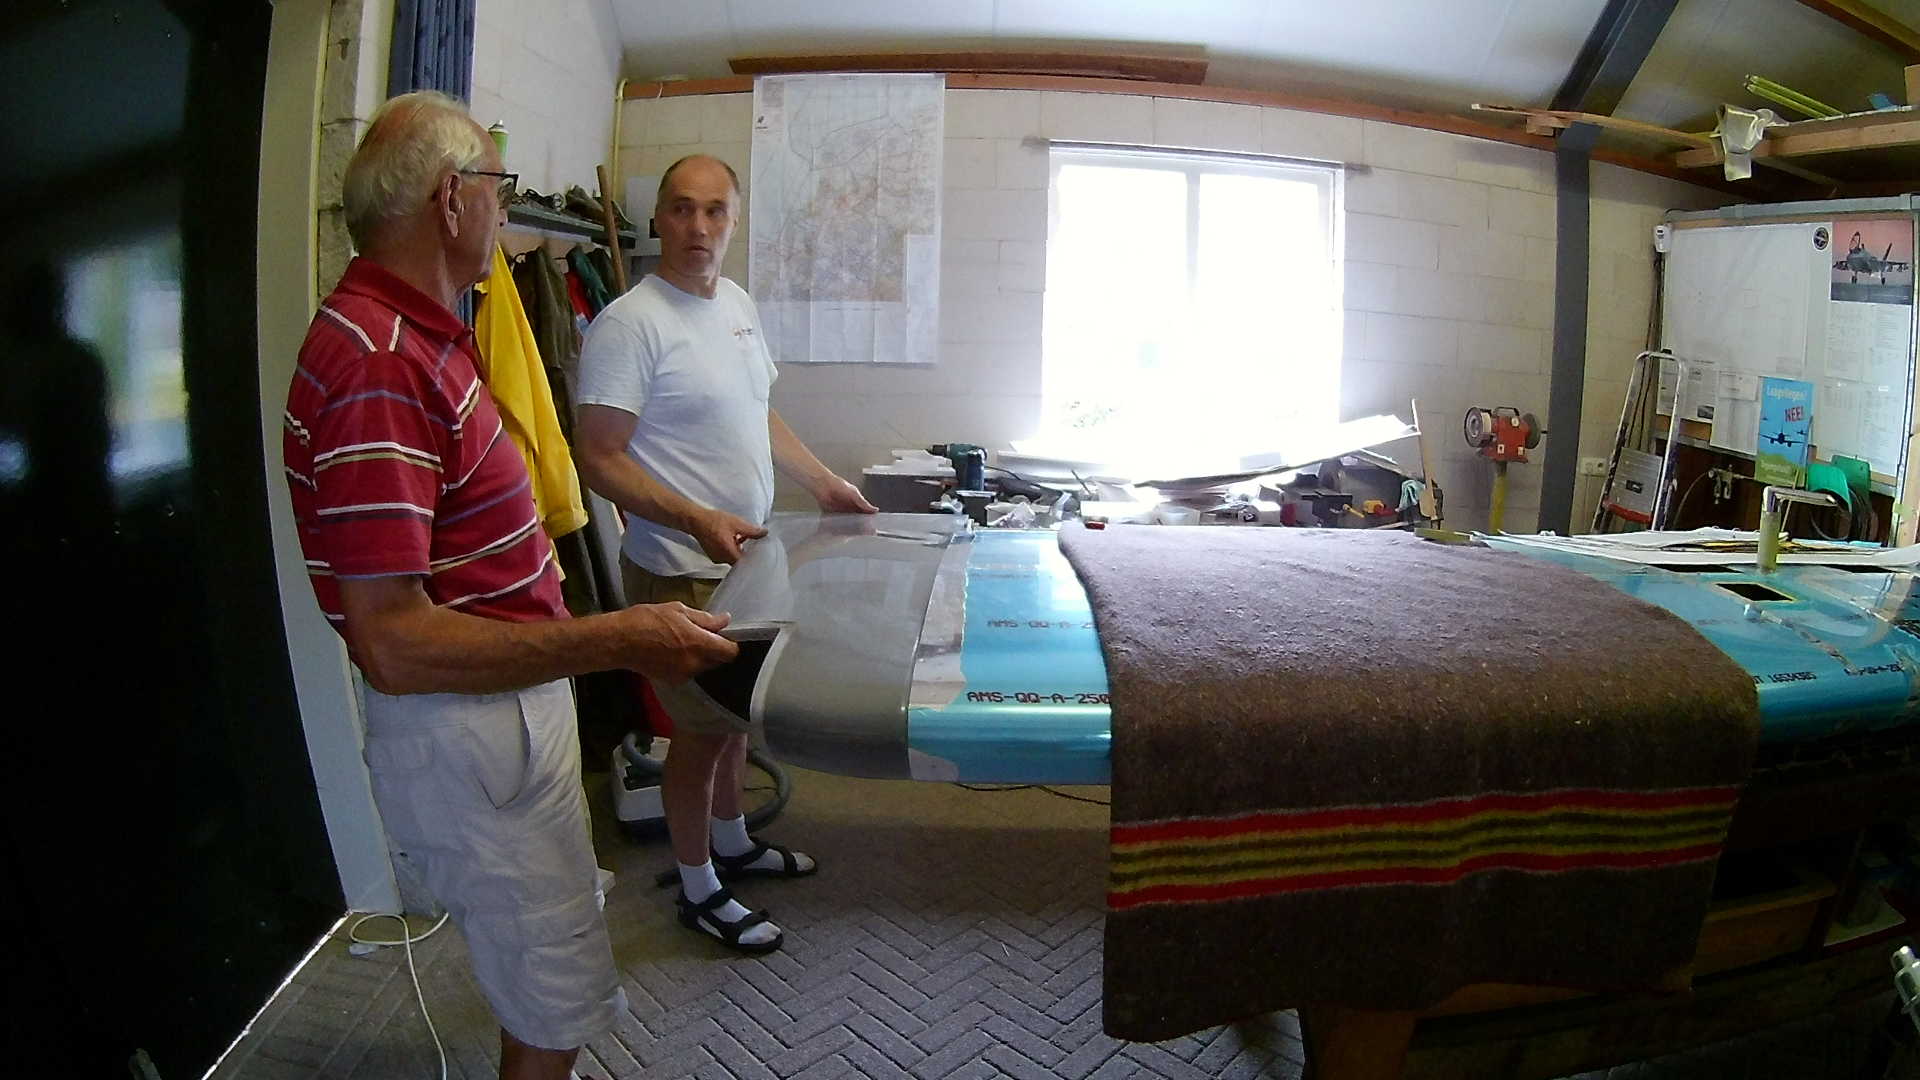
The left Wing is a little trickier, because the Pitot tube is in the way. Working on the bottom that is not a problem yet.
To determine the alignment of the Wing Tip, we use a string, that ‘cuts’ through the tooling holes, visualizing the chord. With that, we can position the Aileron in a exact level position.
With the Aileron set, we align the Wing Tip to match the Aileron. The aft most part of the Wing Tip has a small rib inside, because there is no Wing there to keep the Tip in shape.
Drilling the top would be easier the other way around, but with the Pitot tube turning the Wing is not that easy.
To prevent the glass fiber Wing Tip from cracking when riveted, we attach a small Aluminum strip on the inside.

Since the Wing Tip is very flexible, it is easy compressible. To prevent ‘floppy’ Wing Tips, I prepared a foam rib covered with fiberglass and epoxy resin to create a strong structure. Later I glued the rib with resin inside the Wing Tip.
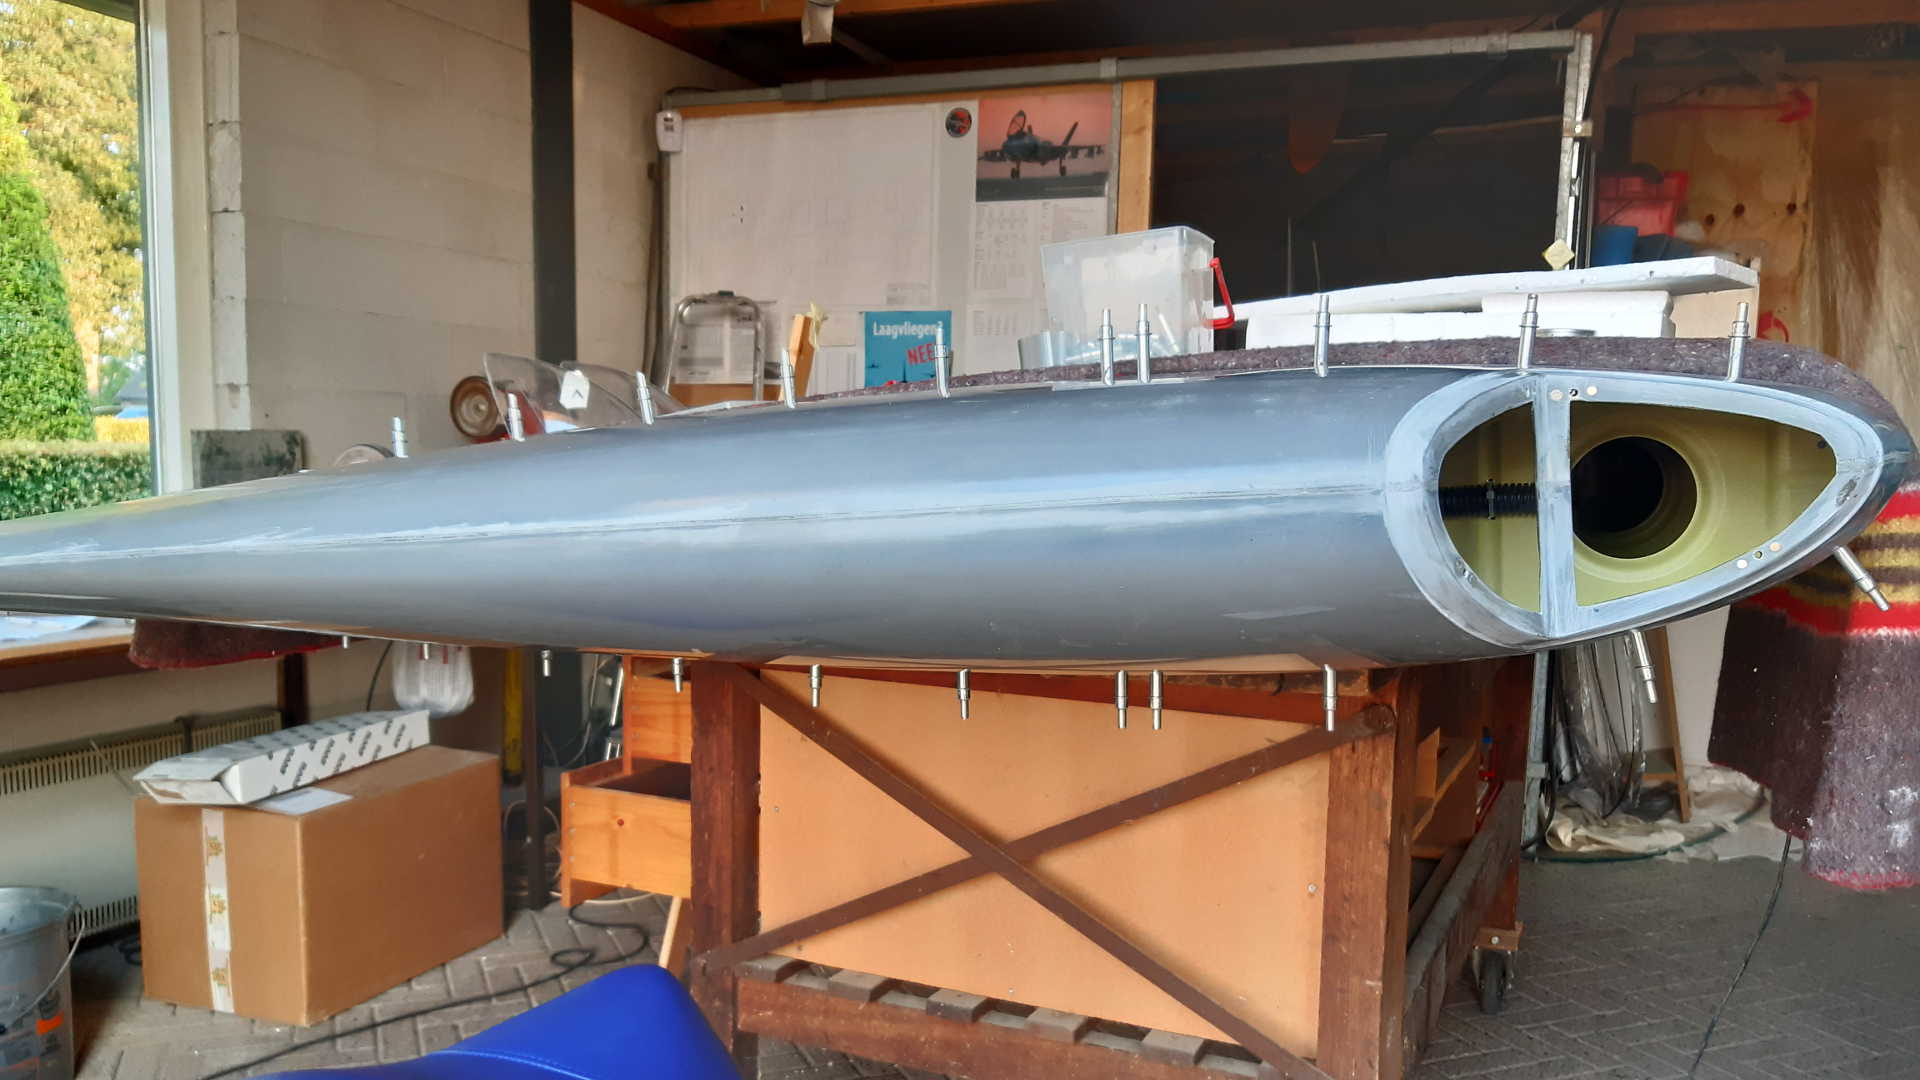
Because I use Flyleds, the lighting panels can almost be completely removed. Now there is enough room to reach inside the Wing Tip. Also for maintenance purposes later.
Time: 7 Hours, Rivets: 29/0 (2020-08-08)
Time: 6 Hours, Rivets: 0/0 (2020-08-09)
Time: 4 Hours, Rivets: 0/0 (2020-08-10)
Time: 7 Hours, Rivets: 29/0 (2020-08-15)
Video