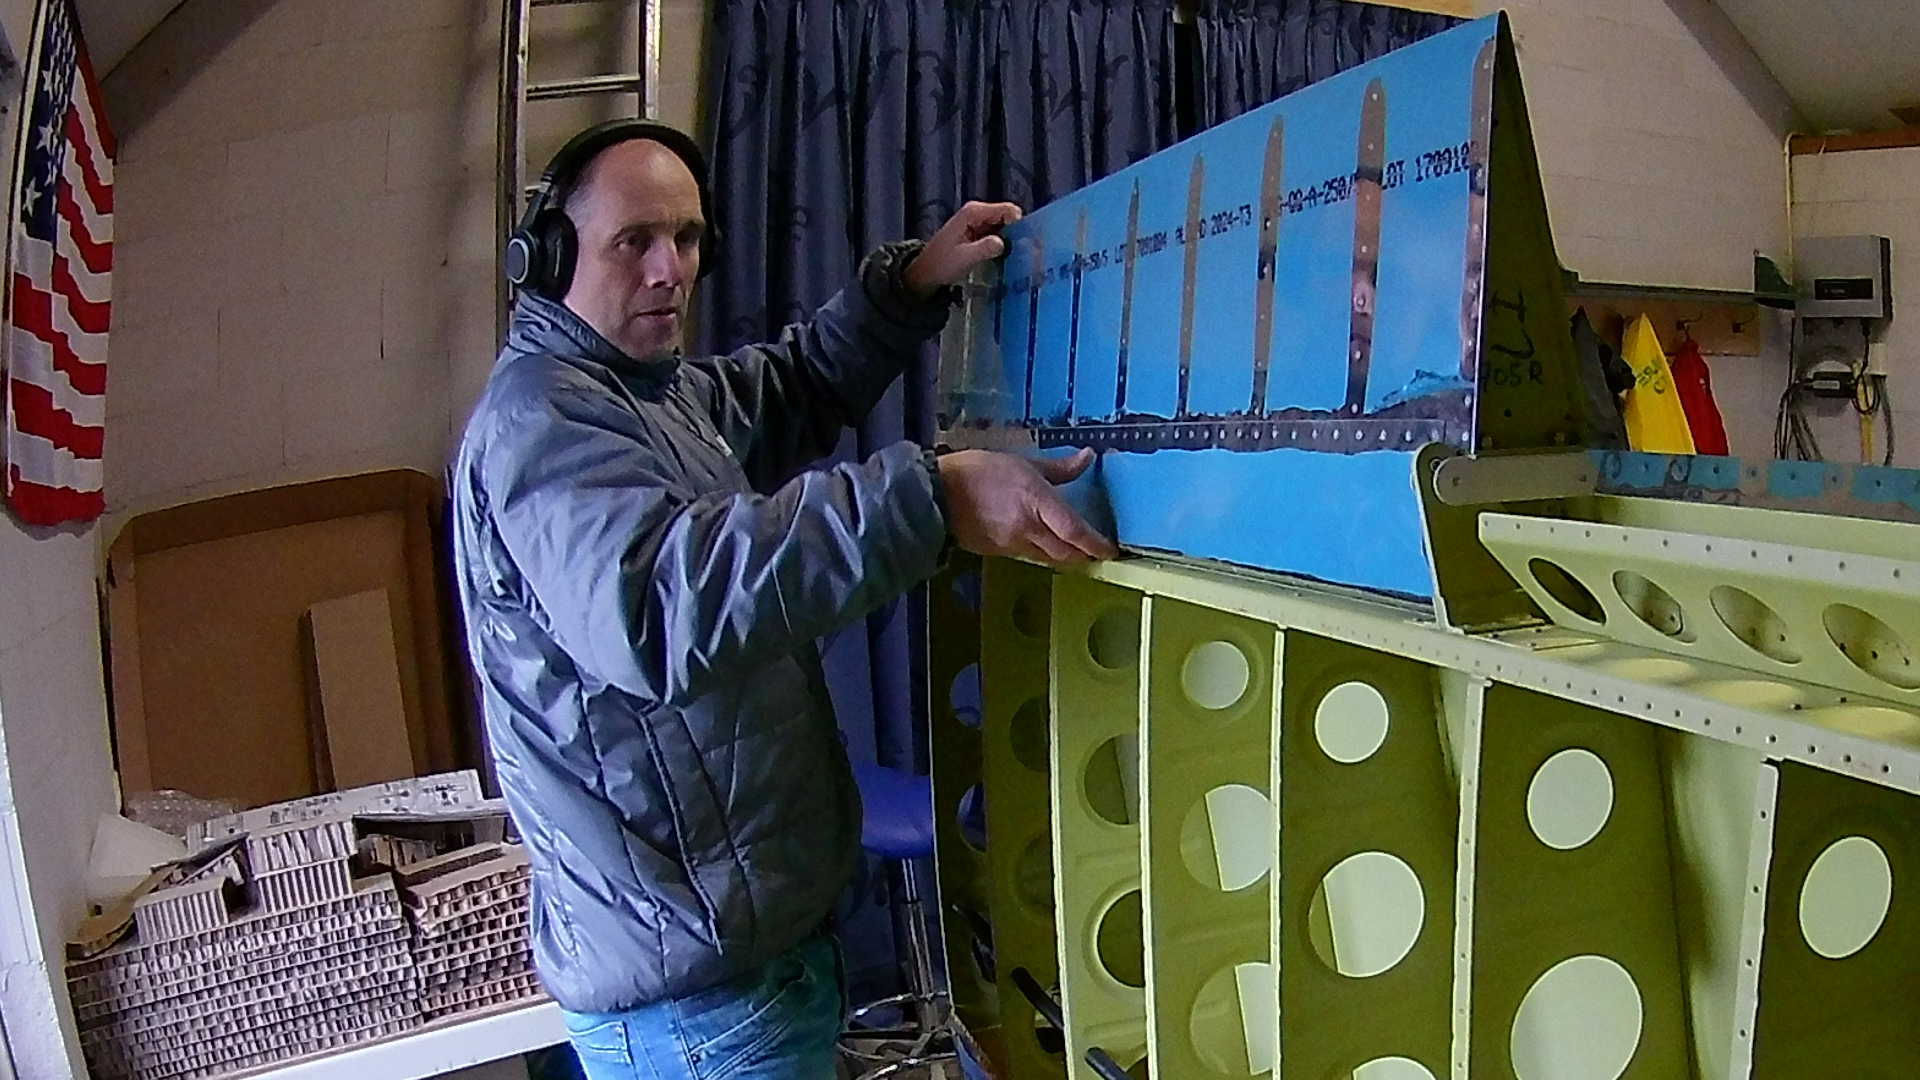

The Canopy (Bubble) itself is not touching the Fuselage. There are skirts that tightly connect the Canopy to the Fuselage. With the Canopy bonded to the Frame with Sikaflex, we can now install both the Side Skirts and the Rear Skirt. According to the plans of Van’s, I have drilled the Side Skirts with holes, that will later be used to attach them to the Skirt Brace on the inside of the Canopy.
What I didn’t take into account is that this only works if the lighting holes that you can make in the Brace, the remaining strip of Skirt Brace an its position on the frame all have to be aligned. Now that I know this, I could have prevented drilling extra holes and de-dimple and cover mismatching holes. Probably a better solution is to drill the holes in the Skirt Brace first and after installing the Skirt drill the holes in the outer Skirt.
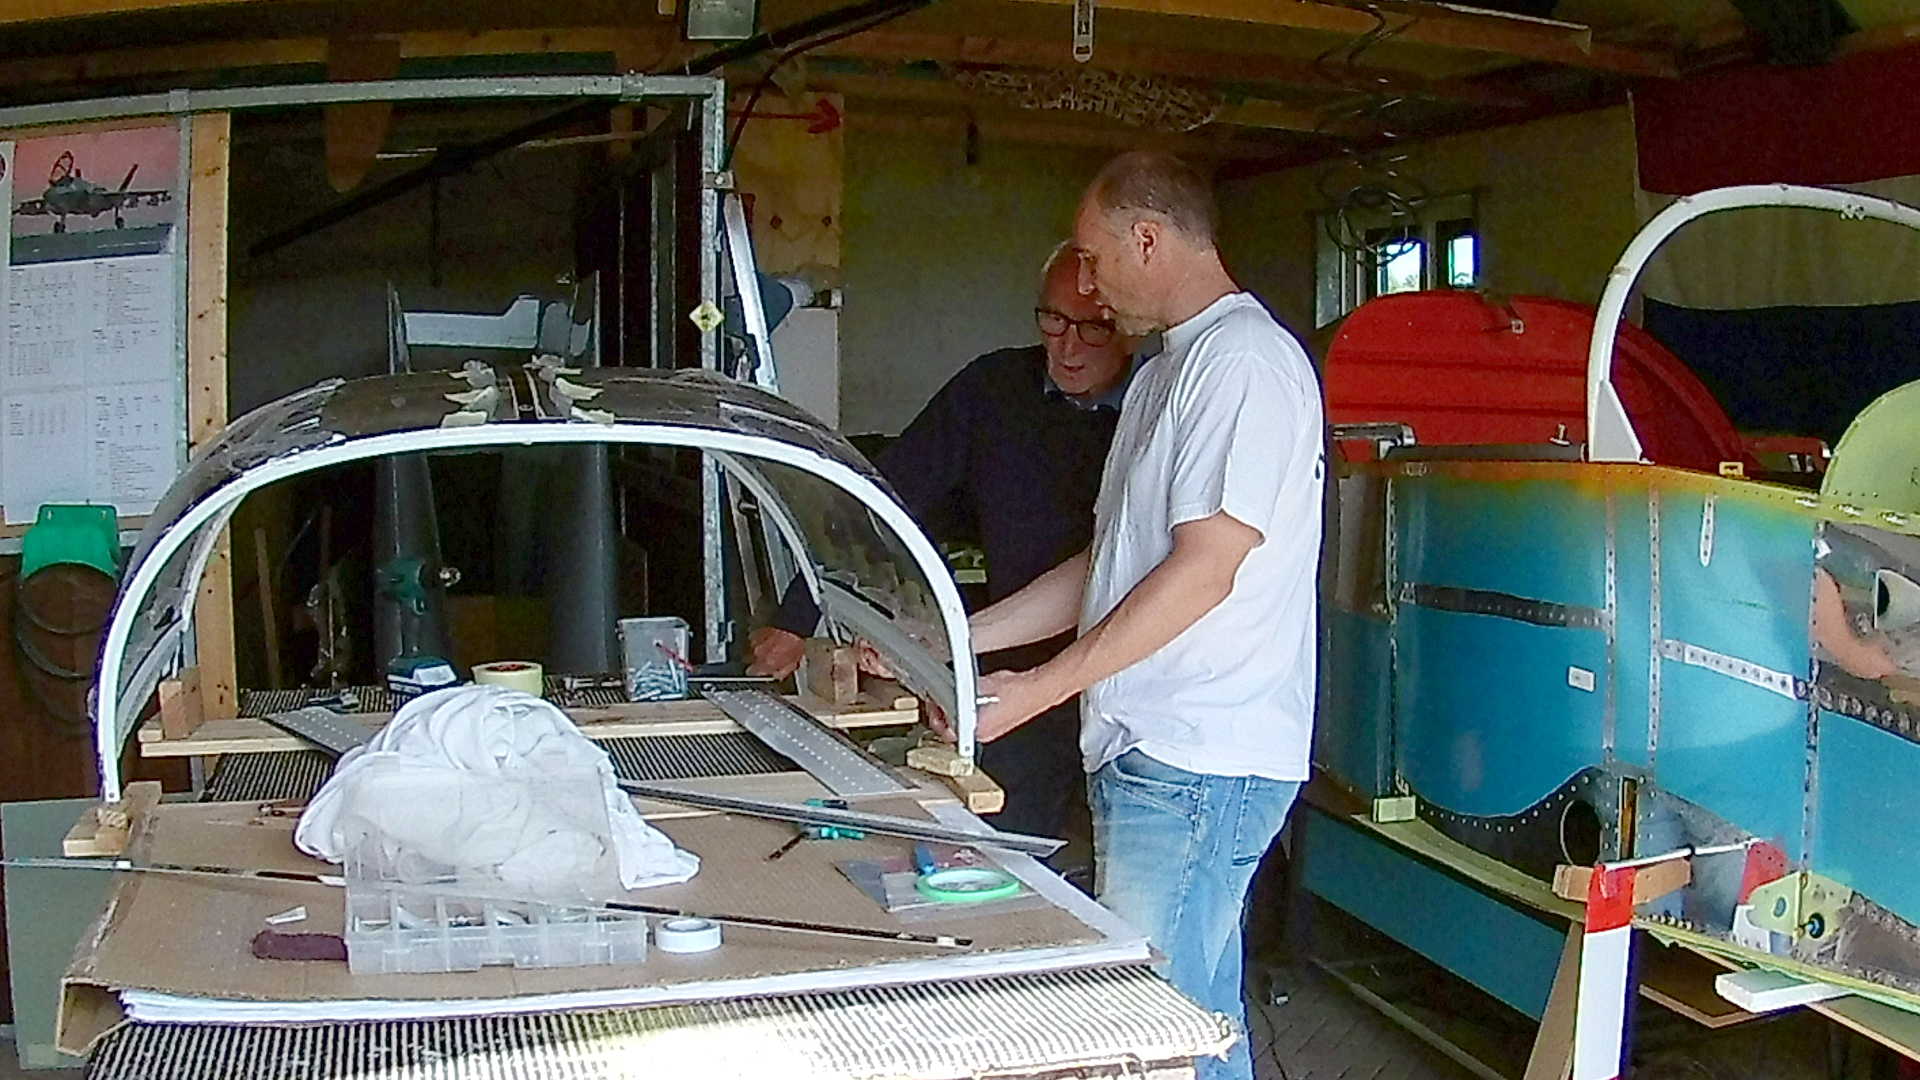
Similar to bonding the Canopy to the frame, we are also bonding the Skirts to the Canopy with Sikaflex. Hence we tape the Canopy where we don’t want primer (it’s really nasty stuff). We use Fine Tape and after that broad painters tape to protect the Canopy.
After the Primer has dried, we apply the Sikaflex to the Canopy (Bubble) and insert the inner Side Skirt and tho outer Side Skirt.
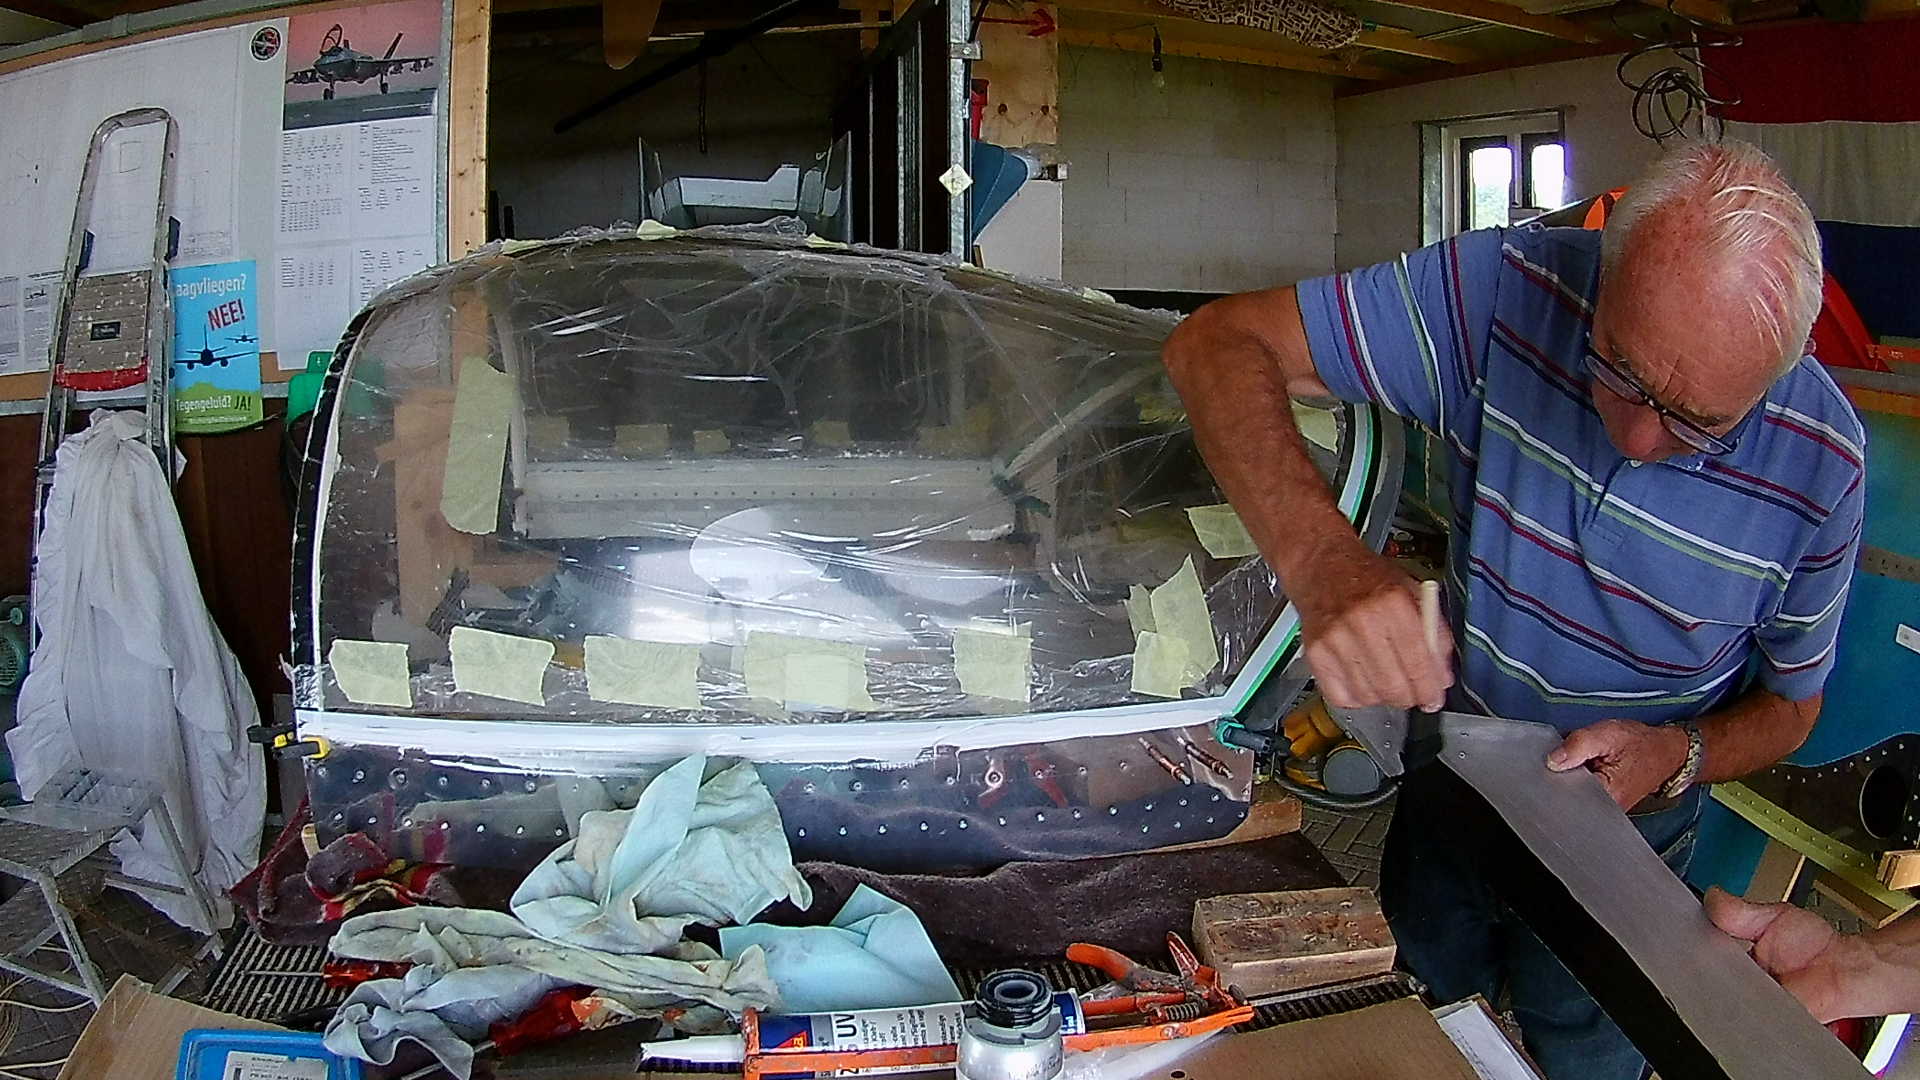
Now we need to clamp these tightly to the Canopy, so there is a nice bond. Note the right Skirt Brace with the Lighting Holes. You see the attach strips under the holes and these are not drilled yet. Aligning these with the Side Skirt is a challenge. I had to repair some mismatches.

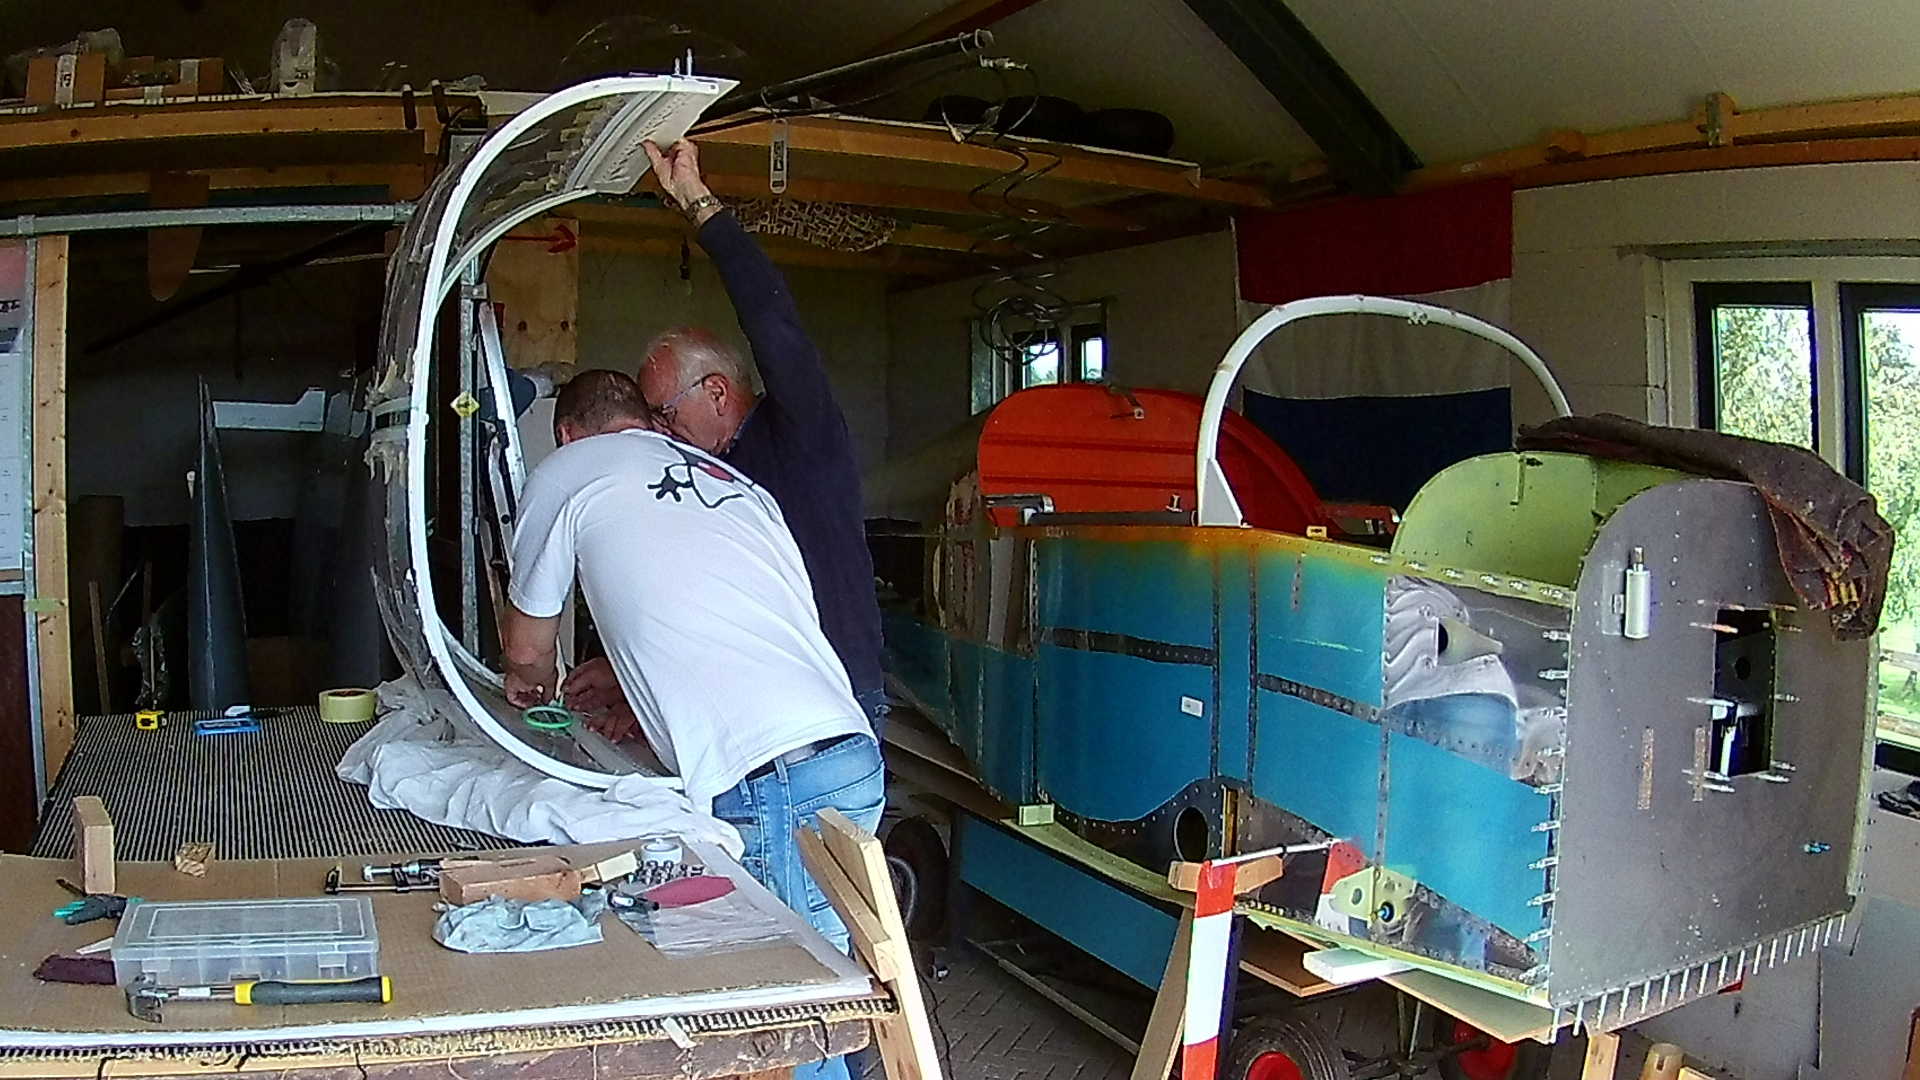
The Rear Skirt is also bonded to the Canopy, so we use the same procedure at the aft side. Since the Top Strip is connected to the Rear Skirt we also need to tape that part.
We are not sure how much Canopy should be ‘left’ for bonding, but we figure an inch is more than sufficient.
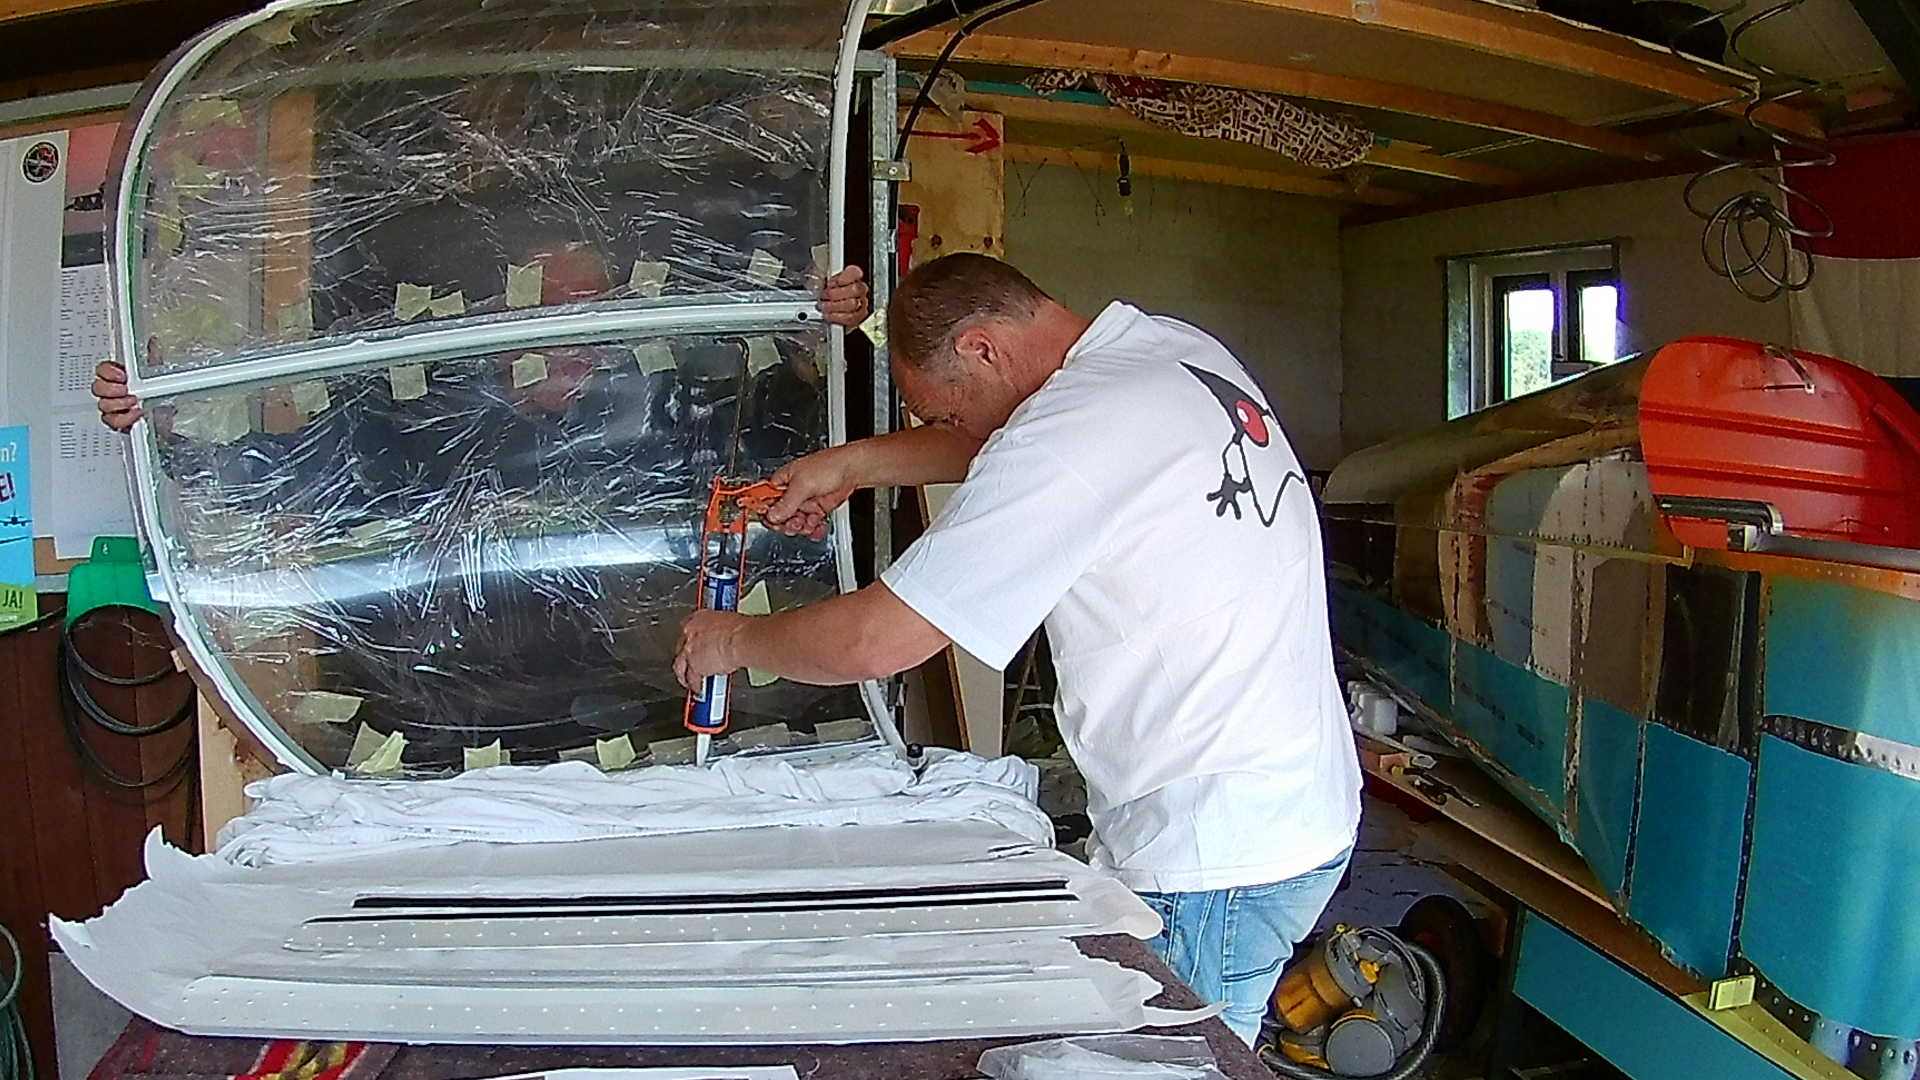
Everything is taped and cleaned with degreaser, so now we can carefully apply the primer on both the Rear Skirt and the Canopy. The primer has two side effects: it dries while you apply it (too fast) and it ‘eats’ the brush. It probably ‘eats’ your lungs too.
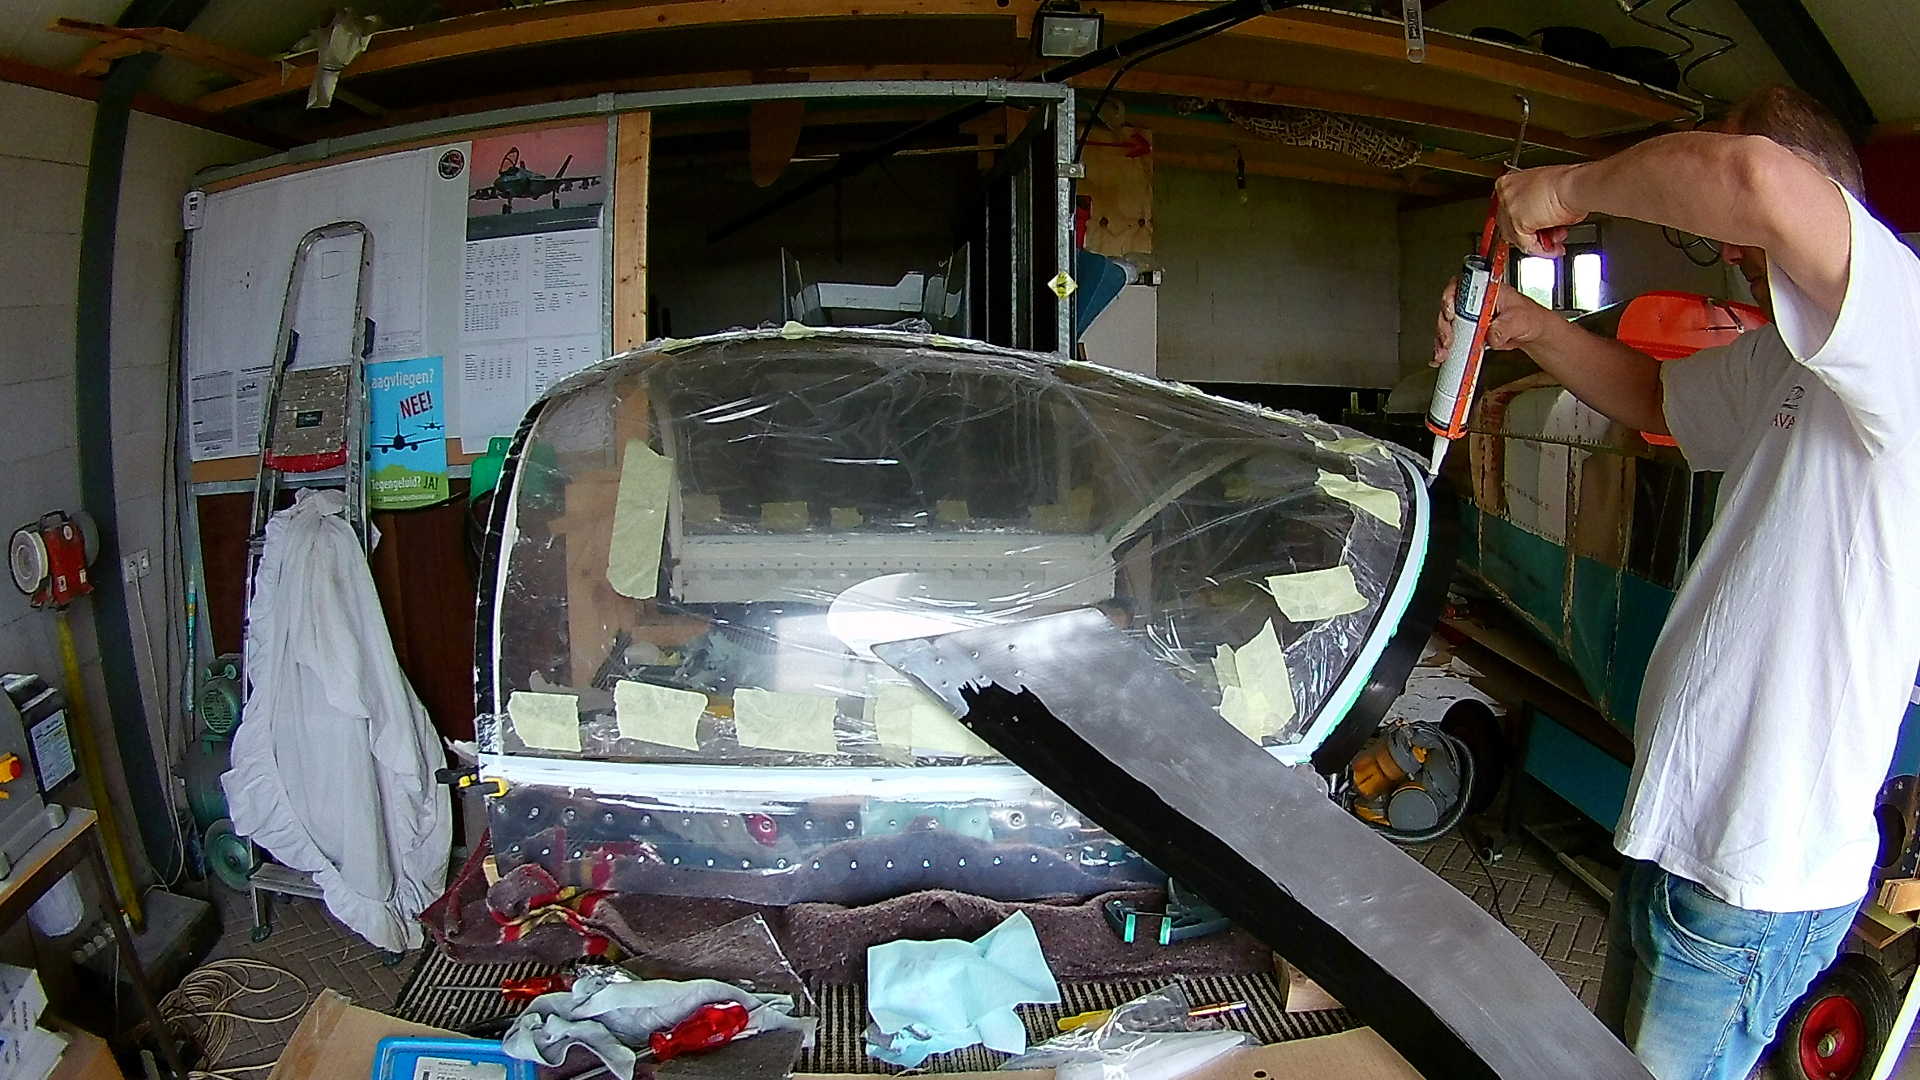
When the primer is dry (and waiting for 30 minutes), we apply the Sikaflex to the Canopy. One line with a V-shaped nozzle.
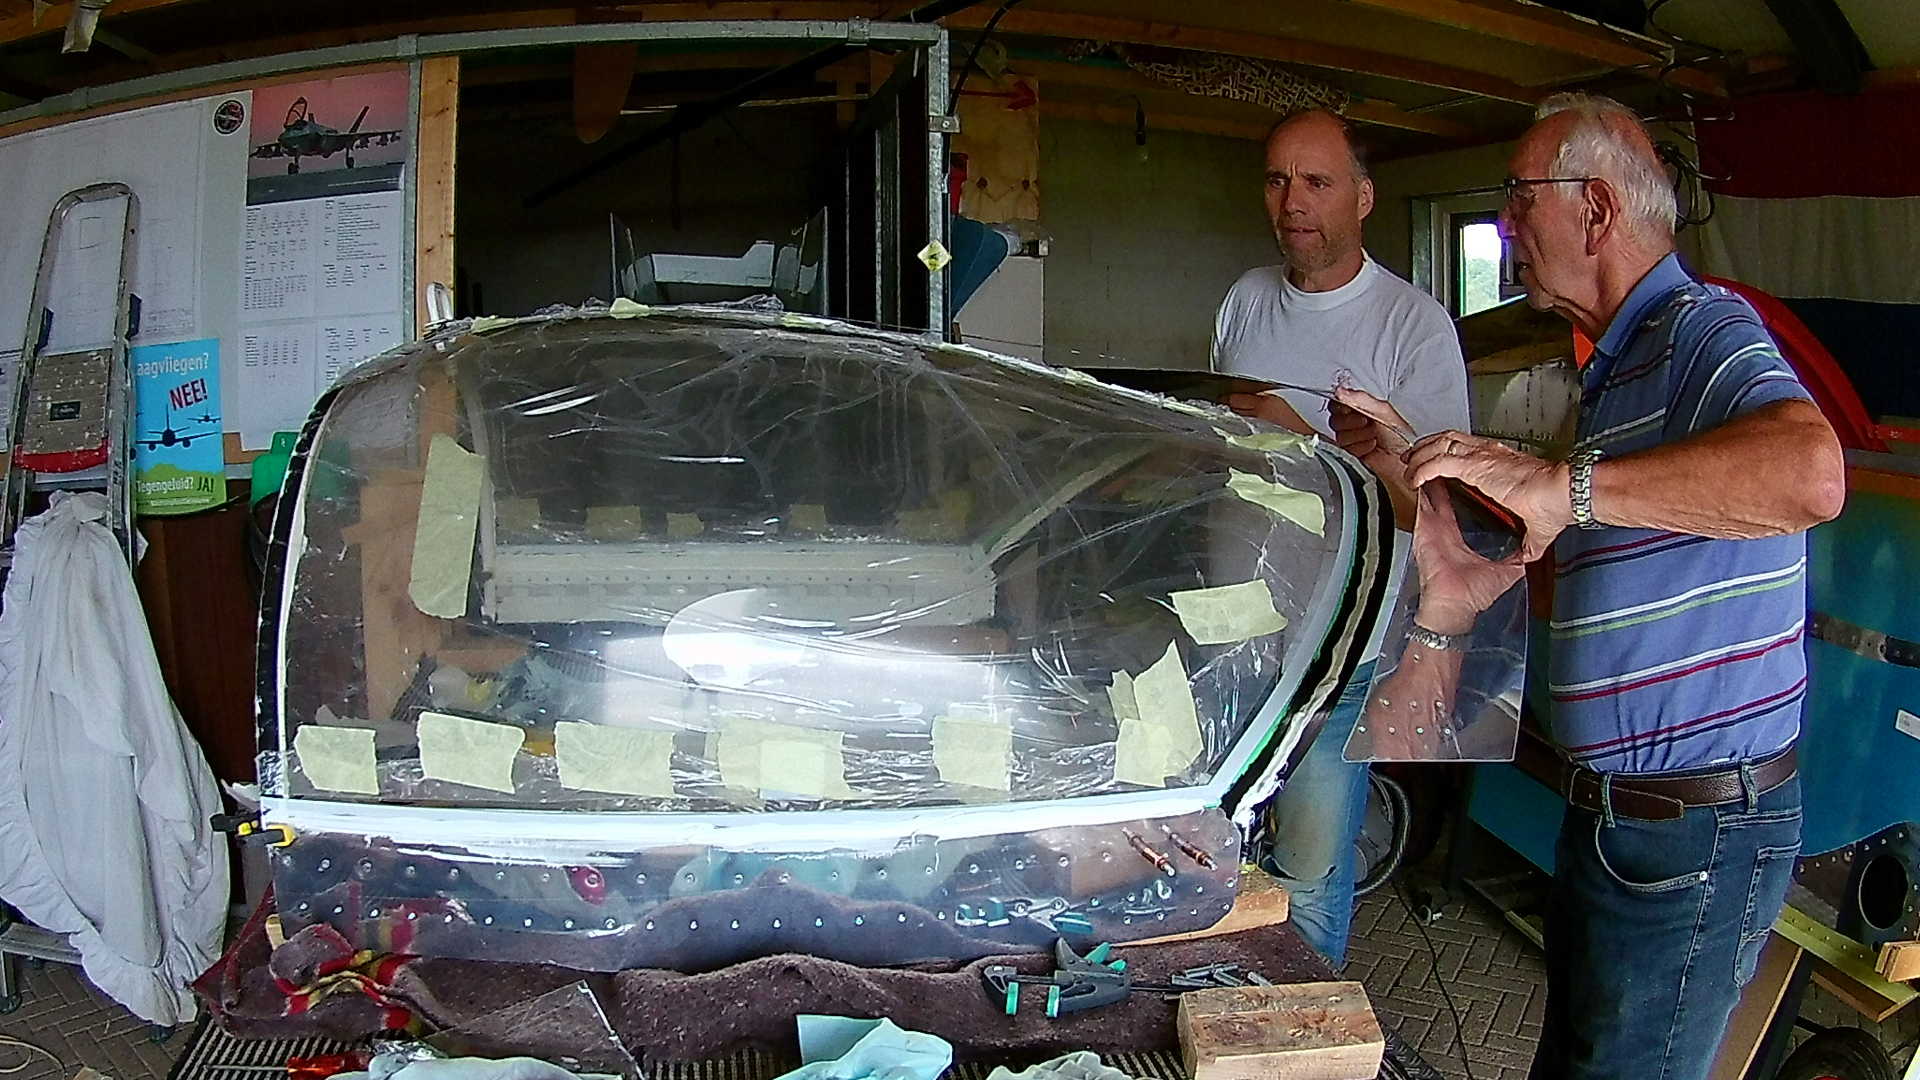
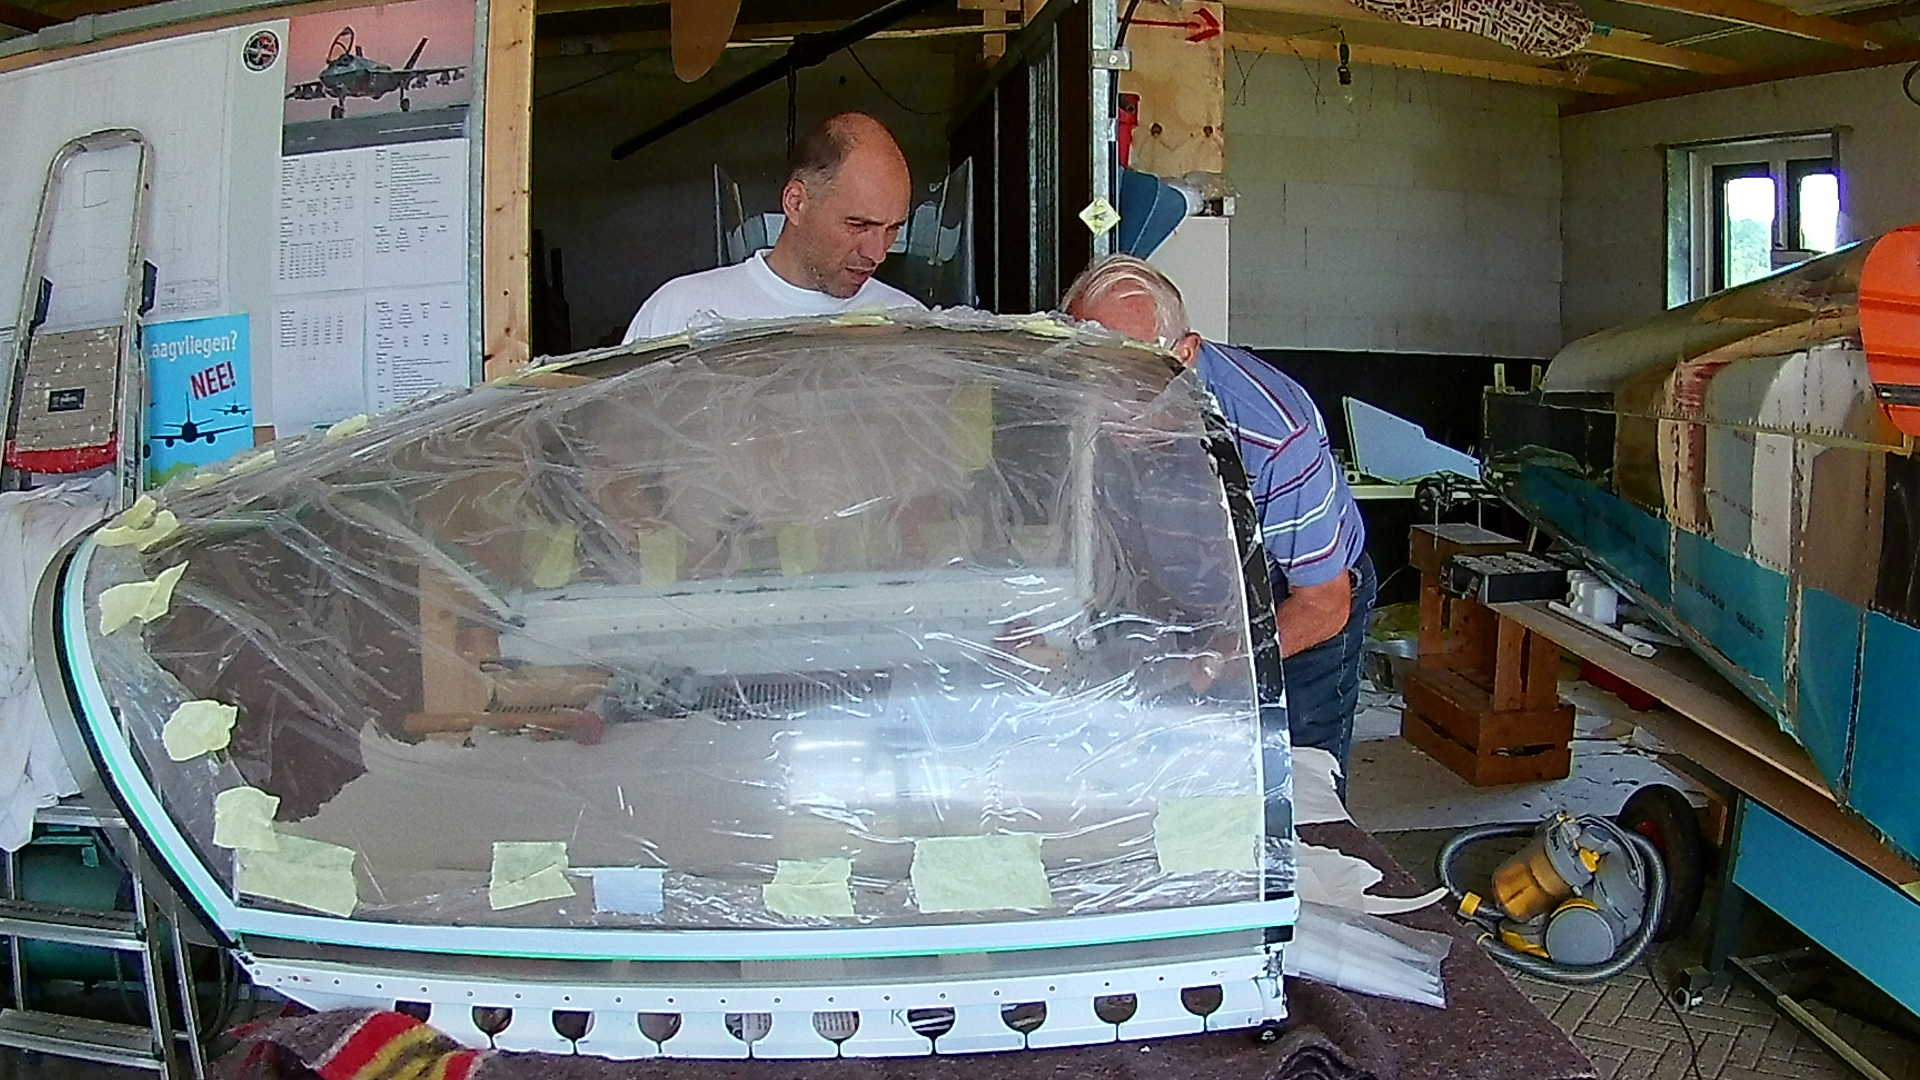
The top strip is attached to the latch for reference and while pulling we push the Rear Skirt onto the Canopy.
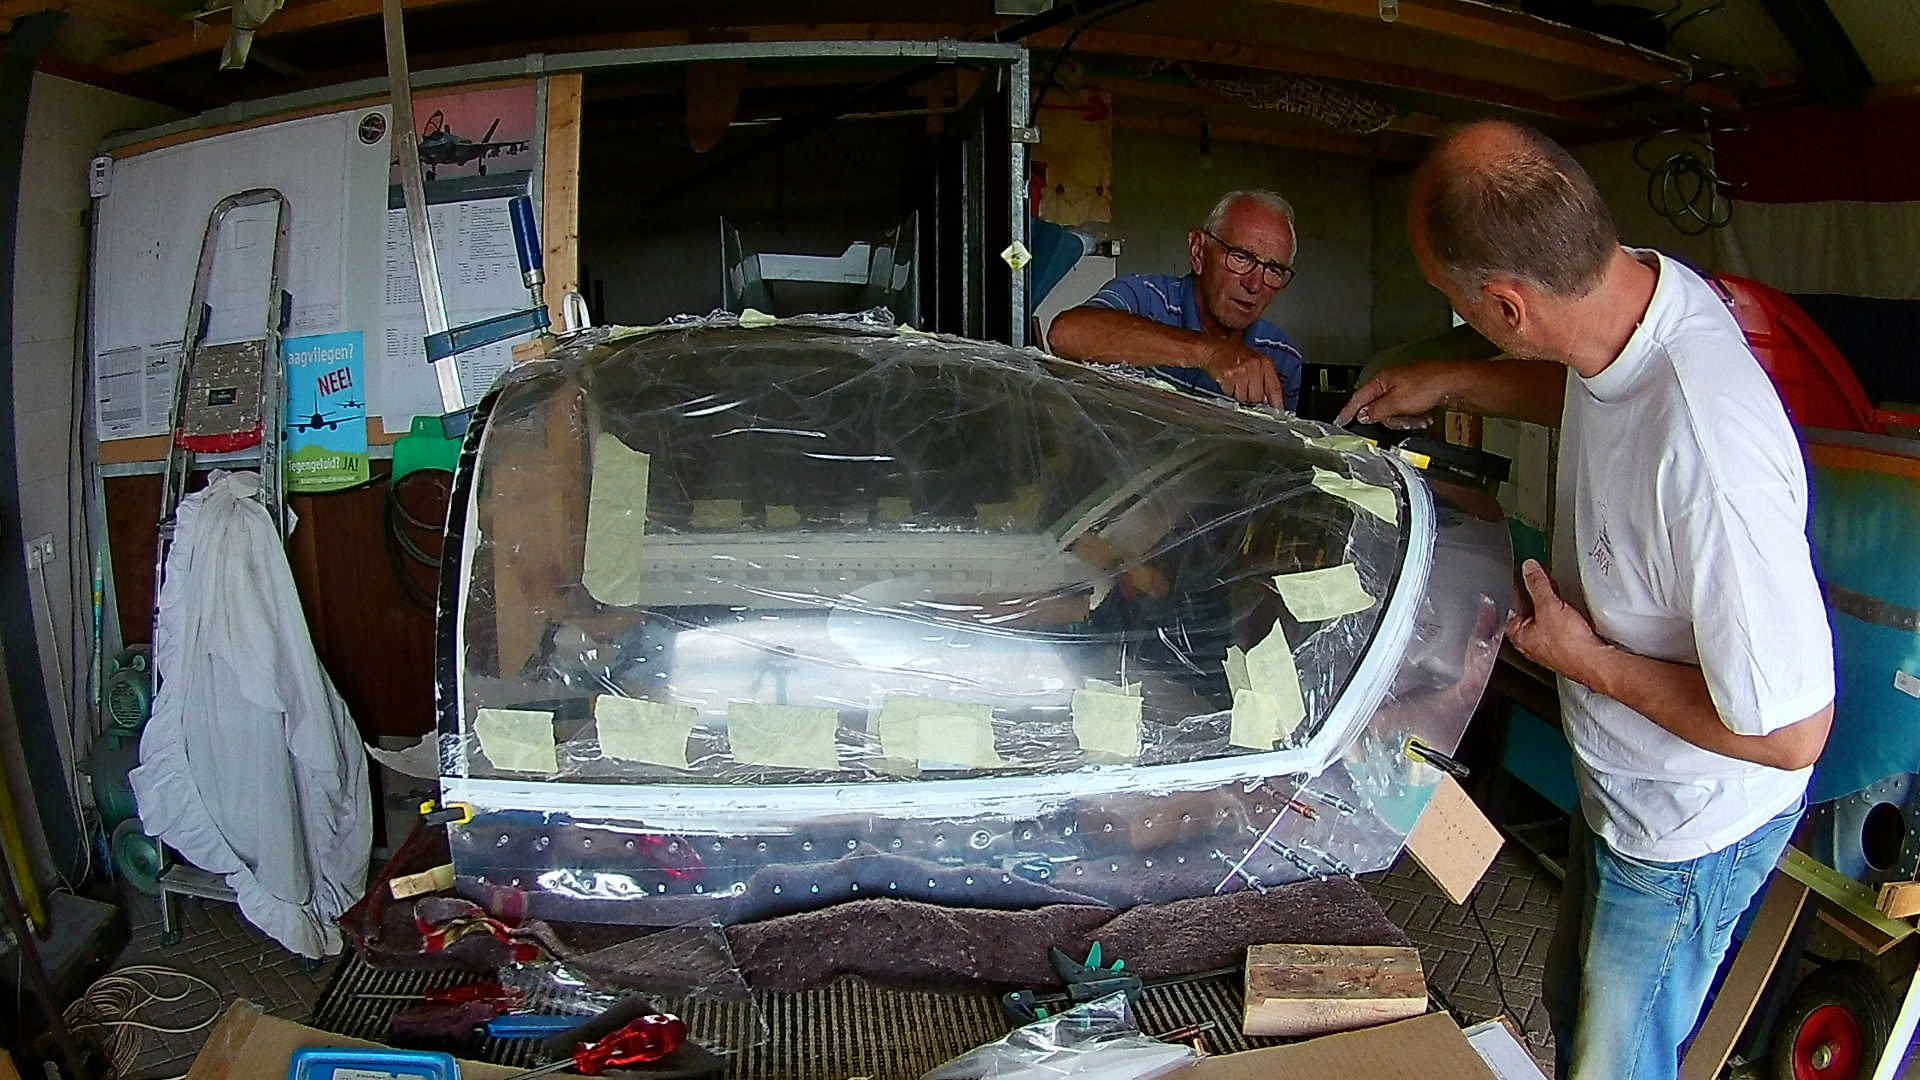
I bought some extra clamps, because I knew we needed several places to clamp the Rear Skirt to the Canopy.
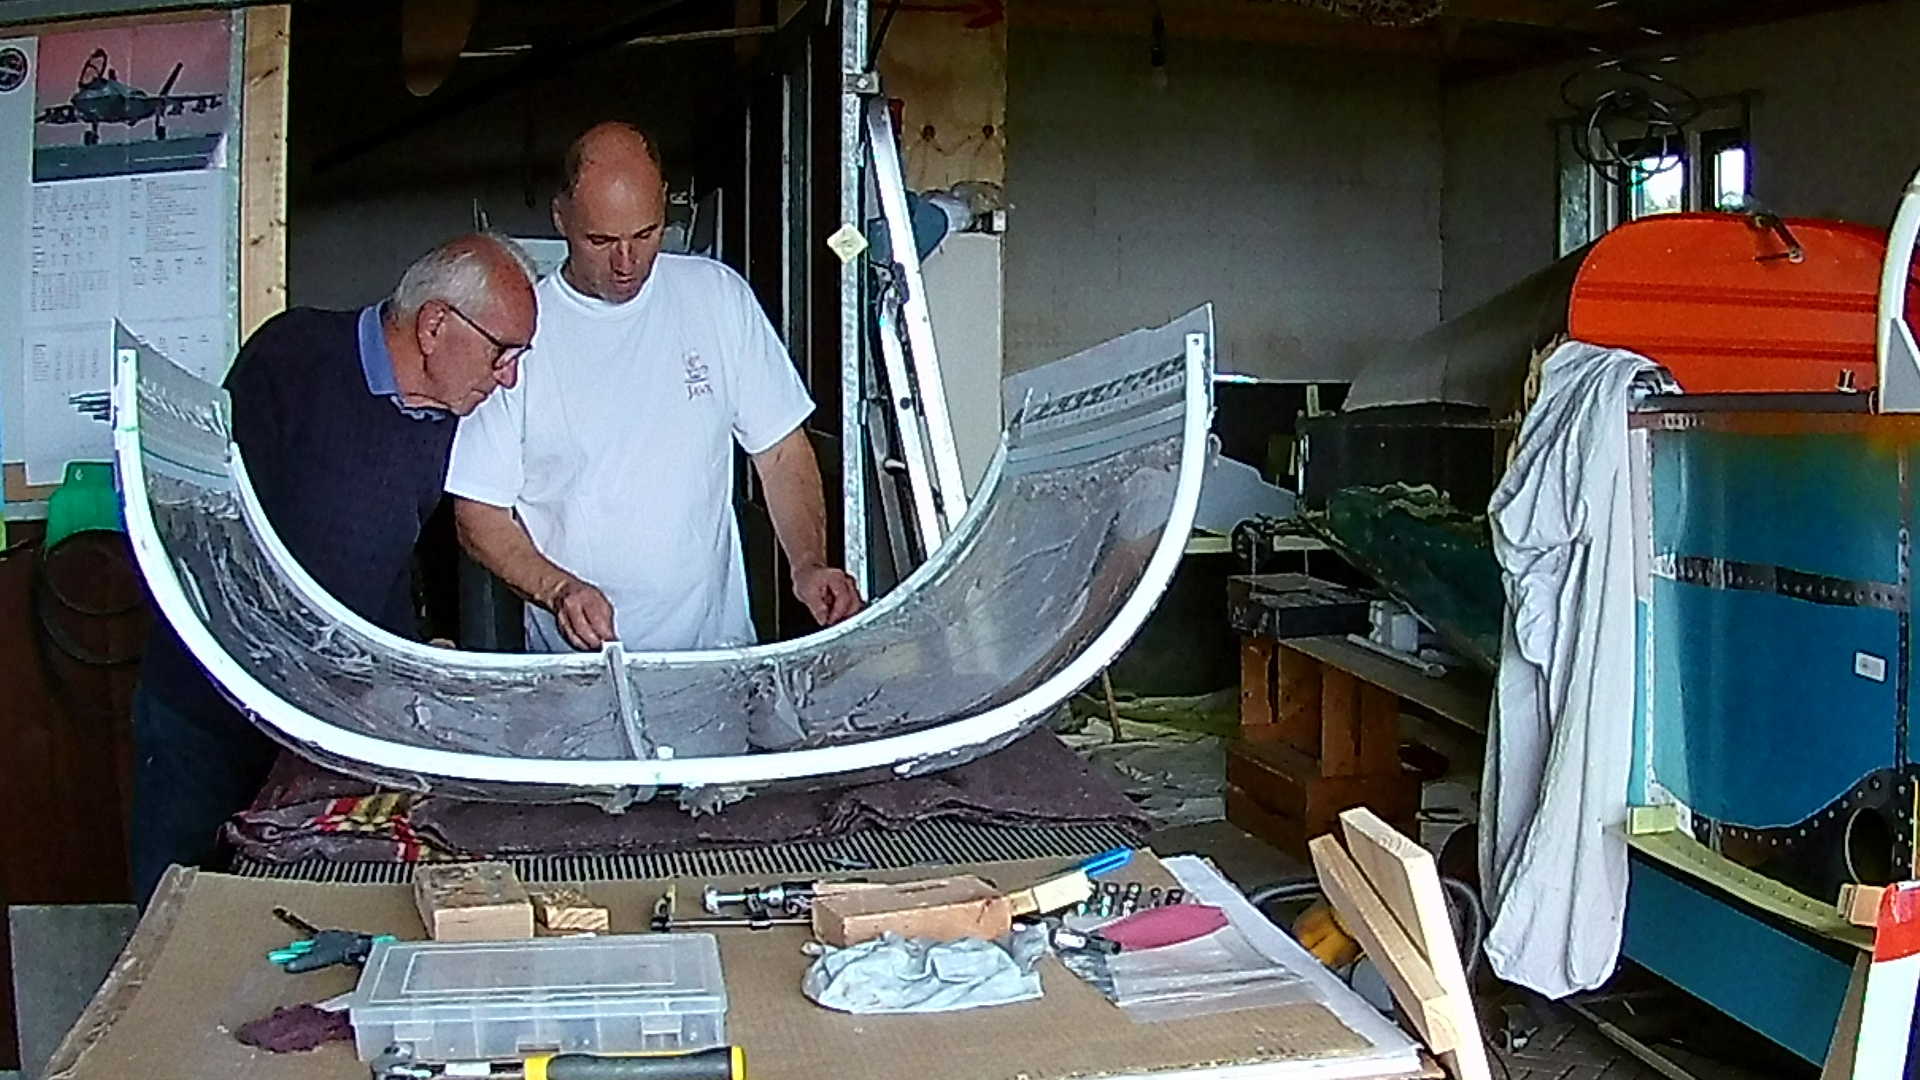
The result looks great, however…
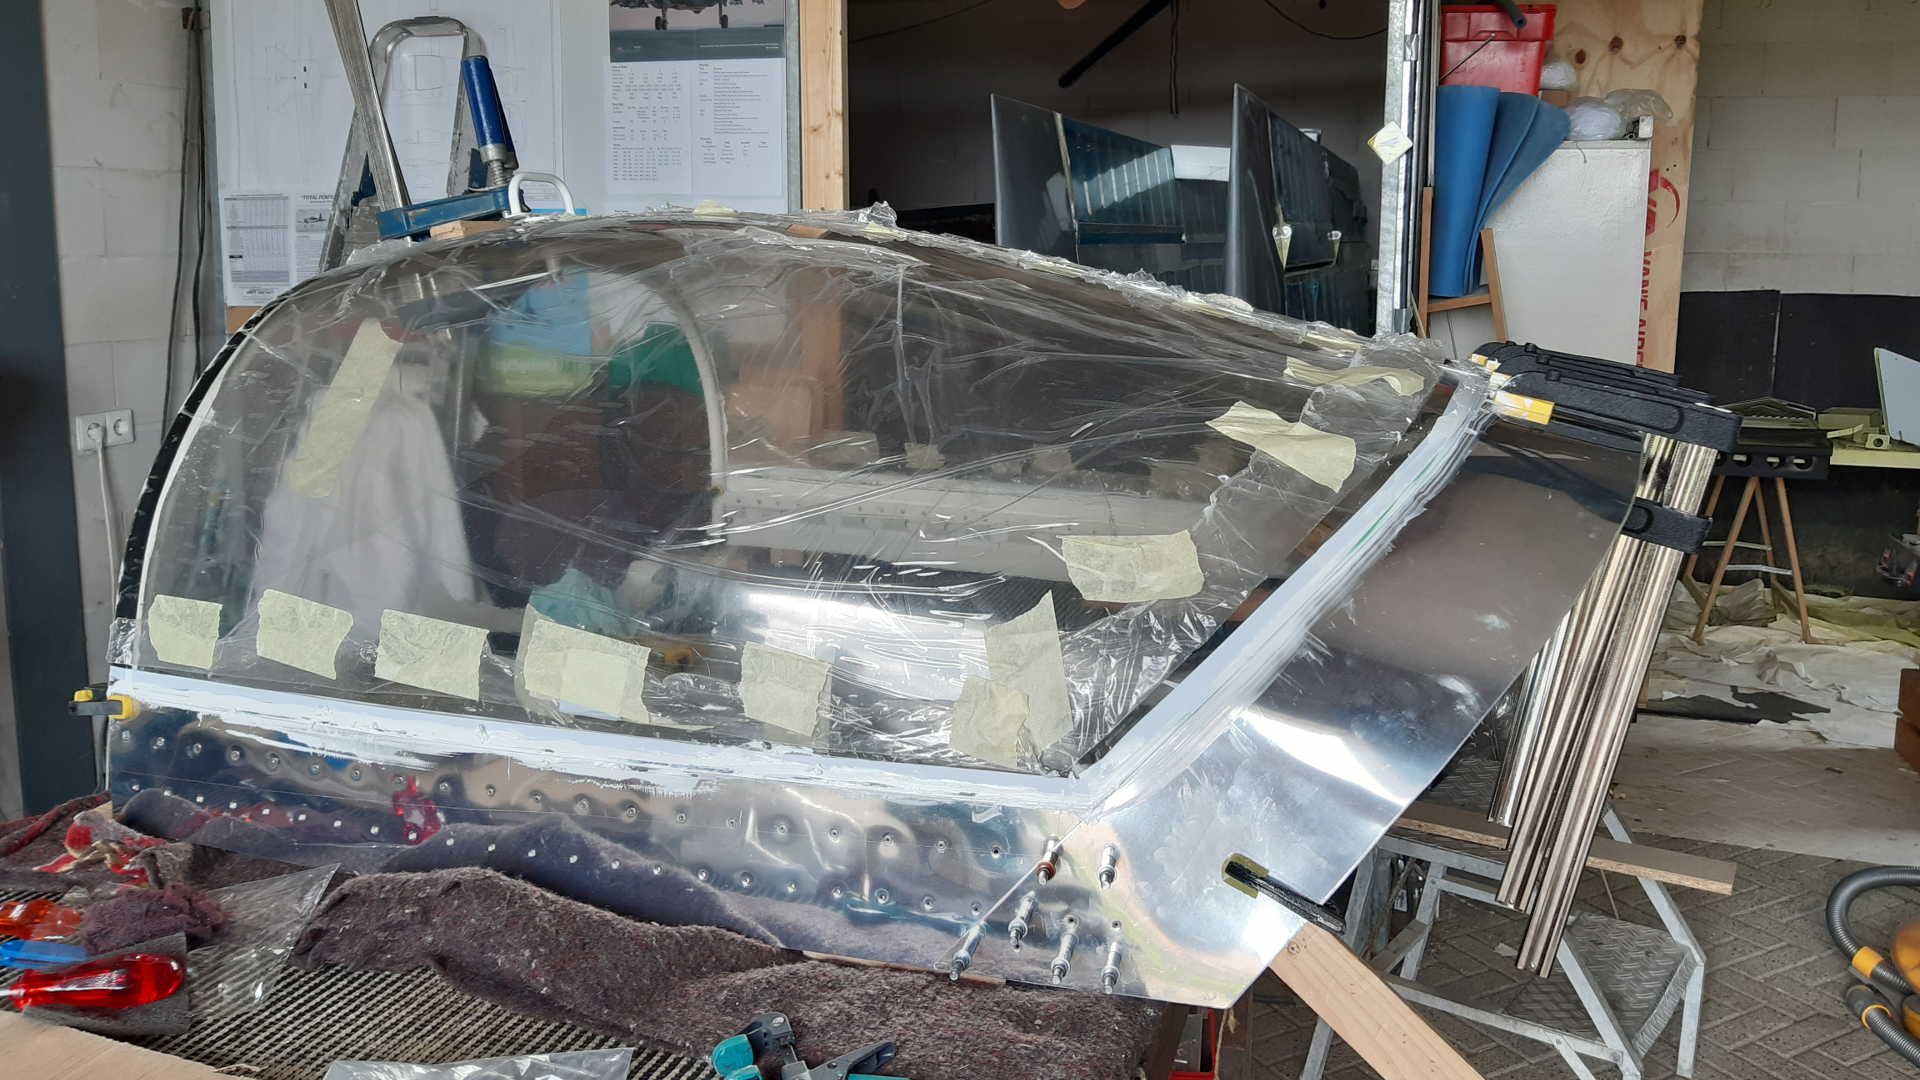
What you don’t see is that the fit to the Canopy was not good. There was too much space between the Rear Skirt and the Fuselage Skin, especially at the part where Rear Skirt and Side Skirt meet. I took a lot of effort to make it tight, but I still failed. We have to find a solution to solve this issue.
Time: 5 Hours, Rivets: 0/0 (2020-09-02)
Time: 6 Hours, Rivets: 1/0 (2020-09-05)
Time: 5 Hours, Rivets: 40/0 (2020-09-06)
Time: 3 Hours, Rivets: 16/0 (2020-09-08)
Video