
Time to install the Avionics and start wiring them together. First step I did earlier and I installed the Avionics between the Panel, sub-panel and Firewall.
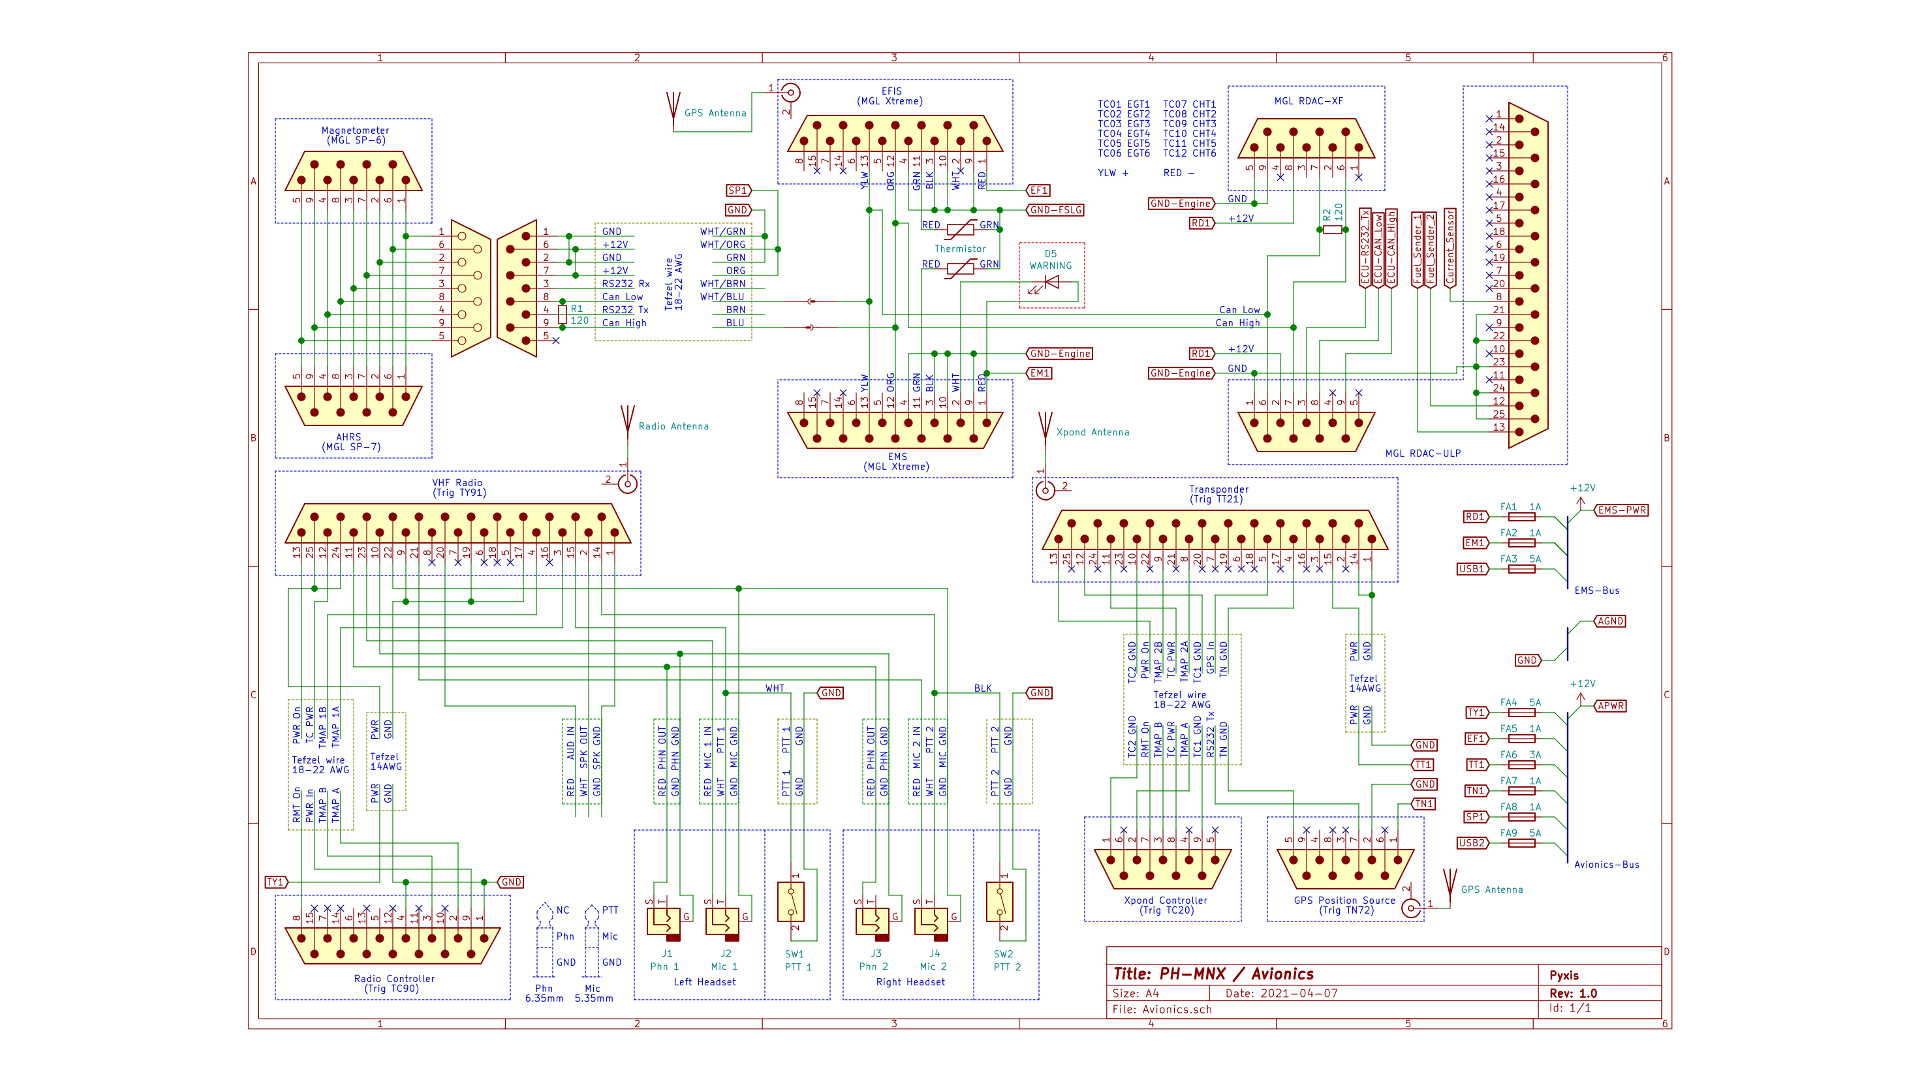
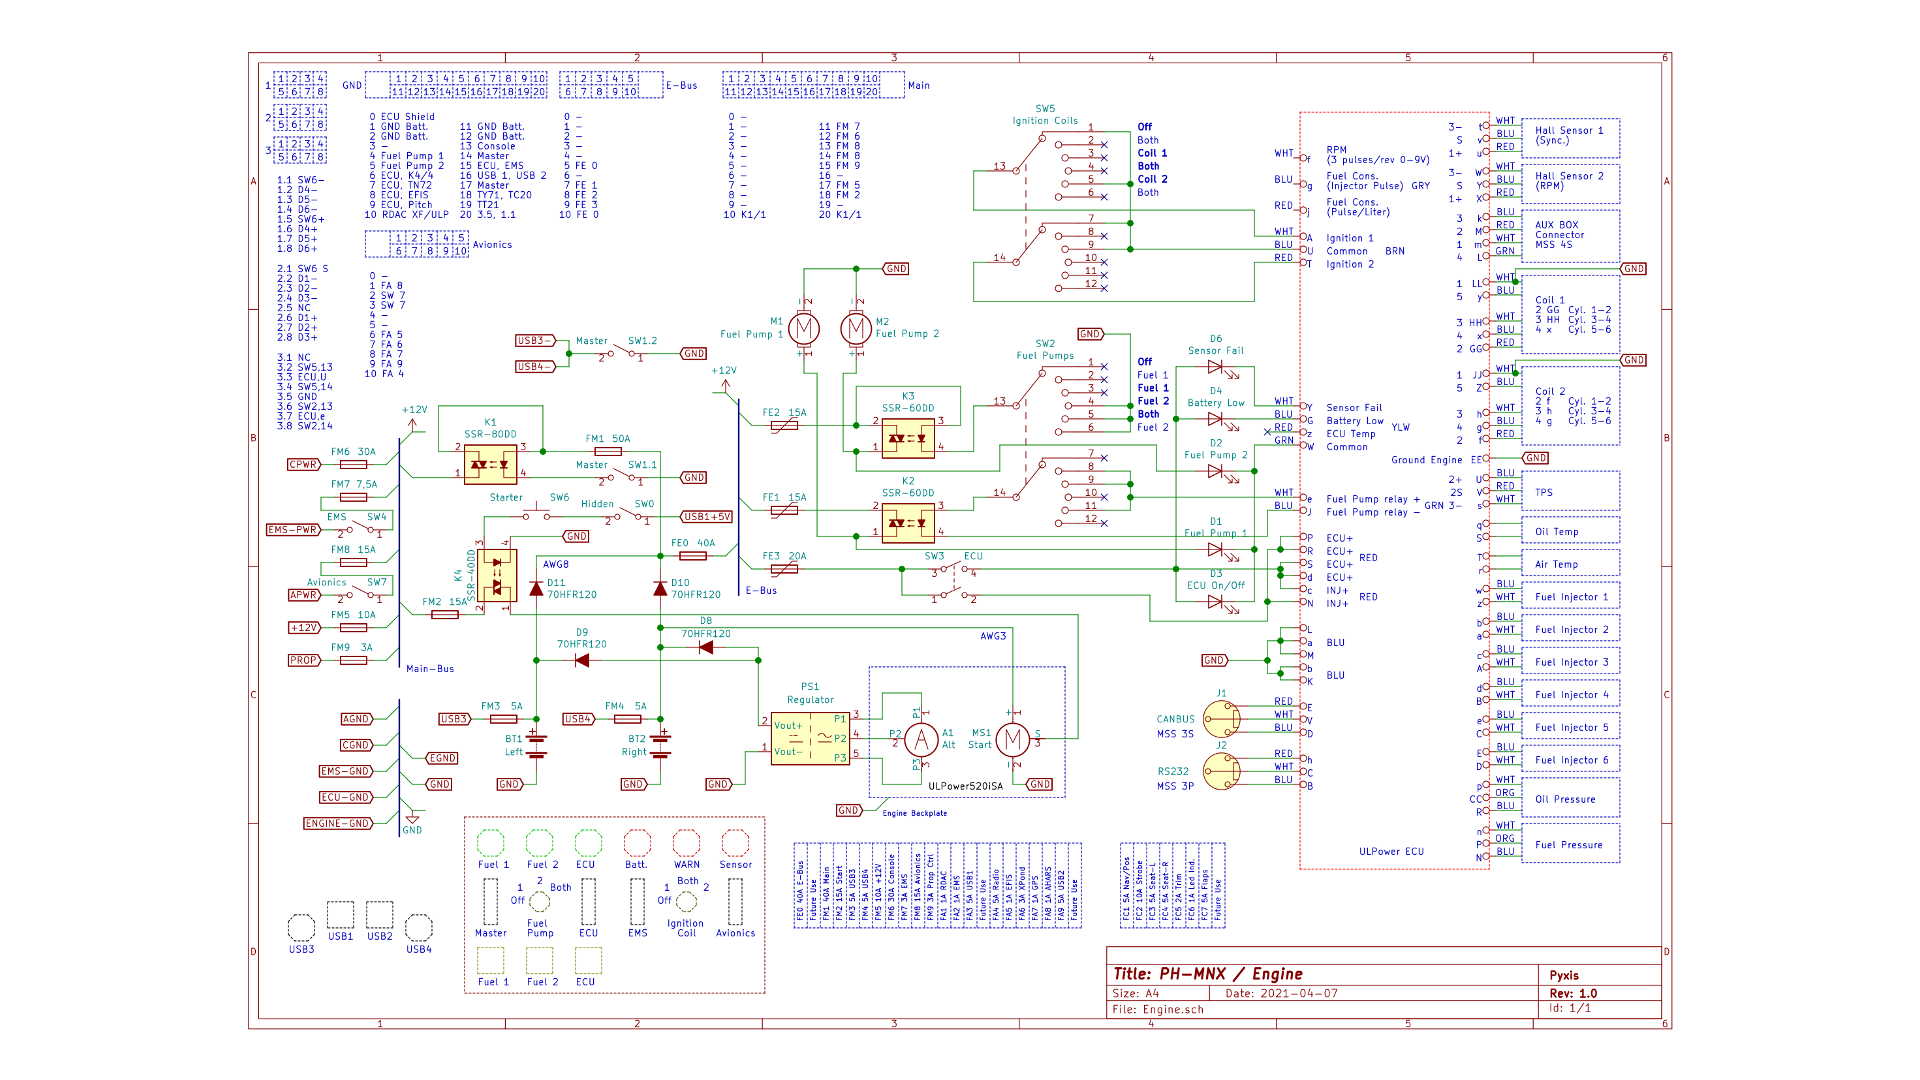
I used Kicad to make the schematics. The Avionics schematic was rather easy, as it’s just browsing through the manuals of the various Avionics and merge the schematics.
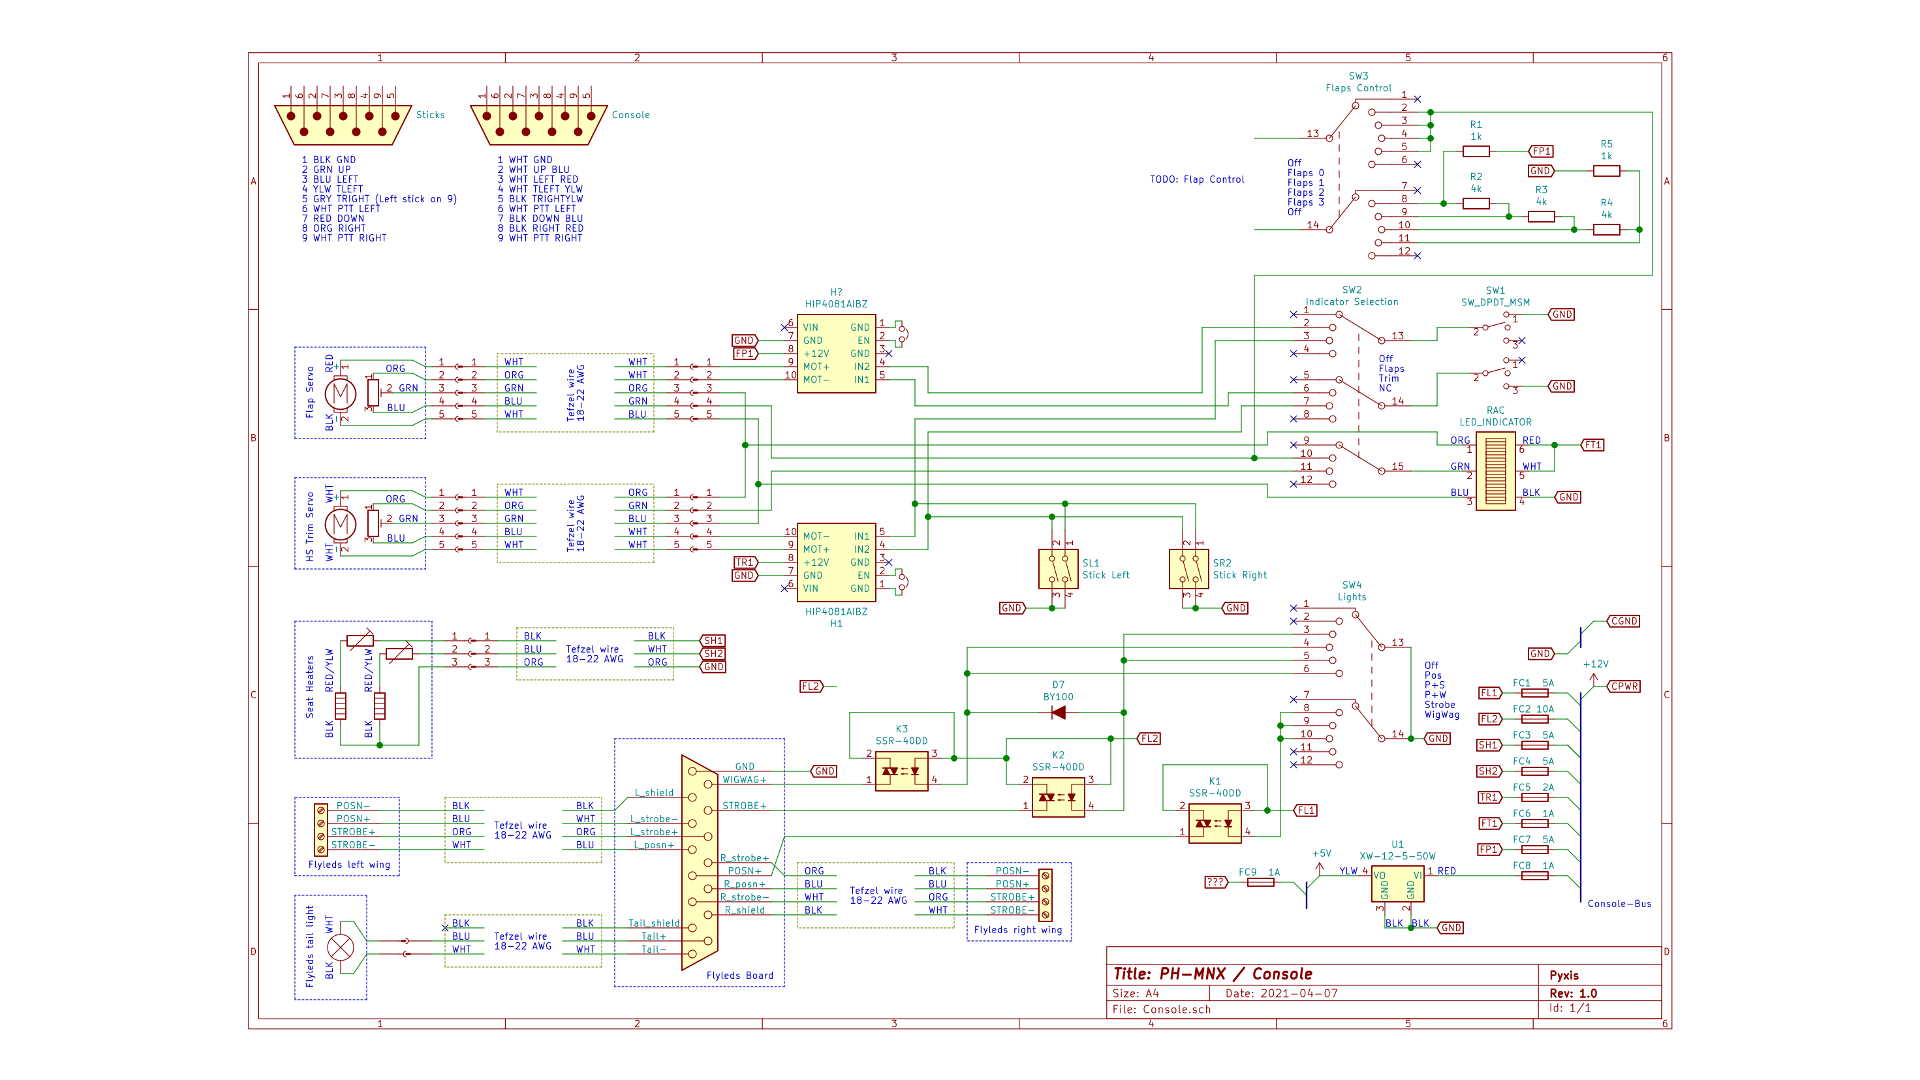
The Console is almost completely designed by myself. The Lights are integrated with the Flyleds board. Although the space between the seats of the RV-7 is small, I really wanted a console with a Throttle quadrant, seat heaters, Lights and Flaps.
The last schematic is the one for the Engine, which is loosely based on Figure Z-19 of the AeroElectric Connection from Bob Nuckolls and the manual of ULPower.
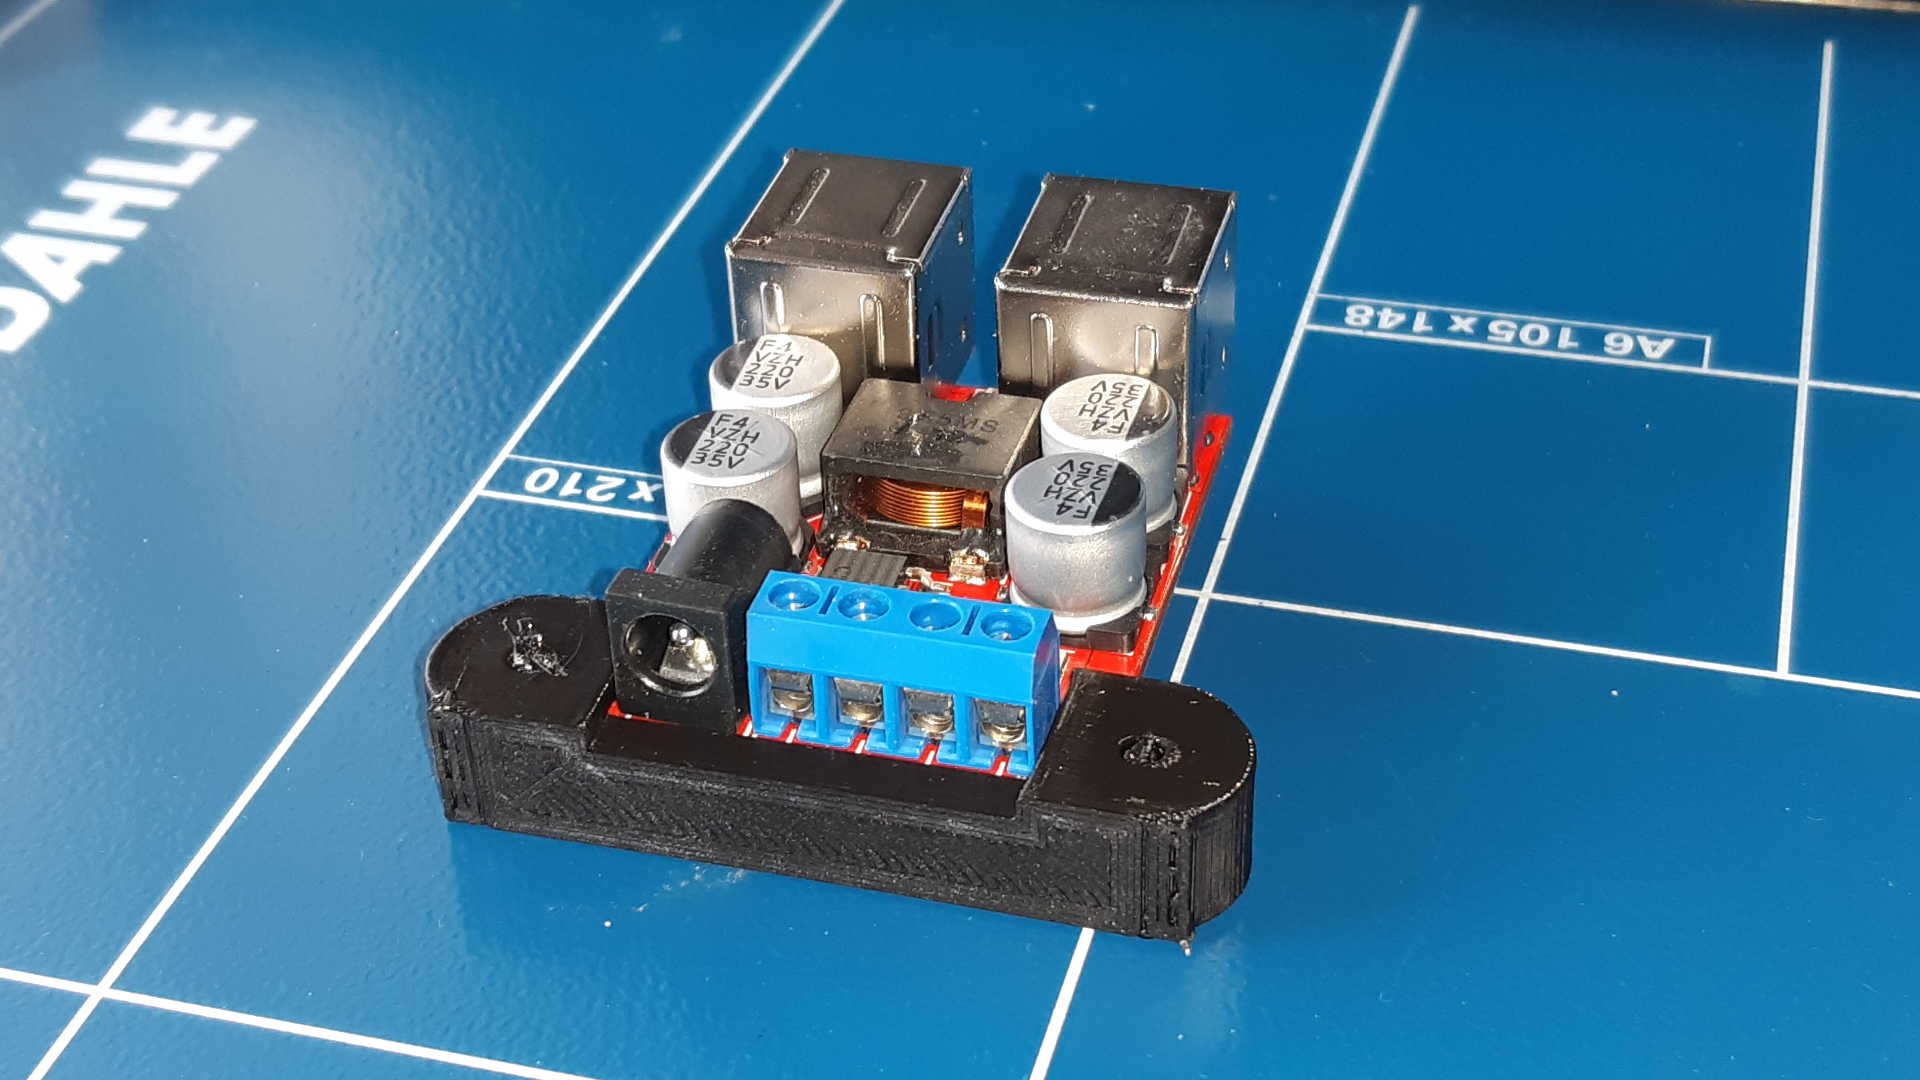
Some of the standard electronics do not have a proper brackets to attach the to the panels. To solve this I use my 3D printer to crate brackets. This one is for the (internal) USB power supplies.
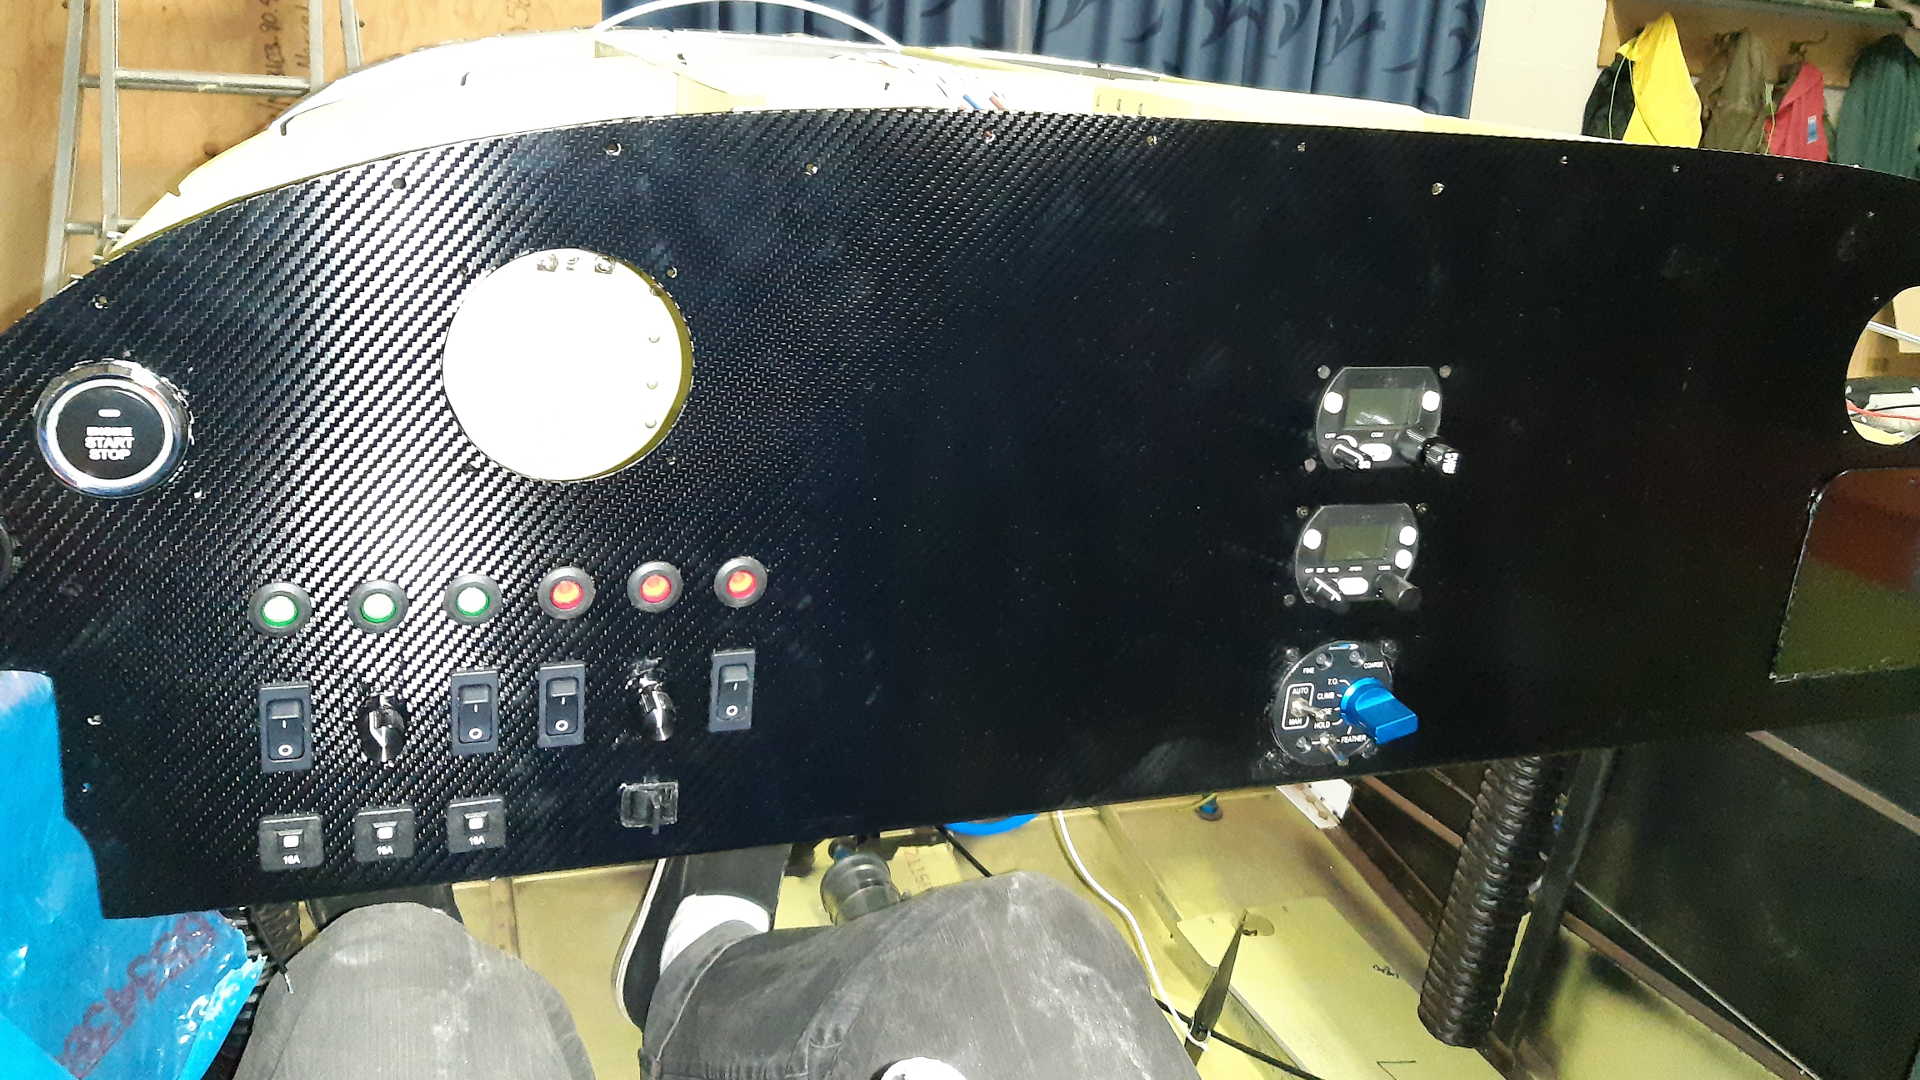
The Panel only has the bare minimum of Avionics and Switches. The two big spaces in the middle are preserved for two ‘standard’ tablets.
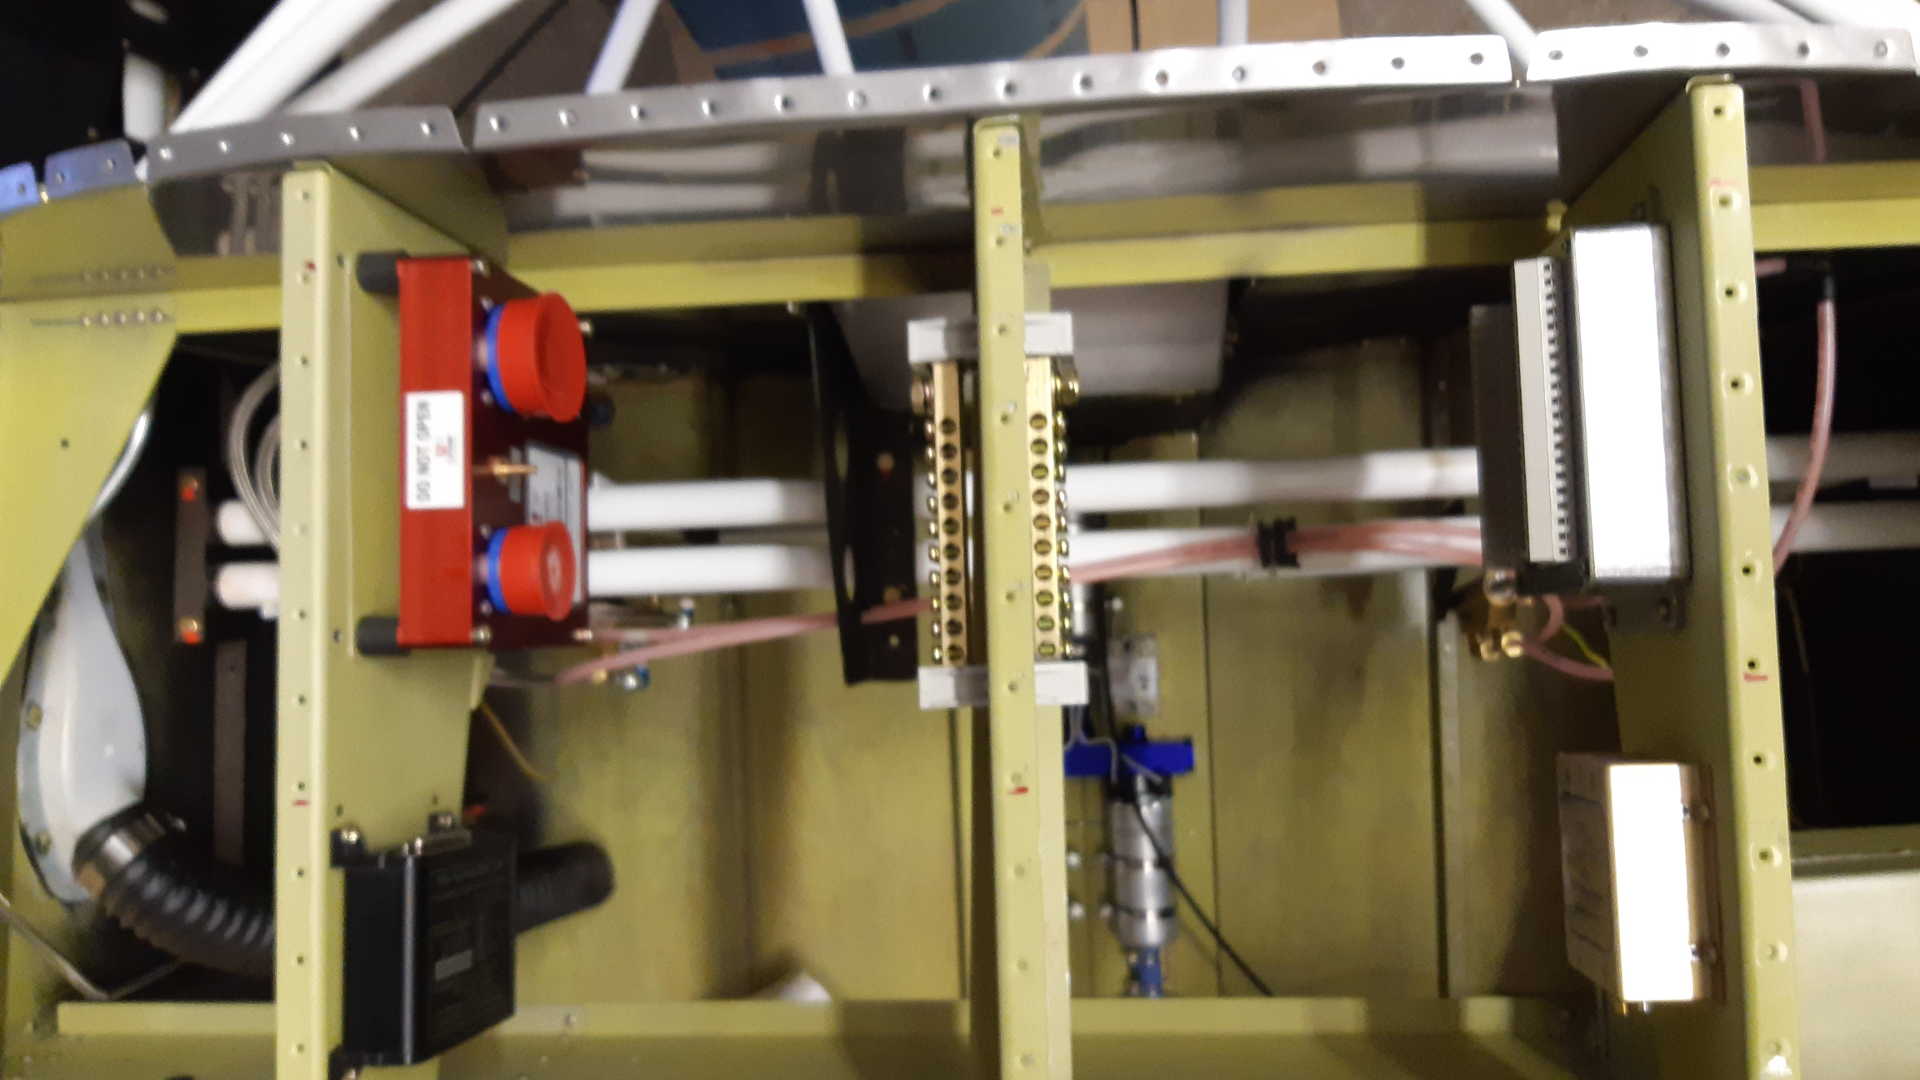
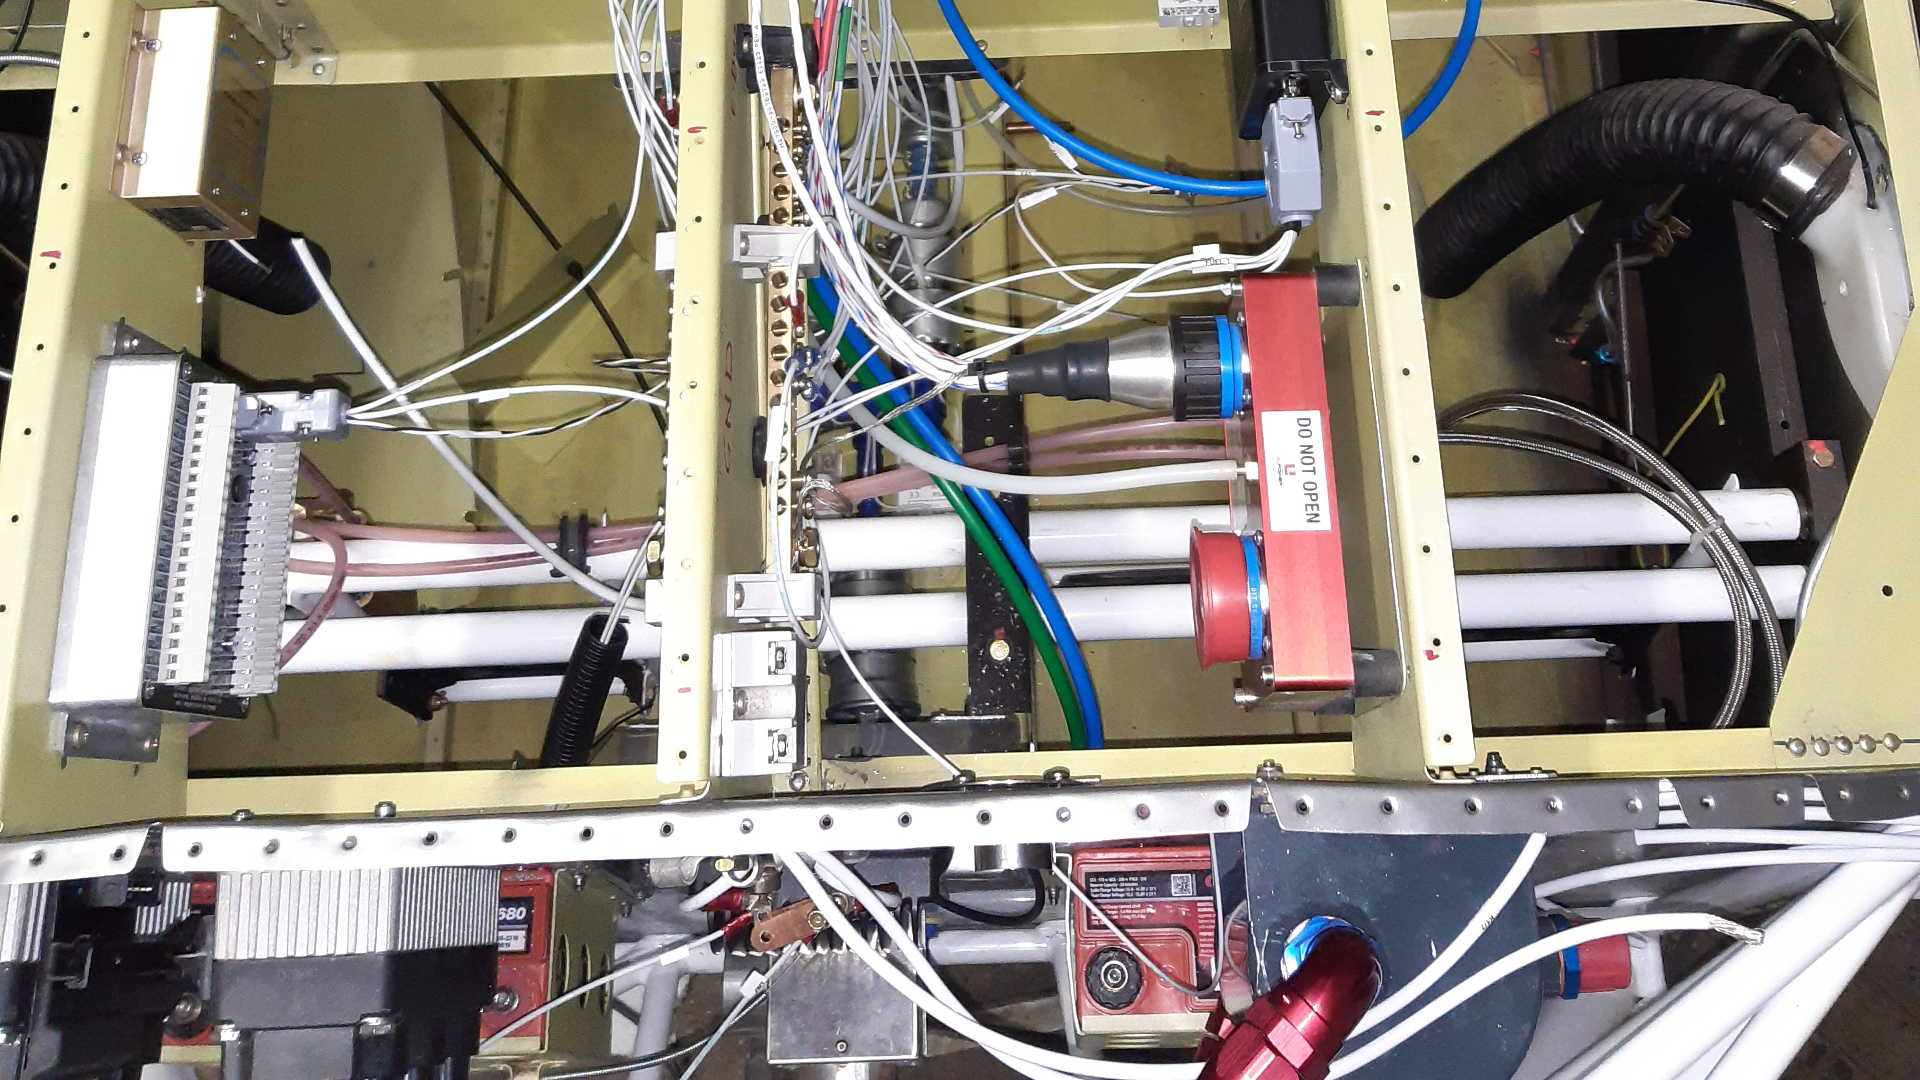
Now I can start wiring up all the components. I created several power bars (and a ground bar) to distribute the power of the battery via the fuses to all the Avionics.
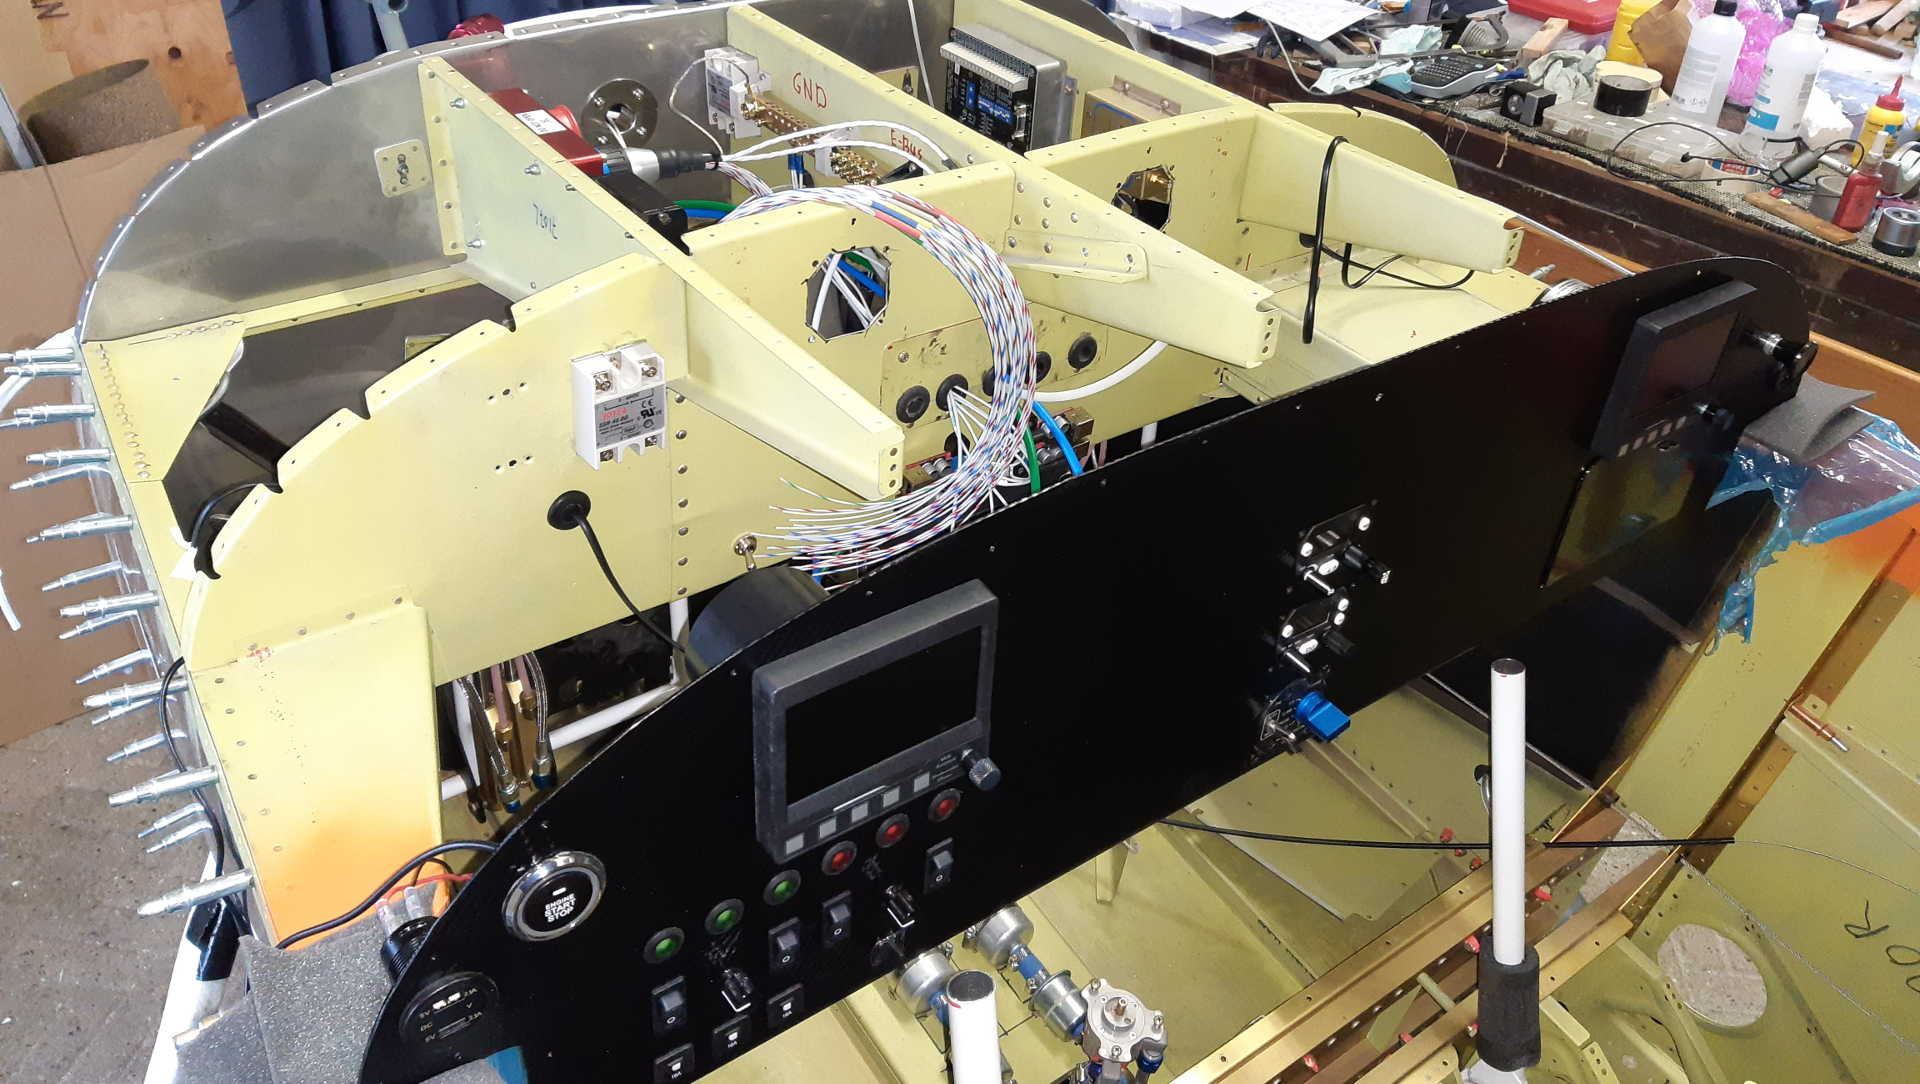
The ECU of ULPower comes with two wiring harnesses, one from the Engine to the ECU and one from the ECU to the Avionics. The wires are all color-coded and bundled with colored heat shrink sleeves.
It took me almost 60 hours to complete all the Avionics and Wiring.
Time: 4 Hours, Rivets: 6/2 (2020-12-21)
Time: 7 Hours, Rivets: 10/0 (2020-12-22)
Time: 6 Hours, Rivets: 8/0 (2020-12-24)
Time: 4 Hours, Rivets: 0/0 (2020-12-26)
Time: 8 Hours, Rivets: 0/0 (2020-12-29)
Time: 8 Hours, Rivets: 0/0 (2021-01-01)
Time: 8 Hours, Rivets: 16/0 (2021-01-06)
Time: 5 Hours, Rivets: 0/0 (2021-01-08)
Time: 5 Hours, Rivets: 0/0 (2021-01-09)