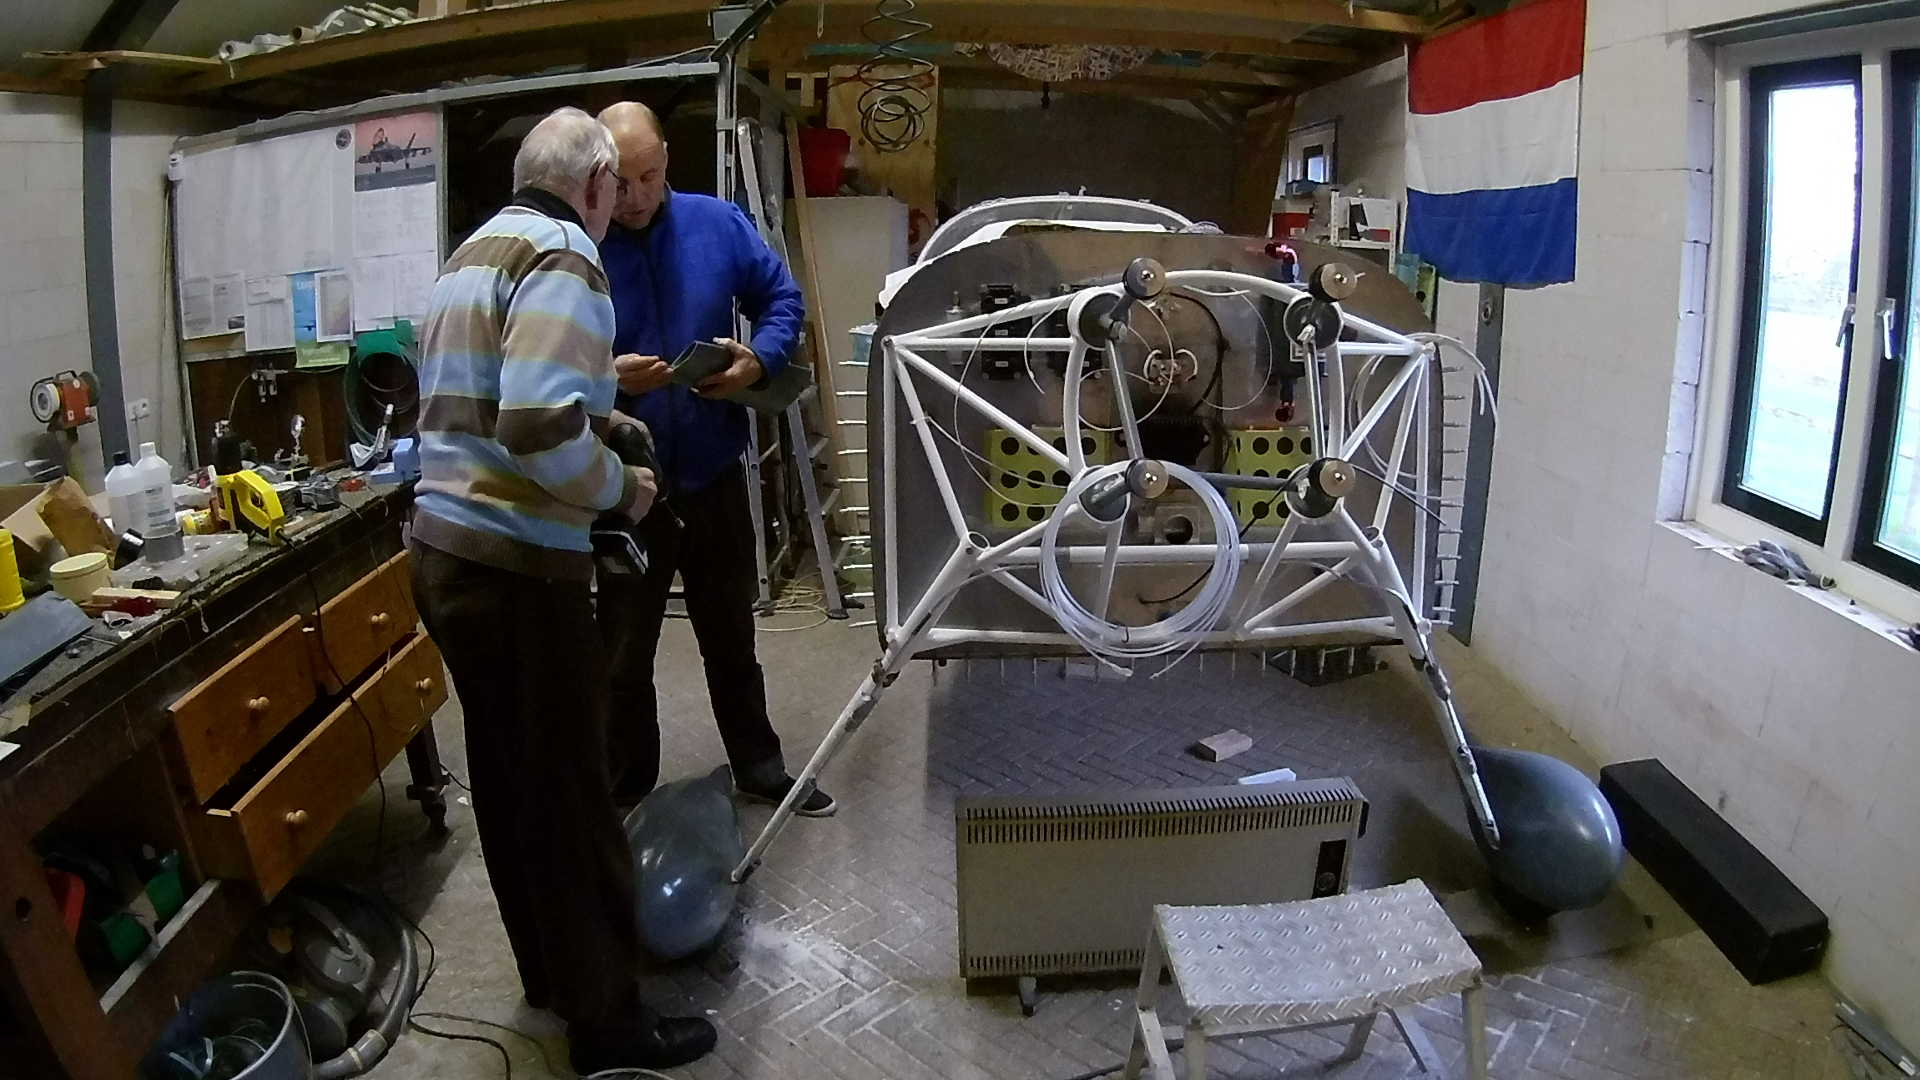
The day before we started working on the Gear Leg Fairings, we took the time to measure the exact position of the fairings relative to the longitudinal axis of the airplane.
This must be done very carefully, as small misalignment of the Gear Leg Fairings will result in more drag and even worse if it’s done asymmetrically, it will result in a yaw.
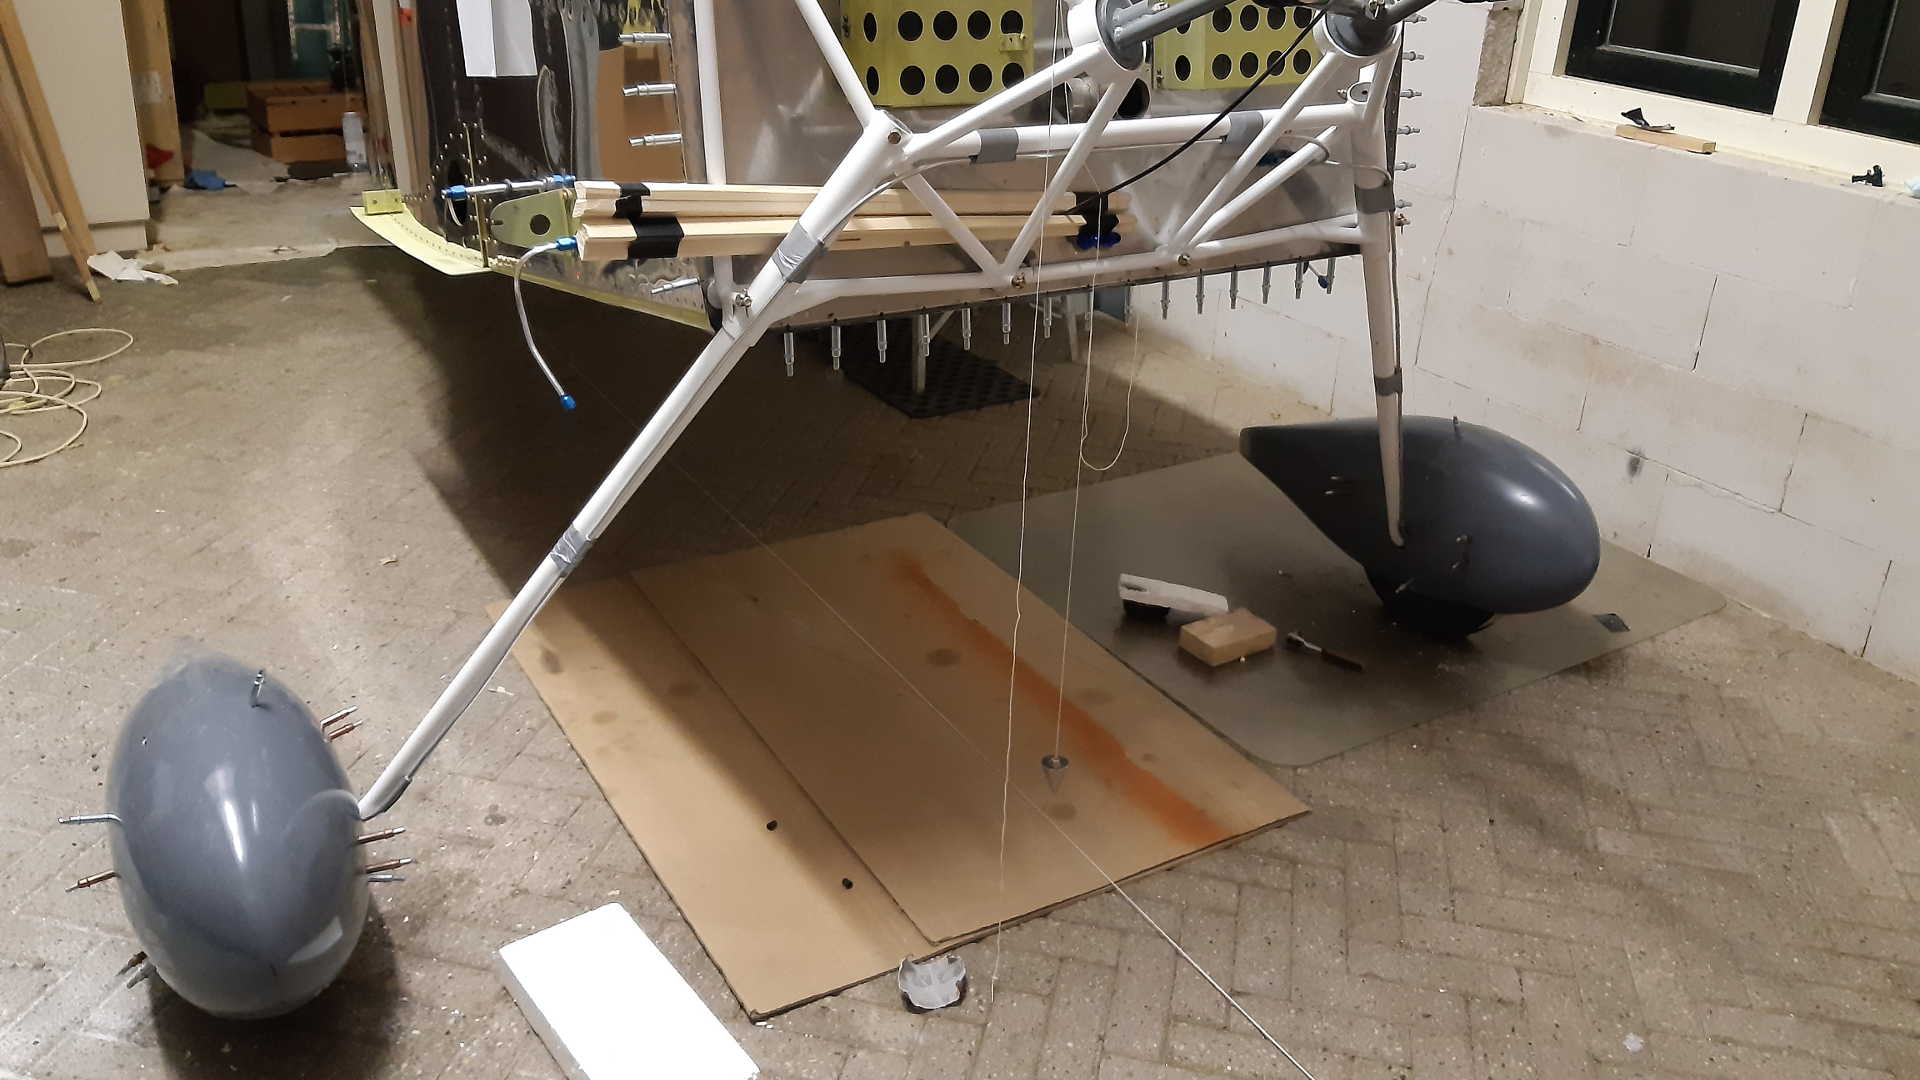
The Gear Leg fairing itself consists of a piece of glass-fiber, with a piano hige riveted in the back. This way you can detach the Fairing by removing the hinge pin.
With just the piano hinge it can still move around the gear leg, so on the top there is also a hose clamp fastening the Fairing into a fixed position, relative to the Gear Leg.
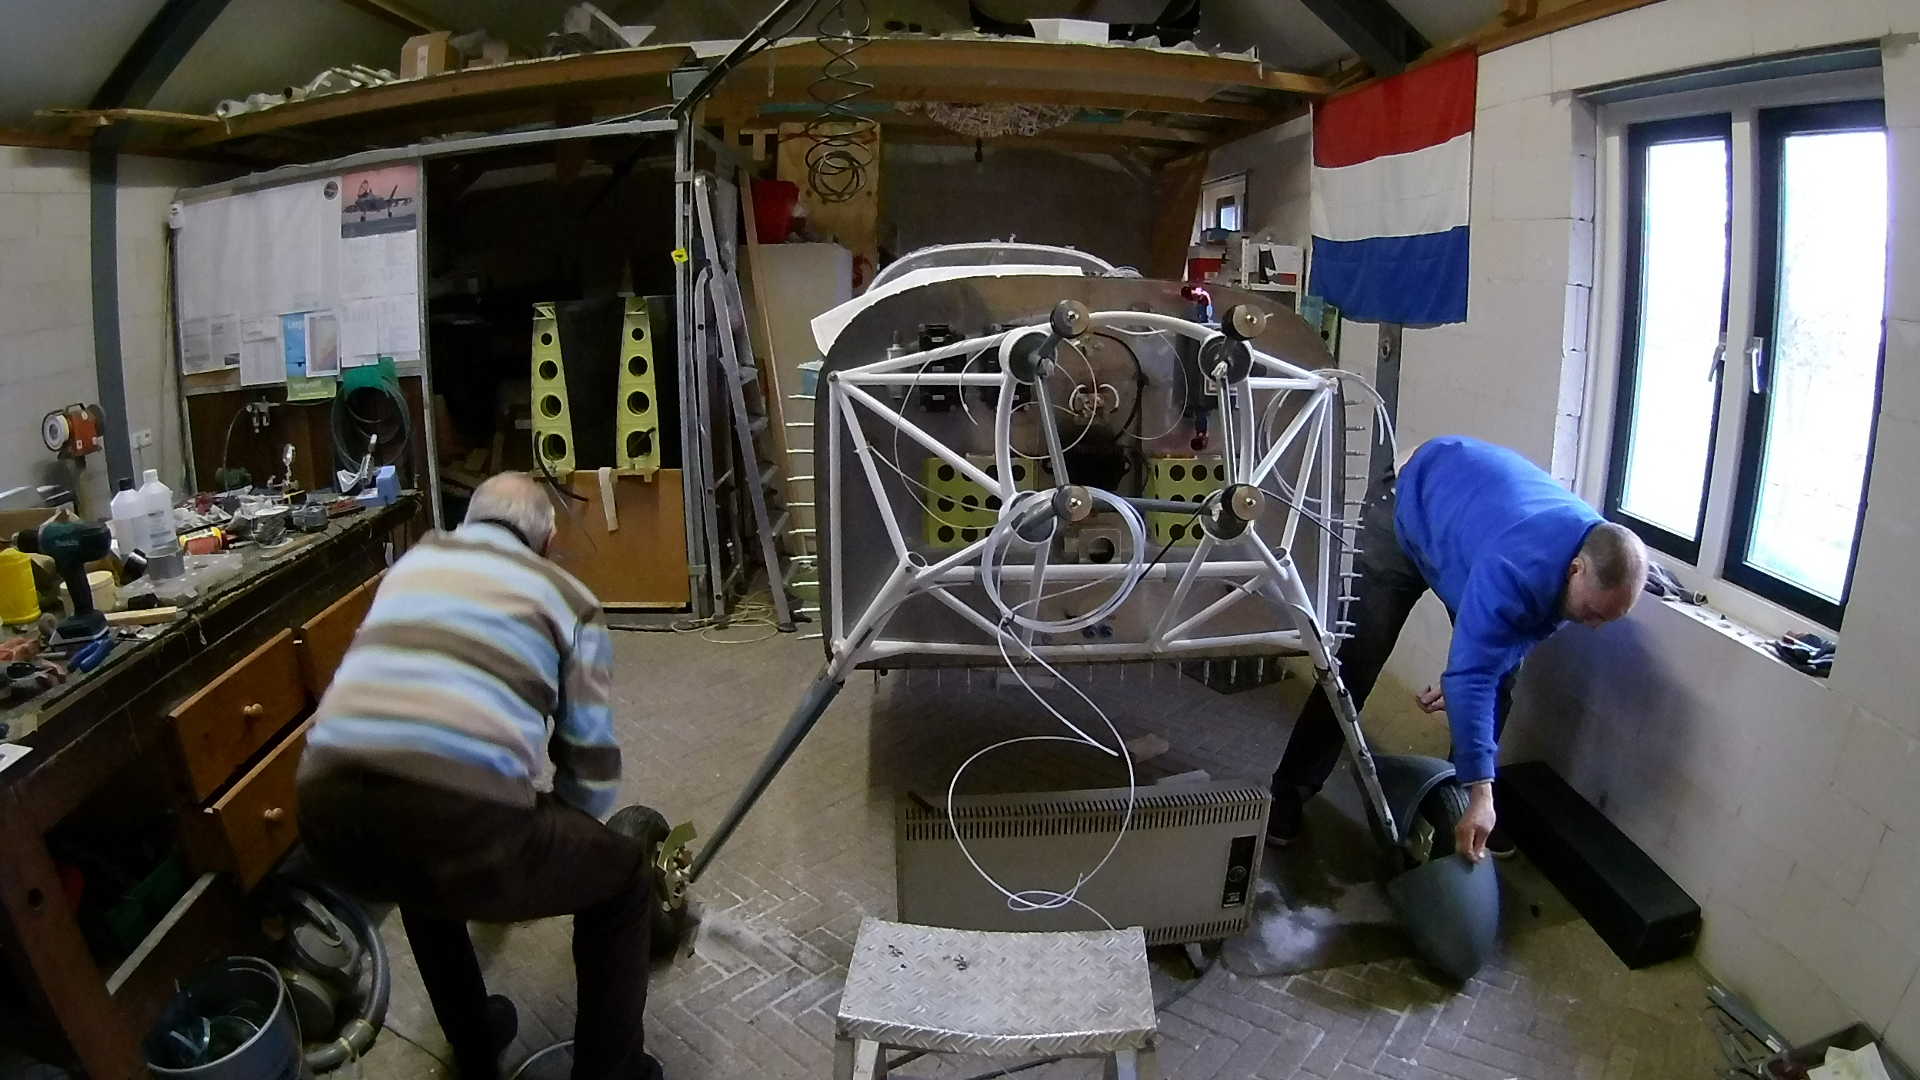
We need to remove the Wheel Pants, so we can insert the piano hinge pin from the bottom up.
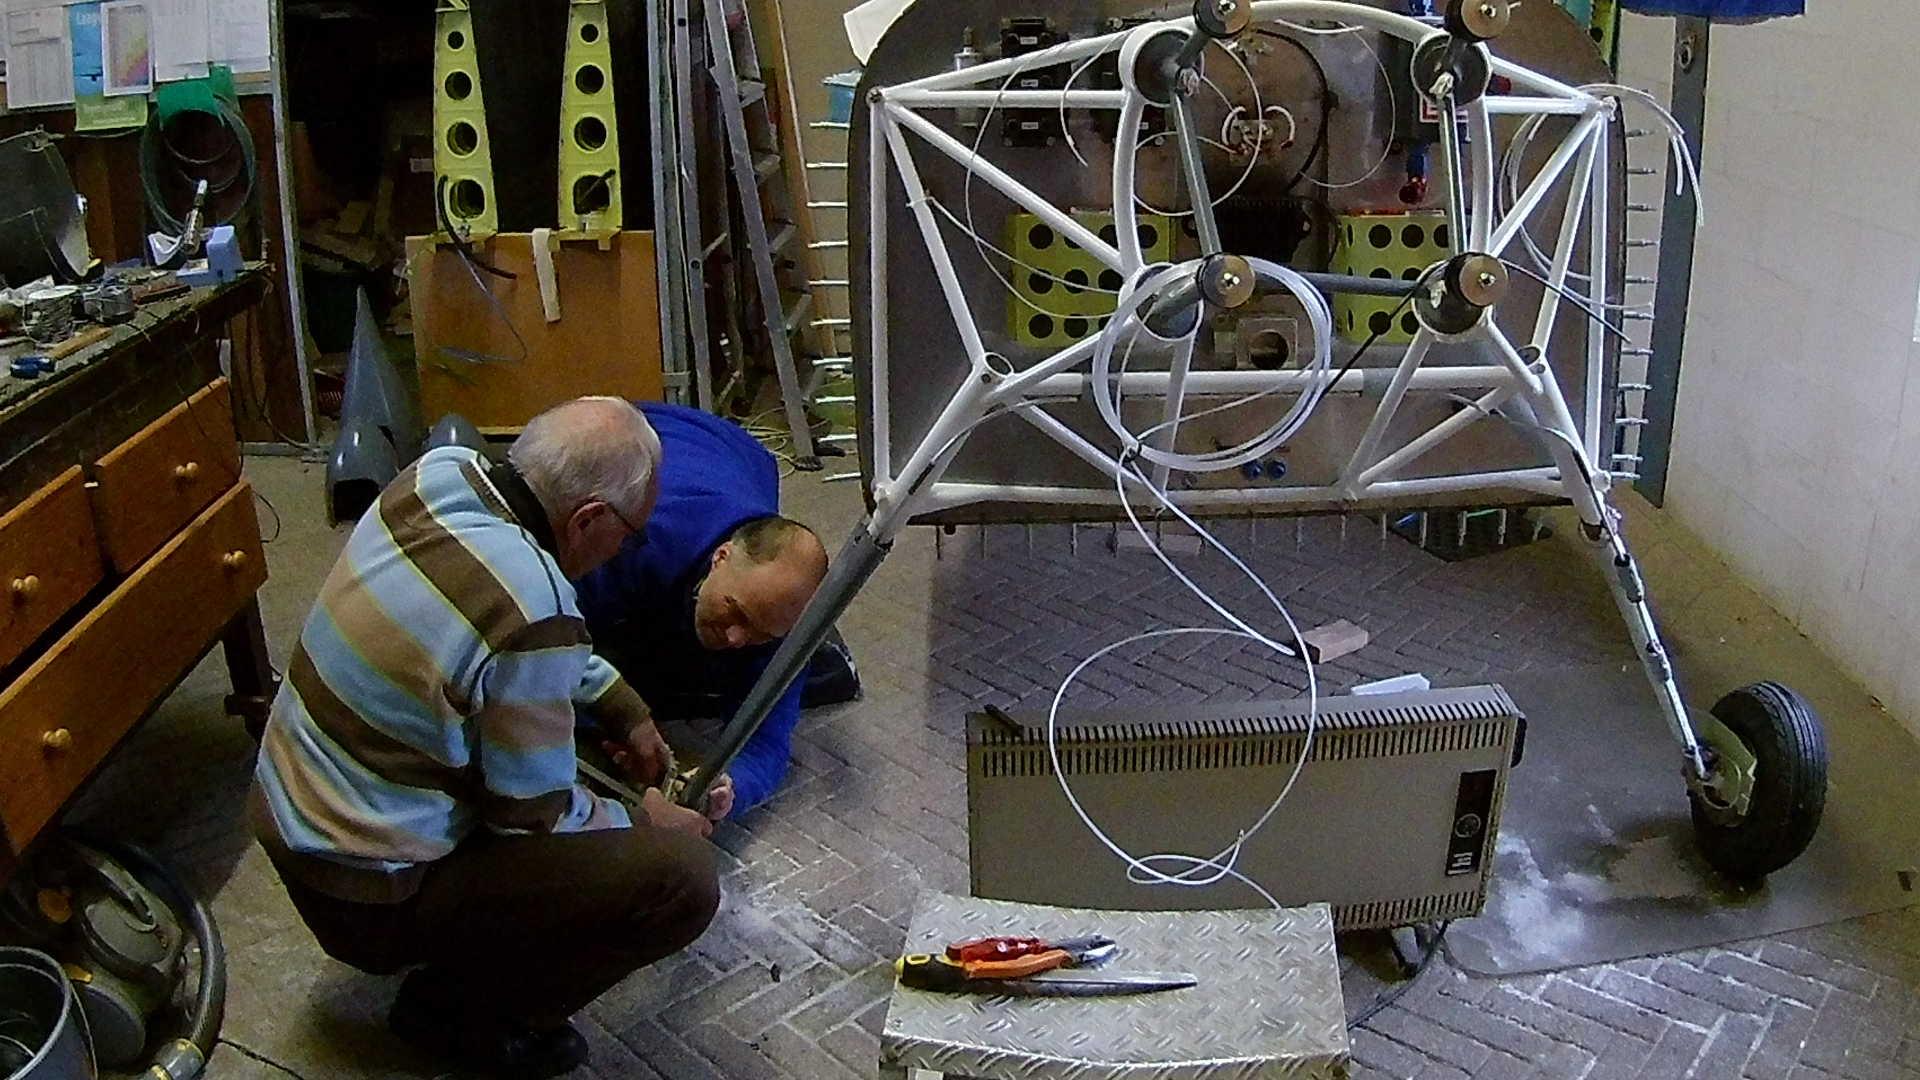
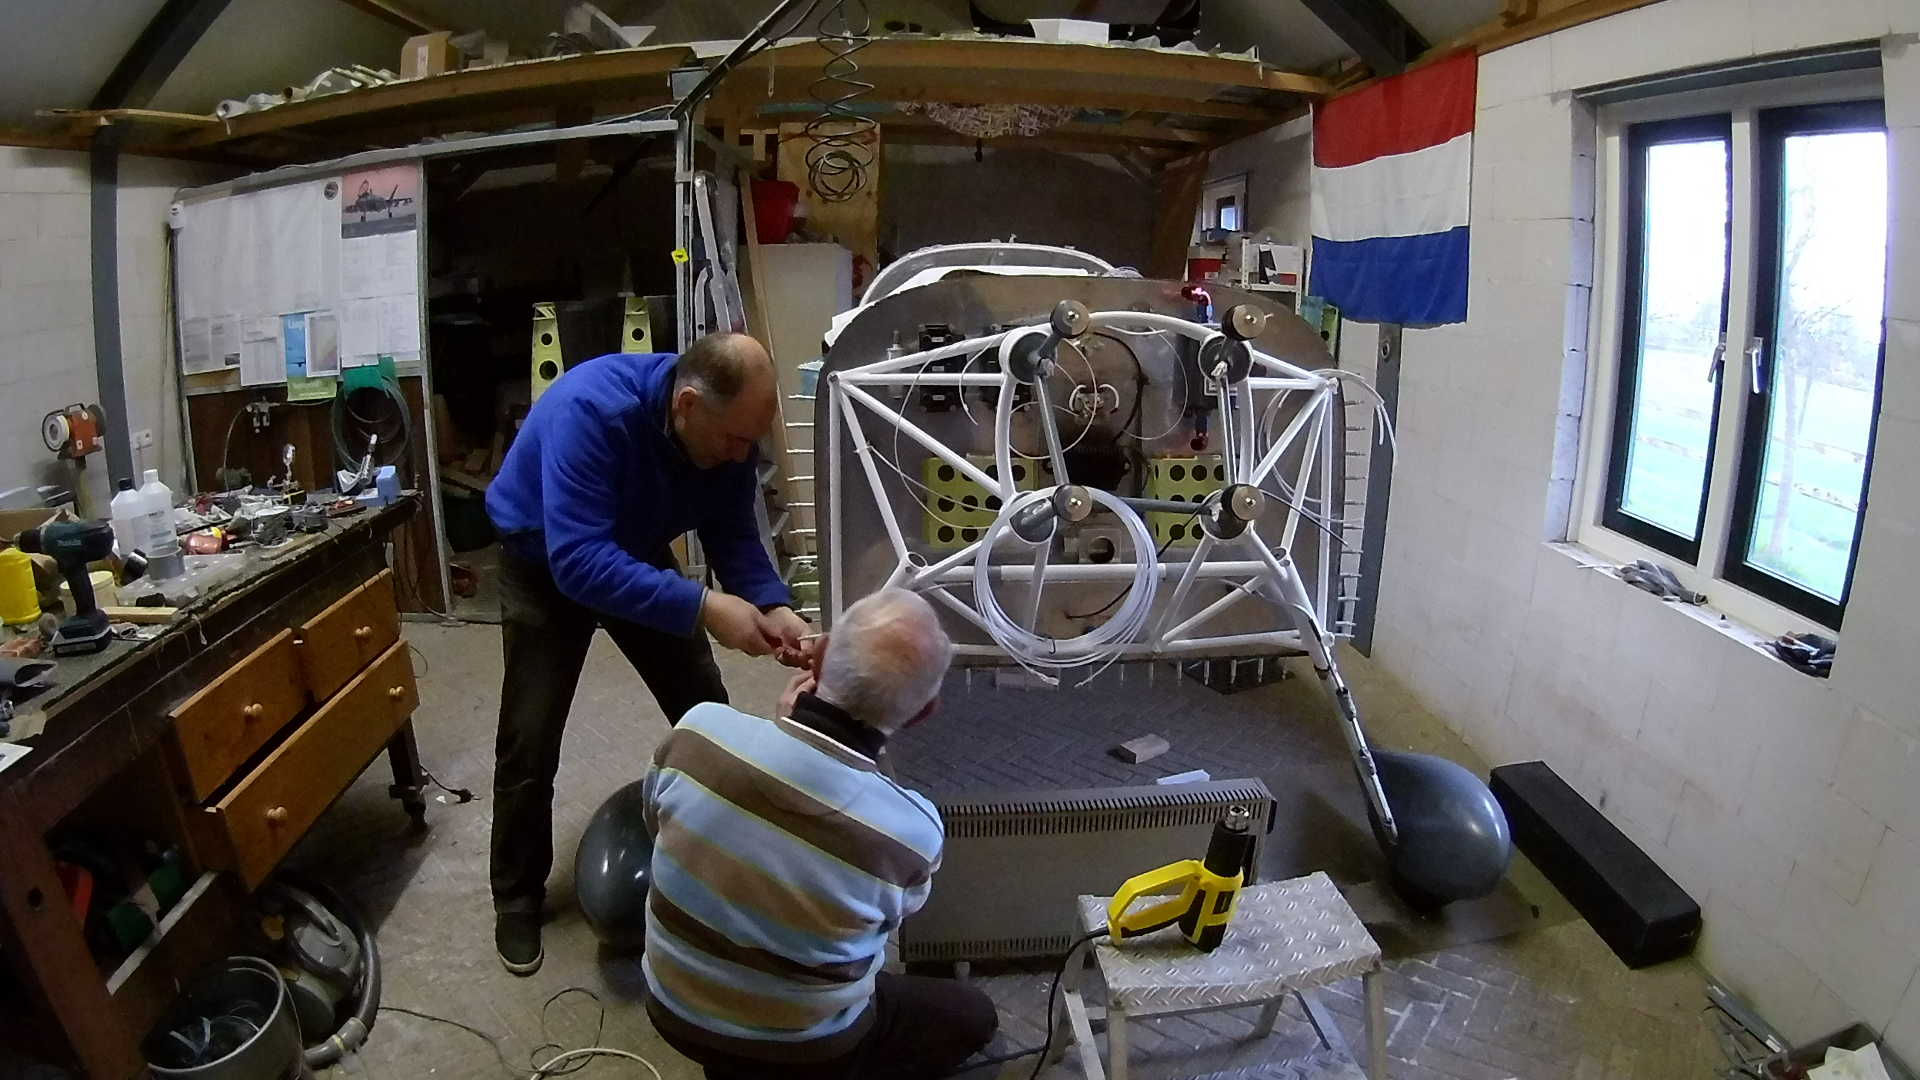
We probably made the piano hinge too tight, because it took some effort to get the hinge pin in. I wanted a tight fit, but maybe I’ve overdone it.
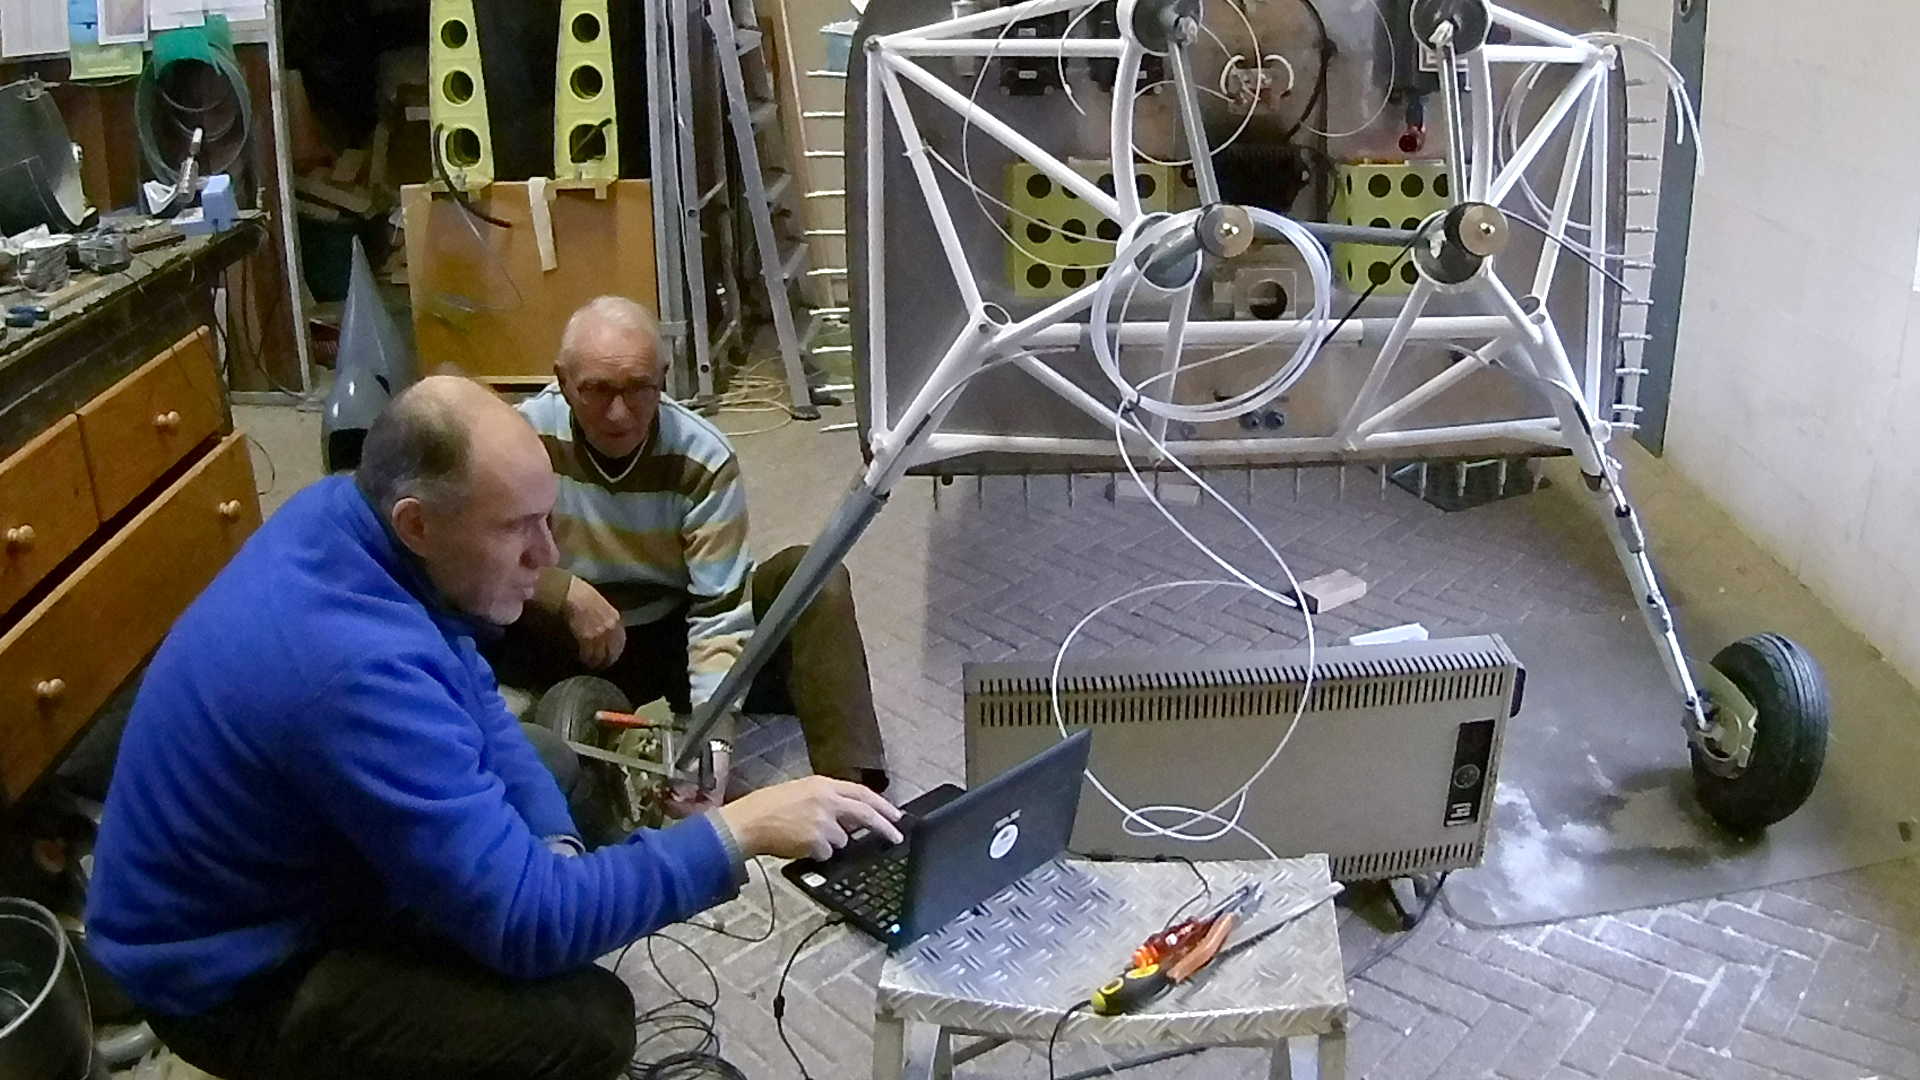
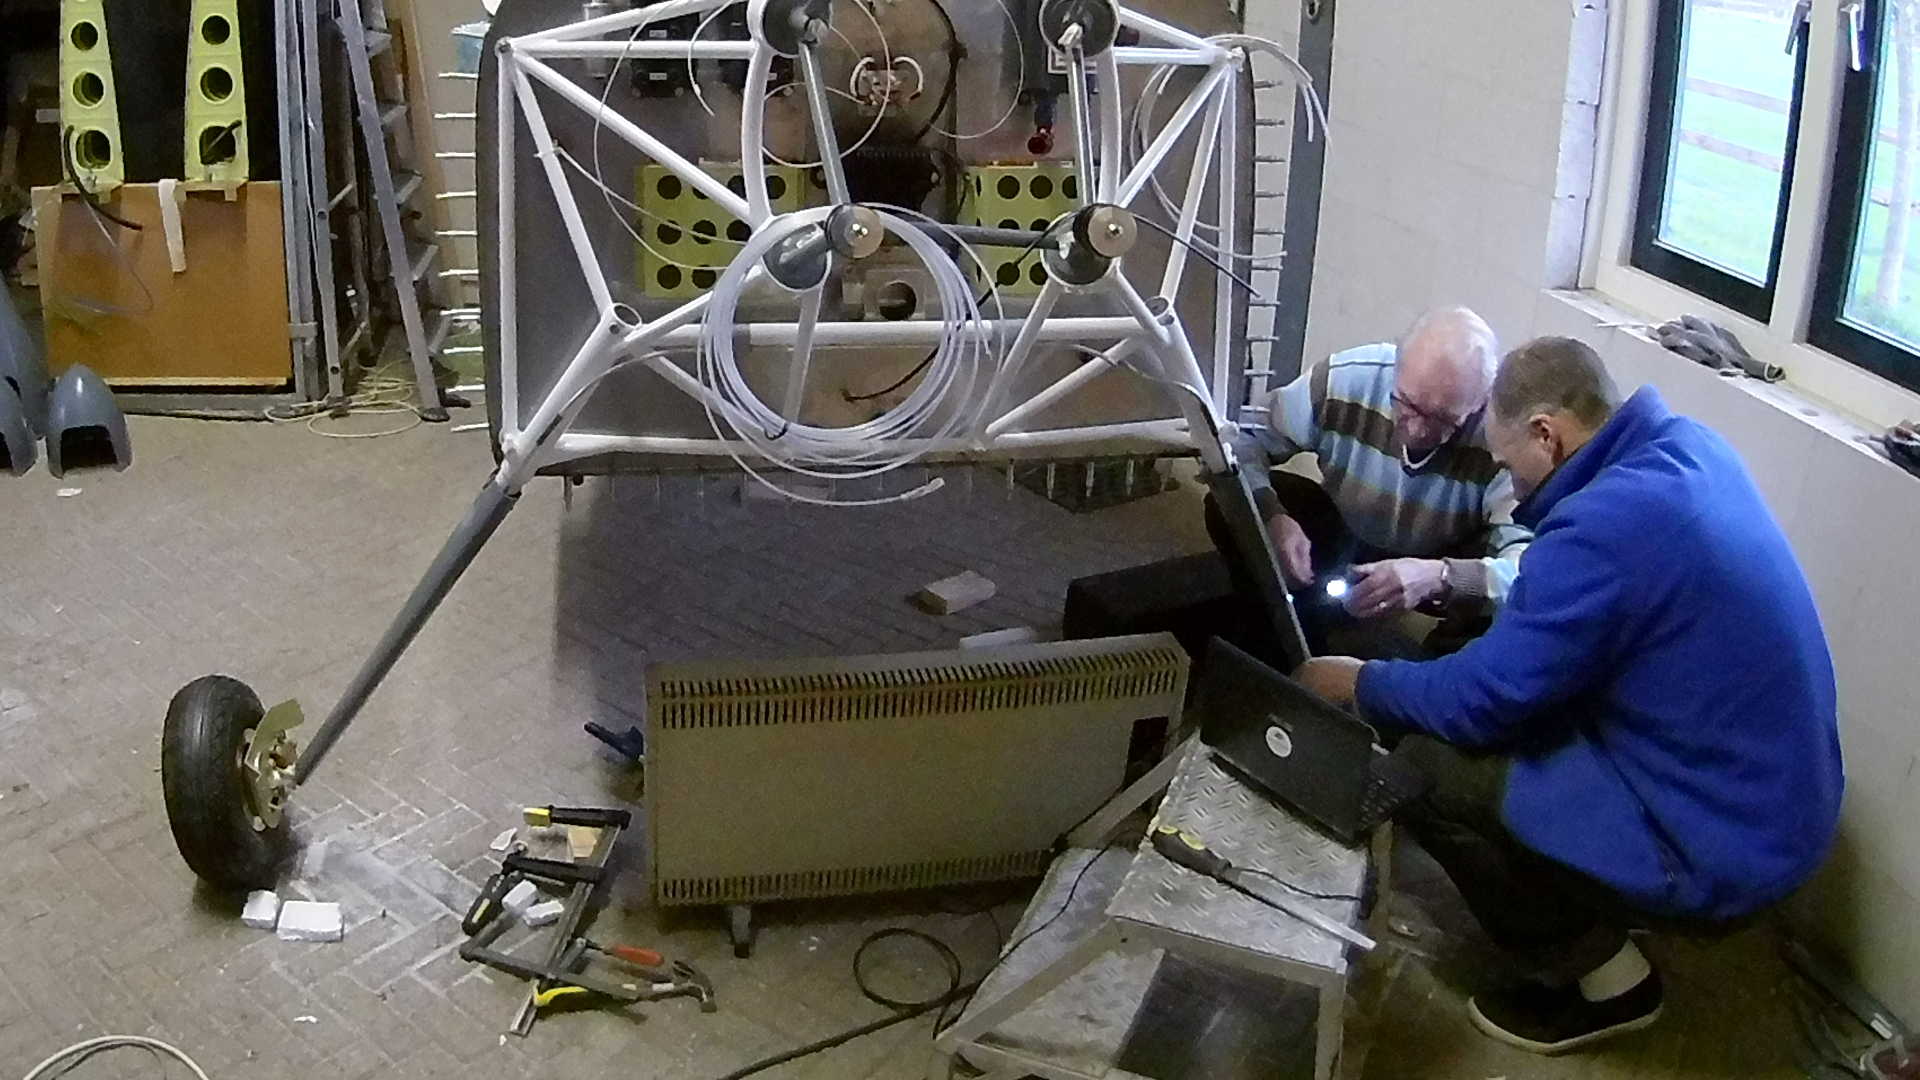
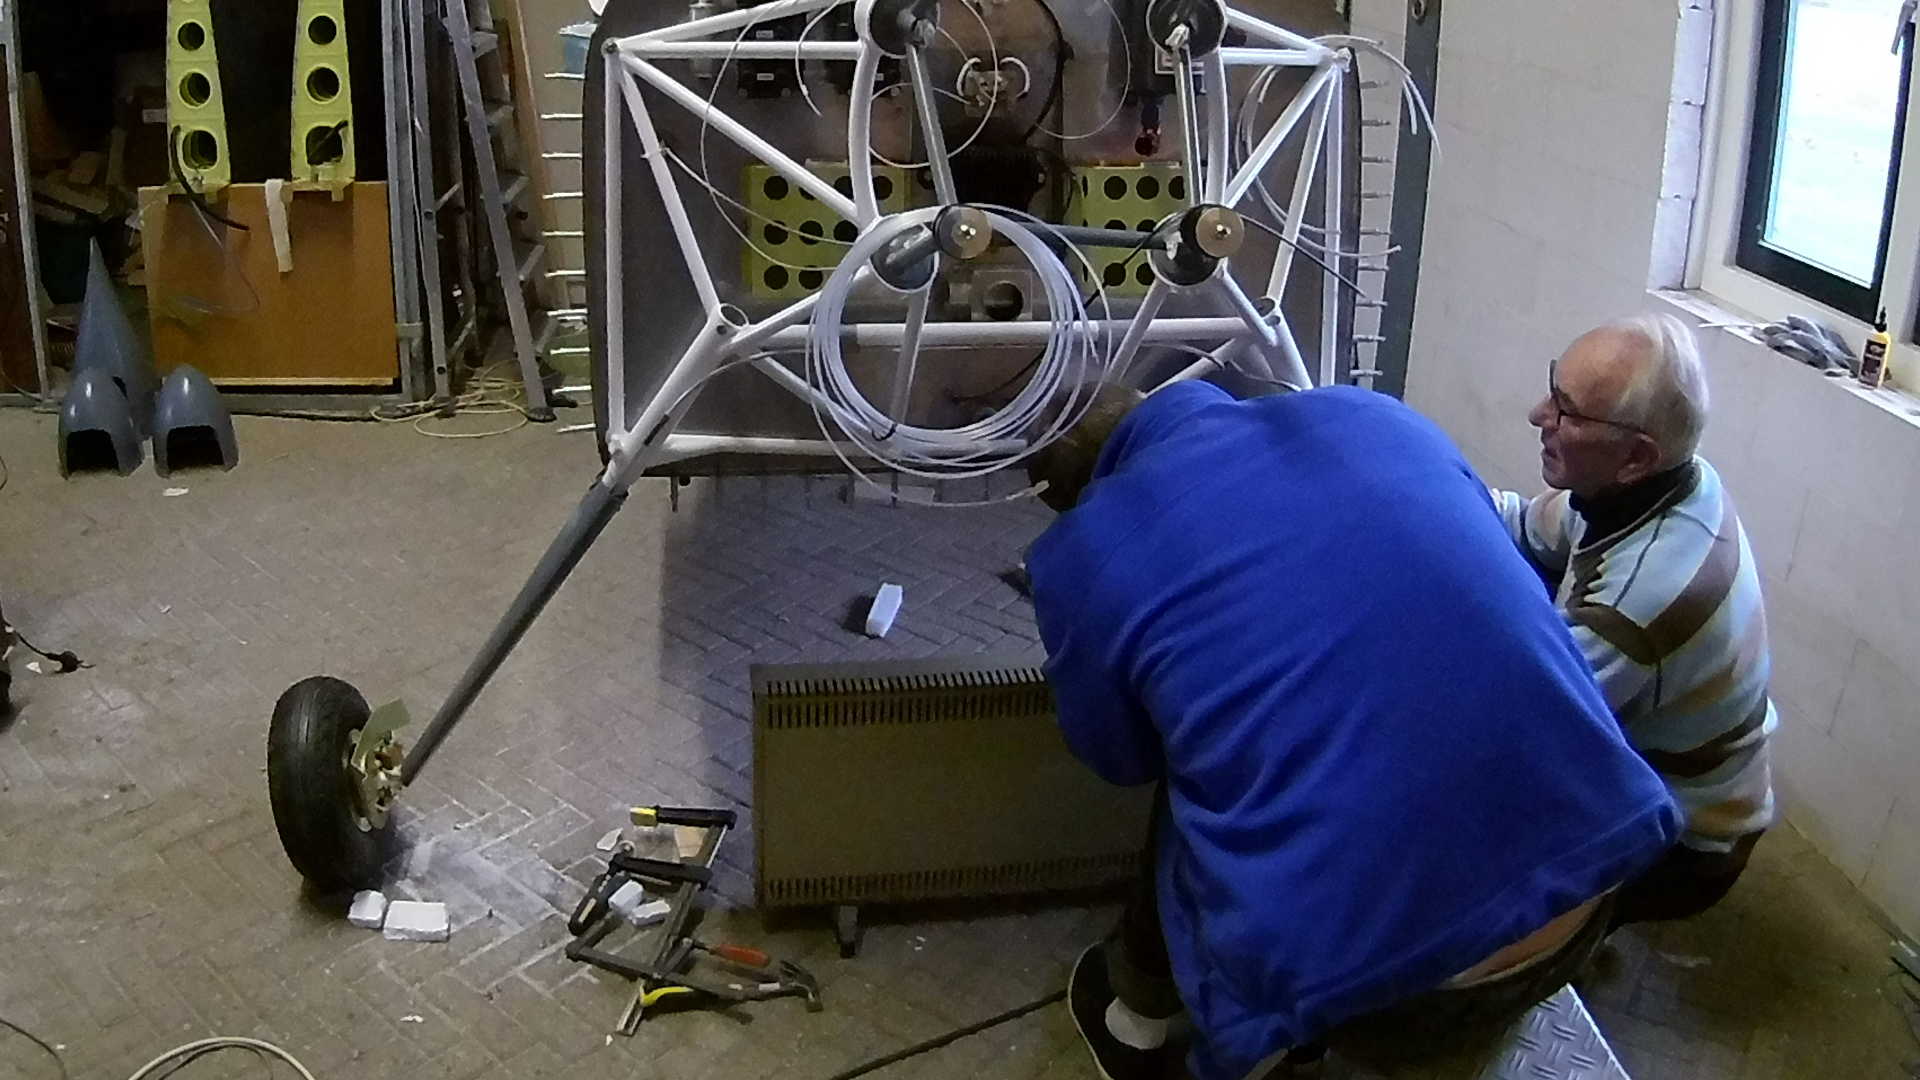
We used the Endoscope to check where the pin was going, so we could apply local pressure on the Fairing to align the piano hinge segments.
With some oil and pressure we succeeded in inserting the pin all the way to the top.
Now we can align the marks we made earlier during measurements, position the Fairing and fasten the hose clamp to fix the Fairing to the Gear Leg.
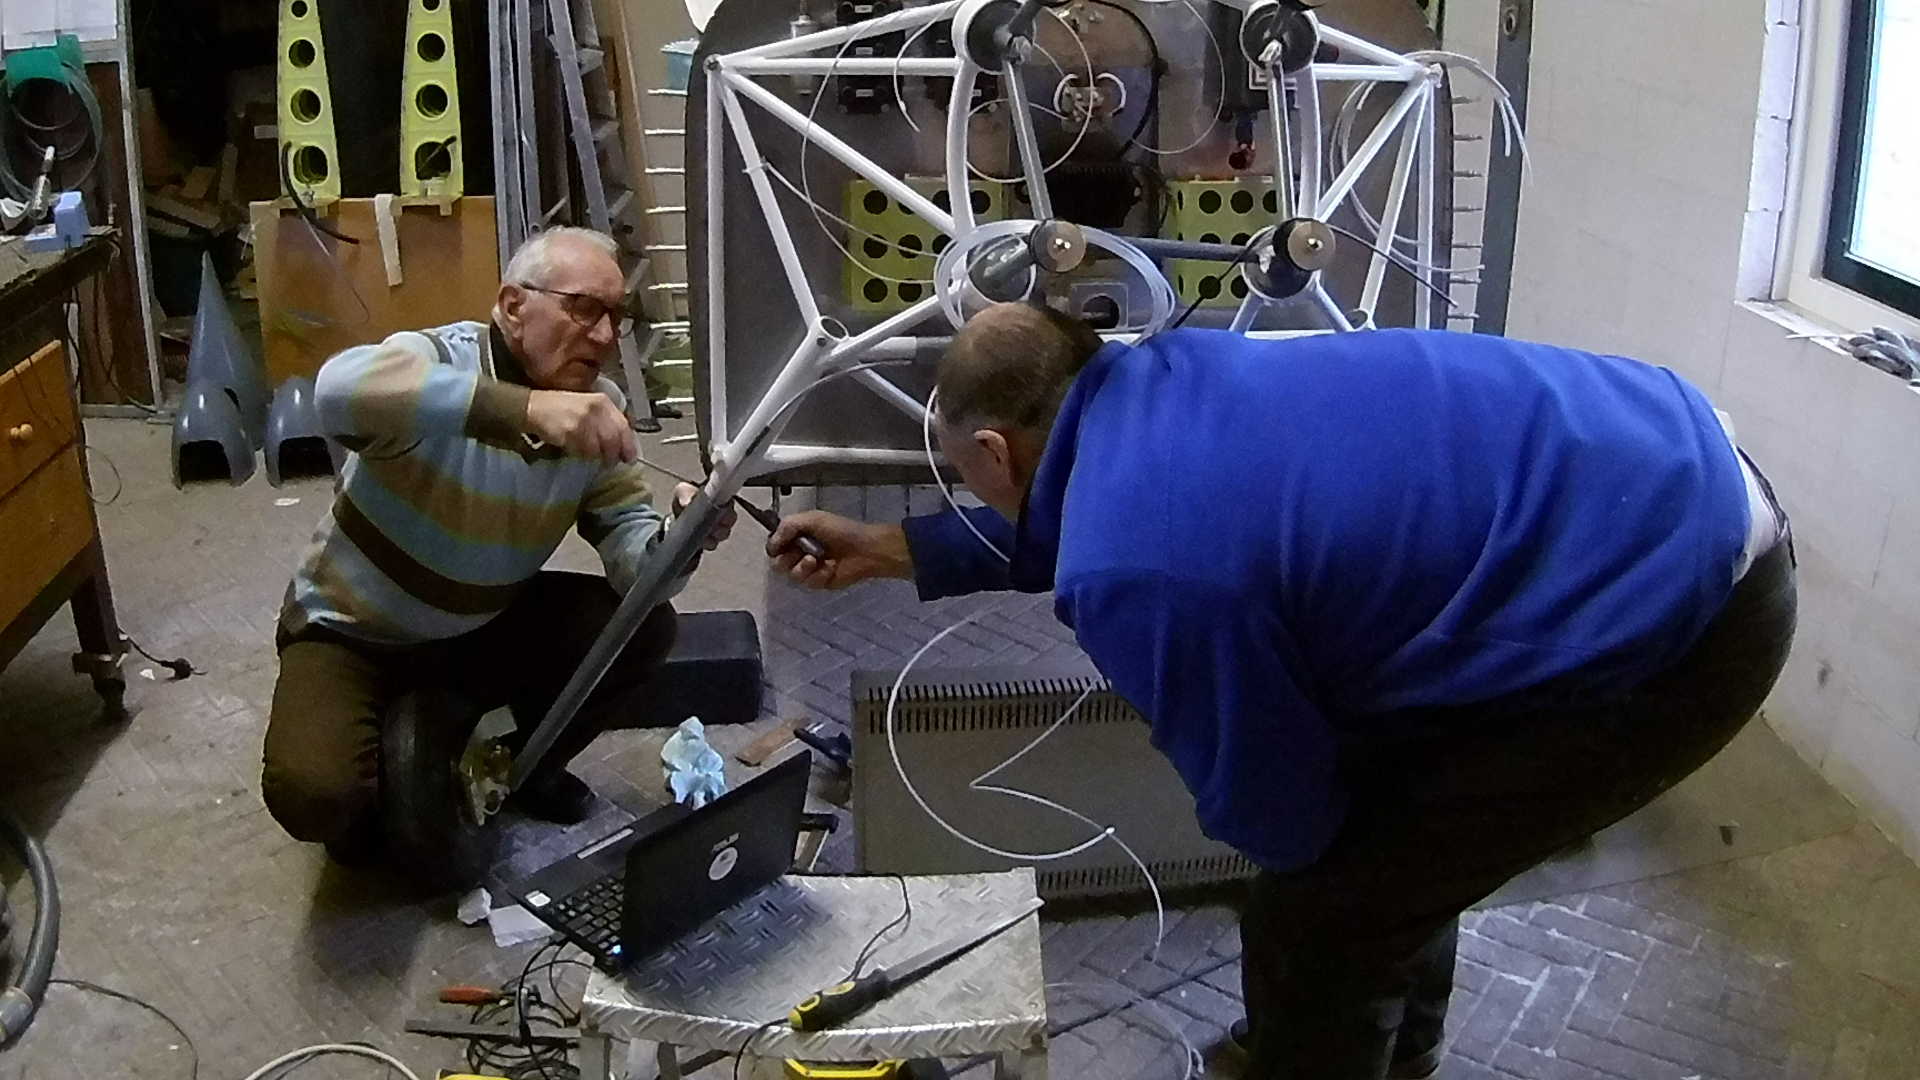
With the experience we gained on the right Gear Leg Fairing, the left one went much easier. We used the endoscope, some oil and voila, Fairing is in place.
Positioning it with the marks and clamping the Fairing to the Gear Leg.
Time: 7 Hours, Rivets: 0/0 (2020-12-06)
Time: 8 Hours, Rivets: 0/0 (2020-12-12)
Time: 6 Hours, Rivets: 60/0 (2020-12-16)
Time: 6 Hours, Rivets: 0/0 (2020-12-19)
Time: 7 Hours, Rivets: 74/0 (2020-12-23)
Time: 7 Hours, Rivets: 0/0 (2020-12-27)
Time: 6 Hours, Rivets: 0/0 (2021-01-03)
Time: 6 Hours, Rivets: 0/0 (2021-01-10)
Video