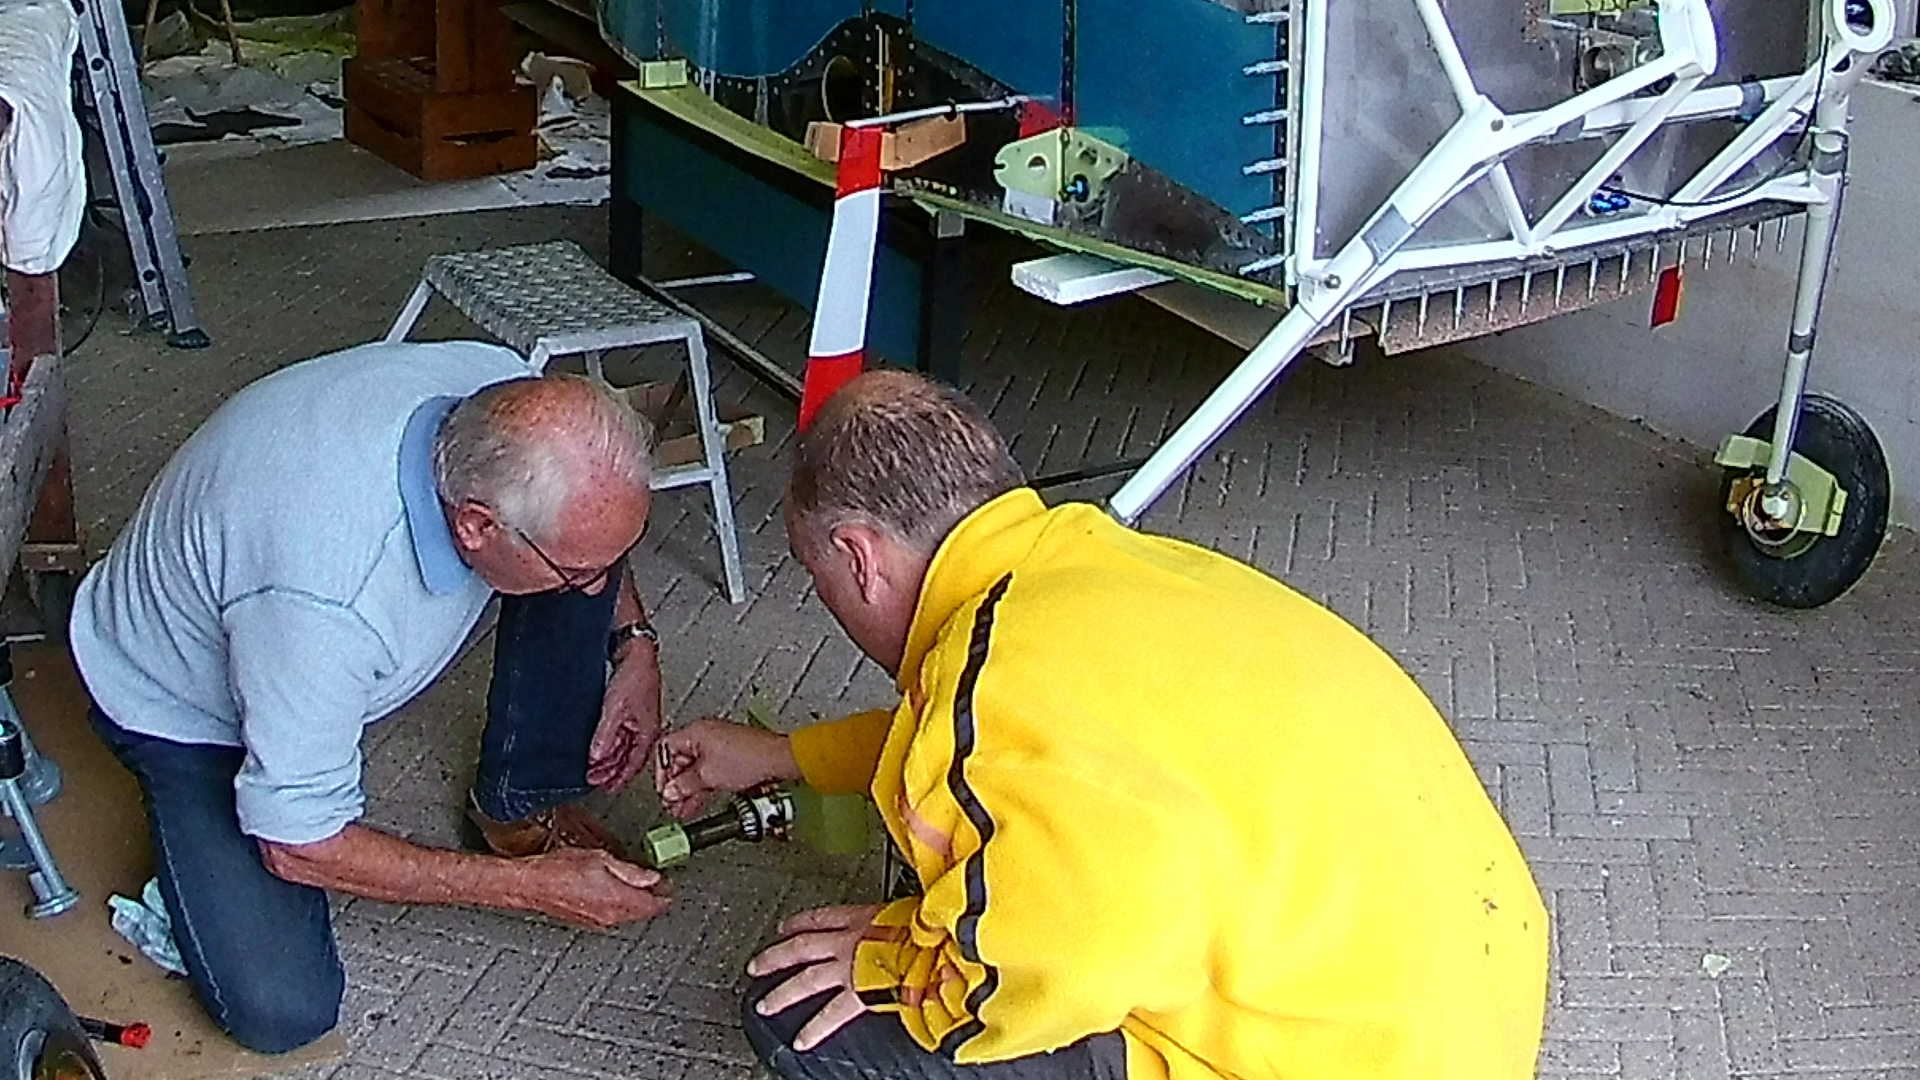

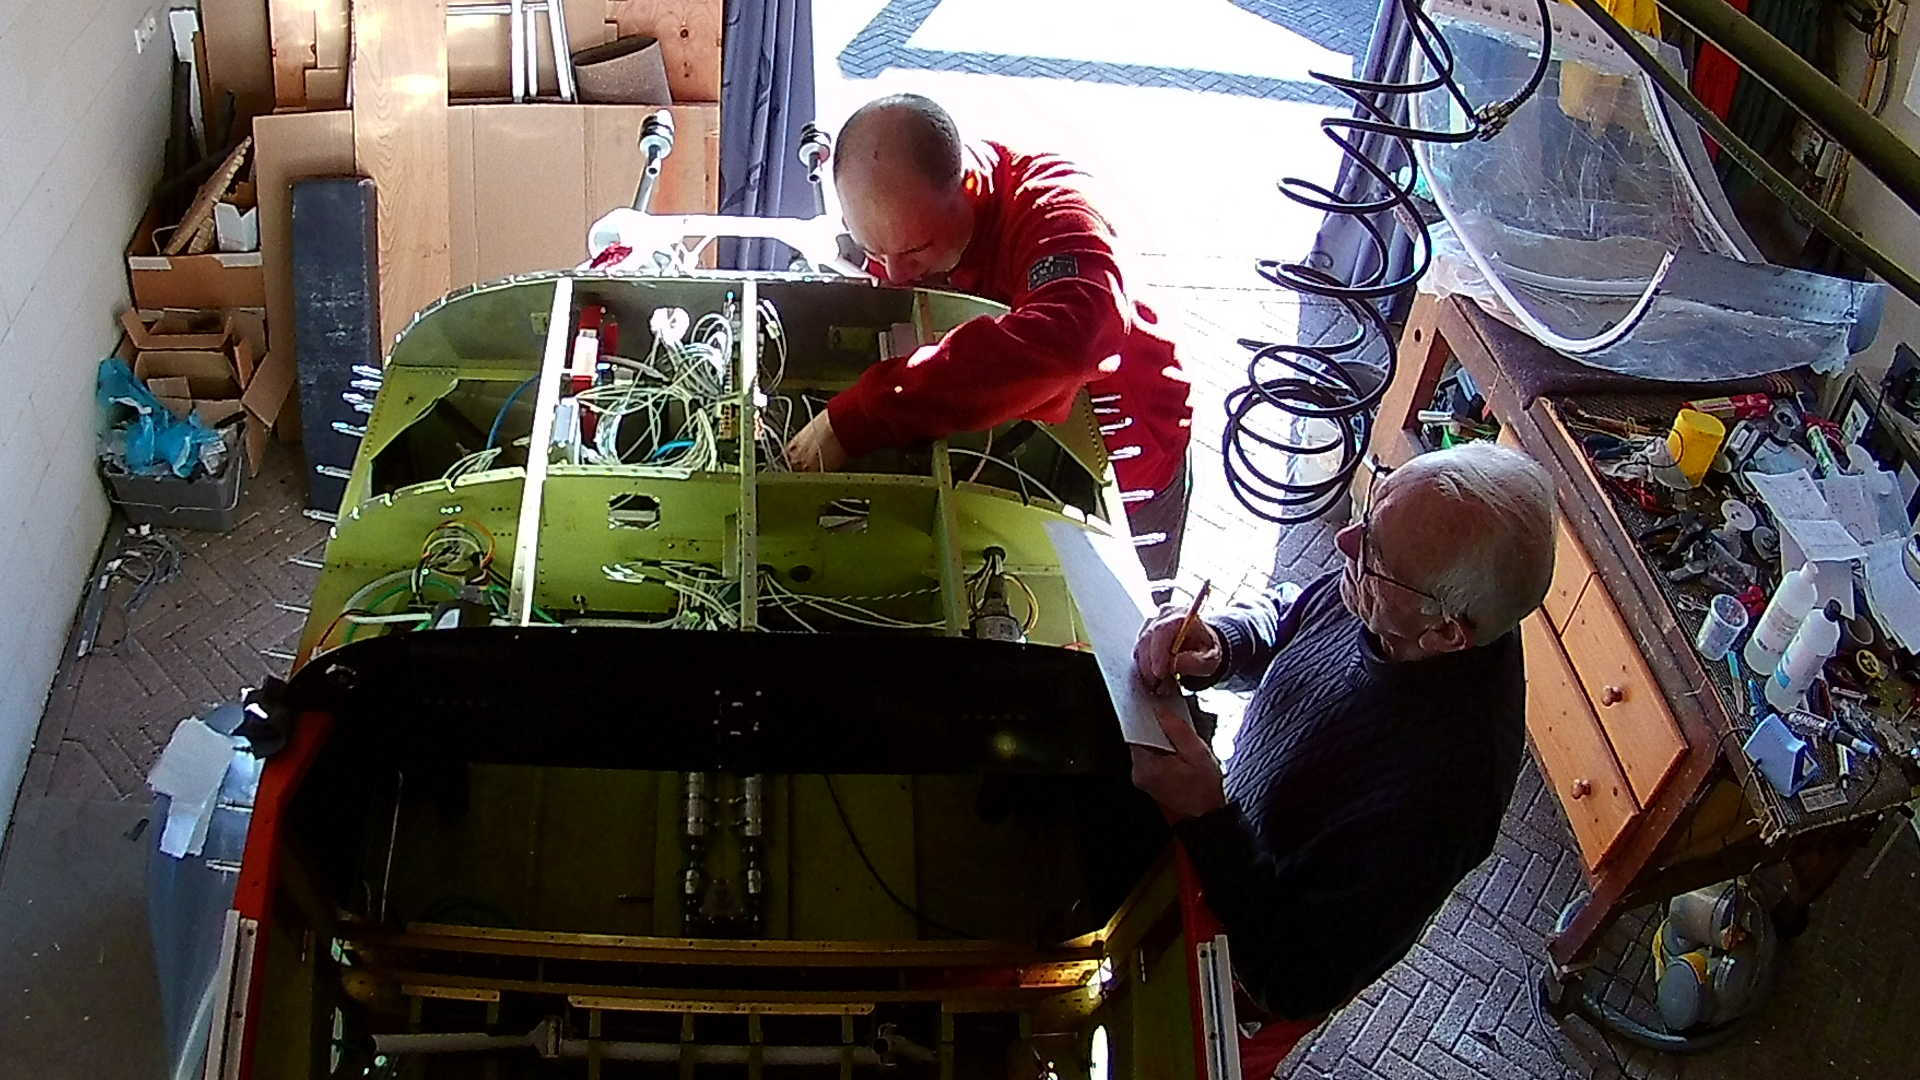
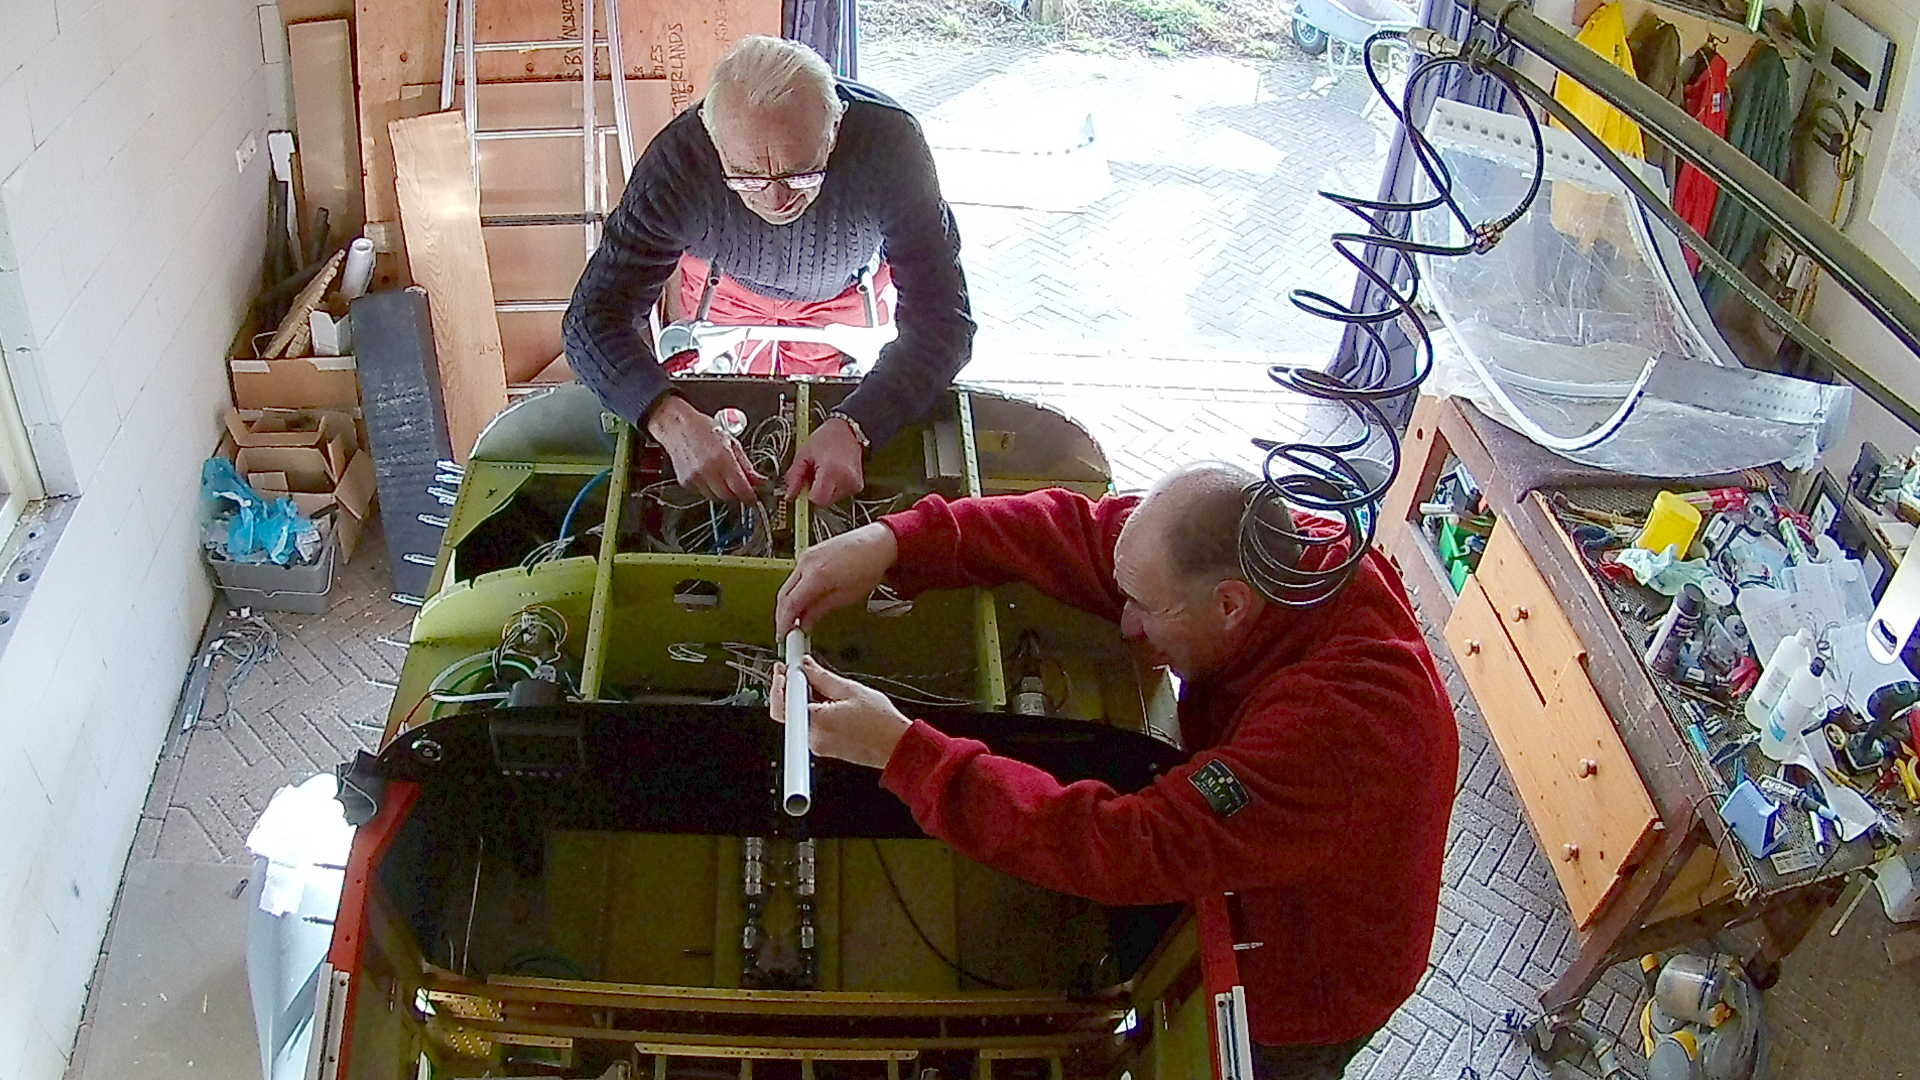
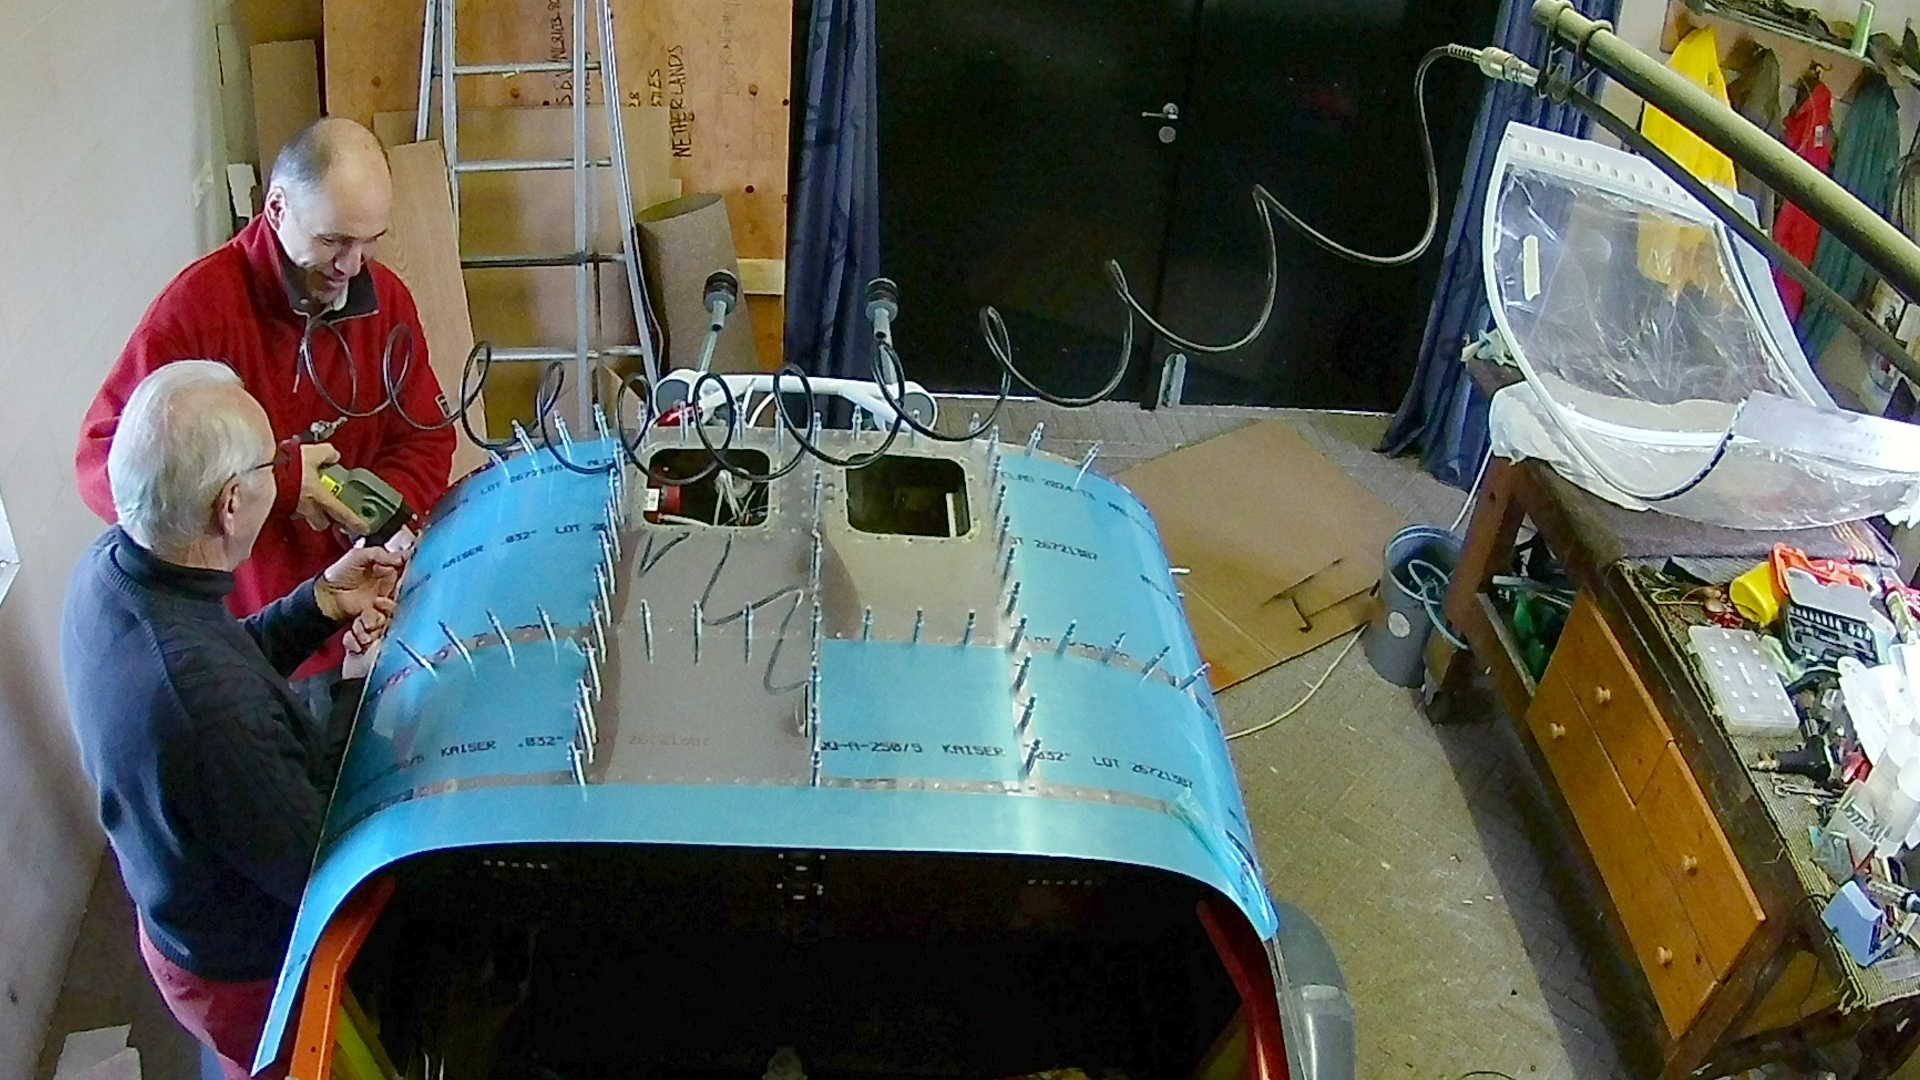
Together with my dad, I did a last check of all the wiring, before closing the Forward Top Skin. I have access panels installed in that skin, however working on the wiring is much easier without the top skin.
Spoiler alert: I didn’t test thoroughly enough. Sure the wiring is all ok, but it turns out the ECU cannot communicate with the EFIS, Something I could have detected by just looking at a indicator led and if I had read the ‘fricking’ manual. More on this frustration in another post.

I have drawn the schematics myself, so what we do is check all the connections source to sink and mark them of on the schematic.
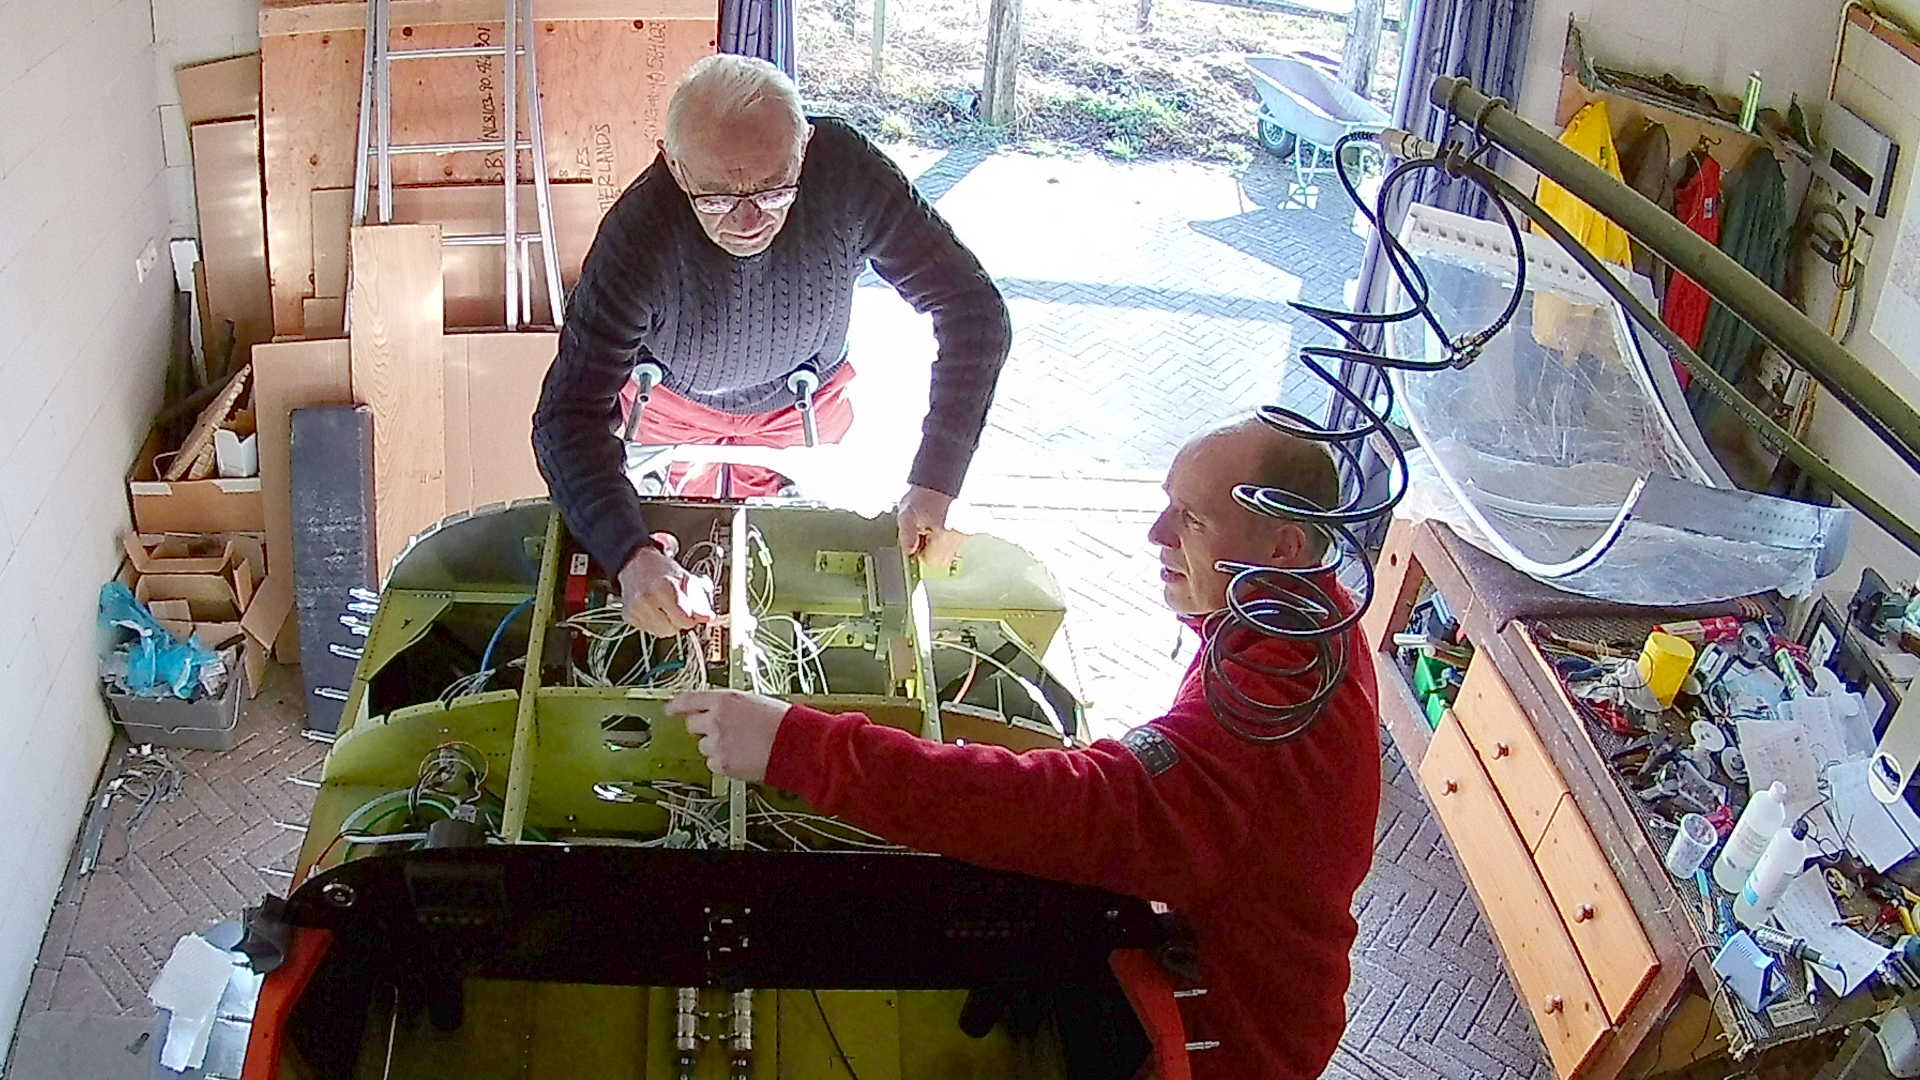
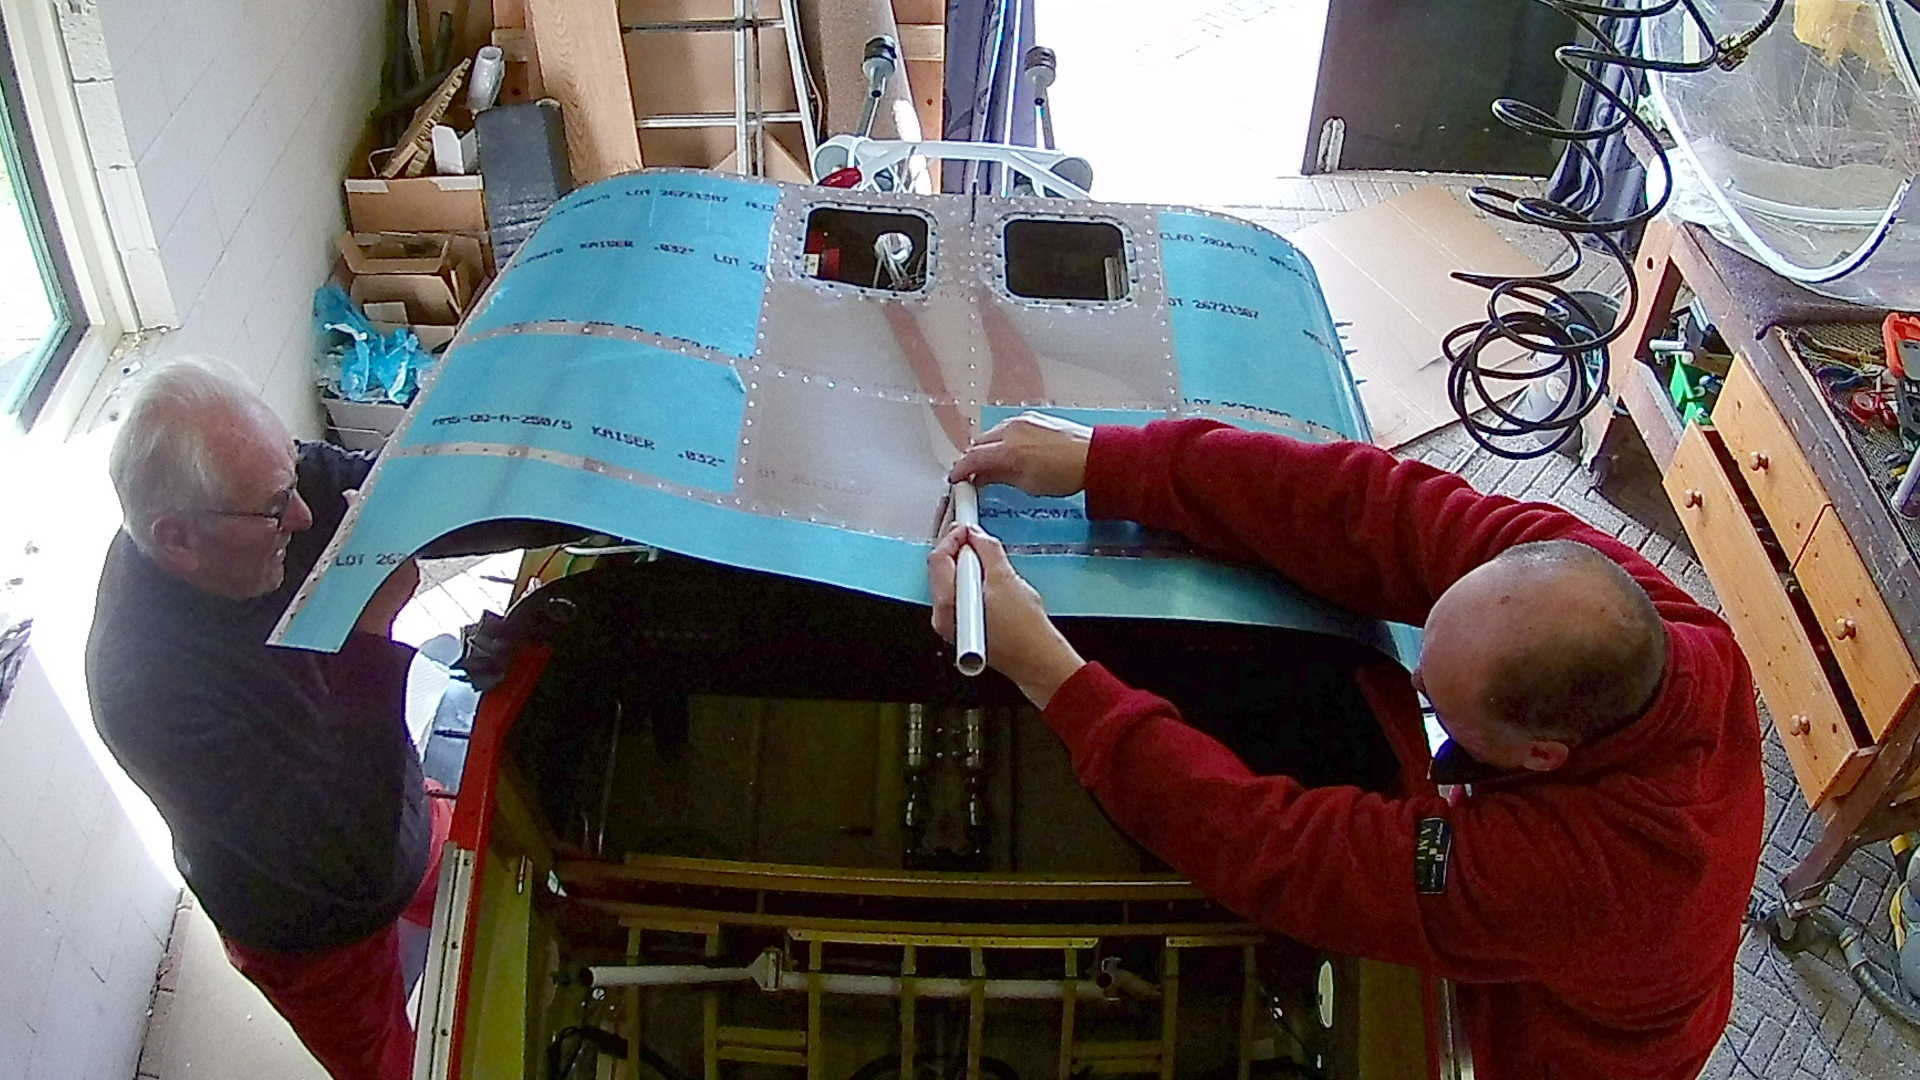
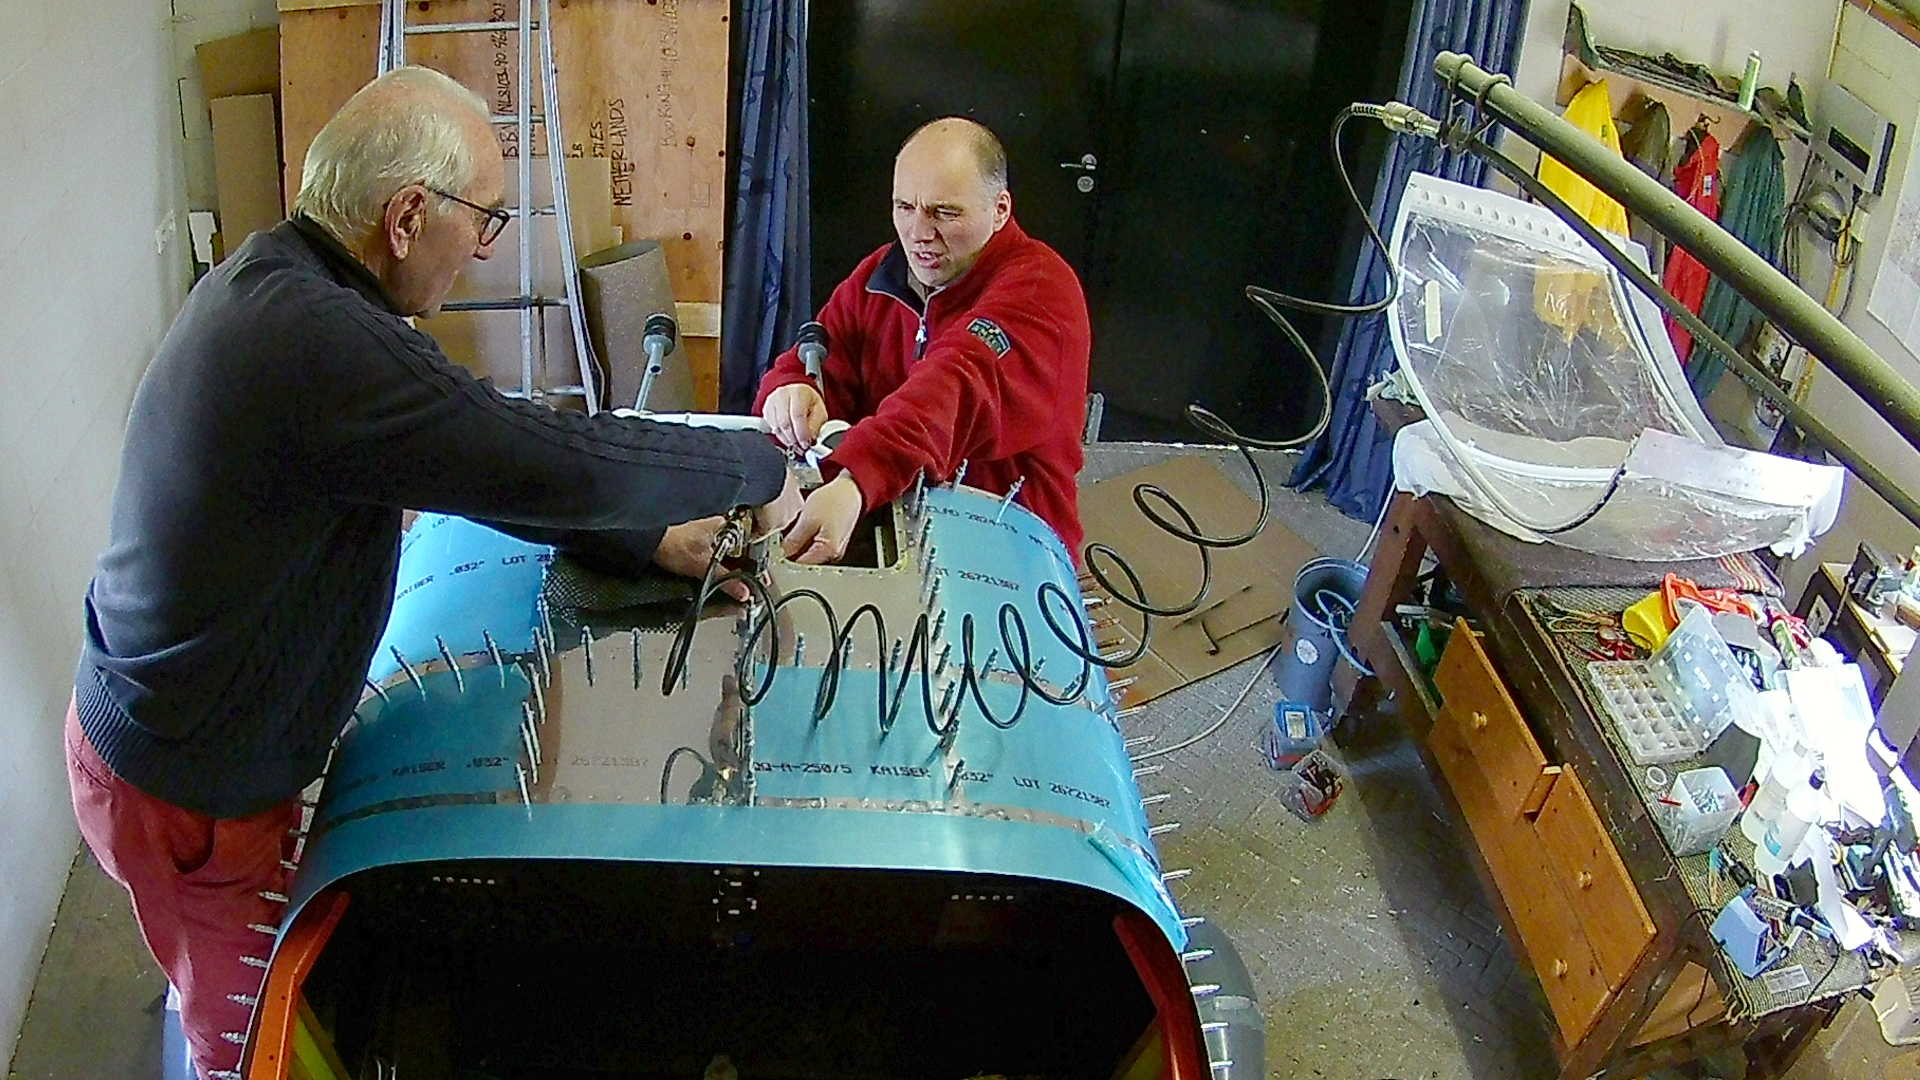
Besides the top skin, I also need to install the bar that connects the windscreen to the rib in the forward fuselage. This is hard, because it has to be done in conjunction to each other.

With all the wiring checked (we had to make a few adjustments, but nothing severe), we can now fasten the Top Skin with cleco’s. As you can see there are two access panels in the skin, so we can still reach the power bars, the ECU and the RDAC’s.

Ok, I forgot to paint the bottom side of the skin that is part of the panel in the cockpit. It was primed just like all the other (non-visible) parts, but once I saw the tqp skin in its place, it became apparent that it needs to be black. Since I already tear down my paint booth, I had to ‘wing it’ with a spray can.
Making sure the bar fits, I thought I’ll install that one first, but that doesn’t work since it needs to be inserted in the skin. But if it is in the skin how can I reach the nuts.
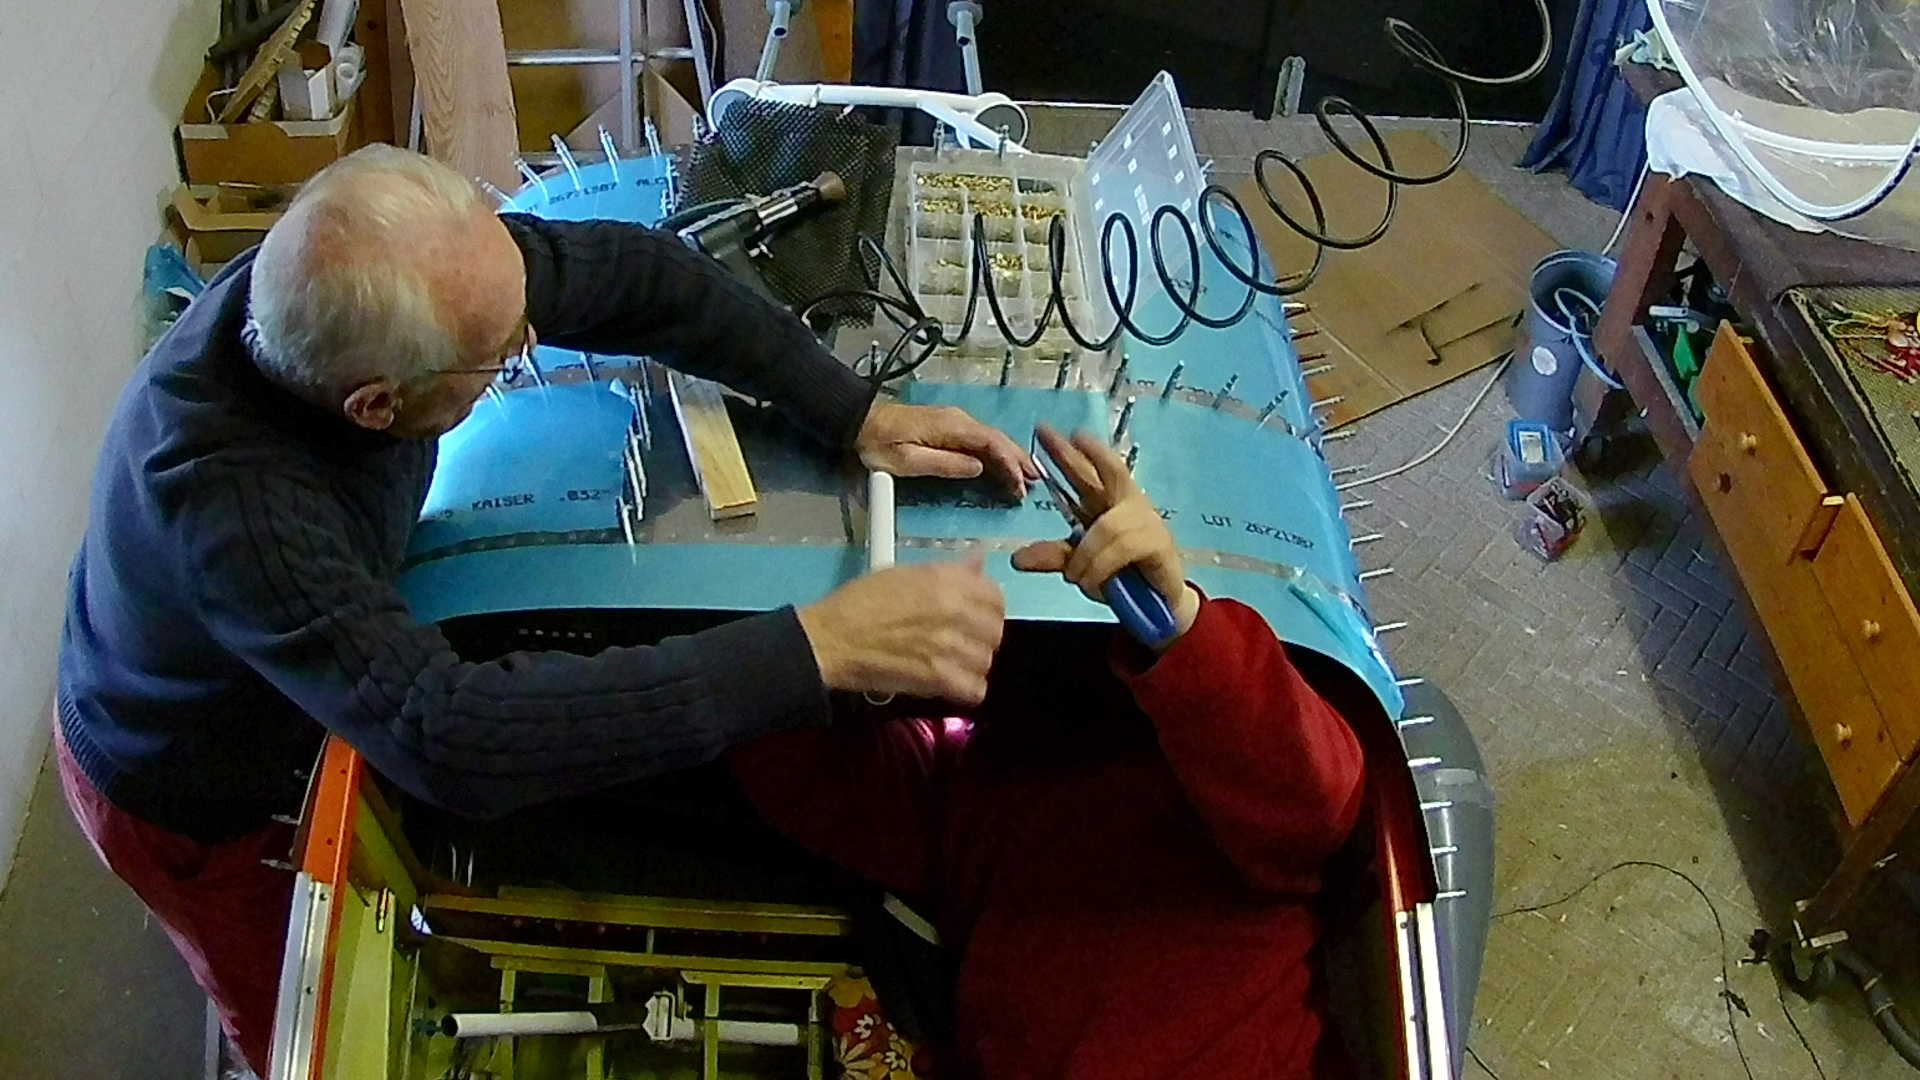
Right, we can gently bend the skin without really bending it to fasten the nuts and bolts.
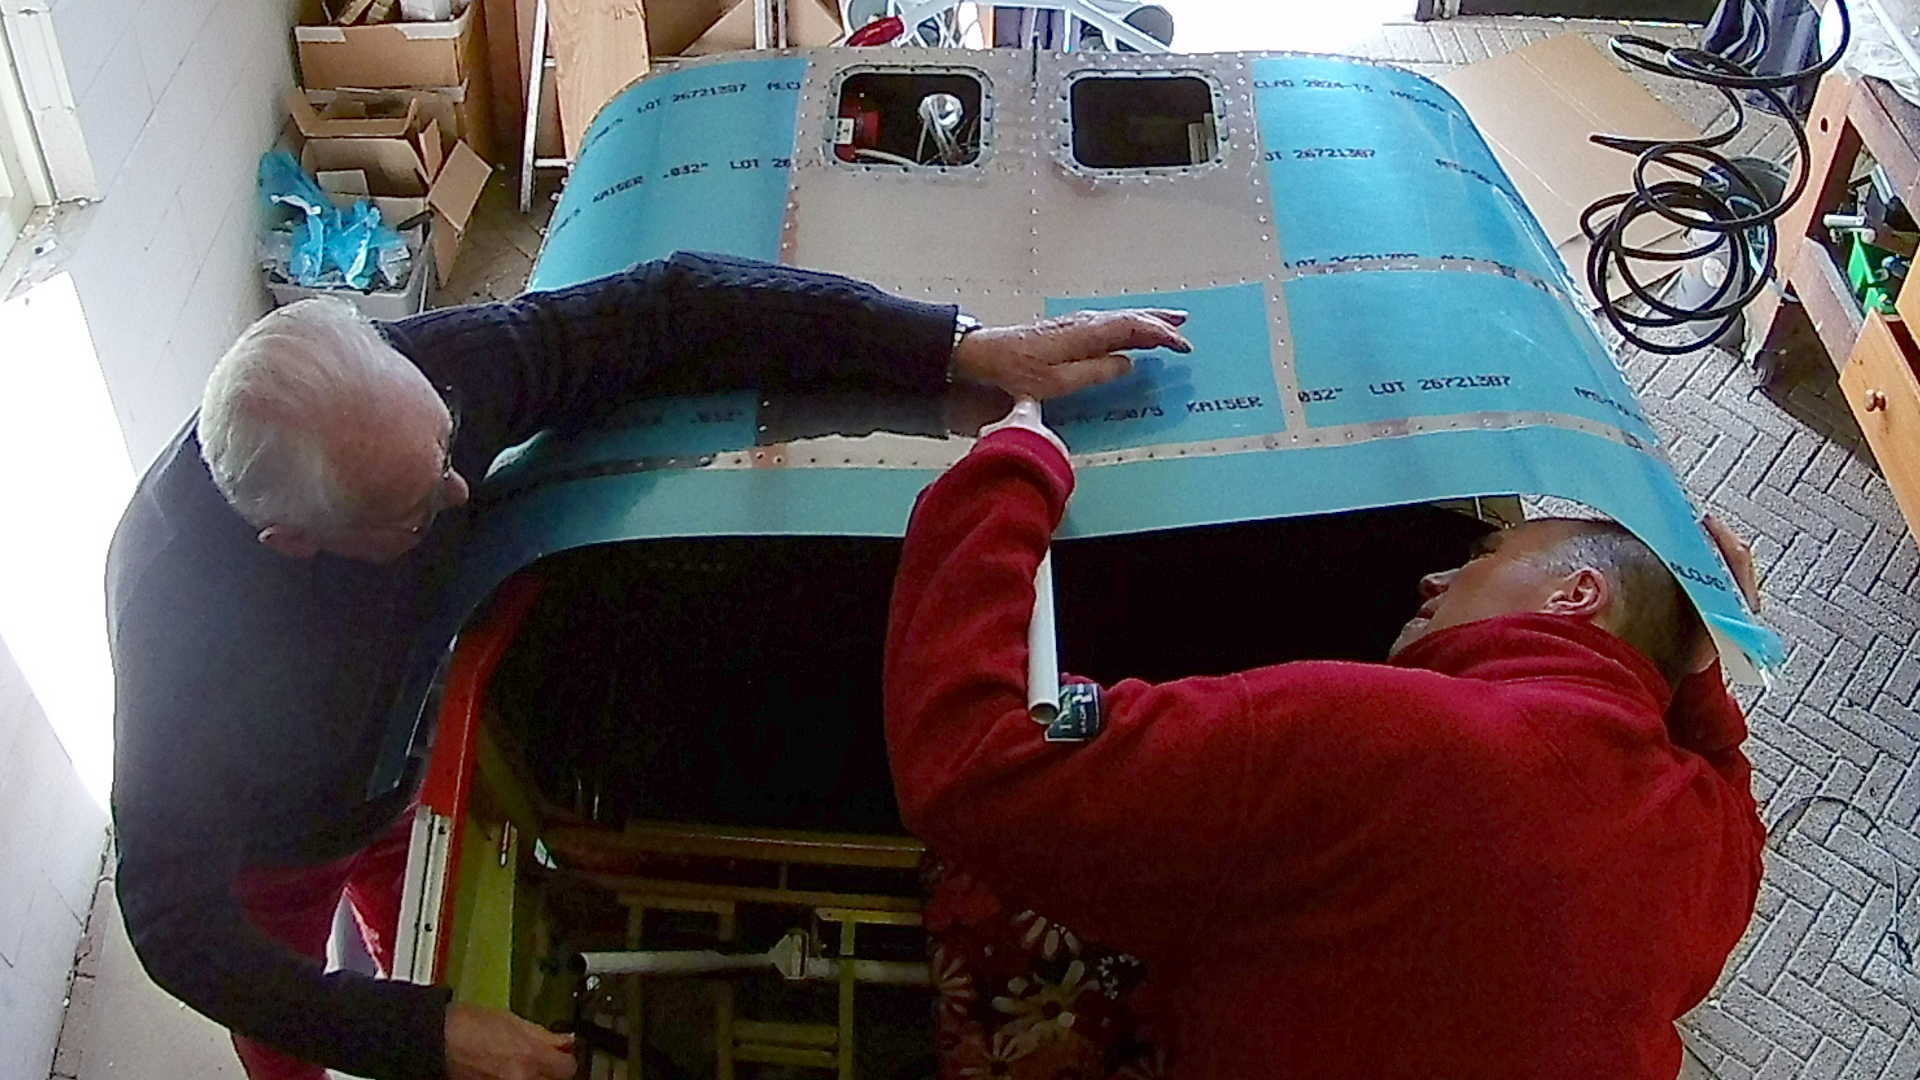
Yes sounds really easy, but this took a considerable time. If you over-stress the Aluminum skin you can damage it permanently.
I figured out that I could indeed insert it later and crawl in the cockpit to fasten the bar (sigh). Ok with that established, let’s cleco it all together.

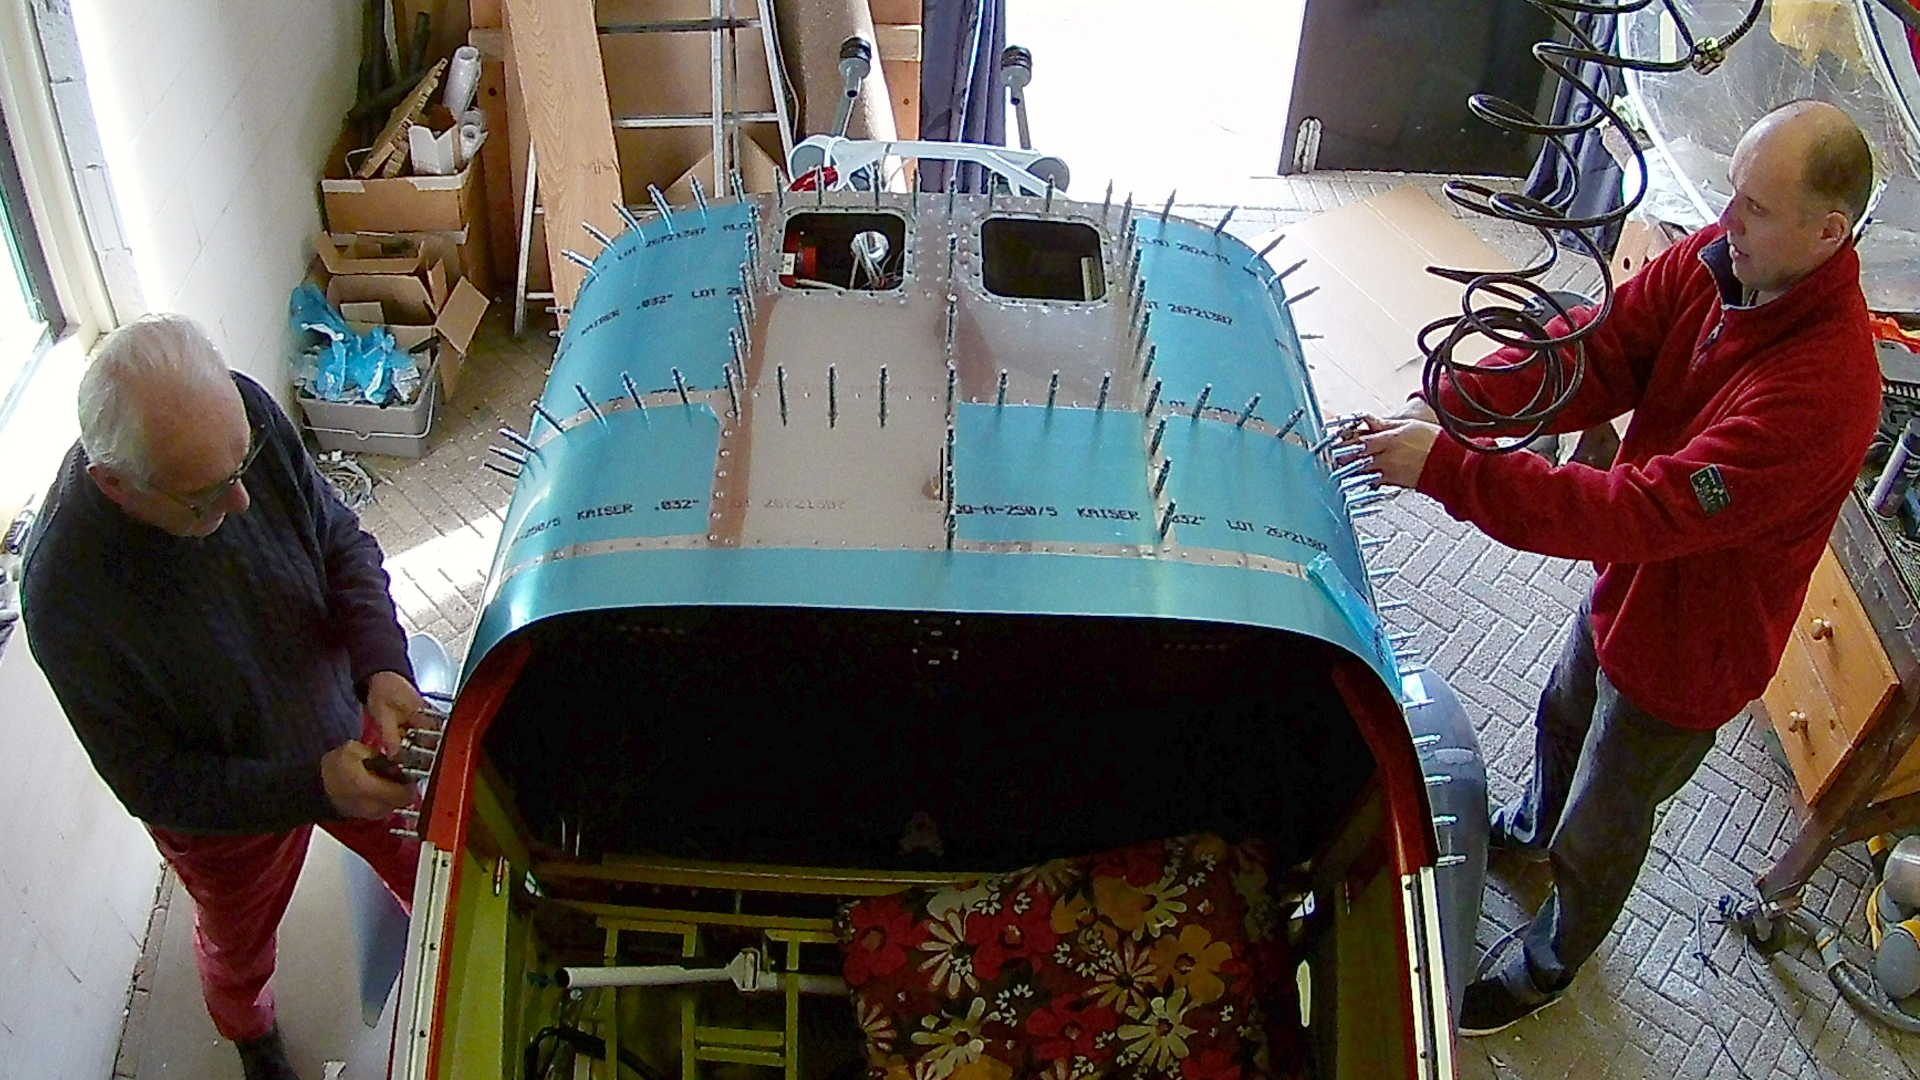
Some holes didn’t align nicely, so I decided to enlarge a few holes from #40 to #30 and use a bigger rivet. The Forward Top Skin fits very tight (almost to tight if you ask me).
The ‘new’ bigger holes also need to be dimpled. Because I don’t want to remove the (very tight) skin again, I decided to use the pneumatic squeezer to dimple the skin and the Firewall.
Now we can start riveting from the top middle to both sides.
Now it’s time to insert the bar, before riveting the rest of the skin.
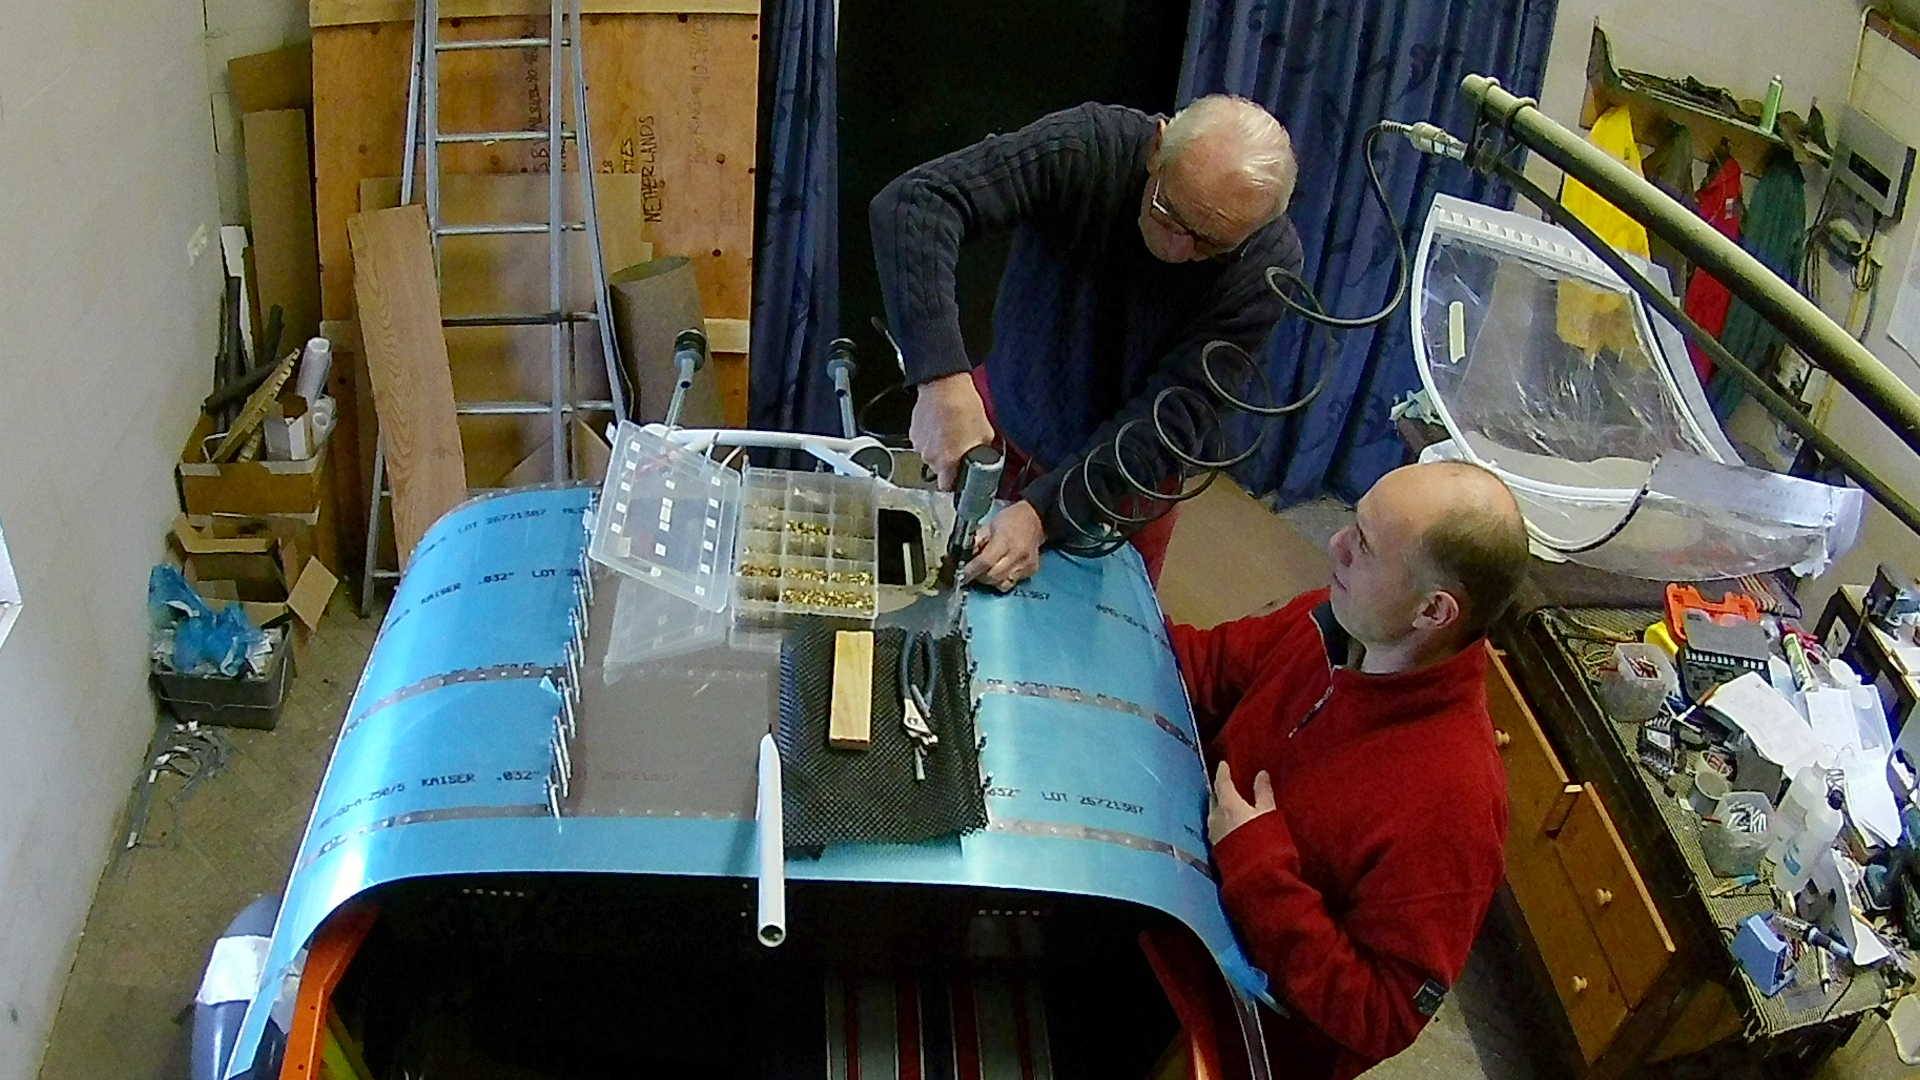
Except for the row in the longeron, you can rivet everything by (again) gently bending the skin, so the hand with bucking bar can reach the rivet. The bottom row of rivets that are attached to the longeron can only be done by crawling in the forward fuselage. It resulted in a really bad night’s sleep, because my back was sore of laying on the main spar.
Time: 5 Hours, Rivets: 0/0 (2021-01-13)
Time: 7 Hours, Rivets: 74/0 (2021-01-16)
Time: 8 Hours, Rivets: 0/0 (2021-01-20)
Time: 8 Hours, Rivets: 79/0 (2021-01-24)
Time: 6 Hours, Rivets: 0/0 (2021-01-27)
Time: 5 Hours, Rivets: 0/0 (2021-01-29)
Time: 7 Hours, Rivets: 98/0 (2021-01-31)
Time: 6 Hours, Rivets: 40/0 (2021-02-03)
Video