
The day started with some fear, because I drilled the HS0005 and HS0006 already in the front spar which is specifically stated not to do. Now it IS stated specifically, but not very clear (jargon I still need to pick up). Also I found that it looked that there were duplicate instructions, which is apparently a clear sign that you’re not reading it right.

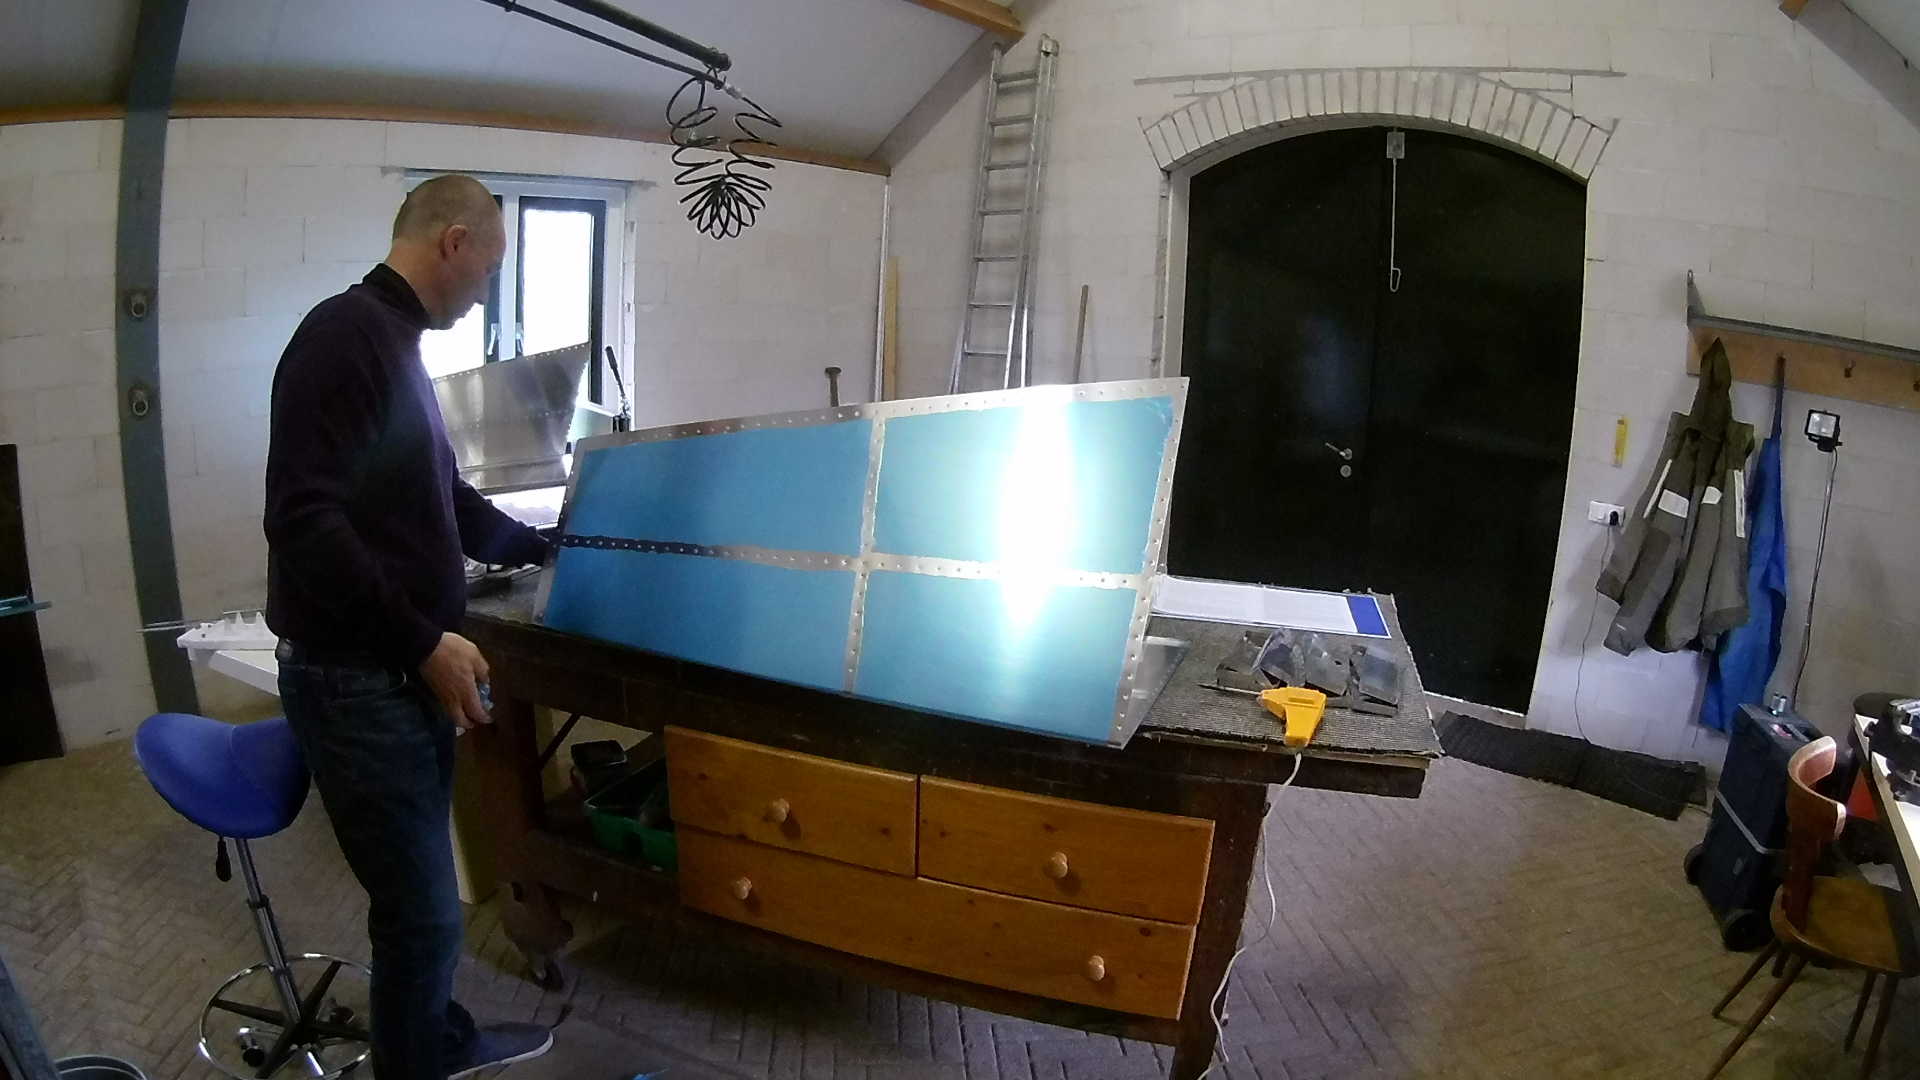
After fitting the left skin it turned out the HS0005 and HS0006 were in the exact right spot. So (with some luck) it turned out to be no real problem.
Next up De-burring, the most tedious part of building a plane, however at least I can sit down for a while on my new stool.
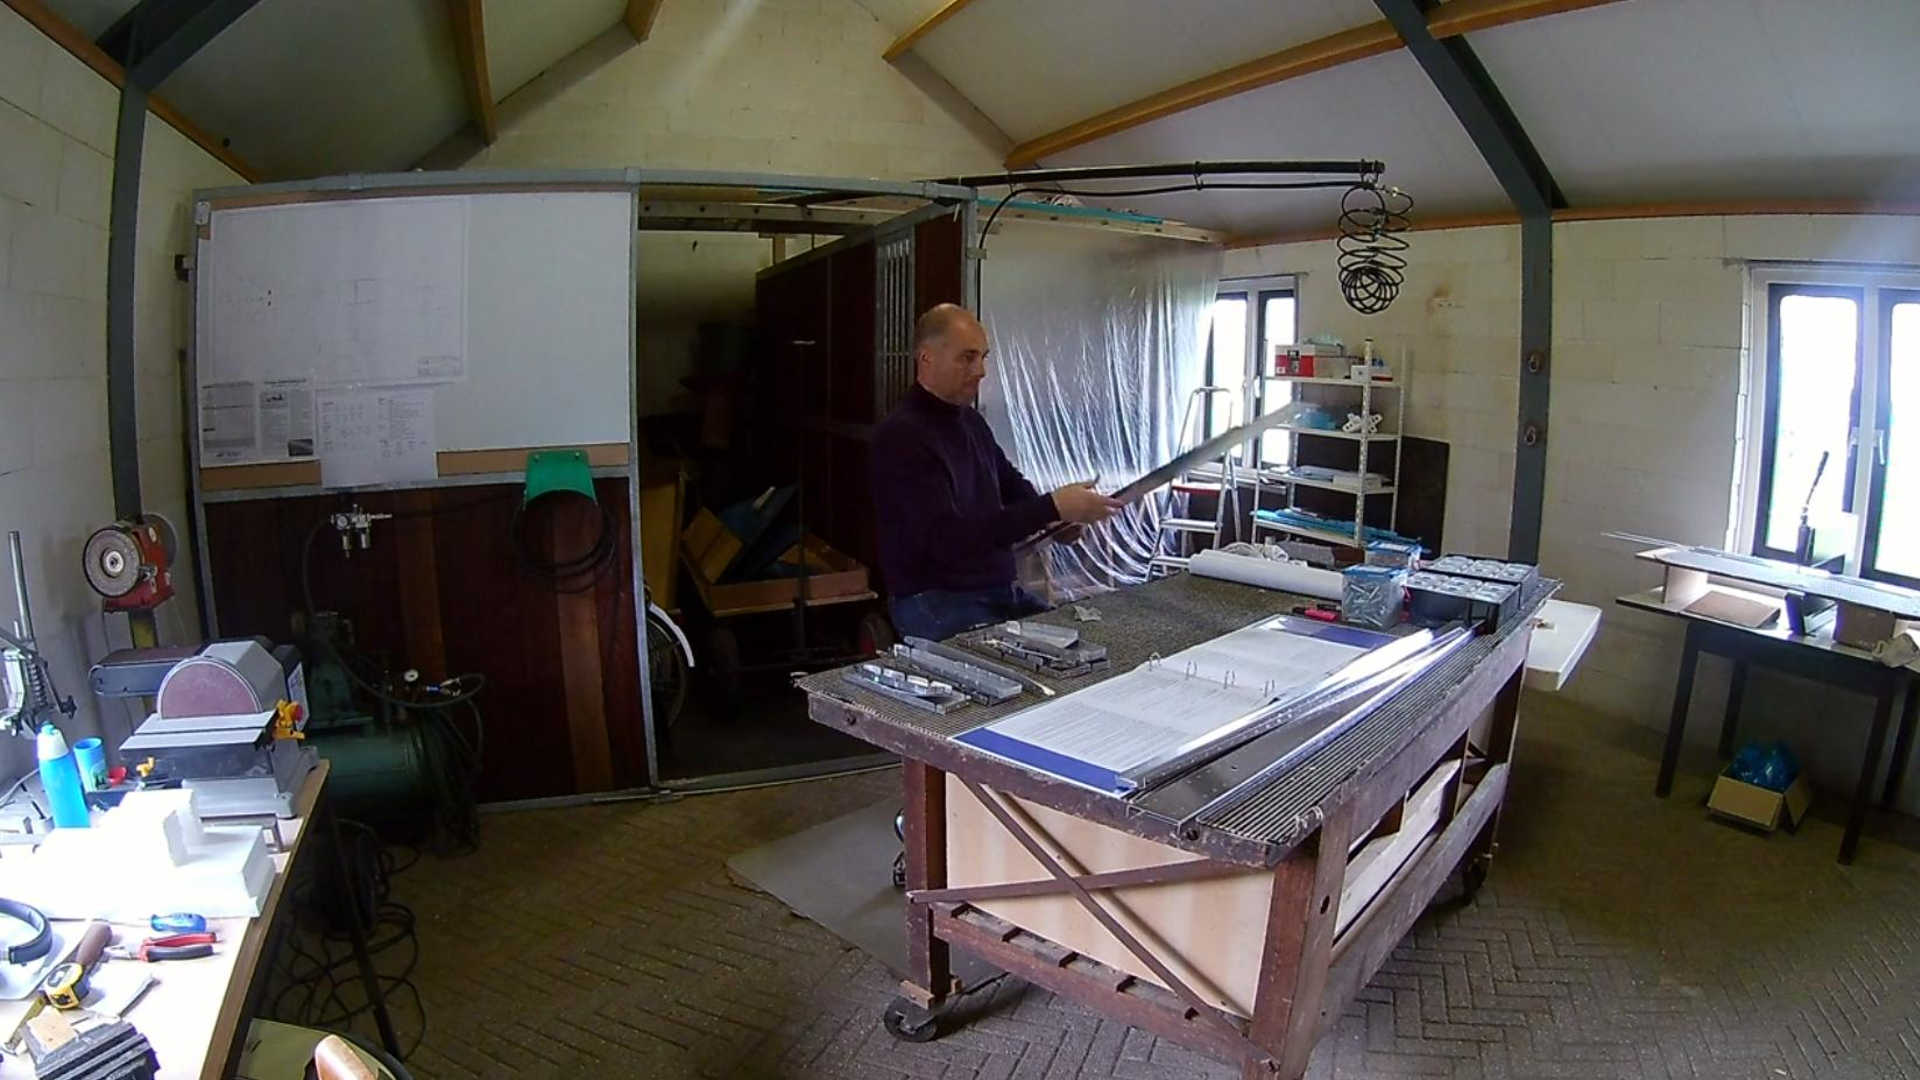
The fact that I cut my finger to one of the spars, shows that I’m not de-burring in vain. Almost the last step before priming is dimpling. Although I tested with the RV Training Project to dimple after priming, I decided to dimple first and then prime.
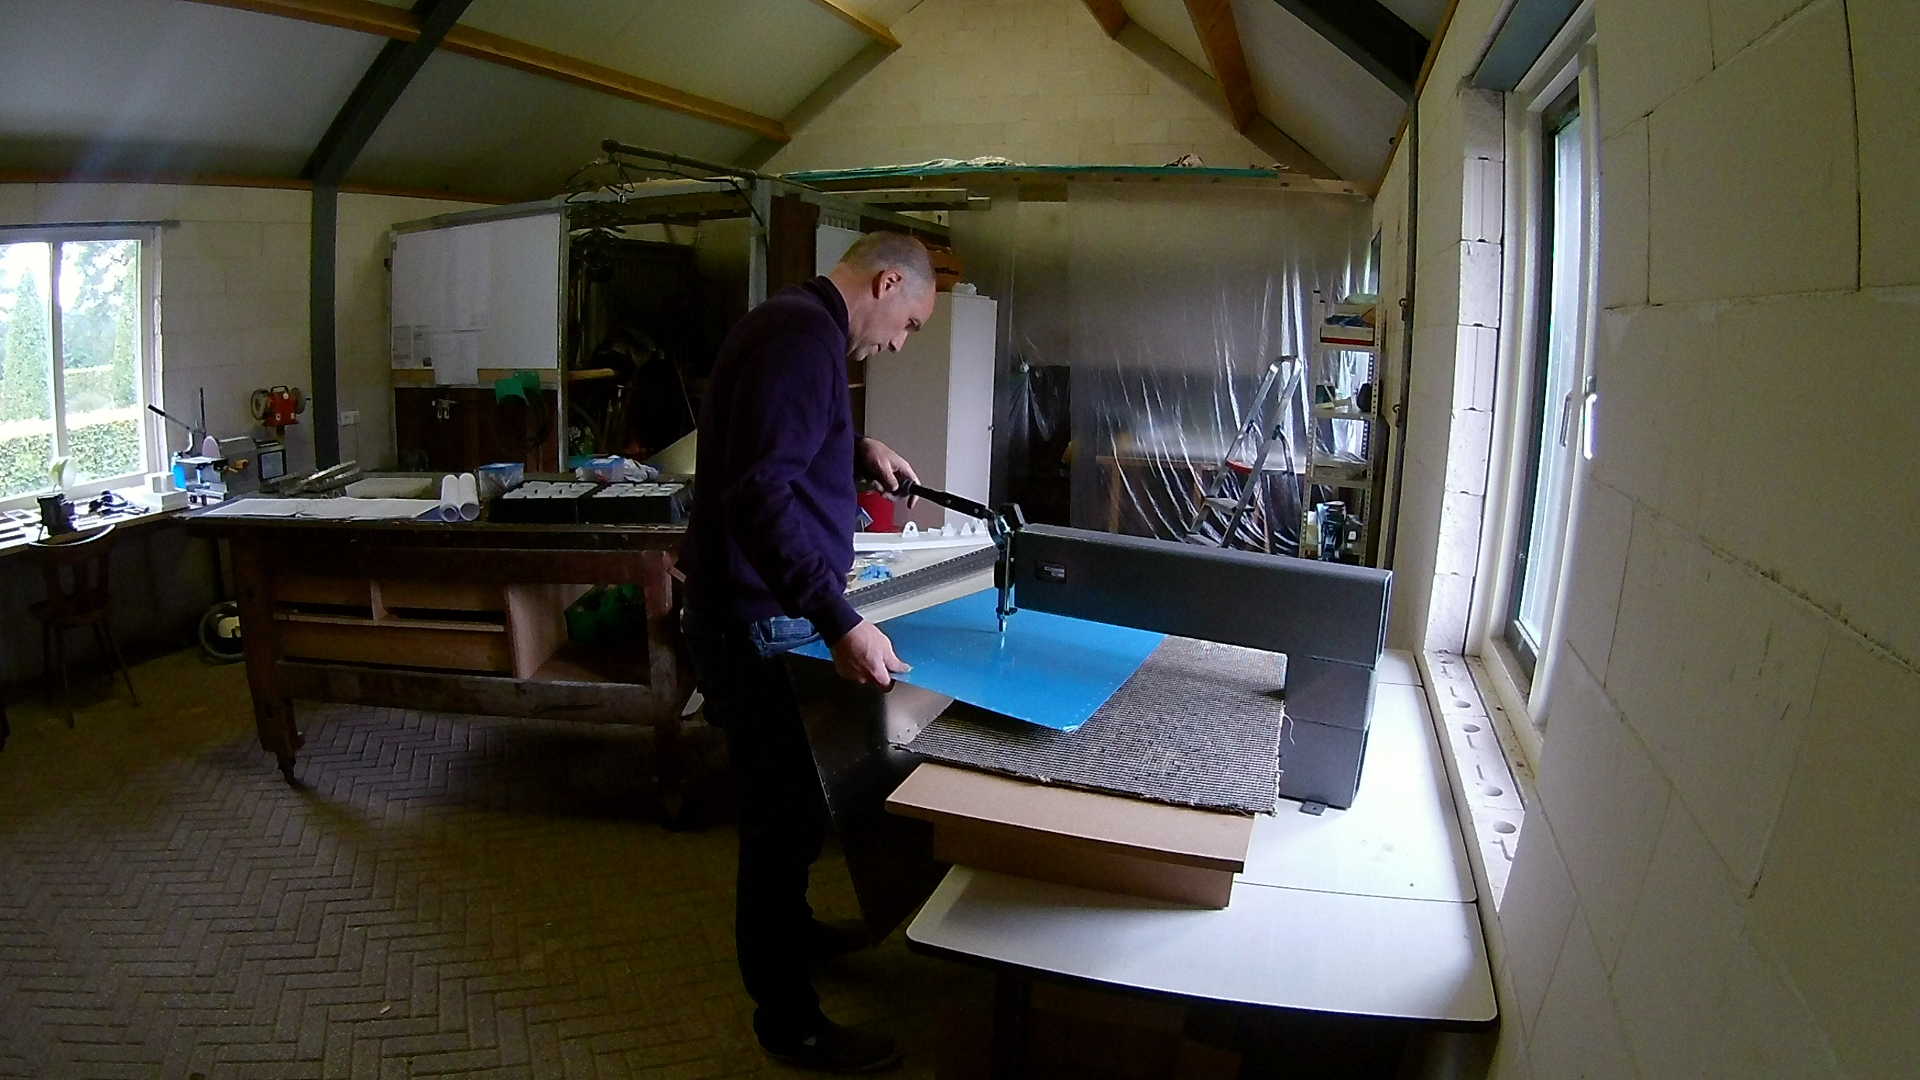
The DRDT-2 is expensive and I only use it for dimpling (so far), but it makes dimpling really easy. I never tried using a C-frame, but whacking something with a hammer, will probably not work for me. Besides the loud bang and strain in your arm, changes are I either miss the plunger (and dent the skin) or hit it so hard it breaks.
With this device I can hardly screw up. The most important thing is to place the skin with the right side up.
My planning was to also prime today, but I underestimated the de-burring and dimpling.
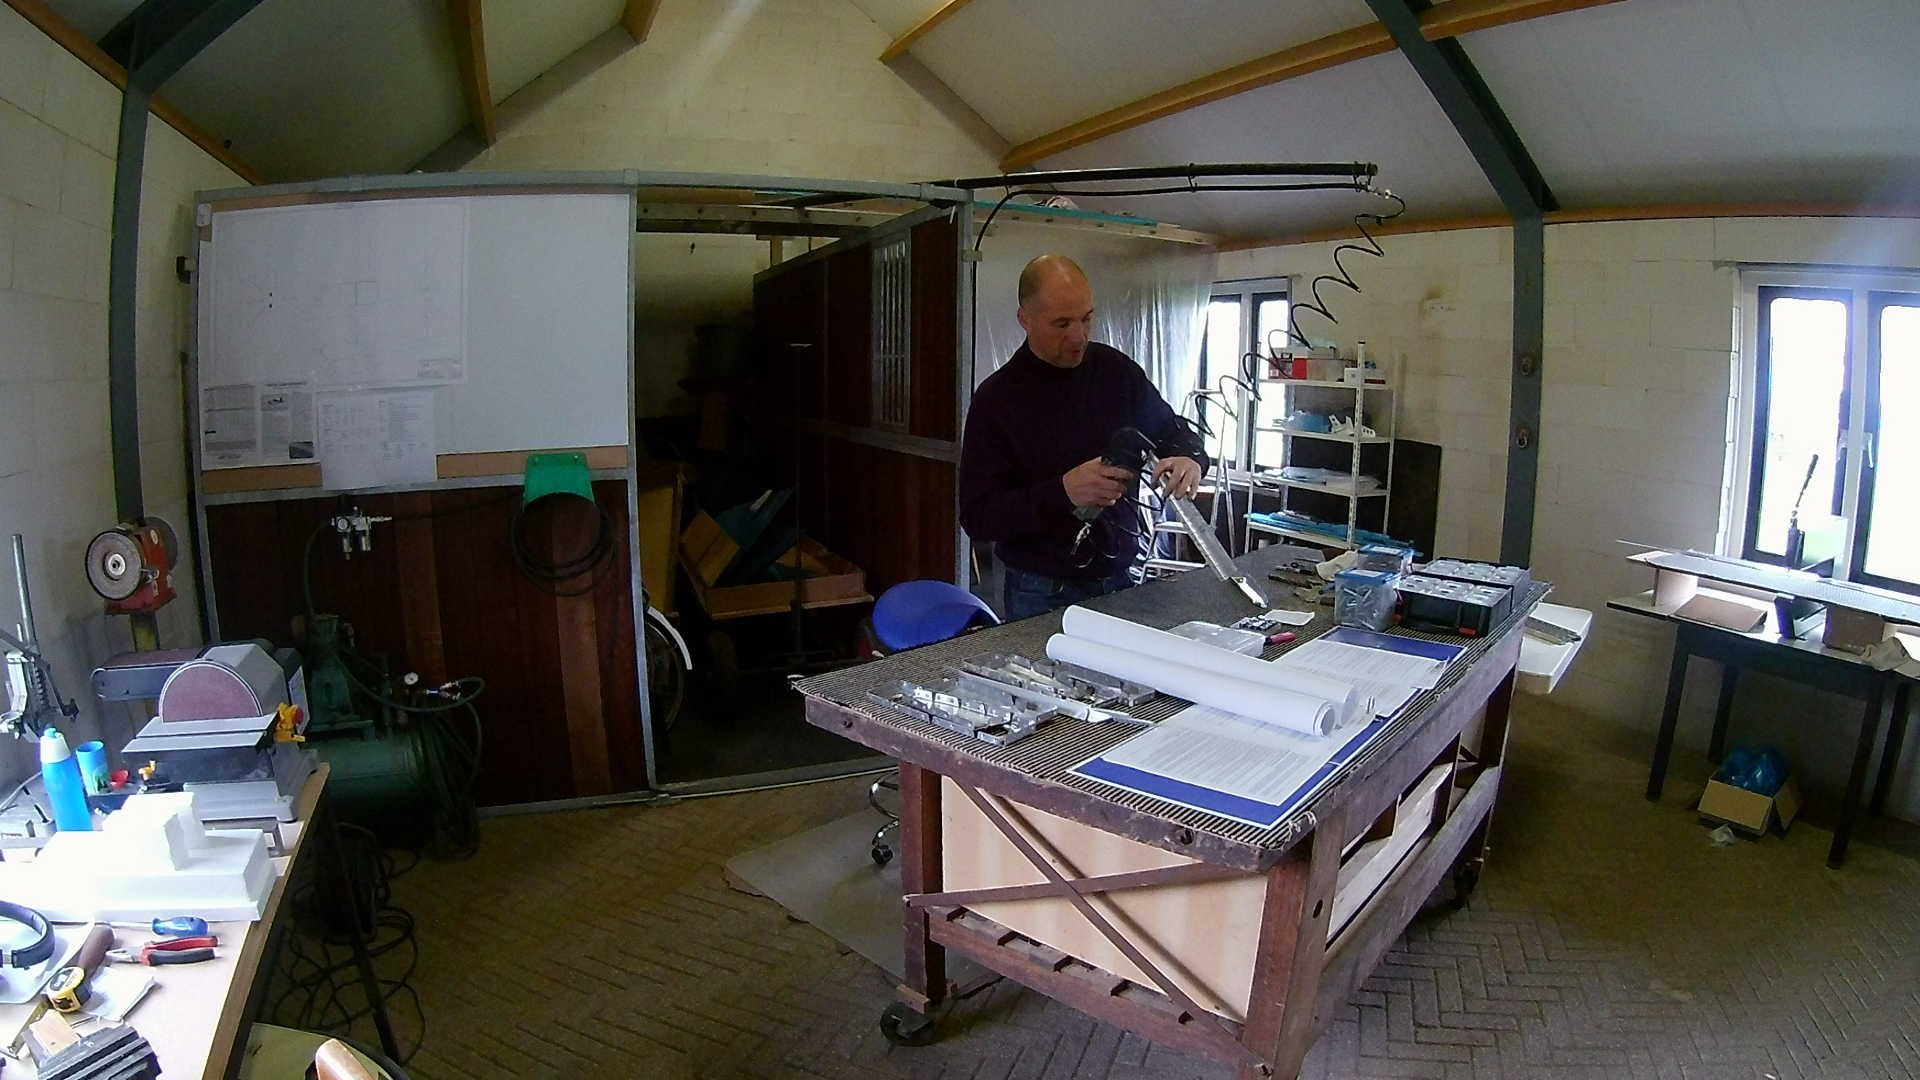
I did remove the vinyl partly on the outside, where the rivets should go. I see many builders use this method, with a soldering iron, so I’ll try it too. However I don’t see the point of doing this very precise as it is only temporary.
Time: 8 Hours
Video