Today I work with my Dad again, because I don’t see how I could rivet these parts by myself. With the Center section positioned correctly in relation to the Tail section we can start riveting. There are several layers of Skin and Ribs, they are all dimpled and should go in the correct order.
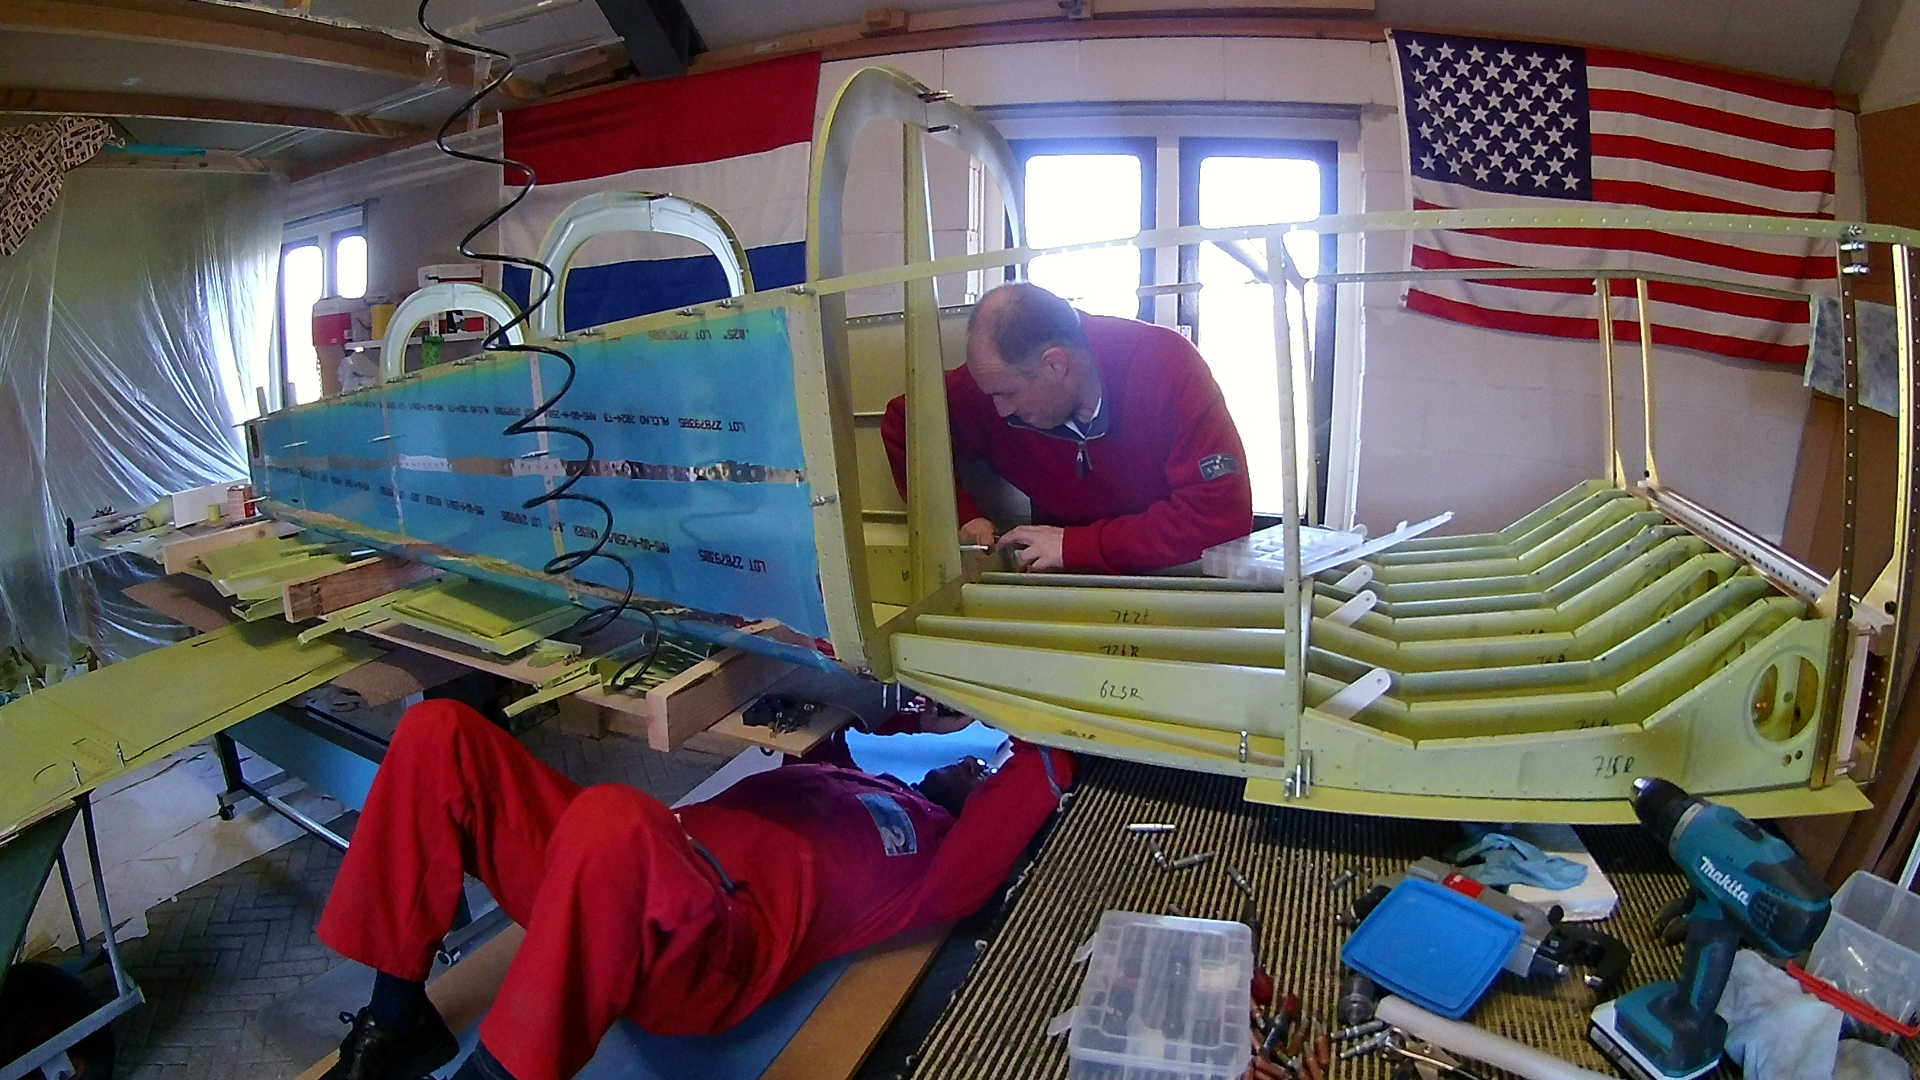
I think the plans want you to work bottom up, but I don’t like it, because it feels fragile. So rivet from the bottom. The procedure is to insert the rivet, holding it with a finger from the top, place the rivet gun and then the bucking bar.
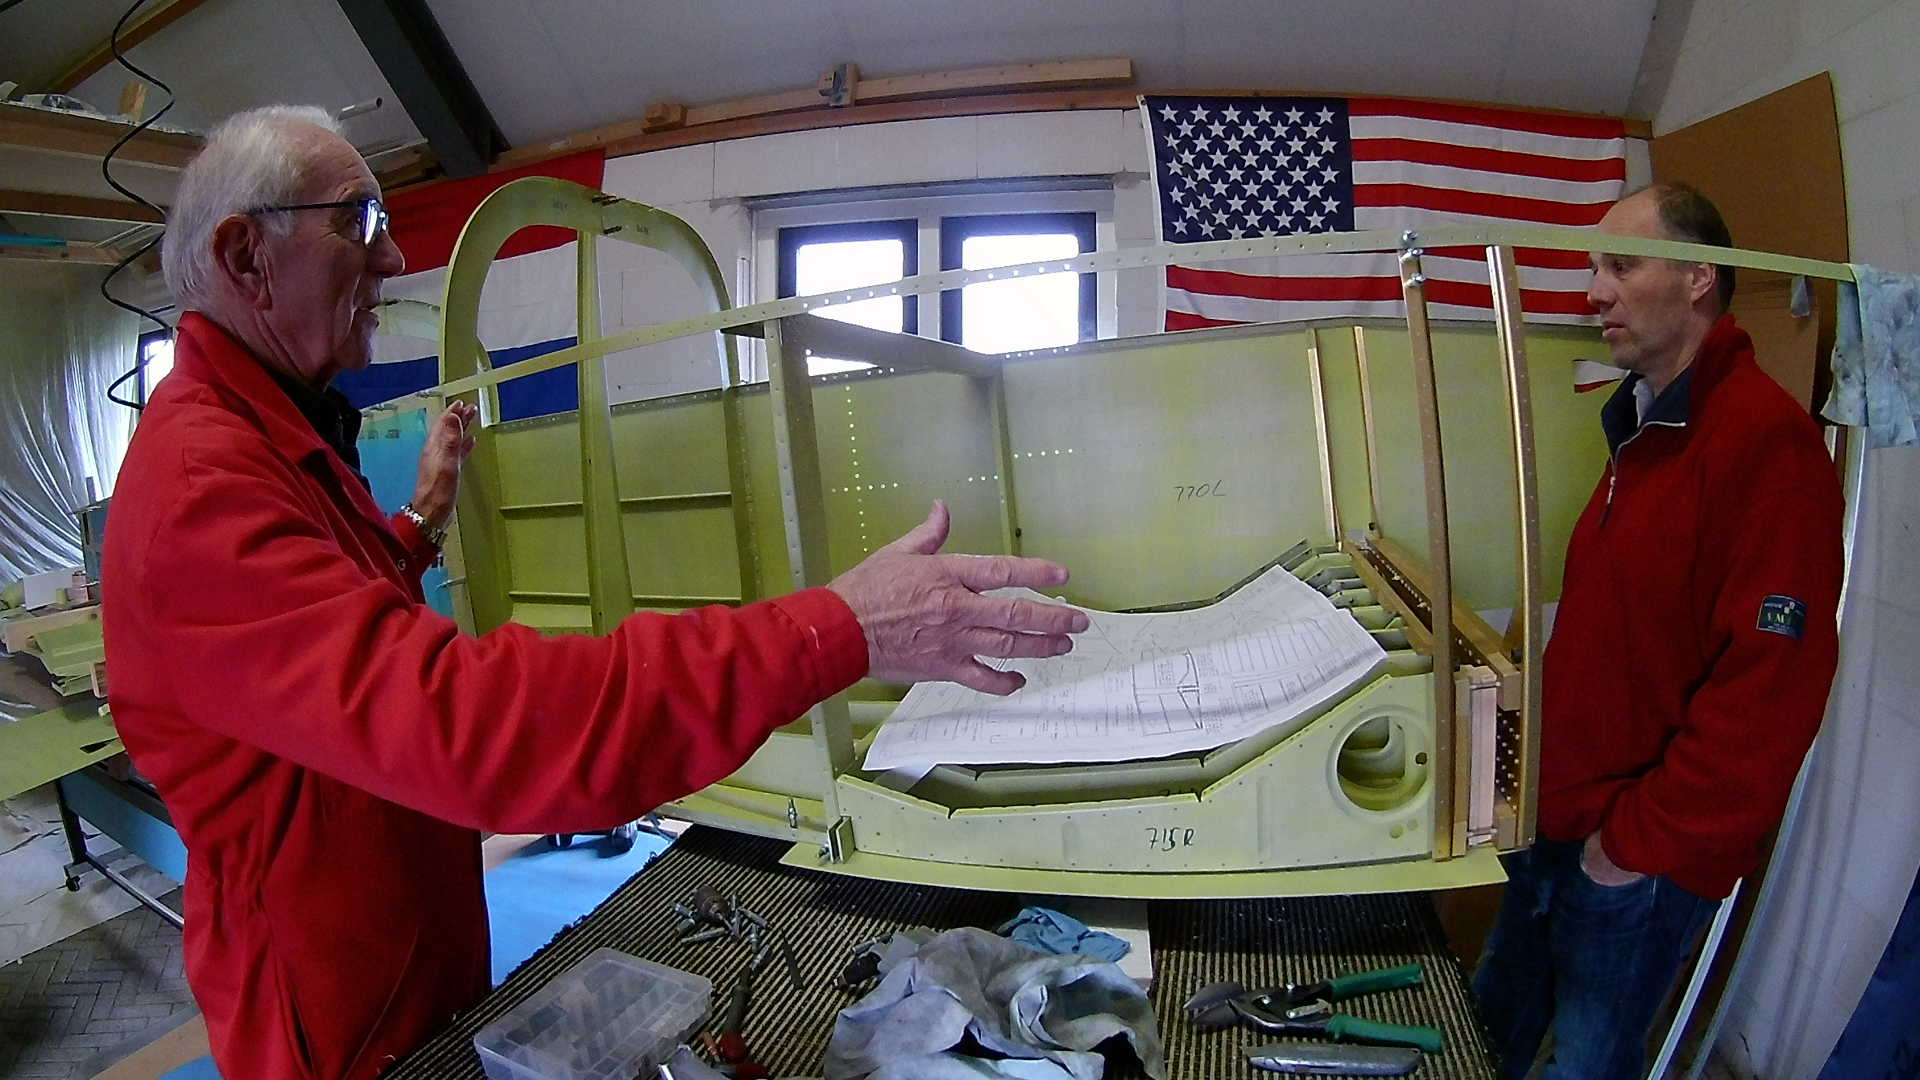
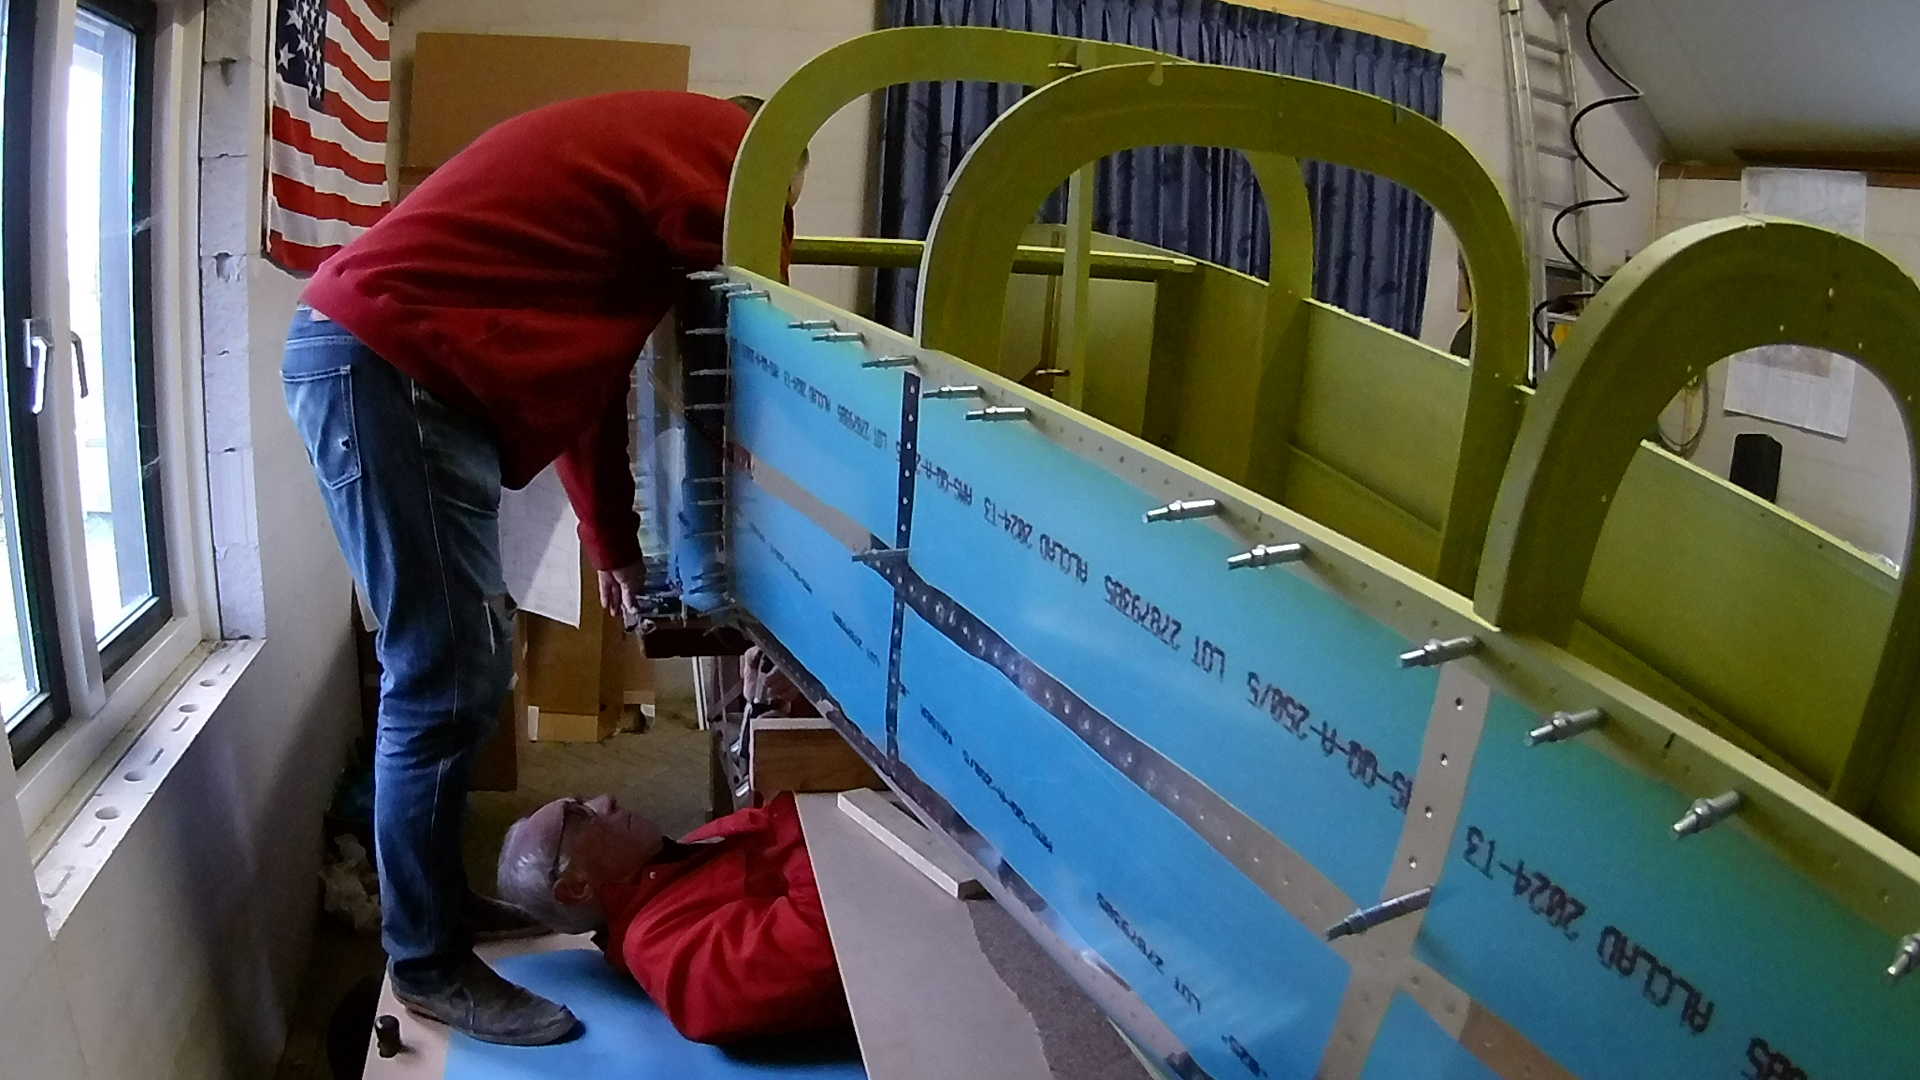
Now the Bottom is ‘fused’ and we can start with the side skins. I leave the forward bottom plate out, so I can stand there and buck from the inside.
We have prepared all the parts at length and sometimes it feels inefficient to prepare so much and then tear it down again, but you get rewarded at the end with perfectly fitting airplane parts.
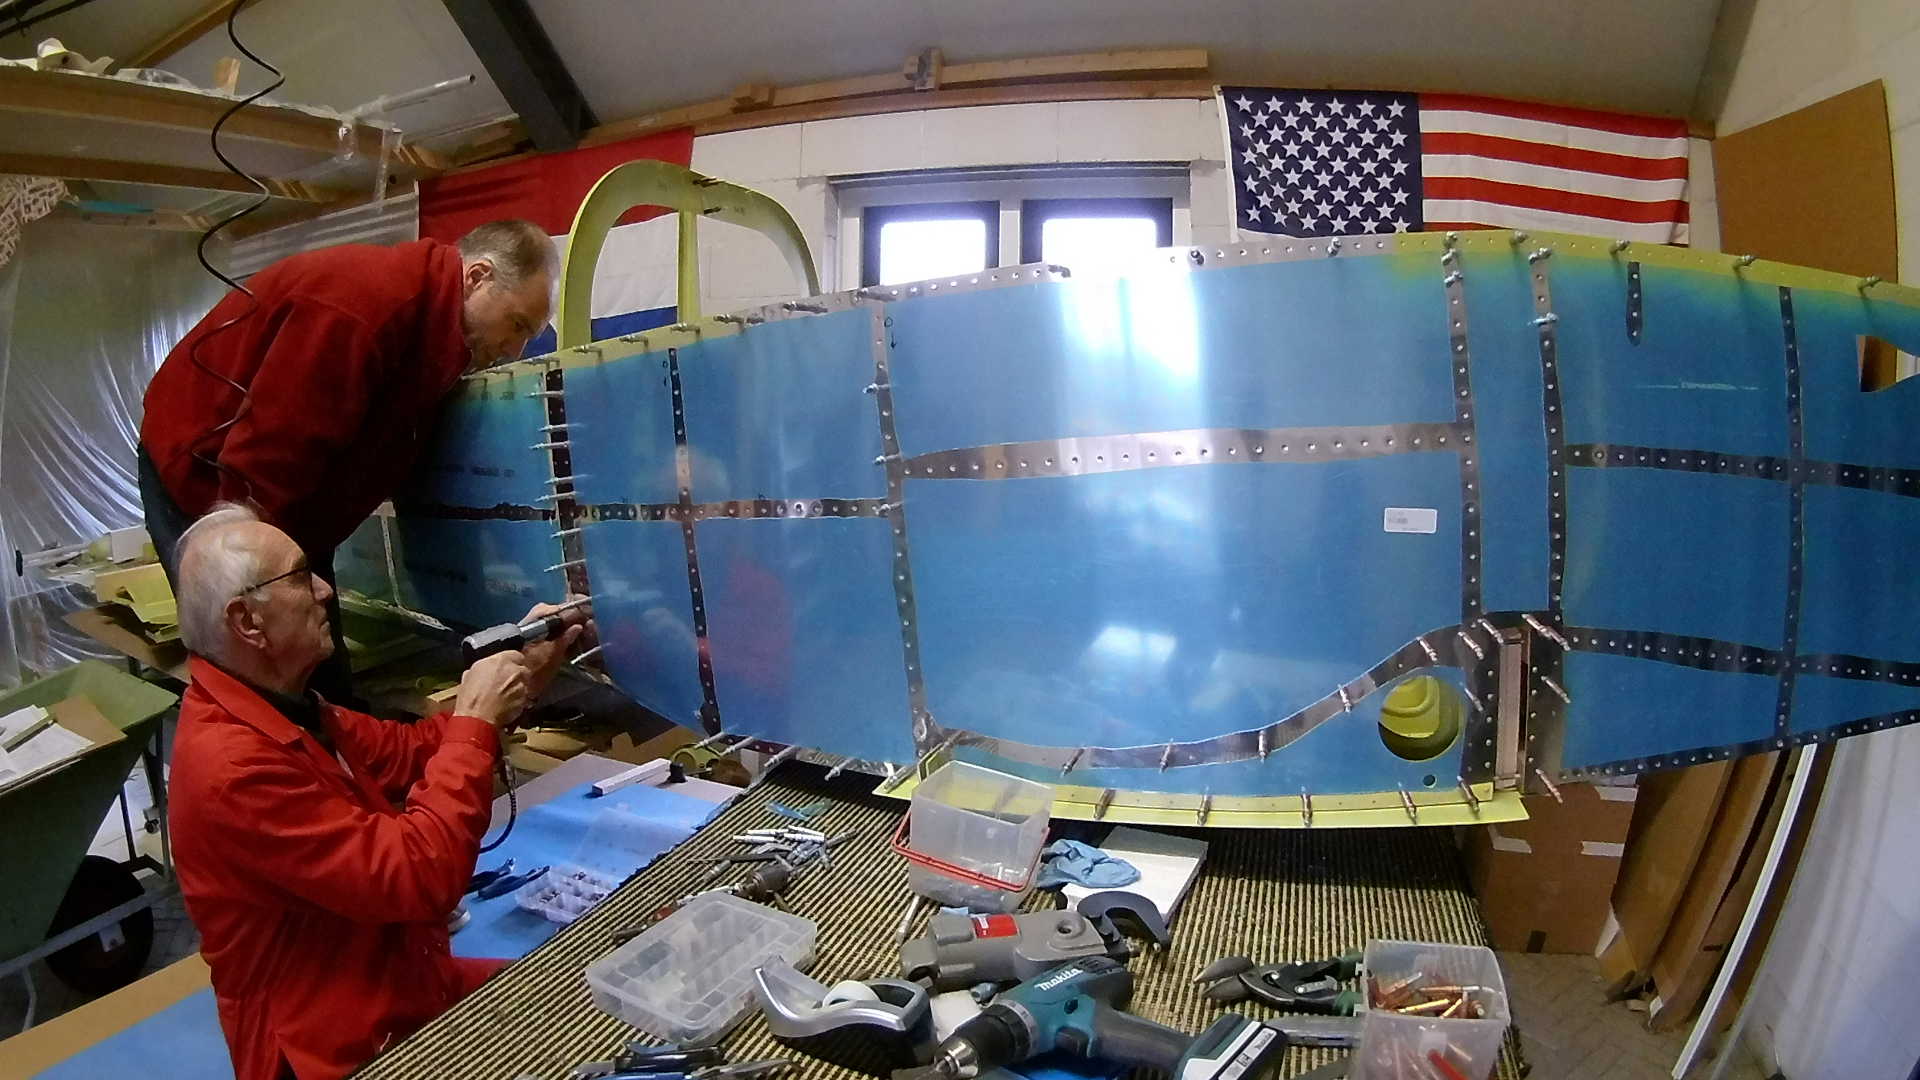
We rivet from the bottom up all the way until the middle Stringers. The top part I can do myself, so we do all the parts today that require two persons.
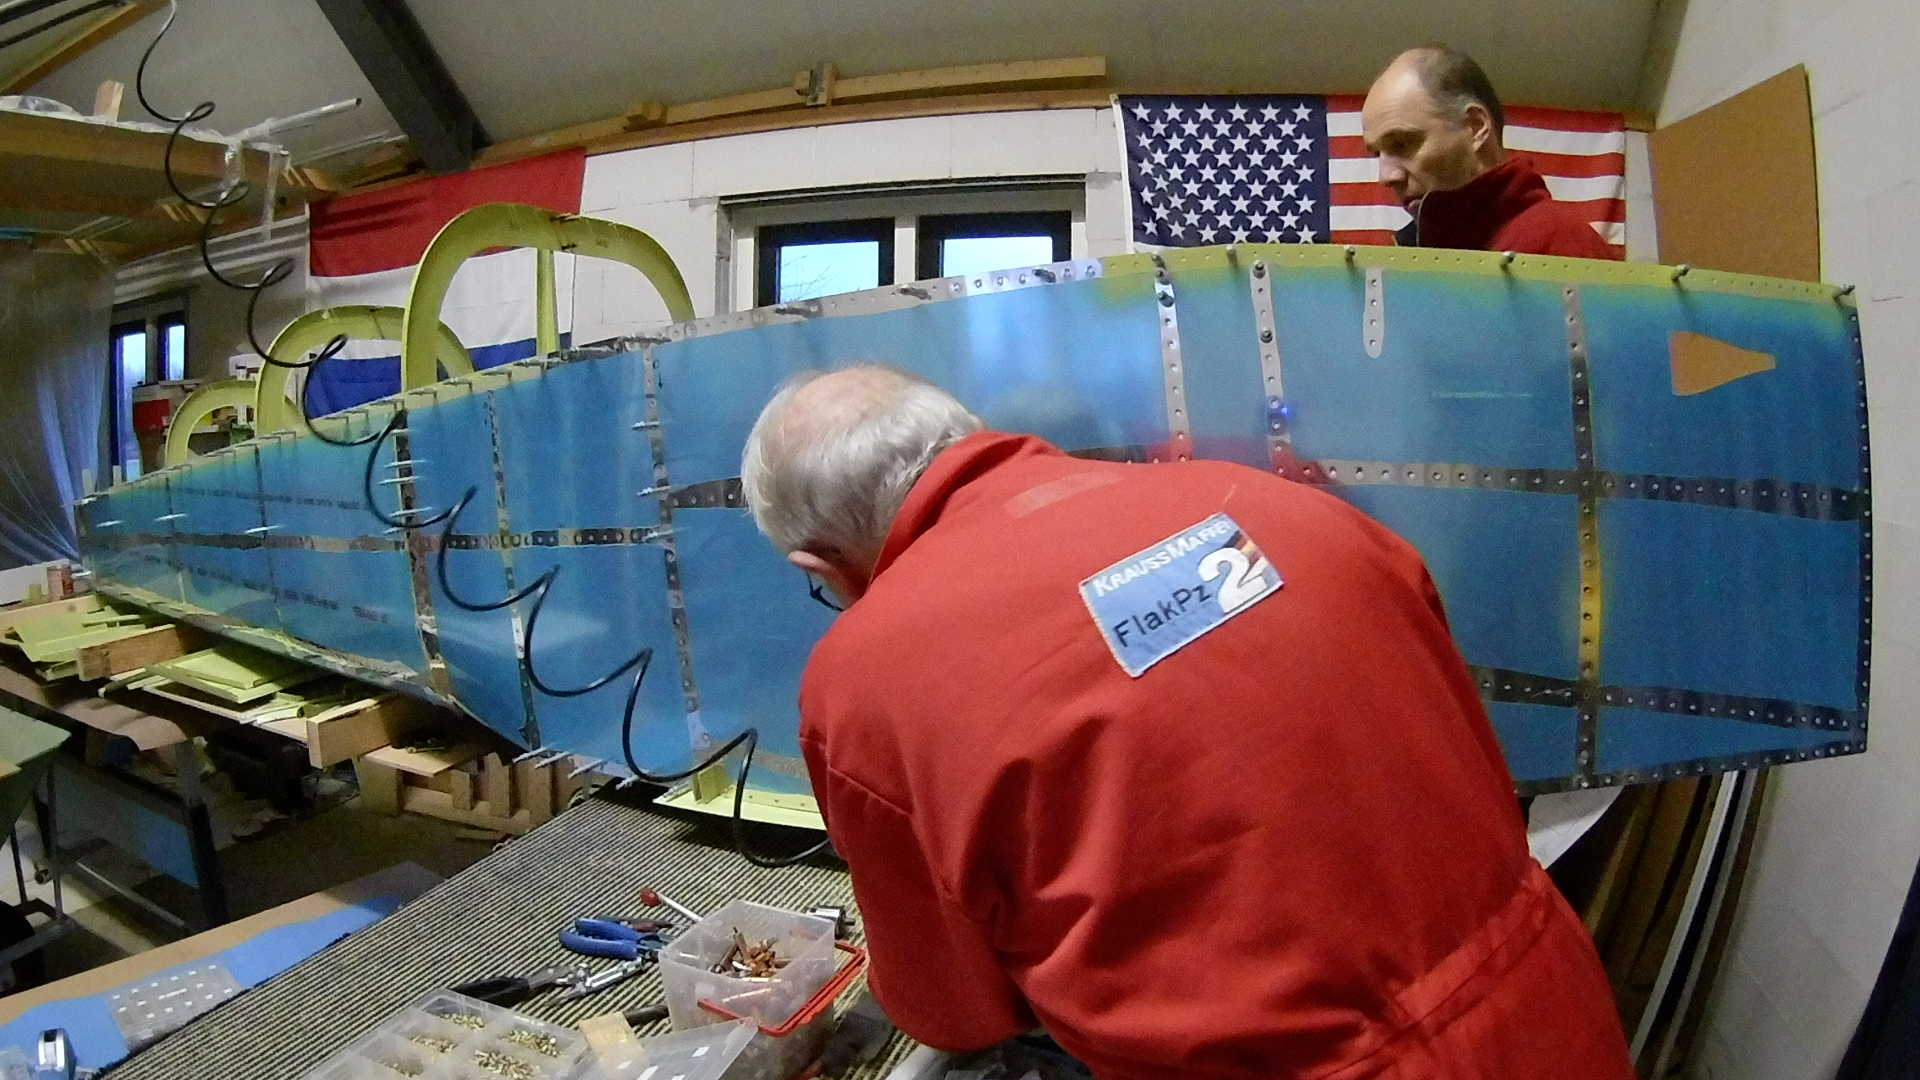
The cart that normally is used to move crates and parts, is now used to lay on, so we can rivet from the bottom. As you can see, reaching in with the bucking bar, there is no way I could also apply the rivet gun.
Leaving out the forward bottom skin enables me to stand in the ‘leg section’ and easily reach the rivets, which rivet together the Side Skin and the outer Seat Ribs.

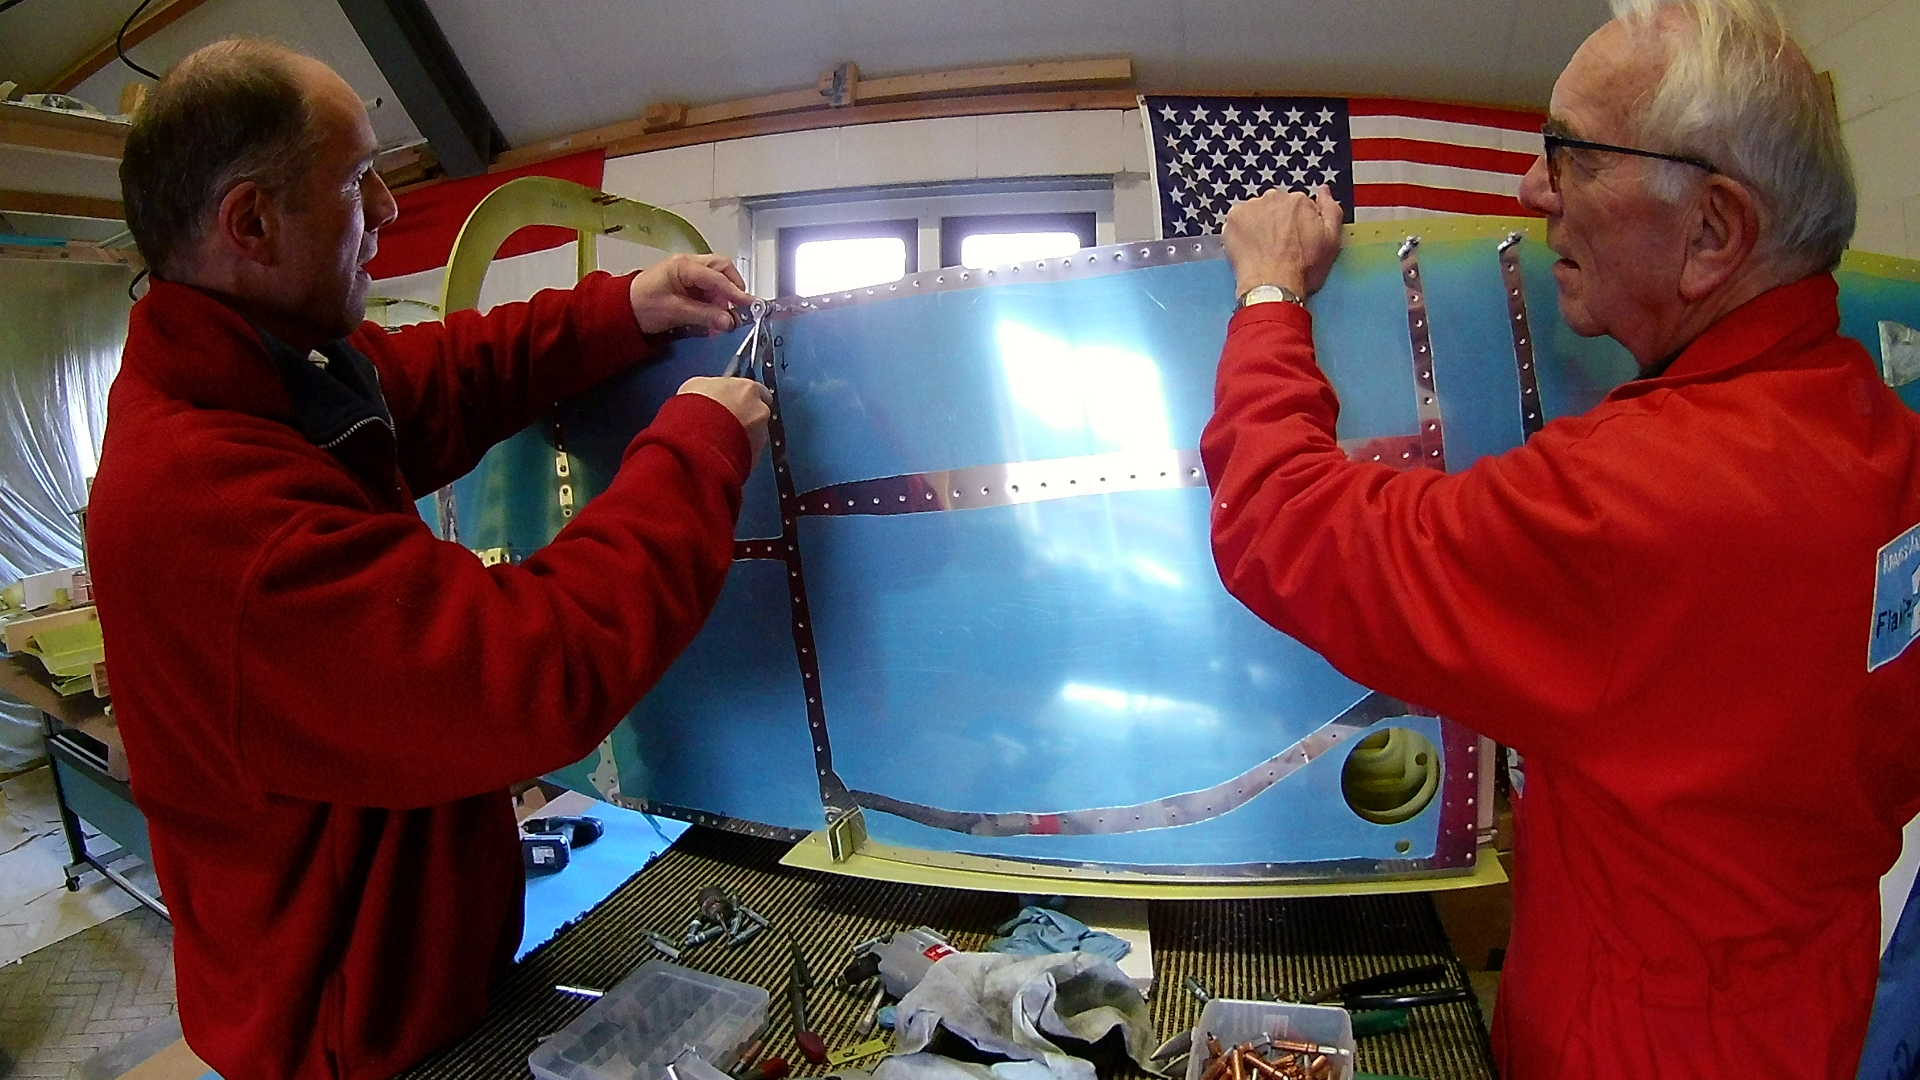
The skin parts that are covered by the wing-fuse fairings are AN470 (non flush), while the rest is all AN430 Flush rivets.
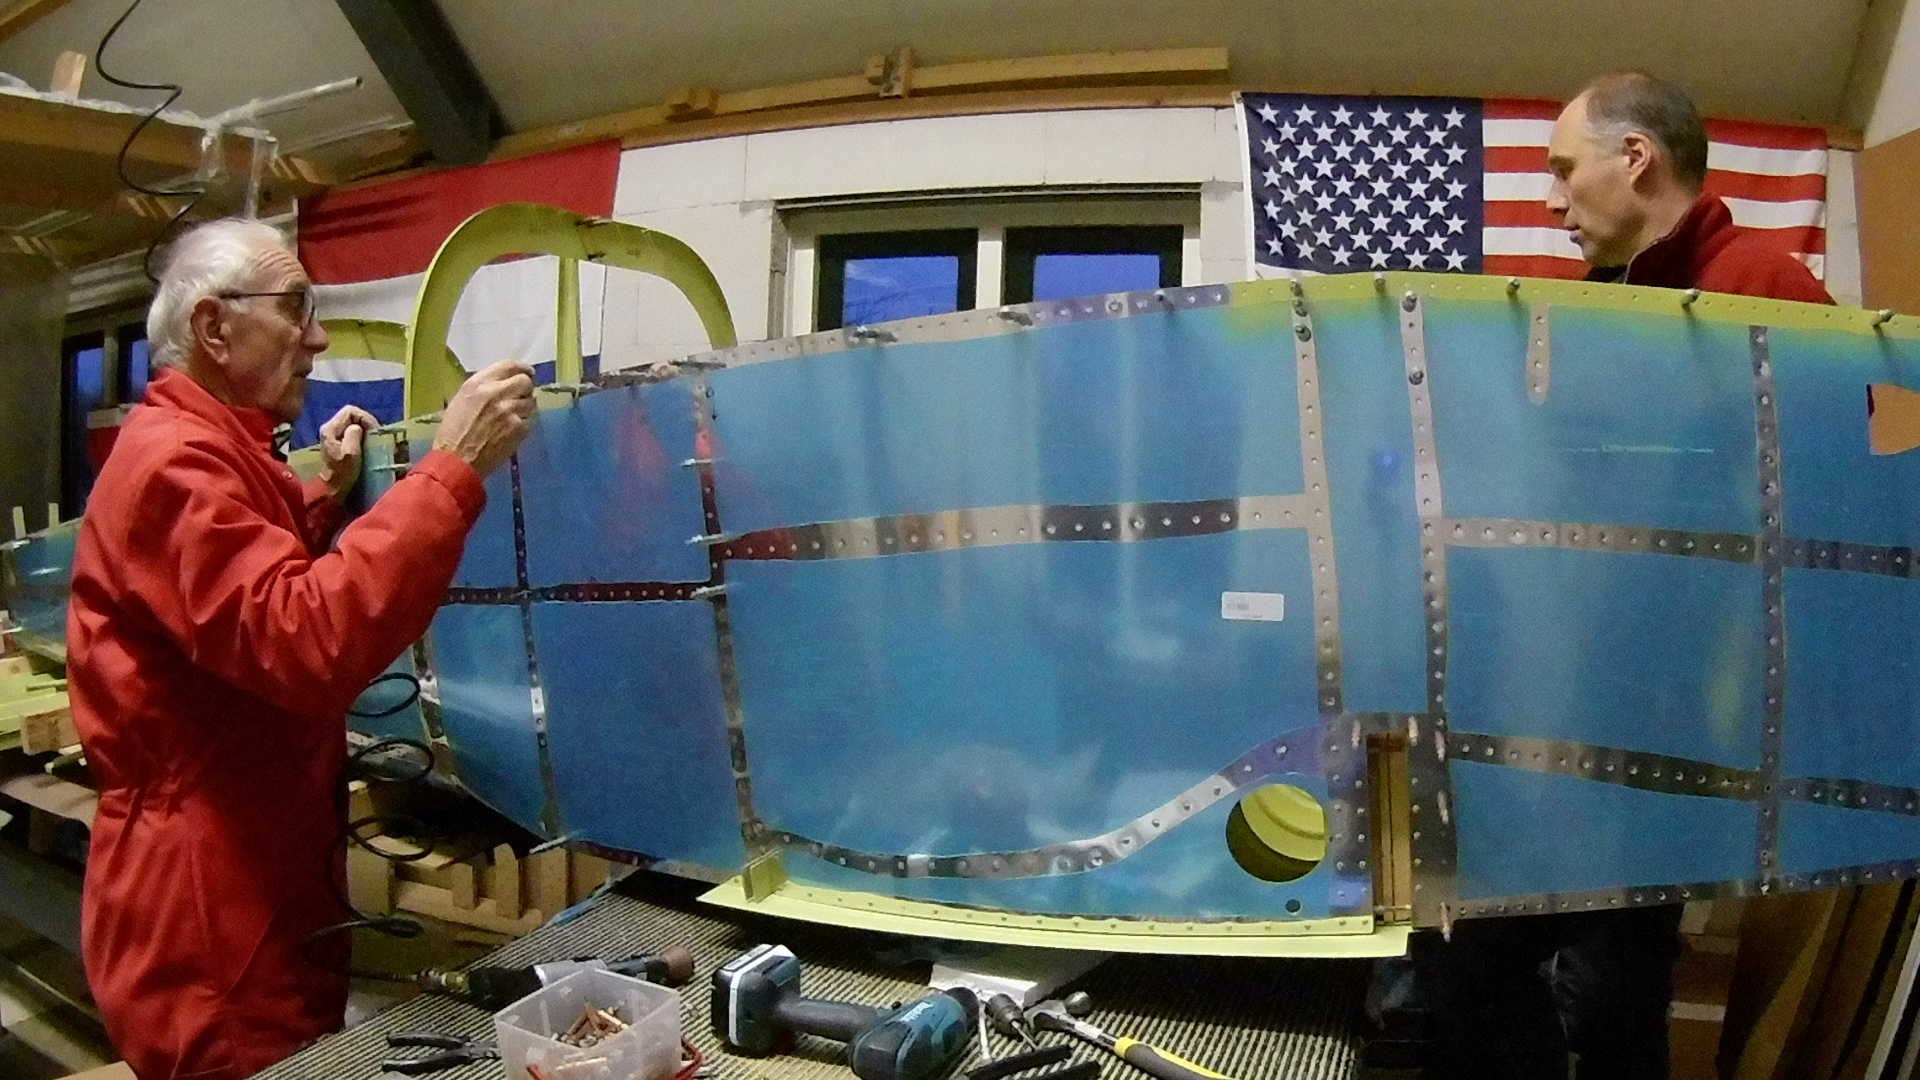
With the Side Skins riveted up to the middle, gives me the opportunity to finish it myself. My Dad needs a glaucoma treatment and will not be able to help me for a few weeks.
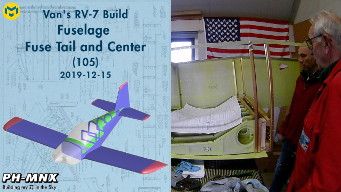
Time: 3 Hours, Rivets: 18/0 (2019-12-14)
Time: 5 Hours, Rivets: 280/2 (2019-12-15)
Video