
Some builders don’t like to use rivets for the Air Vents. I don’t see the problem, so I decided to use the combination of sealant kit and rivets. I’m going to use six rivets per Air Vent, three at the top and three at the bottom.

Riveting plastic parts is a problem, because it easily cracks. But ‘normal’ rivets and even blind rivets can crack the material. The trick is to place a dimpled aluminum square at the plastic side with the dimple outward. Thus provides enough flexibility to rivet the part.
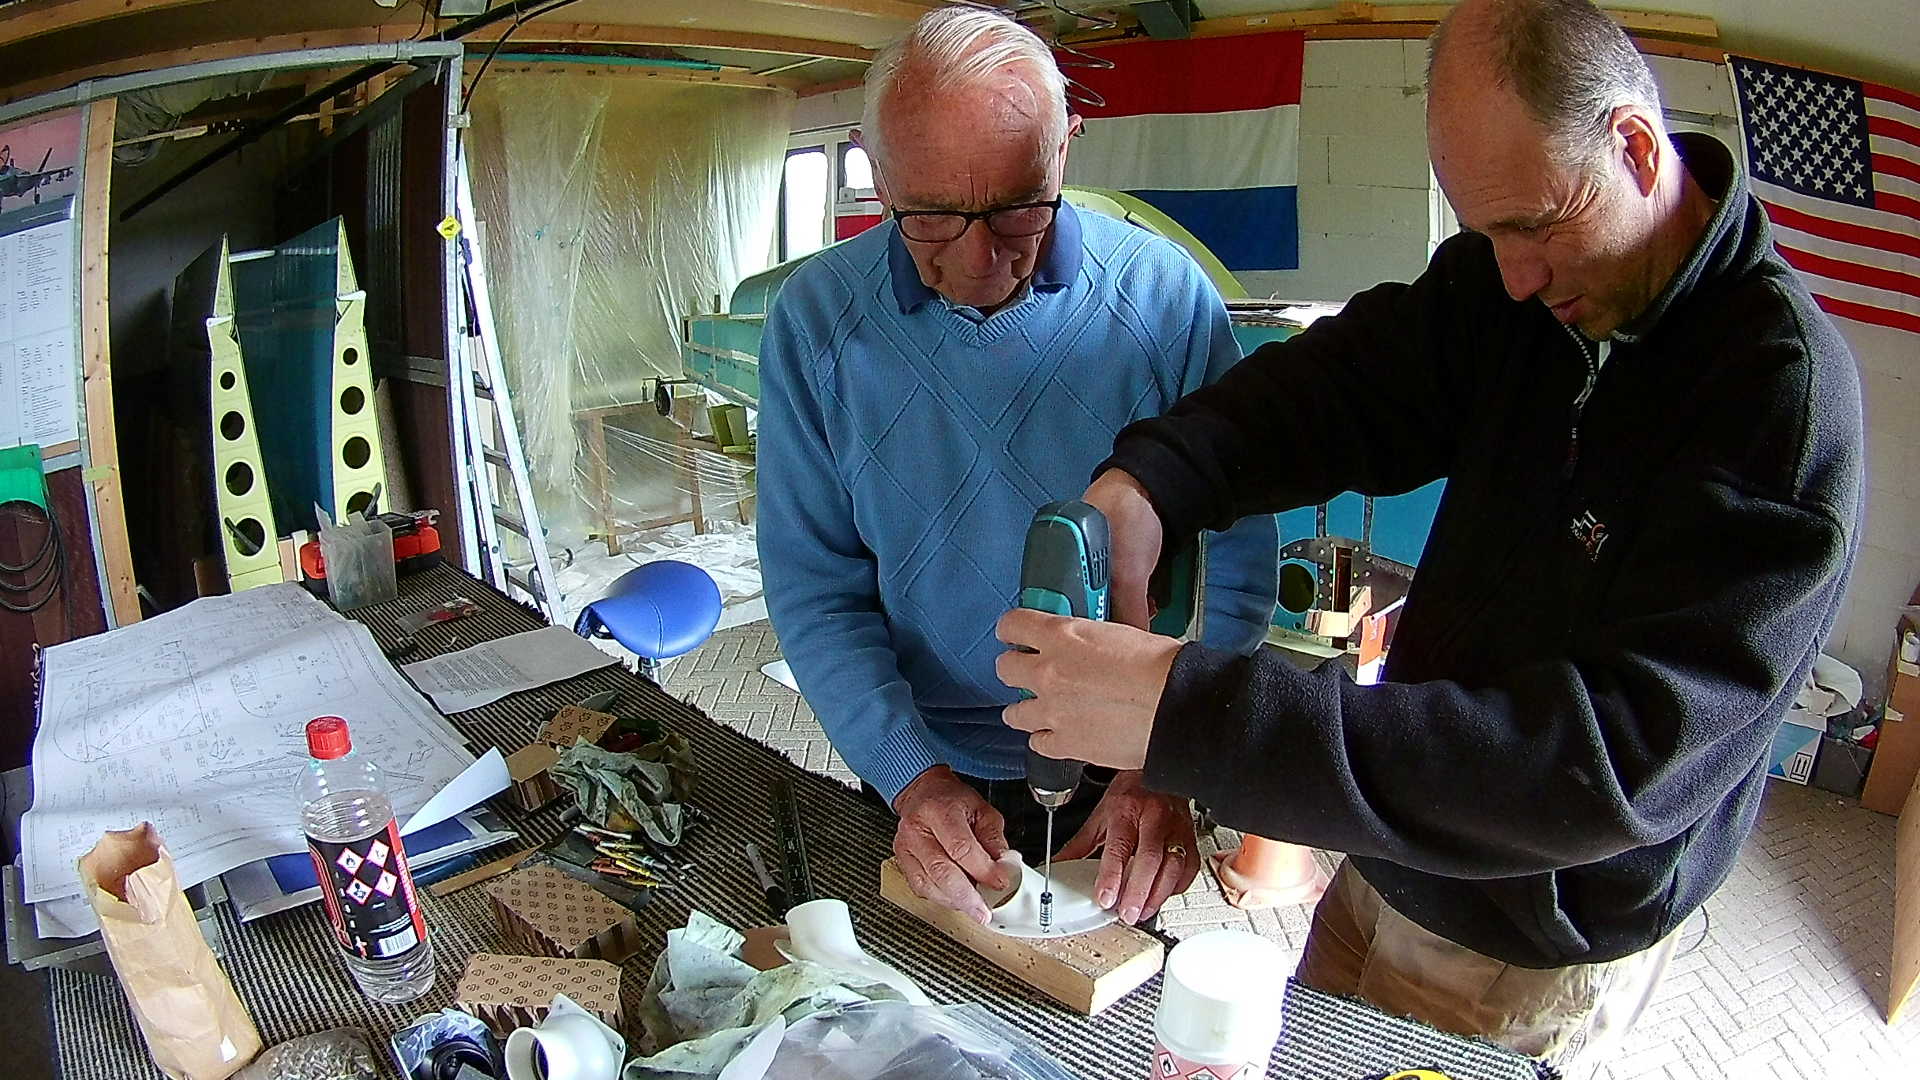
Because I use flush rivets I dimple the Fuselage skin and countersink the plastic Air Vent.
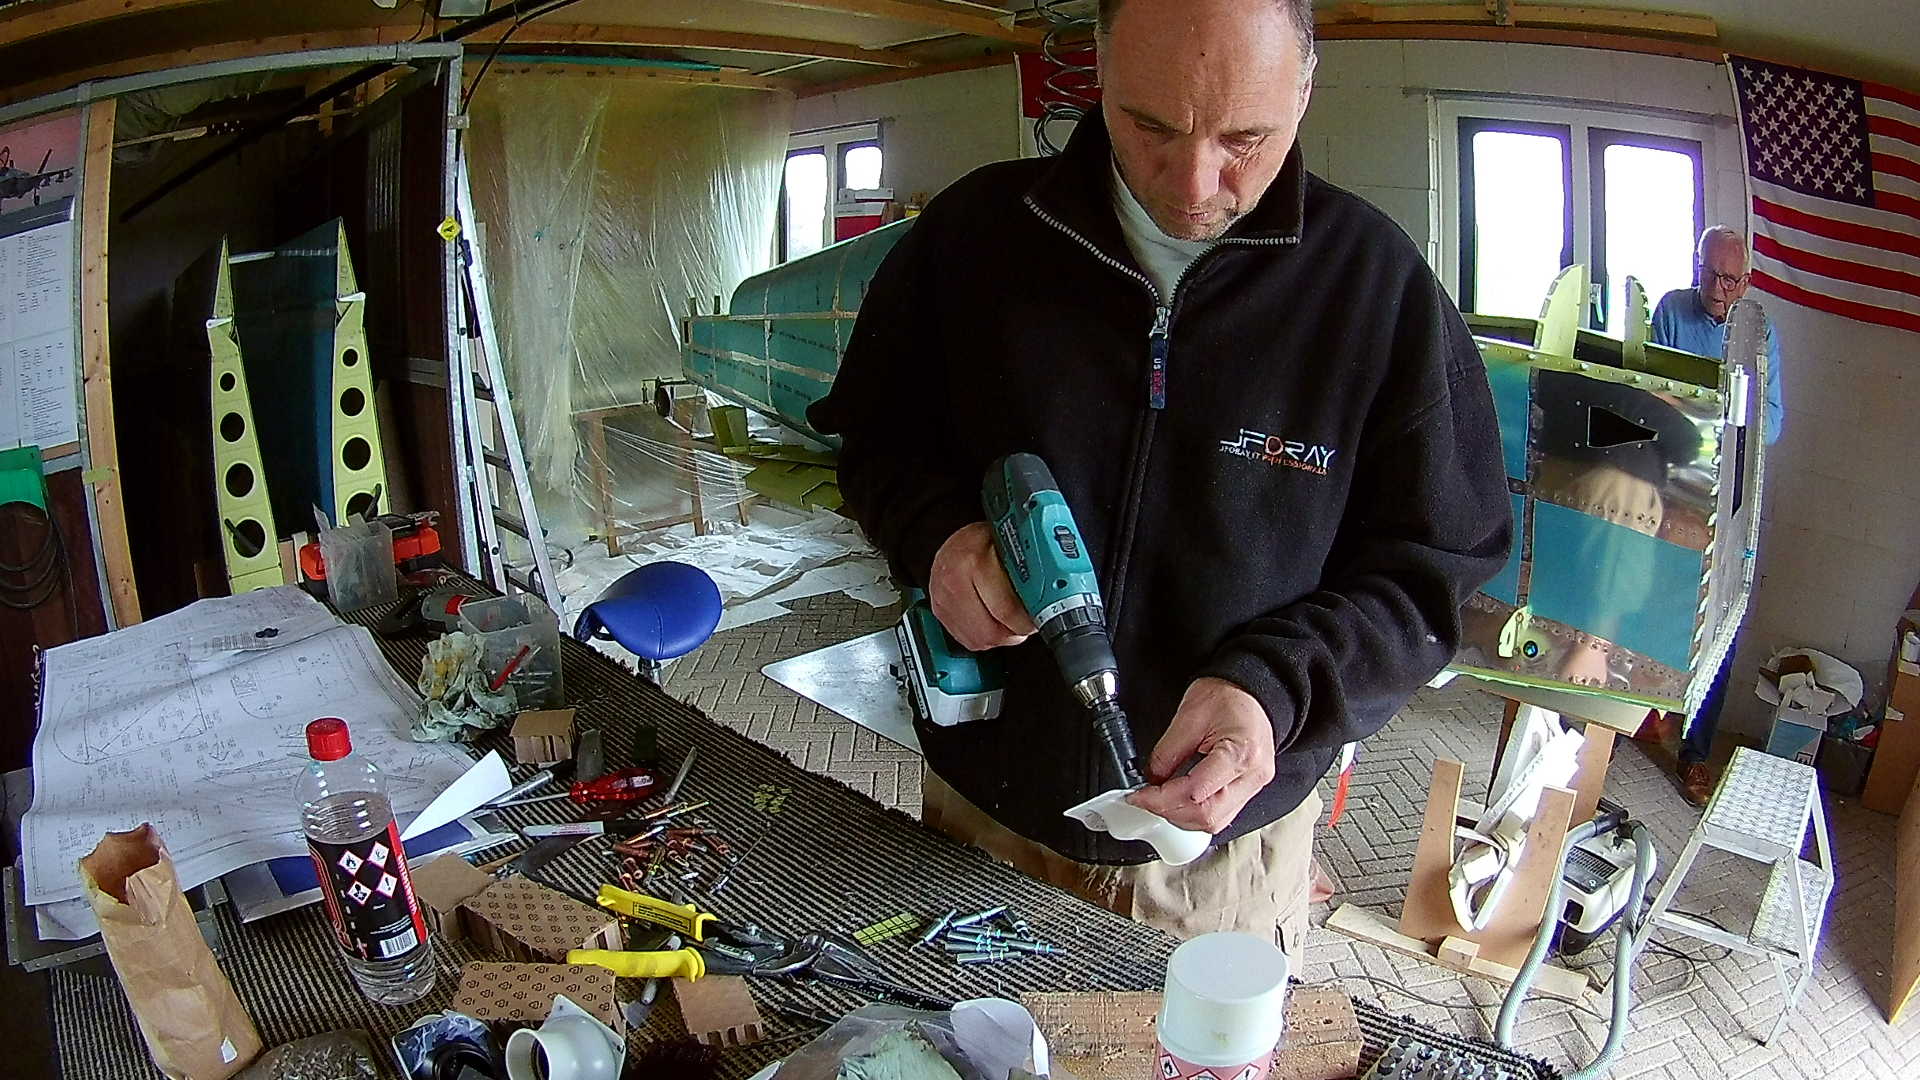
After dimpling the Fuselage skin, we can apply the sealant kit to the Air Vent and also a few drops on the back to keep the small aluminum squares in place.

Initially I installed the Air Vents with cleco’s to keep it in place and let the sealant cure.

After a few hours we riveted the Air Vents. If you don’t use the small aluminum squares the pressure of the rivet by the bucking bar will break the plastic.
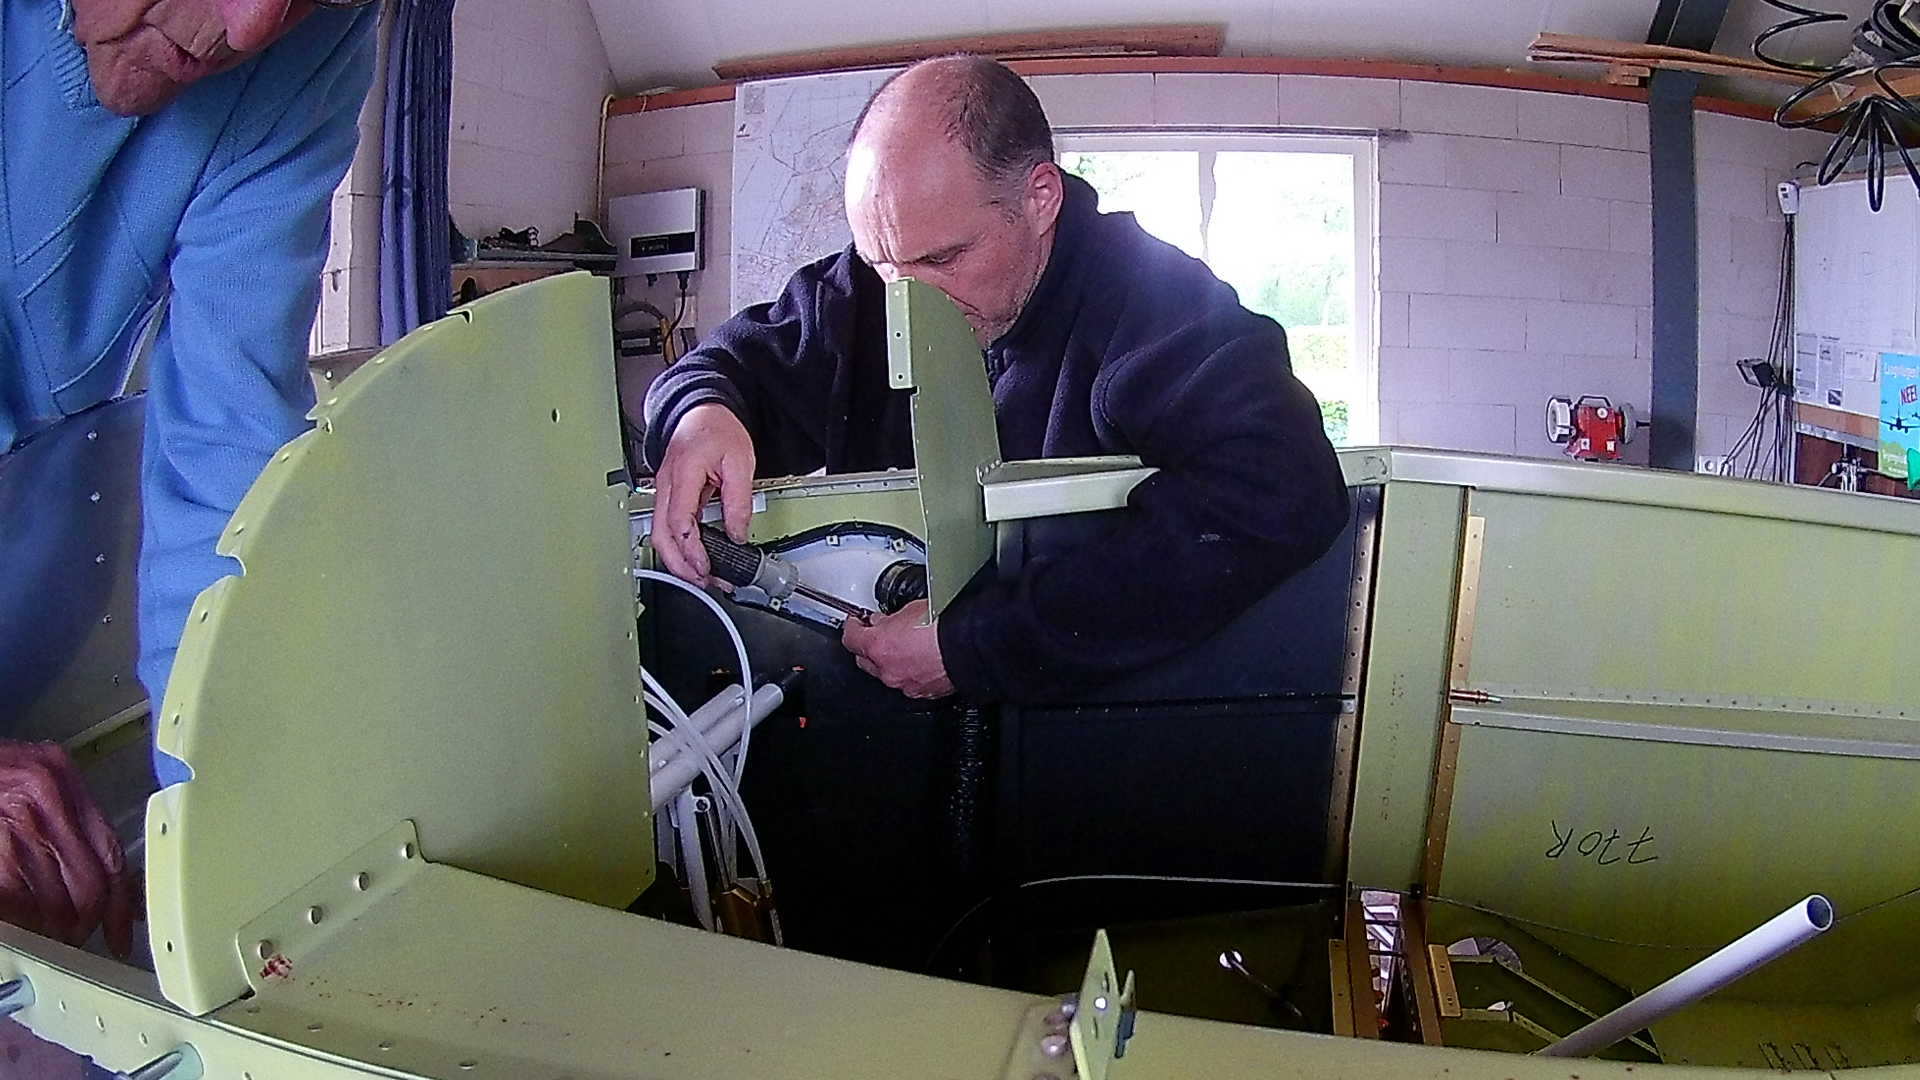
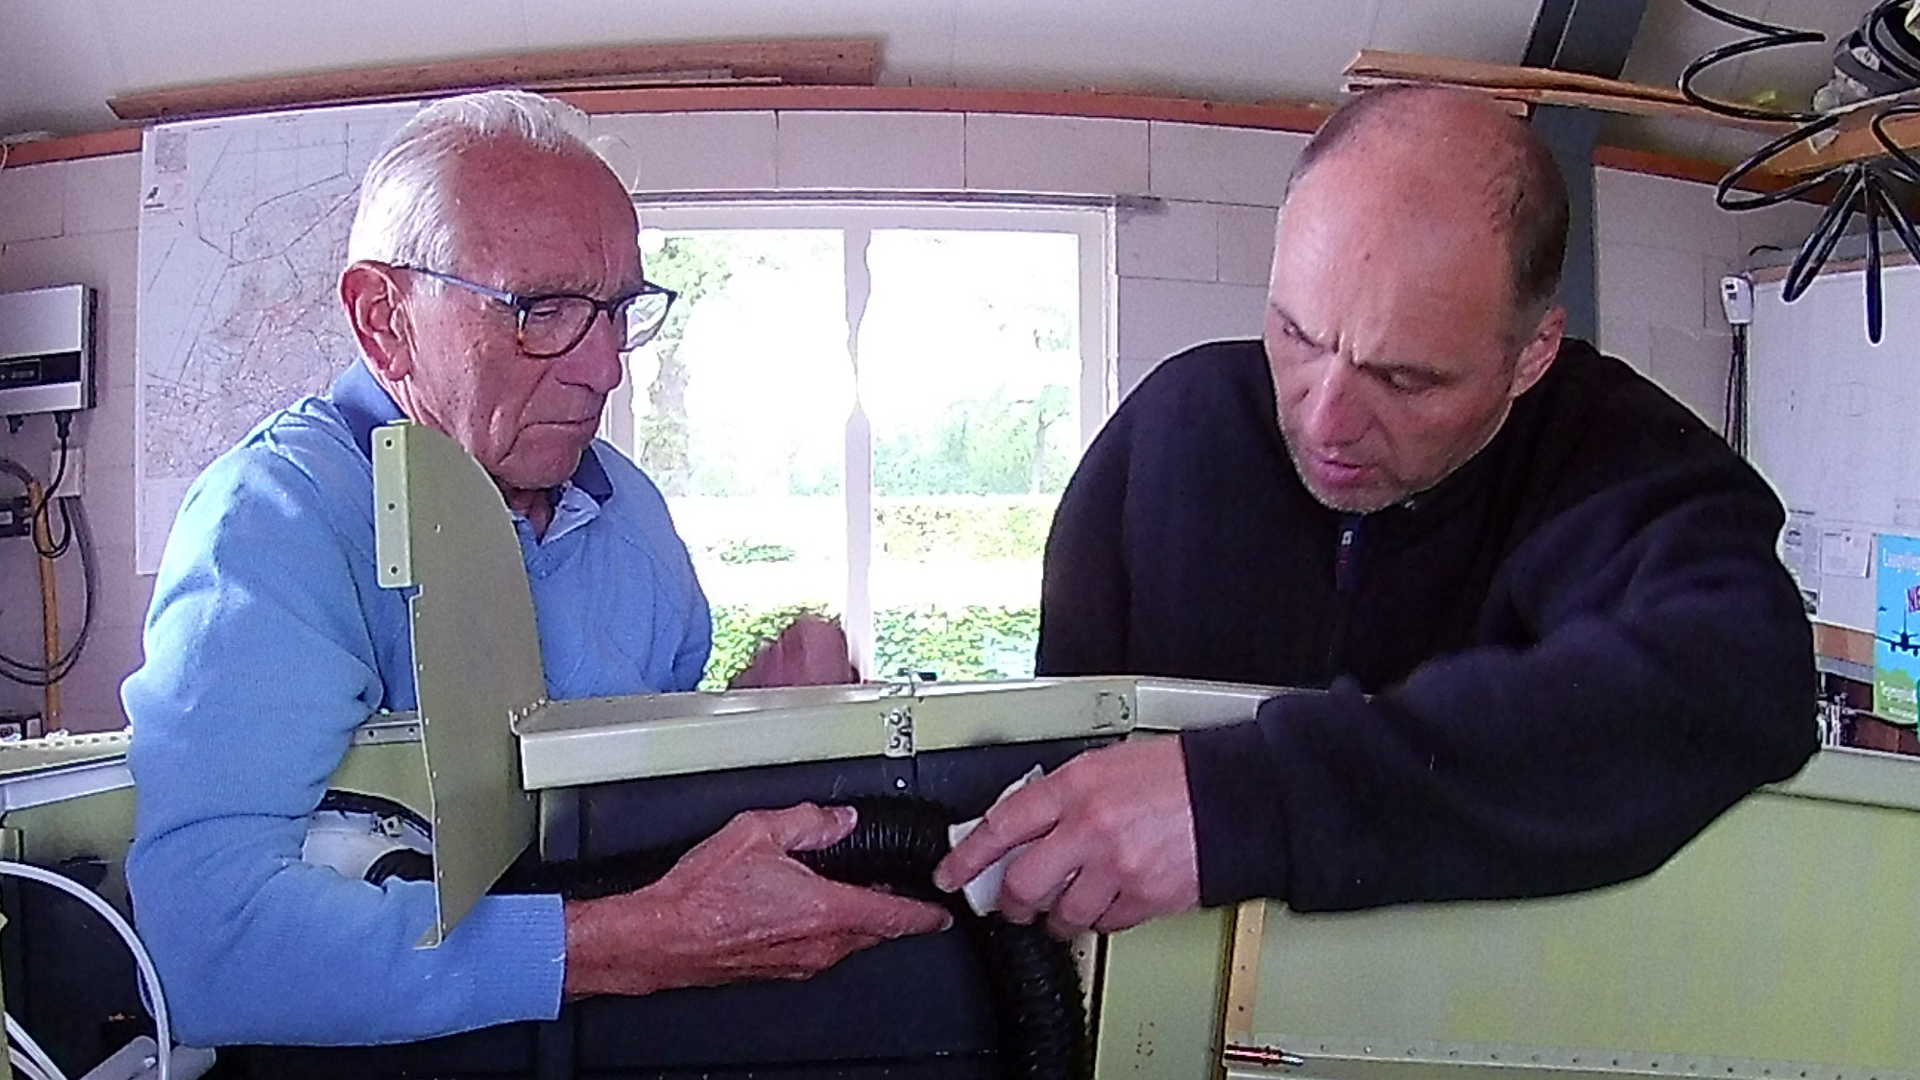
From the inside you can see these small aluminum squares on the Air Vent flange. I’m installing the hose which transports the air to the internal Vents in the cockpit.
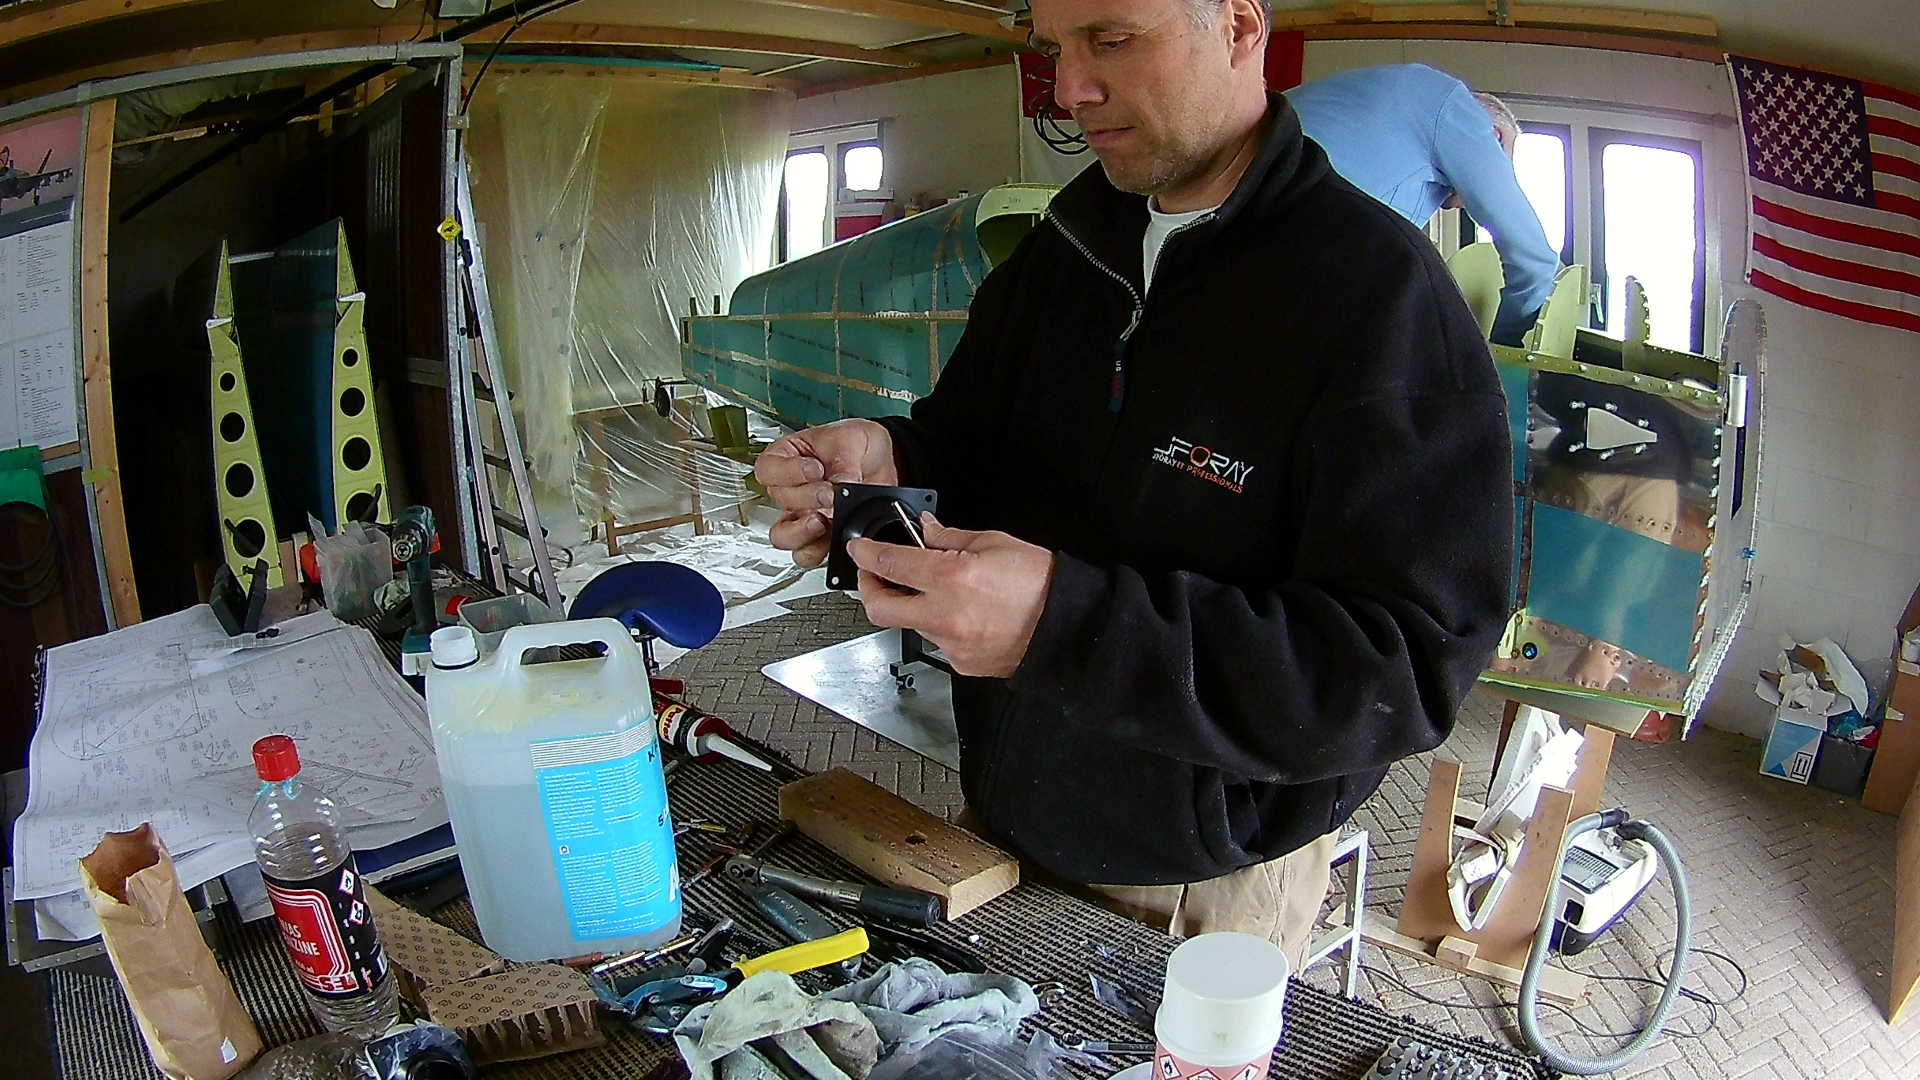
The ‘standard’ plastic internal Vents from Van’s are said to be no good. I’ve never checked it, but believe the rumors and ordered nice aluminum Vents from the get go.
Some modifications are required, as the Van’s panel does not provide a four hole bracket. There are only three holes and you have to carefully trim one corner away.
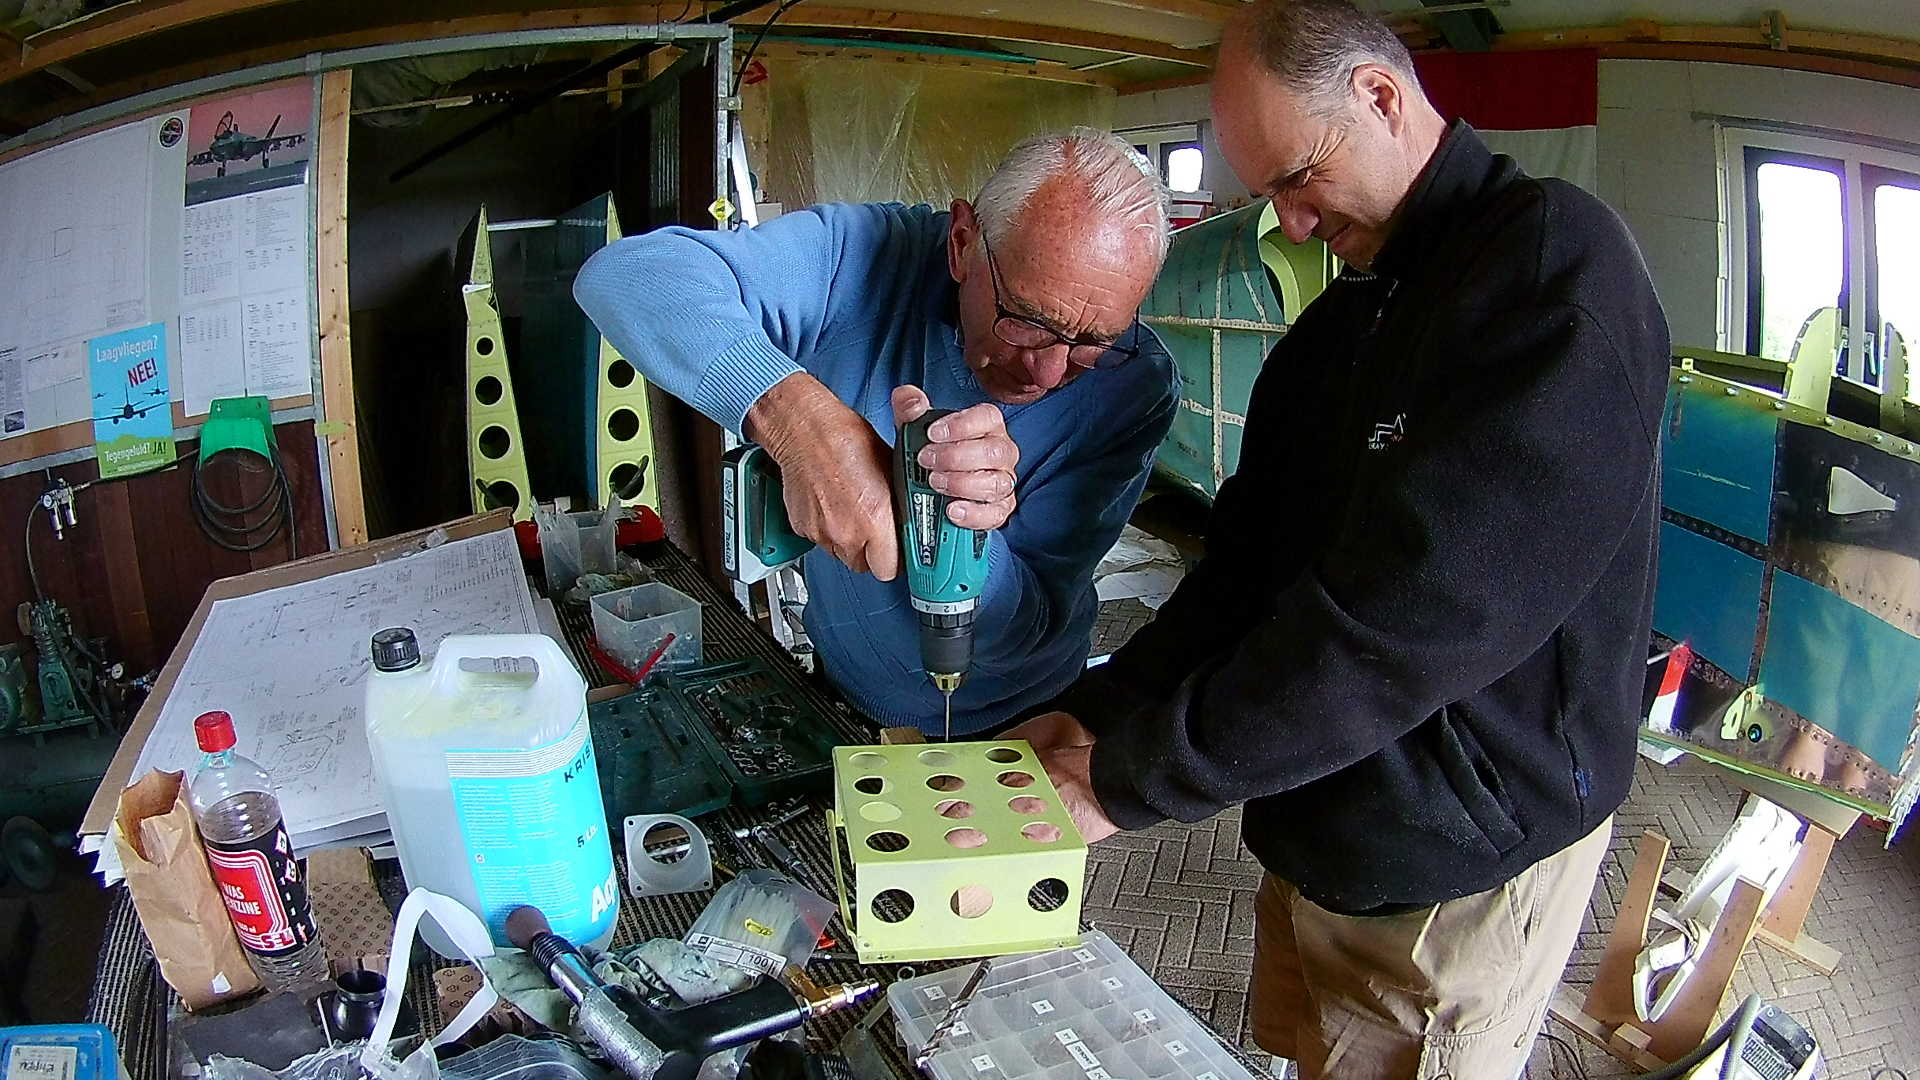
While the glue sealing the Air Vents is curing, we start on the battery casing. The plans from Van’s show how to build the battery casing/bracket. However the online store where I bought the battery is targeted to race cars, which mean they sell a light weight aluminum bracket that I can use.

I modified it very slightly, so the battery won’t pop out at heavy negative G’s and I grue some rubber strips in the bracket to prevent vibrations.
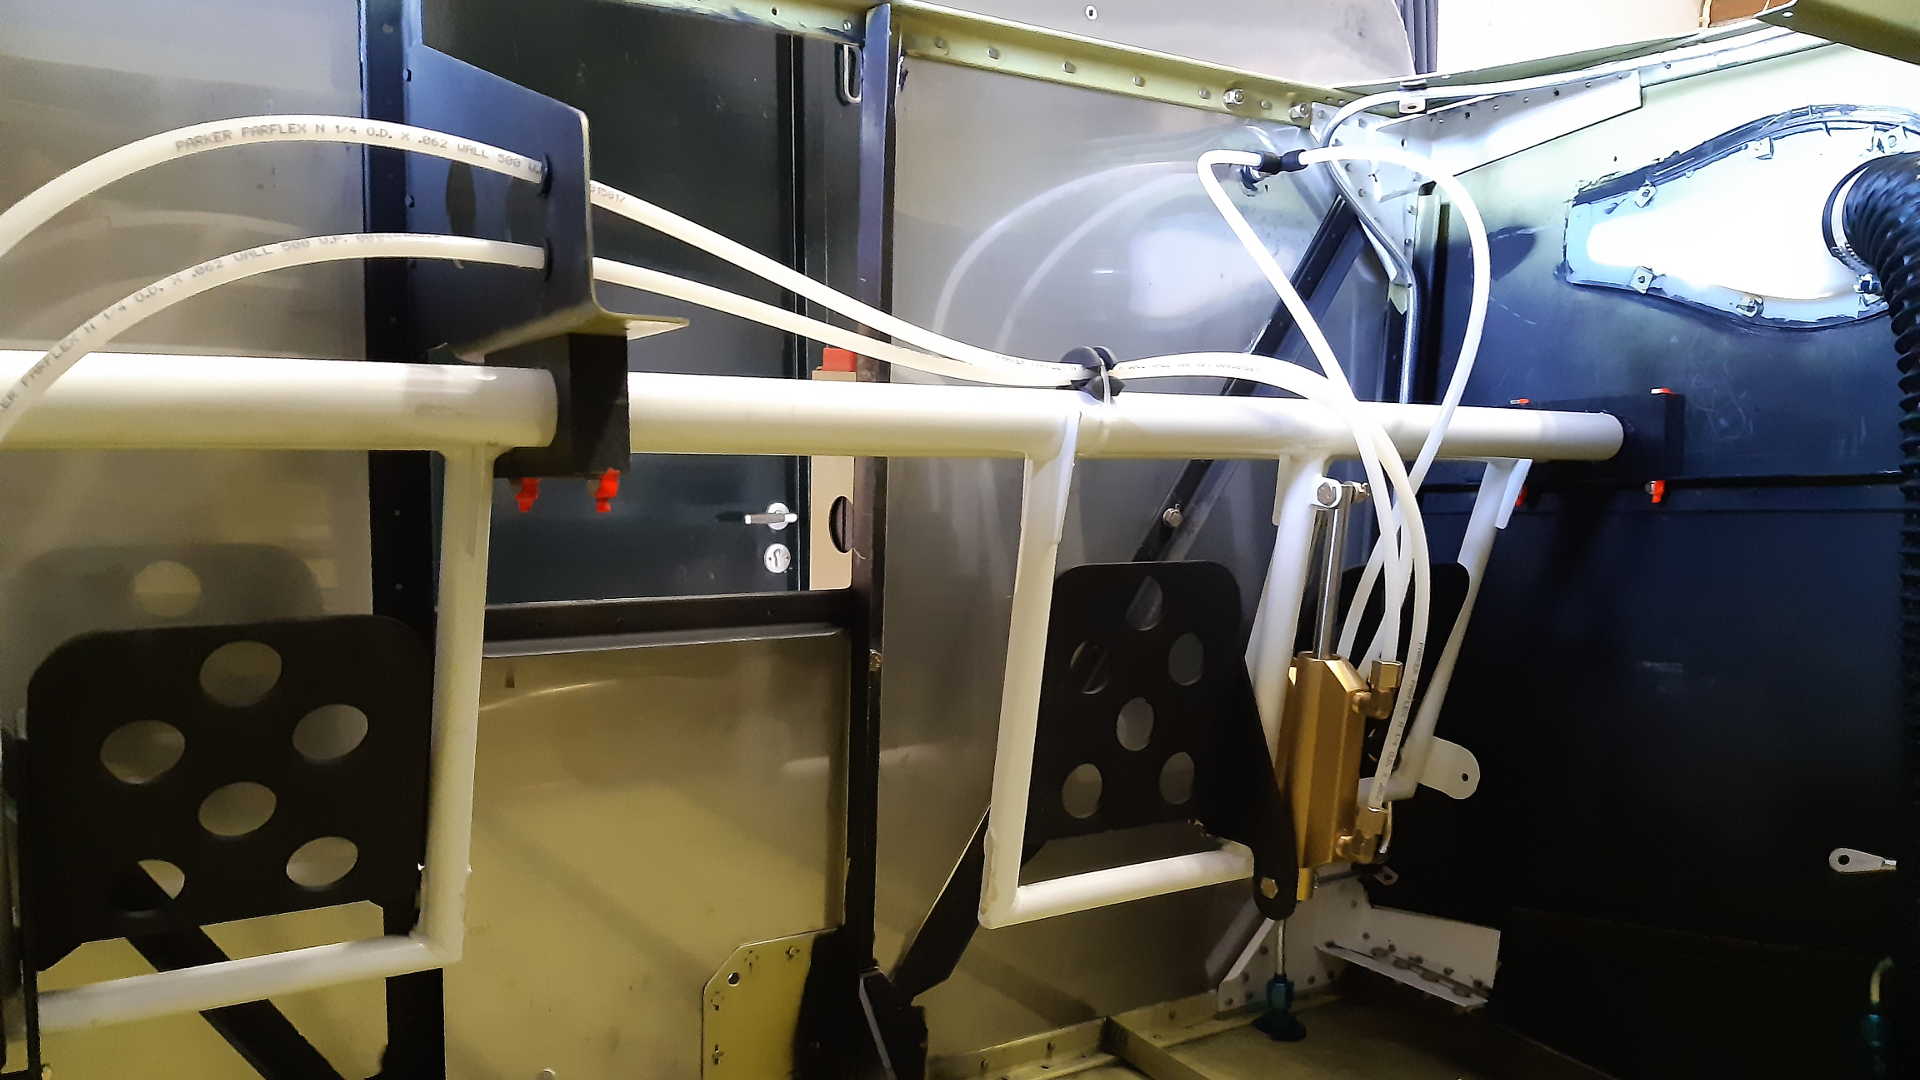
A nice view on the inside of the forward fuselage. You can see the finished Brake Lines (including the connections to the Brake Fluid Cylinder. Also the final construction of the Air Vents including the hose looks good. According to the Van’s manual, we should use the Royco 782 brake fluid. Since that is hard to get here, I hesitated to use race bike fluids, but I couldn’t get details on the flash point. So I decided to order a few quarts in Germany.
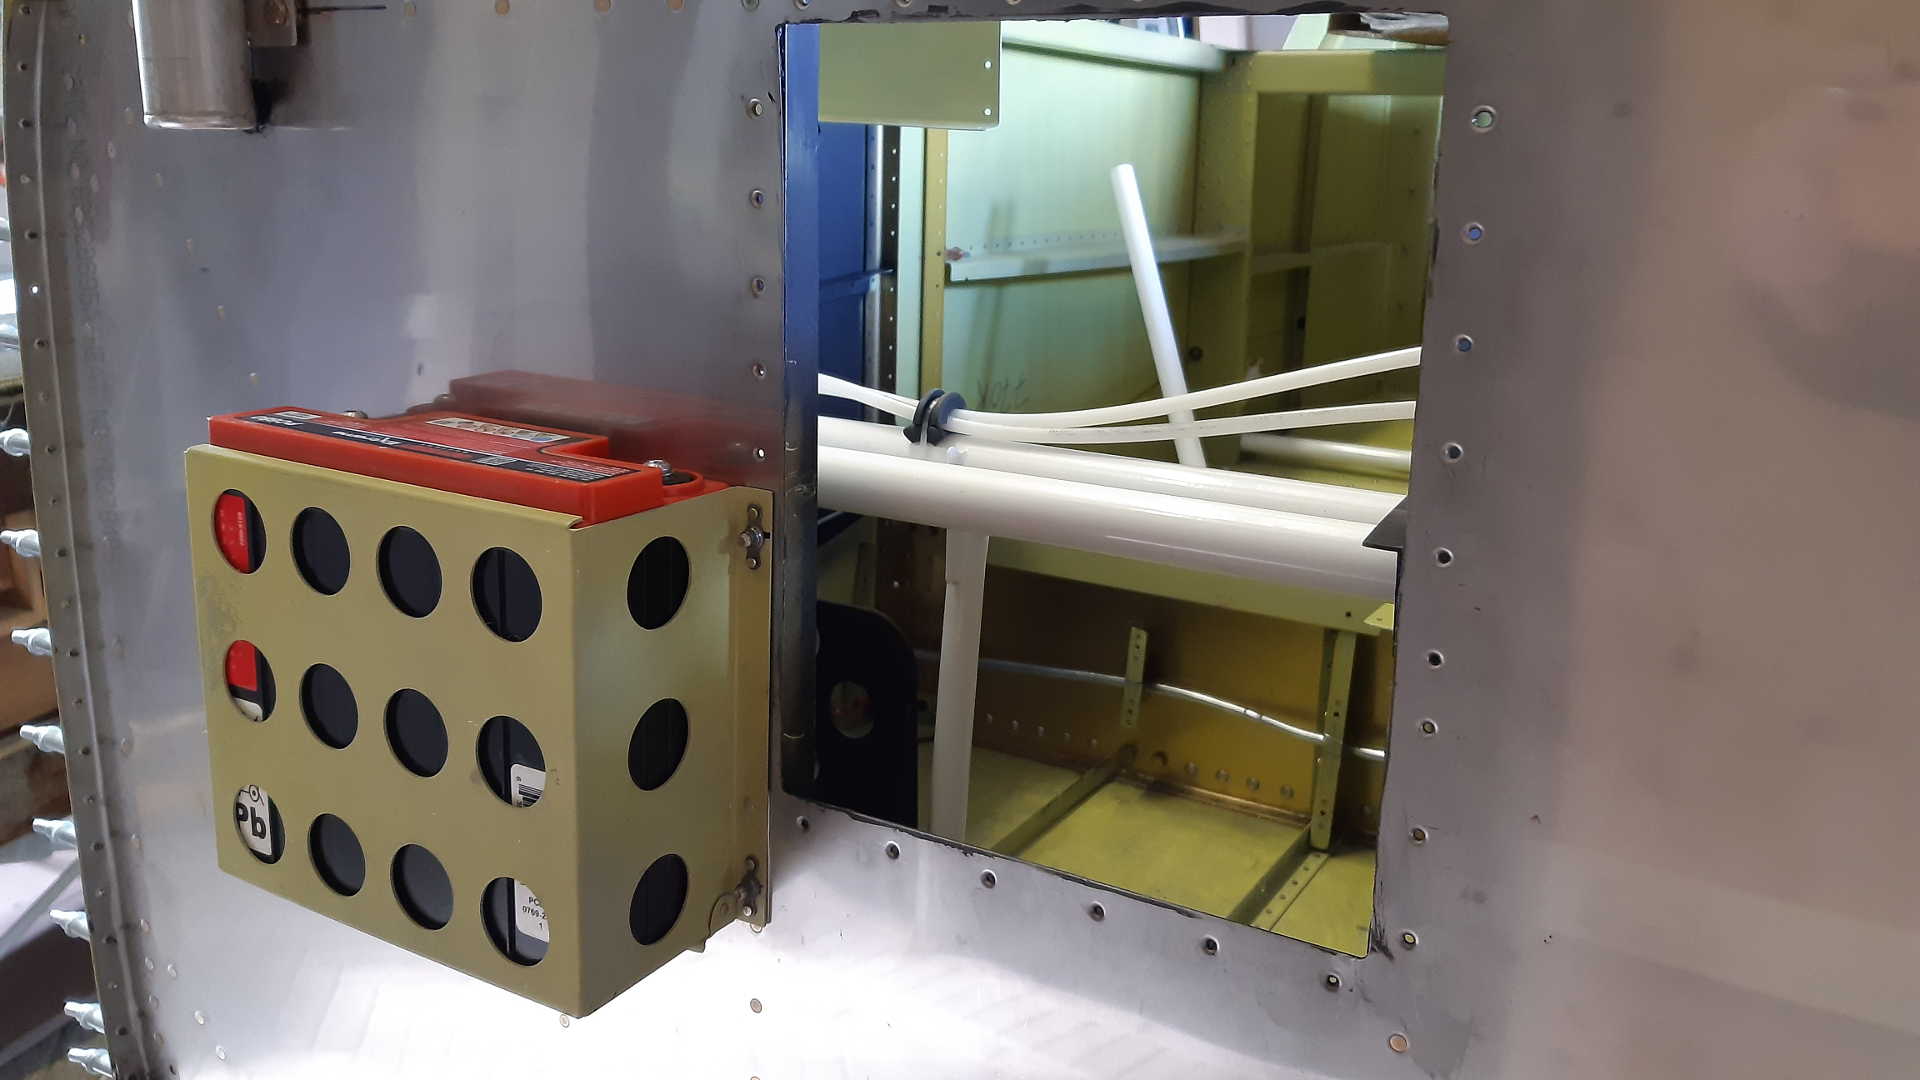
This is the other side of the firewall, where we placed the battery casing at the same place that Van’s advocates in its plans. Since I’m going to place the Firewall recess on this side, I made a small shim at the bottom of the Battery bracket to fill the gap. Actually I don’t need the firewall recess as my ULPower engine is so light I have to place it 8 inches forward. But since the heating fits connected to the recess I just install it.
Time: 5 Hours, Rivets: 27/0 (2020-05-13)
Video