

The landing gear is described in the builders manual from Van’s, however there is additional information available in the installation manual of the supplier of the brakes (Matco). We studied that, because although the brake system is not complex, it is still completely different from the ‘normal’ Aluminum drilling and riveting.
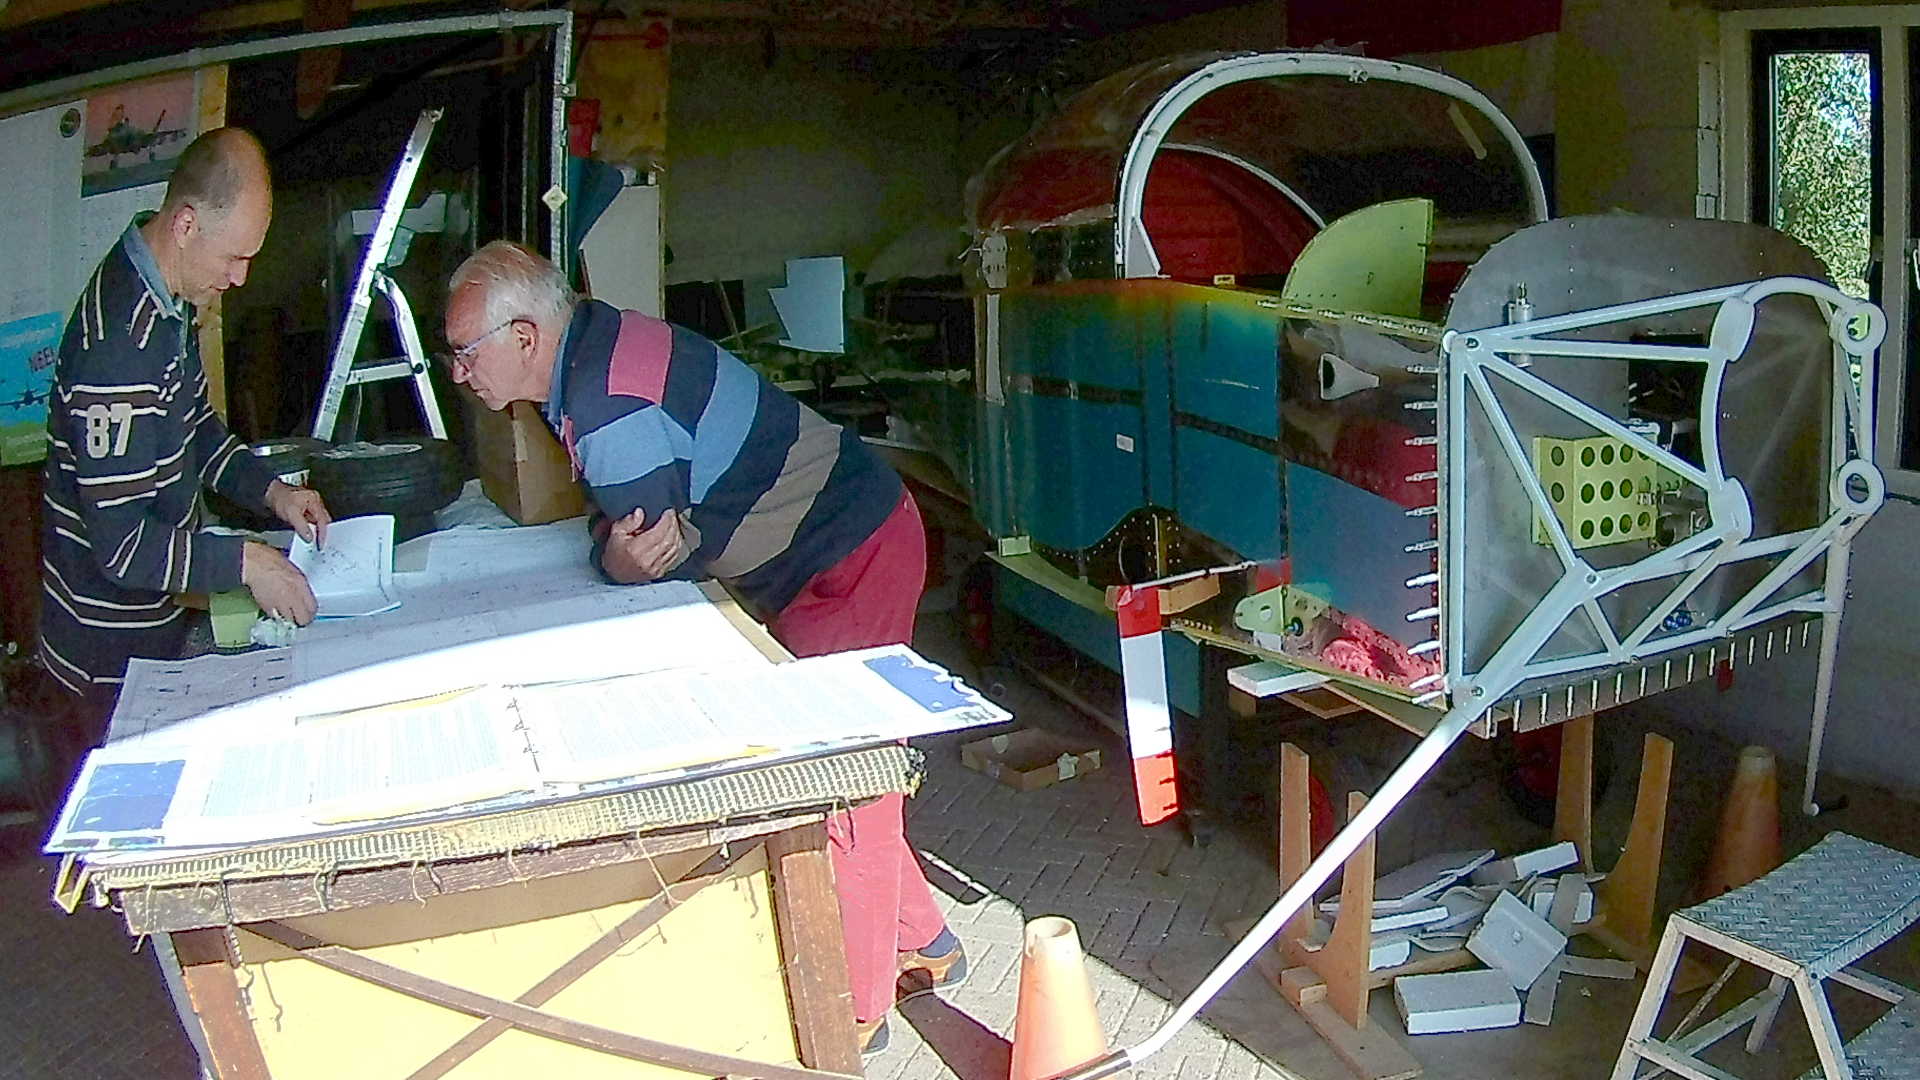
A small steel flange attaches the brake to the Landing Gear (axle). The flange has a weld seam which, in my opinion, results in a small deformation when installing the brakes. This makes it hard to insert the bolts.
Check the drawings carefully on which flange should go where.
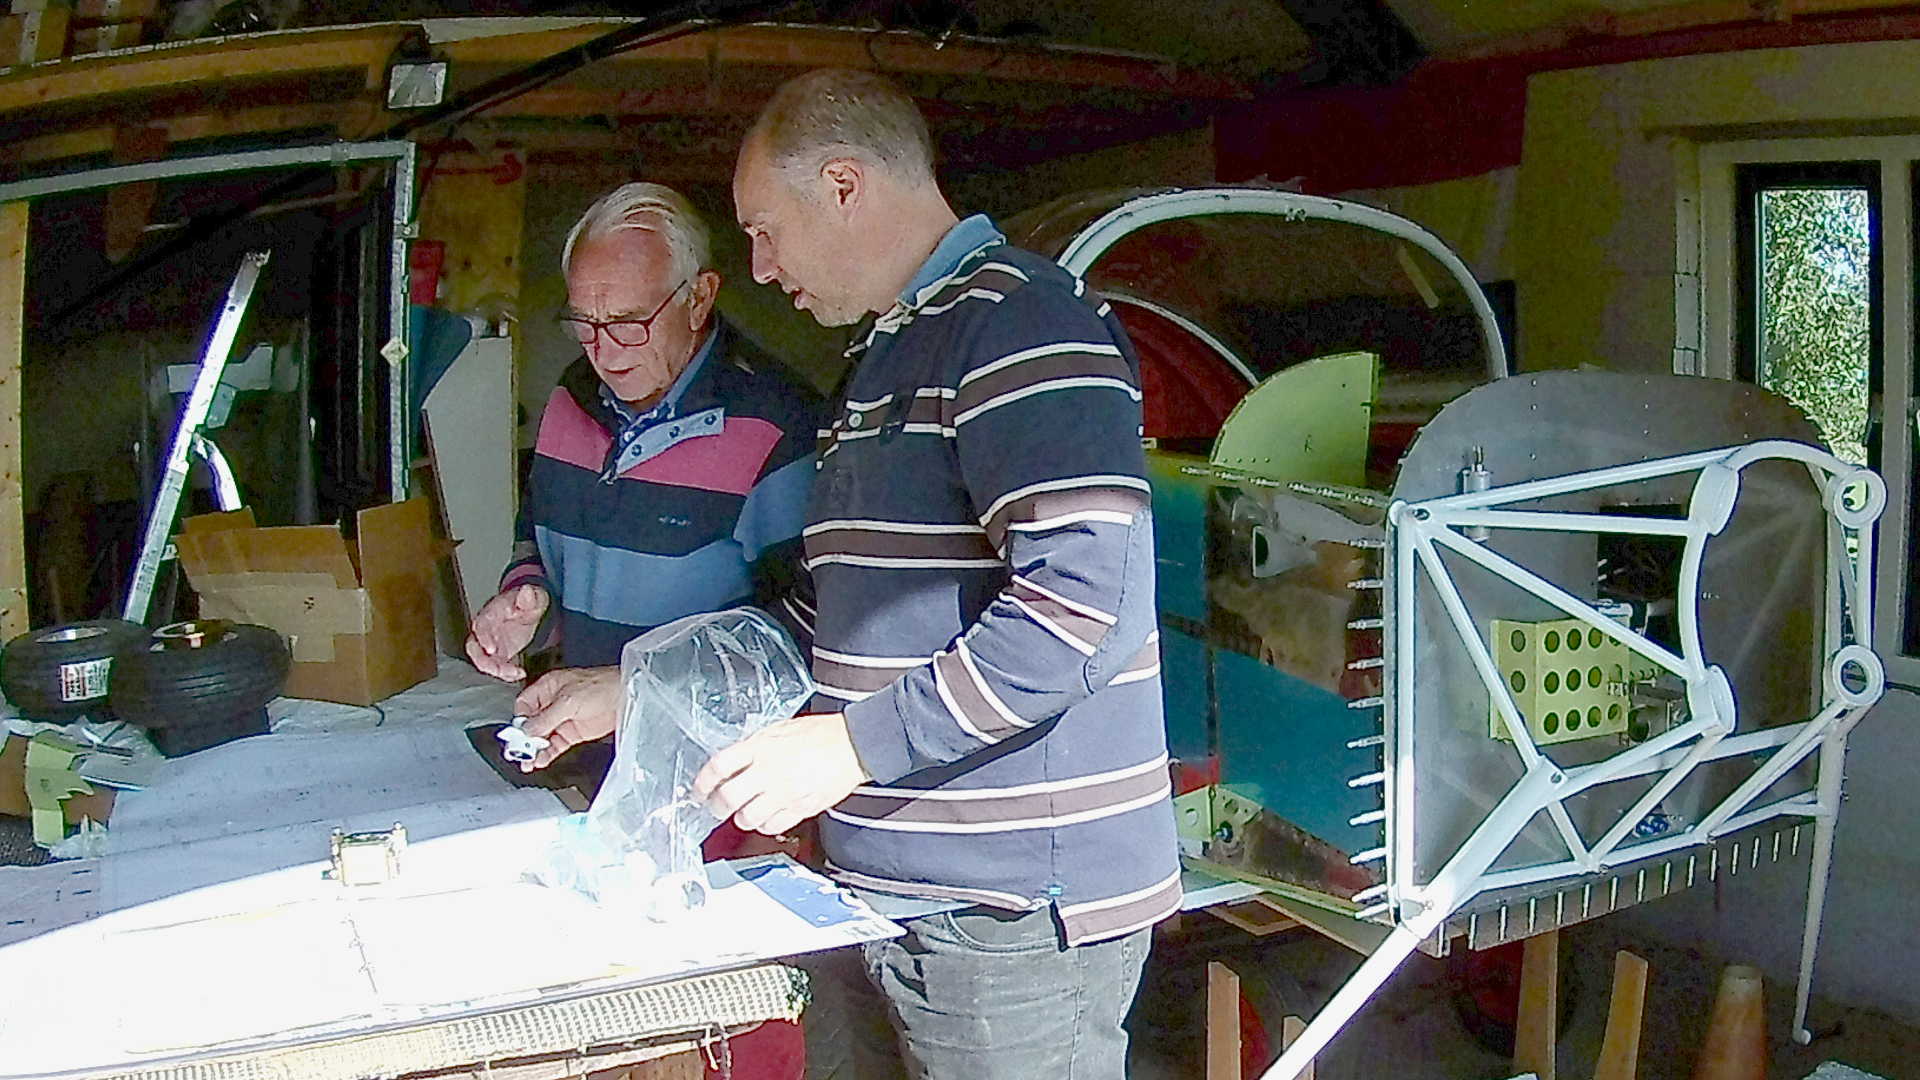
The Wheel Pants (wheel fairing) are attached to the Landing Gear with two brackets. One on the outside of the axle and one on the inside.
The inside brackets require some trimming, to make it fit properly.
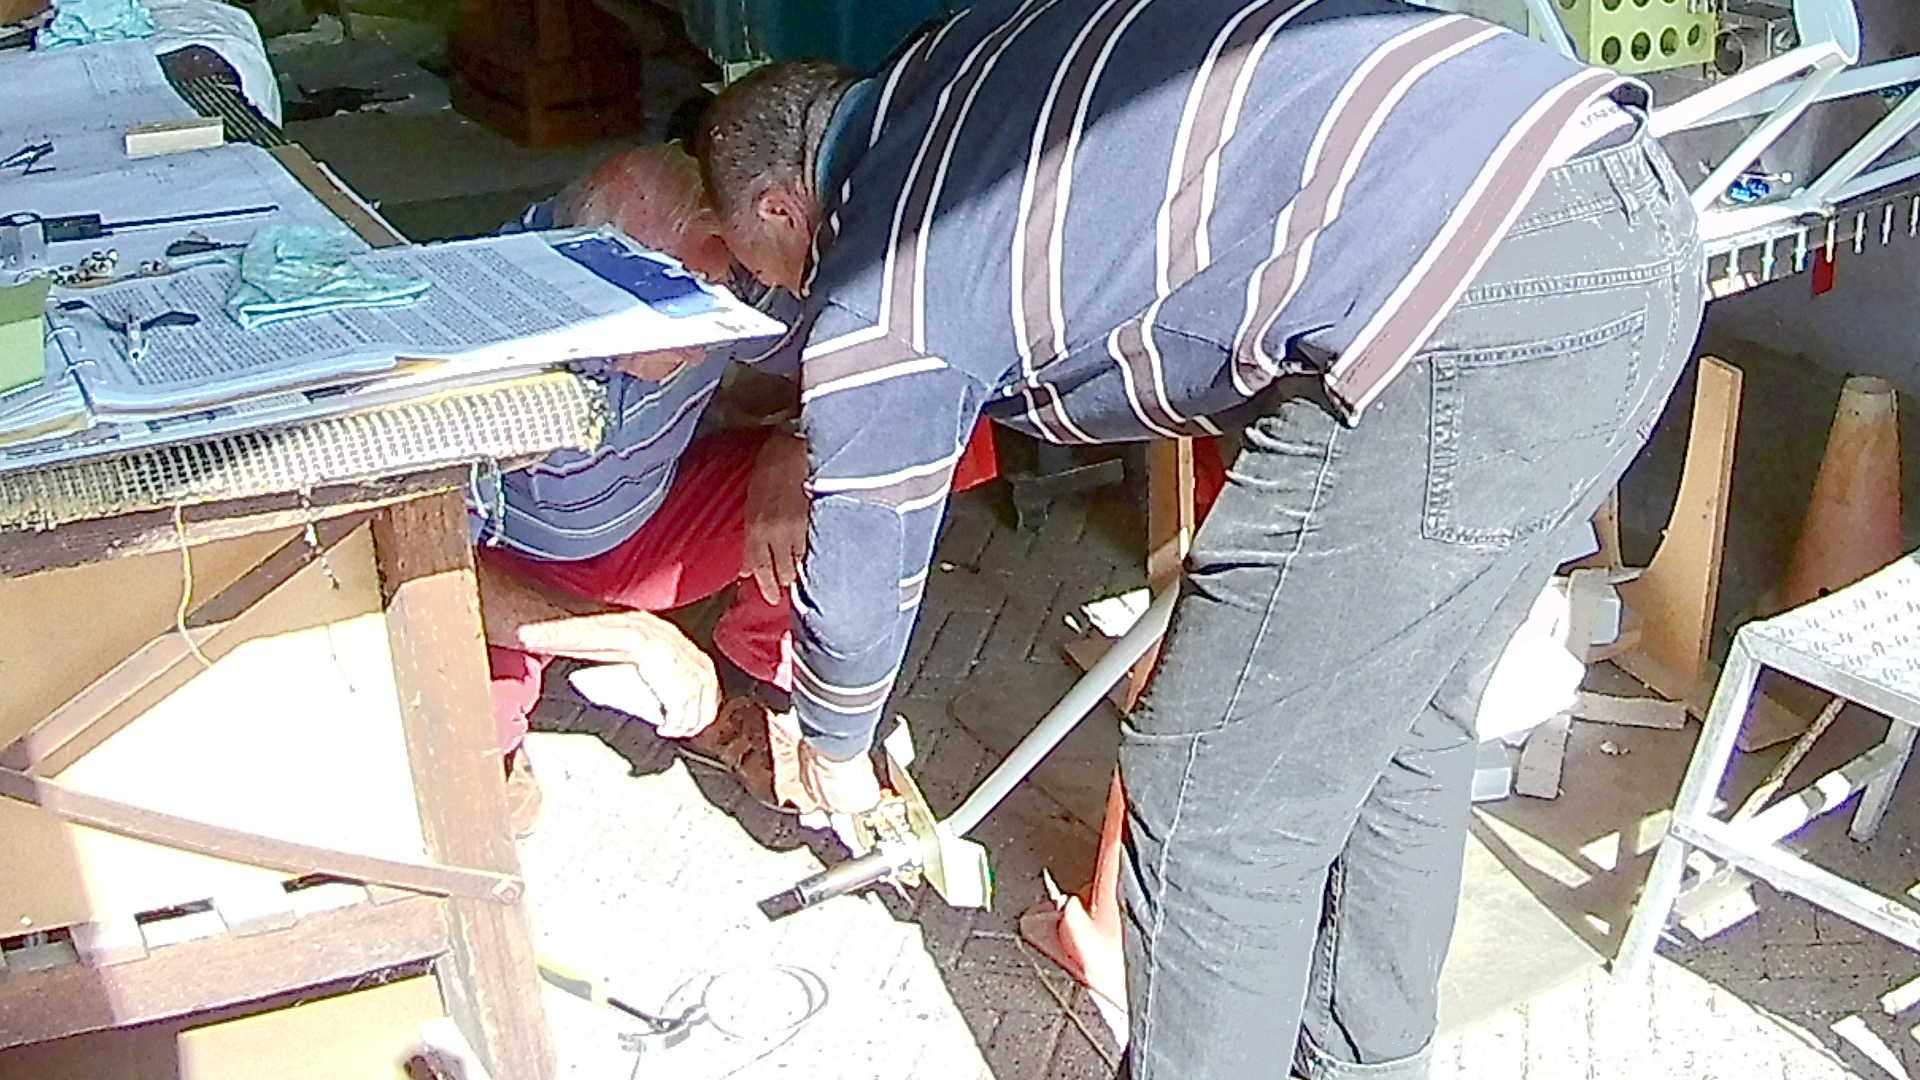
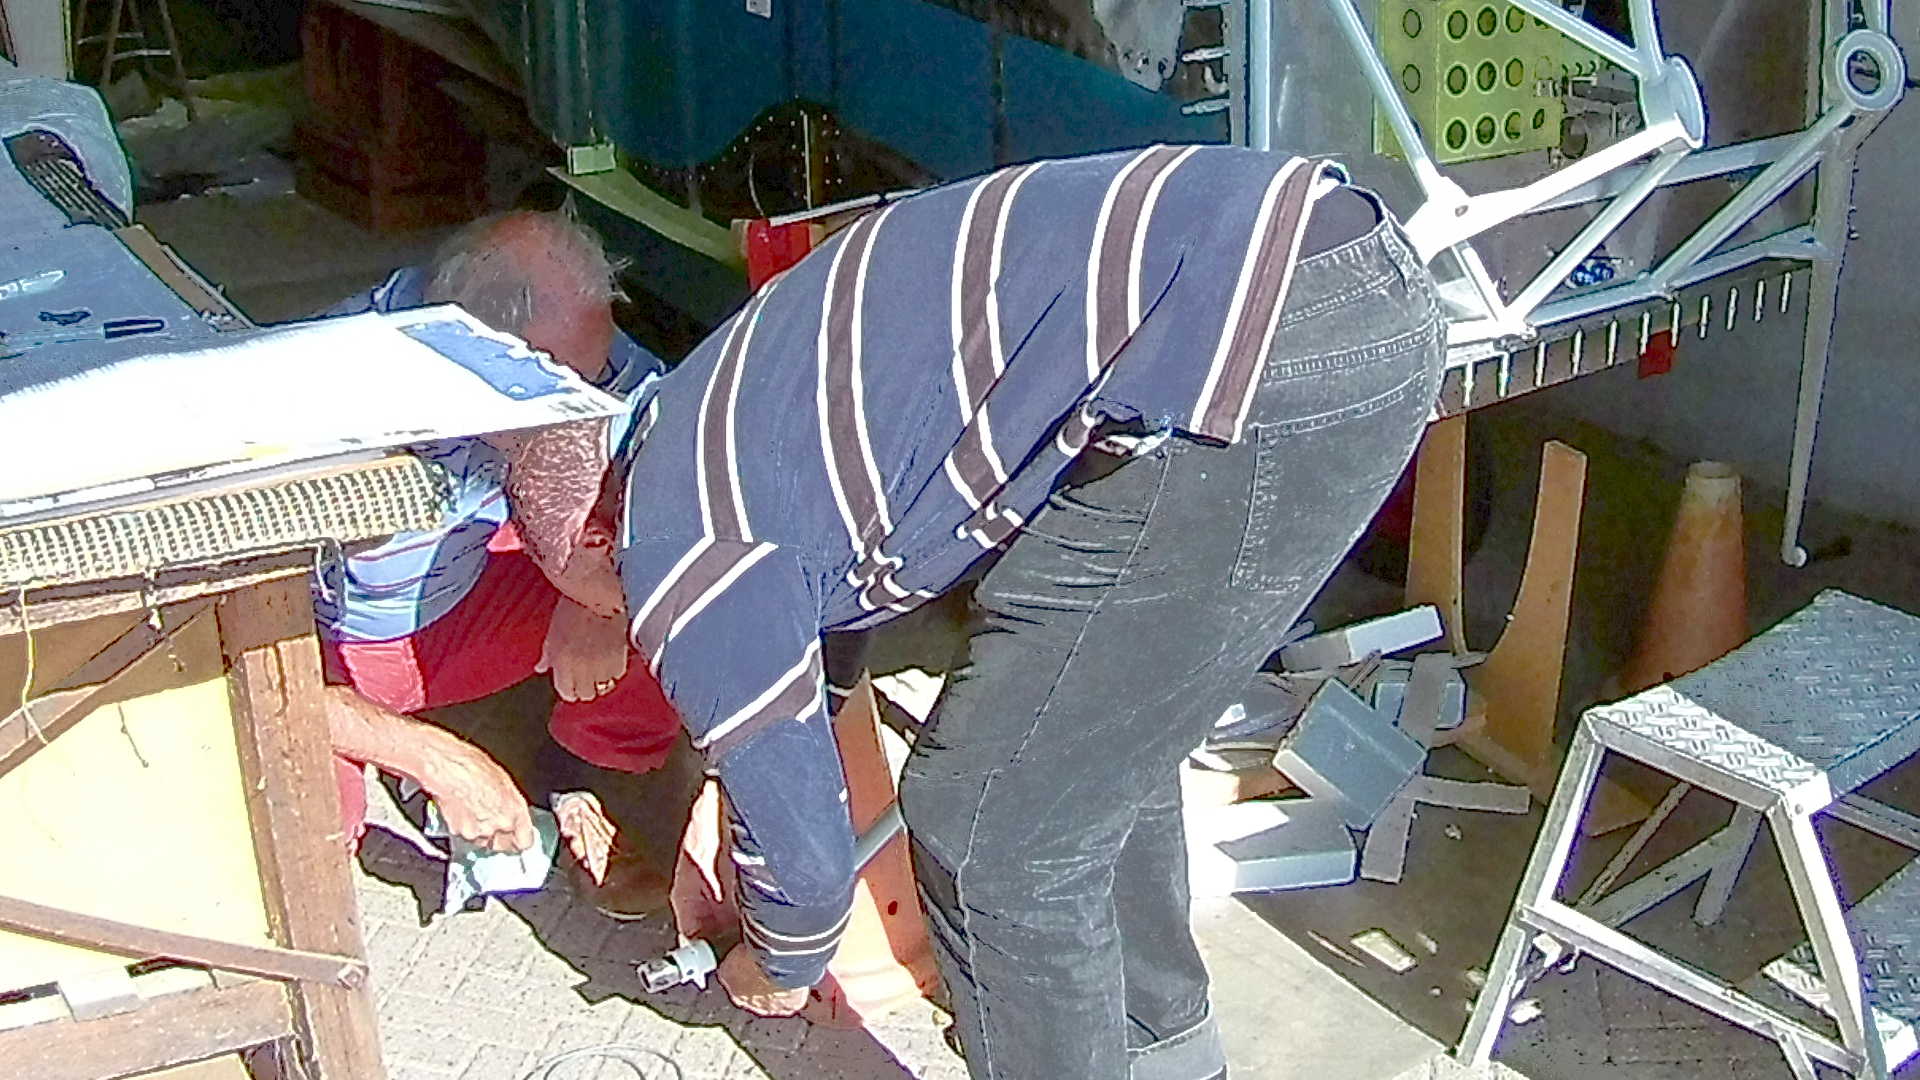
It took a while, but in the end we fitted the brakes to the landing gear including the fairing brackets. The Left side went much easier, once we struggled on the right side and found the correct way.
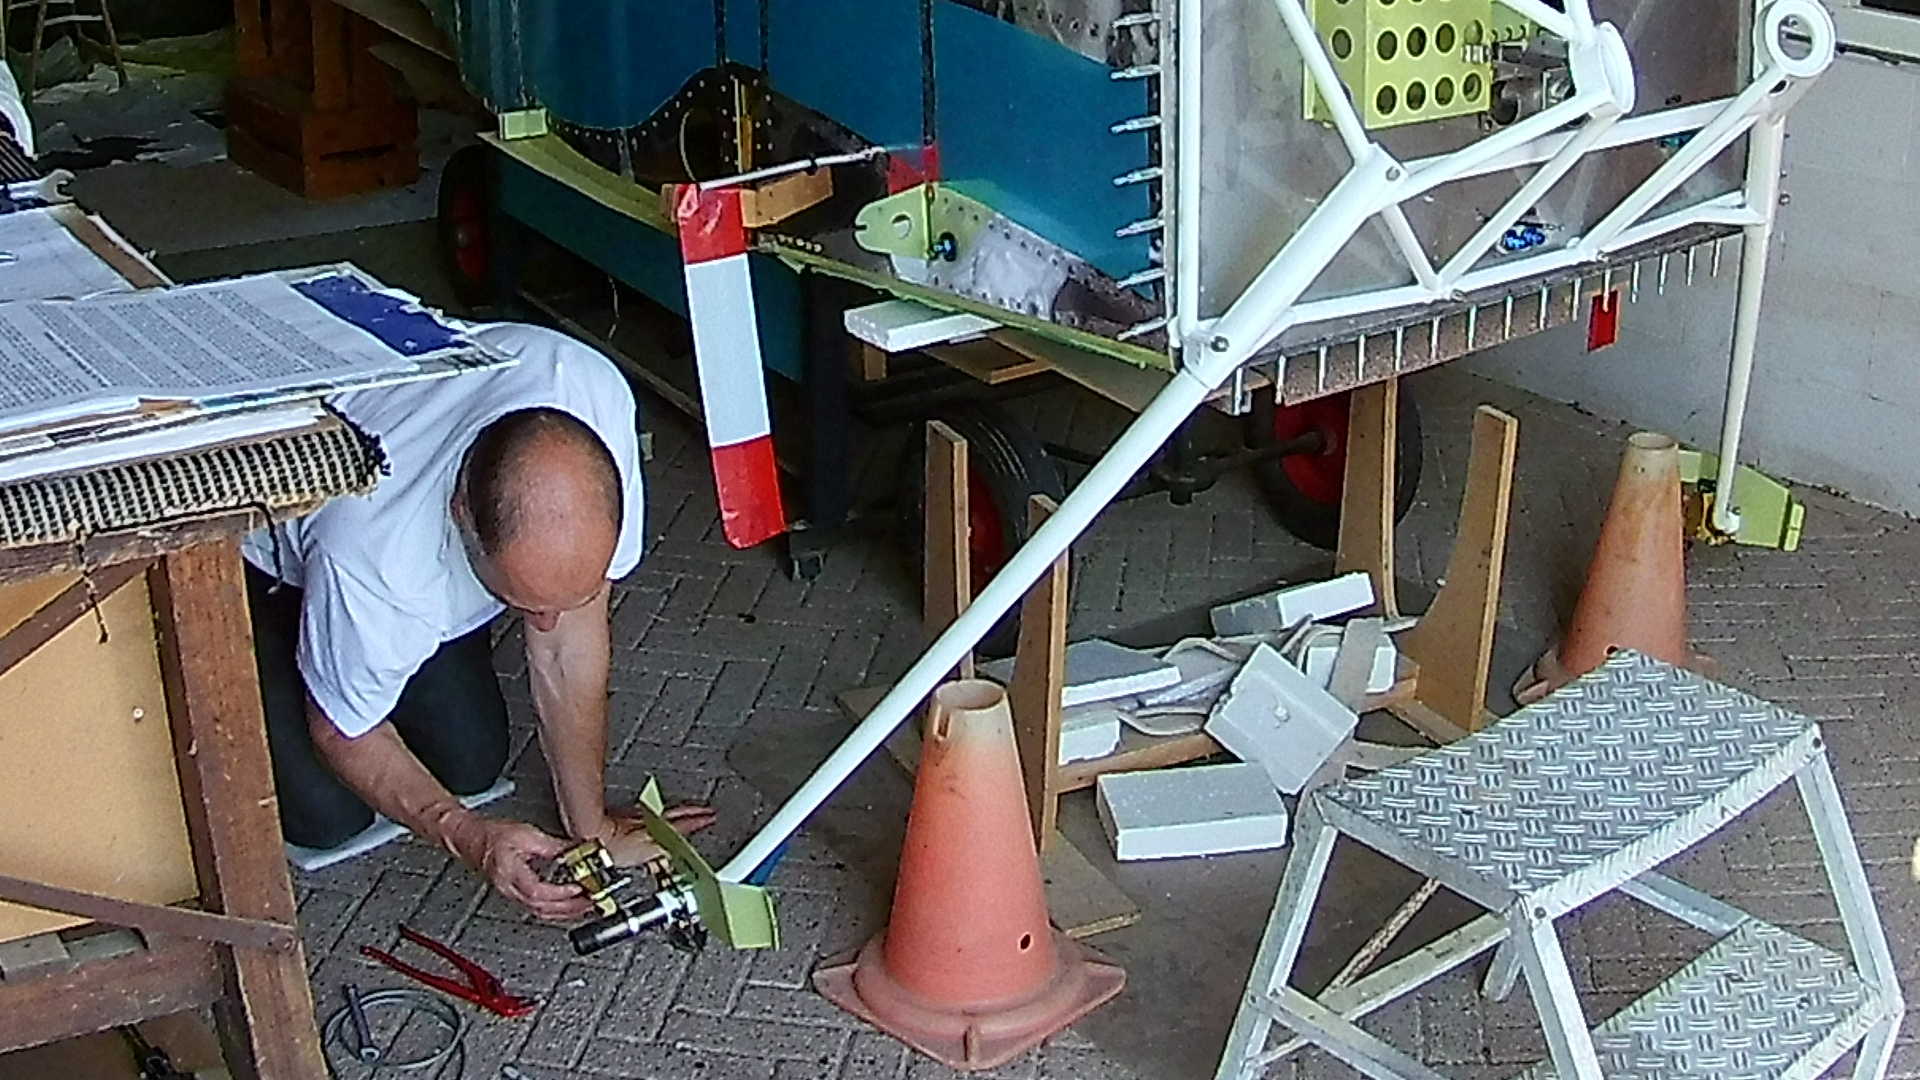
Turns out the Brake discs actually consists of two separate parts that can easily be detached (when no wheel is attached). I figured that out while installing the brakes to the right axle.
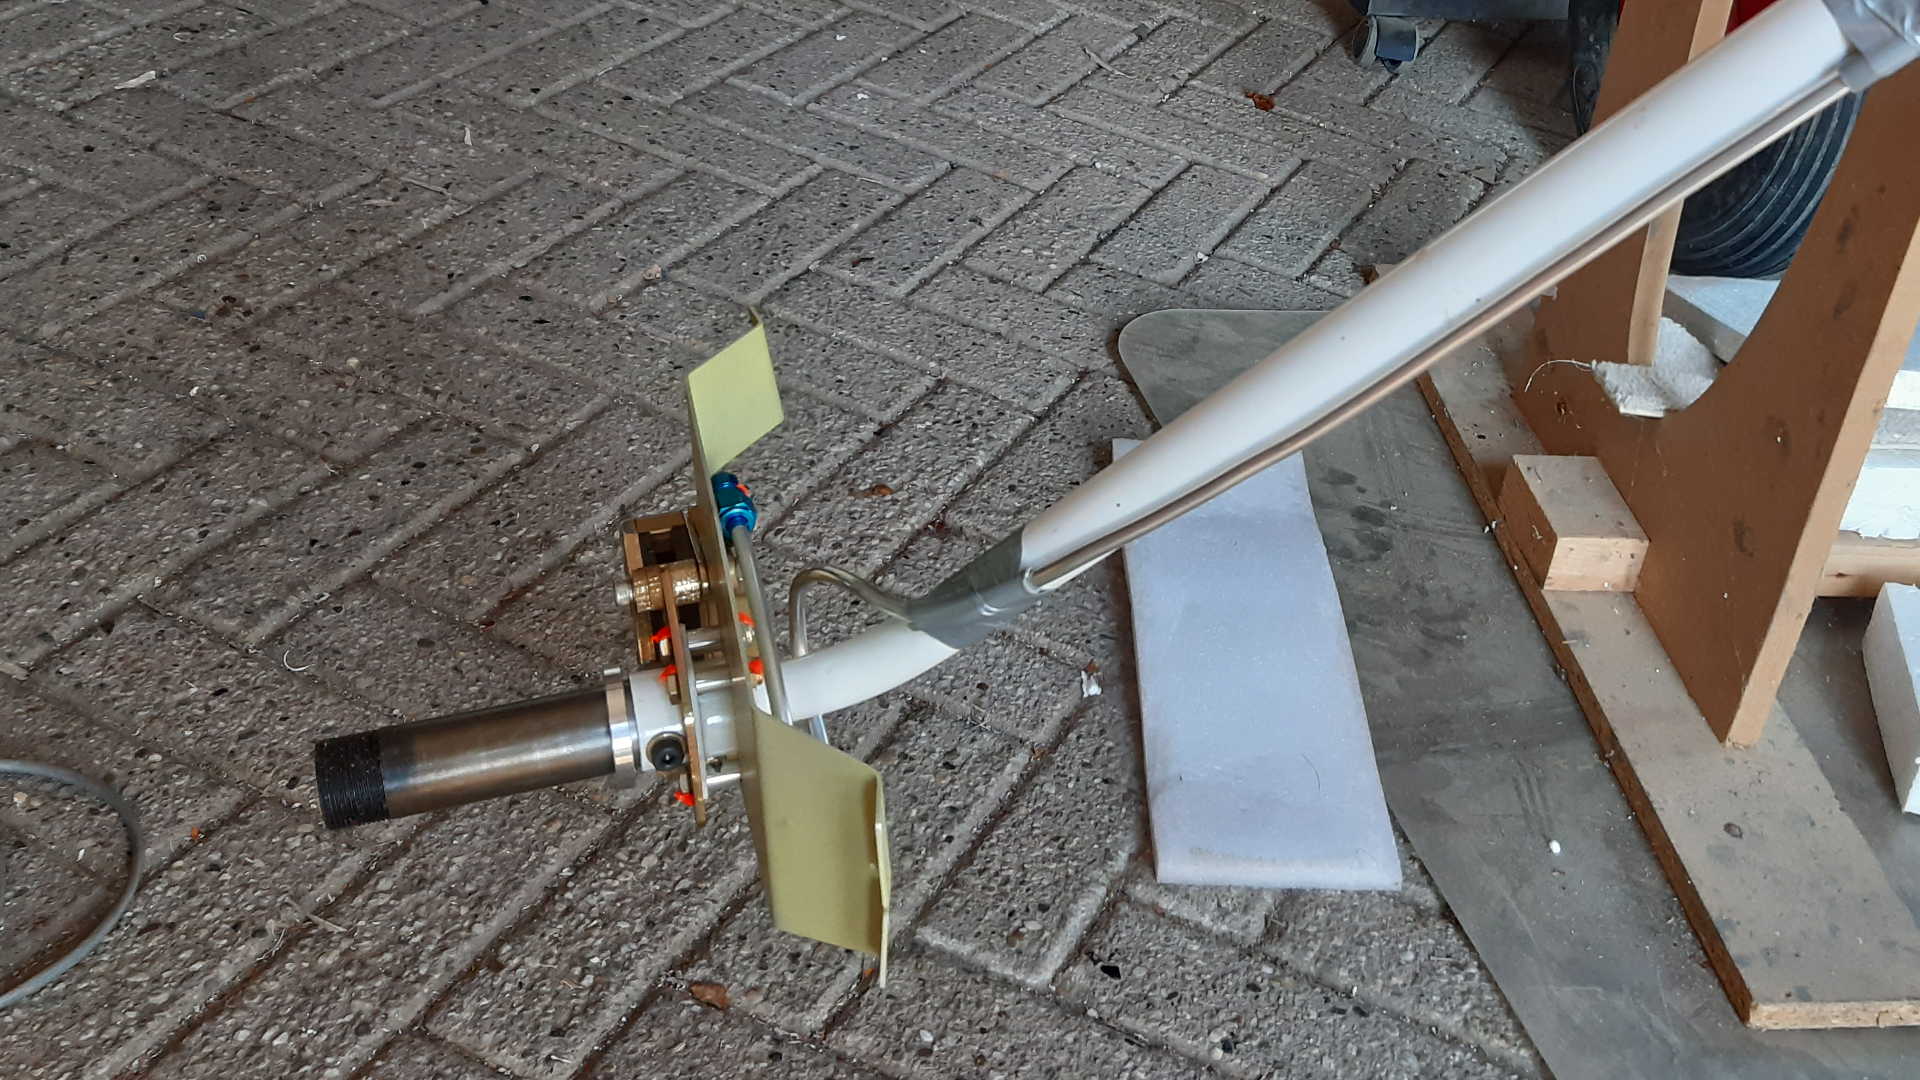
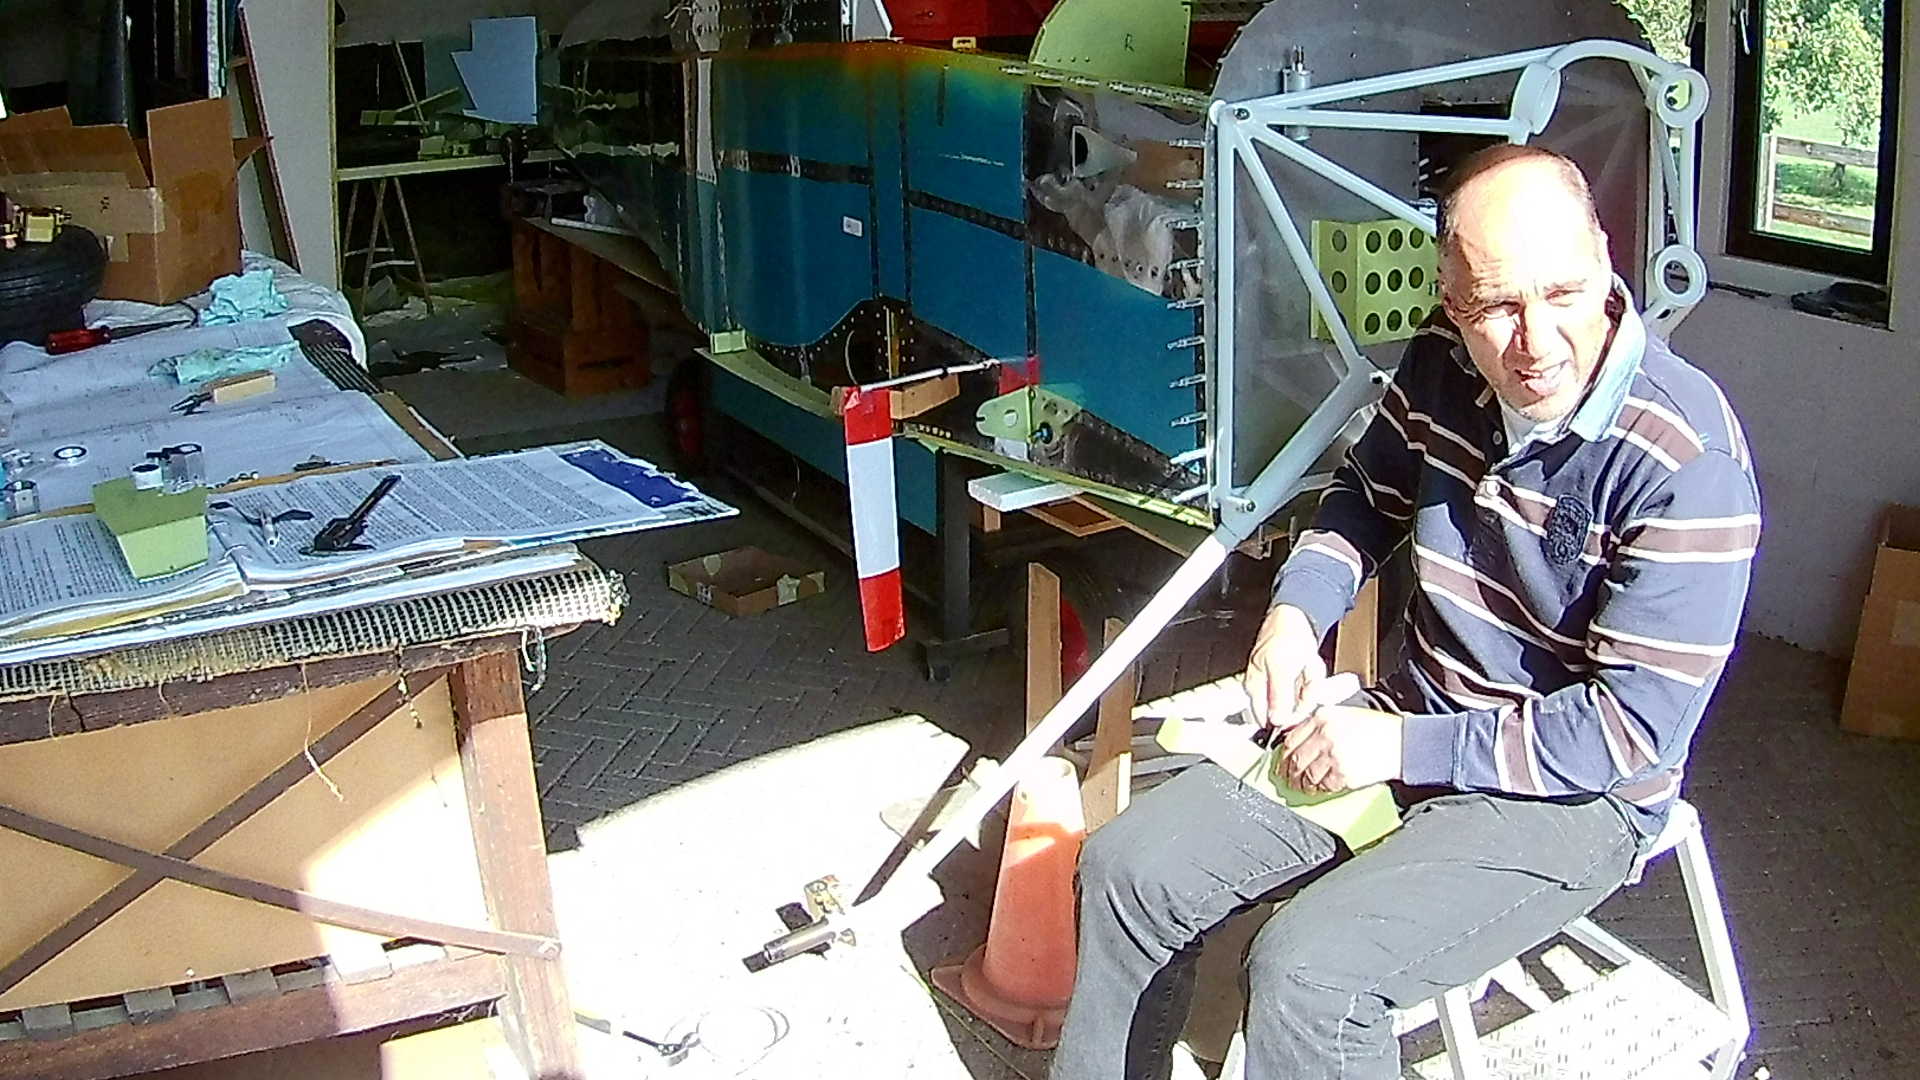
This picture was actually taken a few days later, when I already installed the Brake Lines.
Time: 5 Hours, Rivets: 61/0 (2020-09-16)
Time: 4 Hours, Rivets: 2/0 (2020-09-17)
Time: 3 Hours, Rivets: 0/0 (2020-09-18)
Time: 6 Hours, Rivets: 0/0 (2020-09-19)
Video
